One of the most frequently asked questions I get on a regular basis is how to paint kitchen cabinets, More so, how to prep them so the paint will last!
Im currently working on a LAUNDRY ROOM MAKEOVER and this will be the 3rd time I have tackled painting cabinets. Each time I have tweaked my method slightly to figure out which one I like the best. And like the saying goes, the third time is the charm on this one!
NOTE: This prep method works for wood AND laminate cabinets. The difference starts when it comes to what primer to use. See the FAQ SECTION for more on this.
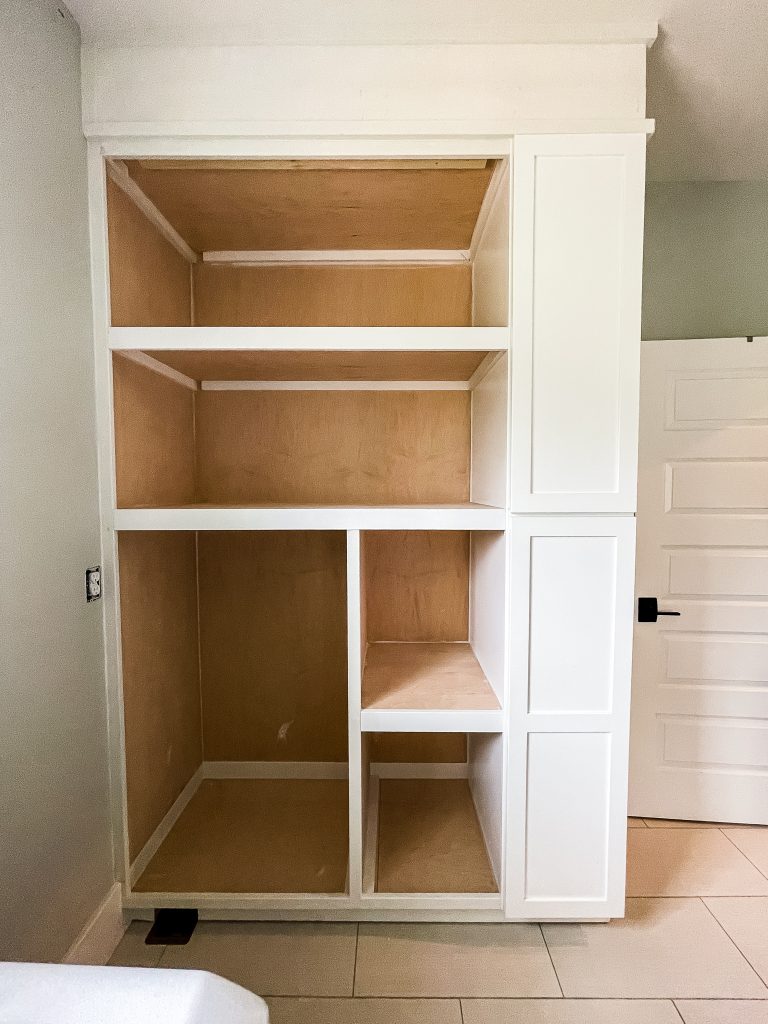
Related: WAIT UNTIL YOU SEE THIS MUDROOM INSPIRATION
This post contains affiliate links. Thank you for supporting Haute House Love!
how do you prep cabinets for painting?
MATERIALS:
SCREWDRIVER or DRILL
WOOD FILLER or PATCH (if applicable)
SANDING BLOCK
MOUSE SANDER
SWIFFER DUSTER
TSP HEAVY DUTY CLEANER
PAINTERS TAPE
PRE TAPED PLASTIC SHEETING (if applicable)
JASCO MASK AND PEEL (if applicable)
CHEAP PAINT BRUSH (if applicable)
Step 1 – Remove all cabinet doors and hardware
Use a screwdriver or drill on a low setting to remove the screws that attach the cabinet doors to the frame.
Then remove the hardware from the actual door. Some find it helpful to number and label each door and set of hardware with painters tape. All of my hinges are the same (and also adjustable) so I simply throw all of mine in a plastic bin.
NOTE: If your cabinets have scratches or gouges that need repairing, apply WOOD FILLER or PATCH to those areas before moving on to the next step.
Step 2 – Hand Sand the cabinets
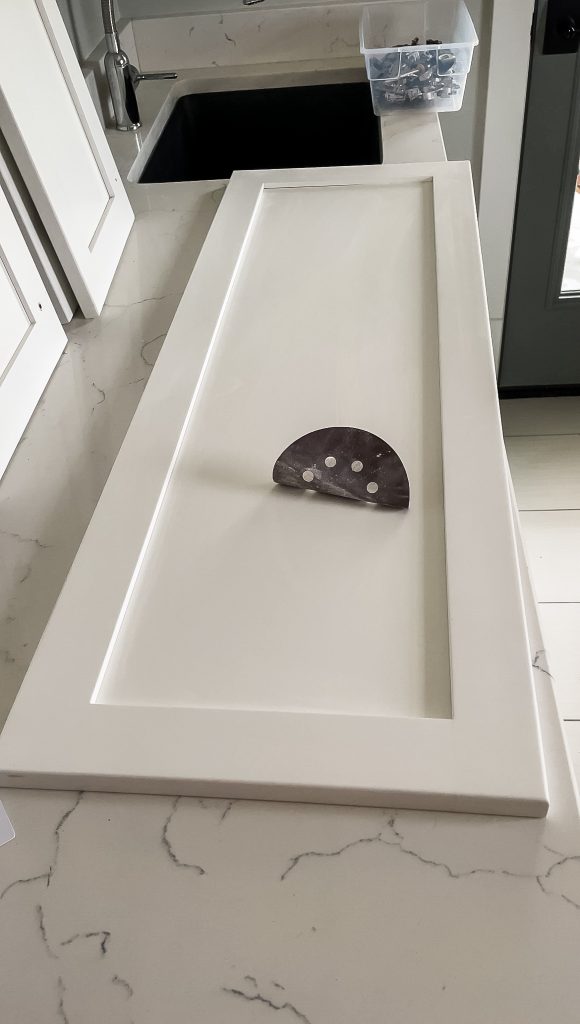
Hand sanding is going to be far easier and less messy than using a sander, which can kick up all kinds of dust.
The goal here is to lightly rough up the factory finish, not to take everything off completely. I do a quick once over with 220 grit sandpaper, just to change the texture slightly. Spend 30 seconds to a minute on each door/cabinet and about the same amount of time on cabinet framing. Nothing crazy.
If the cabinets have been previously painted and there is peeling, use 120 grit sandpaper instead to remove the areas of old paint until it is no longer peeling.
Sanding can be done with any sandpaper or sanding block. If your cabinet doors have more intricate details it would be helpful to use a A MOUSE SANDER to get into all of the grooves.
Step 3 – Clean up the sanding dust
Even gentle sanding will leave a dusty residue. To clean this up quickly, grab a swiffer duster and wipe all of the cabinets and doors. Alternatively, a vacuum can also be used to pick up dust.
Step 4 – Wipe the cabinets down to degrease them
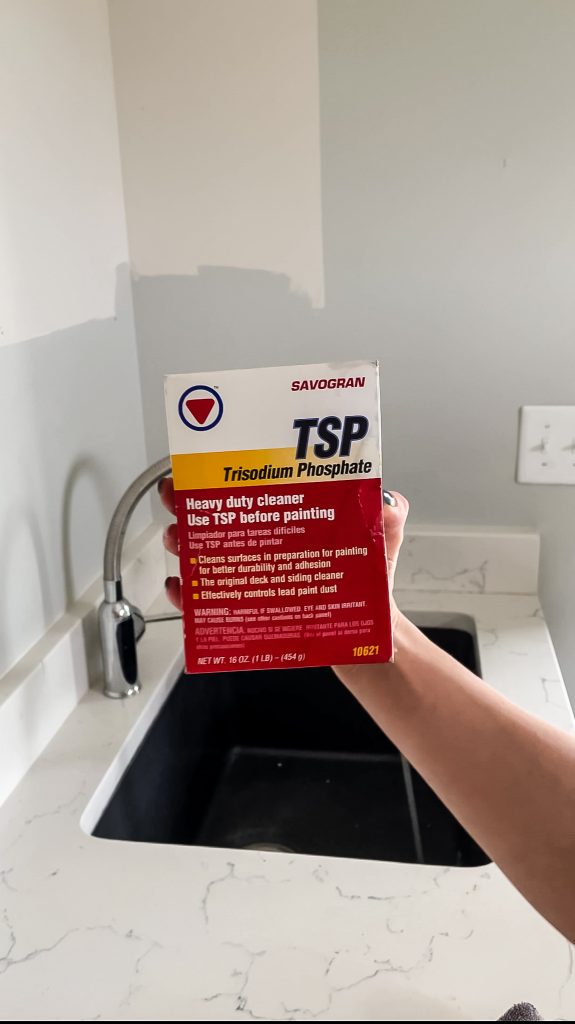
You will need a box of TSP for this step. TSP Heavy Duty cleaner is around $5 and is the perfect pre paint cleaner. It’s a powder that you mix with water according to package directions, then simply wipe your cabinet surfaces to clean/degrease them.
Then get a bowl of fresh water and a clean rag and go over them one more time to make sure there is any leftover TSP residue.
Allow the cabinets to air dry while you complete the final step.
NOTE: If your cabinets have areas that need fresh caulking, do that after the cabinets have dried.
step 5 – prepare the room for paint
This will look different depending on if you will be painting cabinets with a sprayer or painting them by hand.
I have done them both ways and Im definitely happier with the finish of the paint when I have used a paint sprayer.
Painting with a paint sprayer takes a lot more prep on the front end because it requires the room to be taped/tented off and vents to be covered
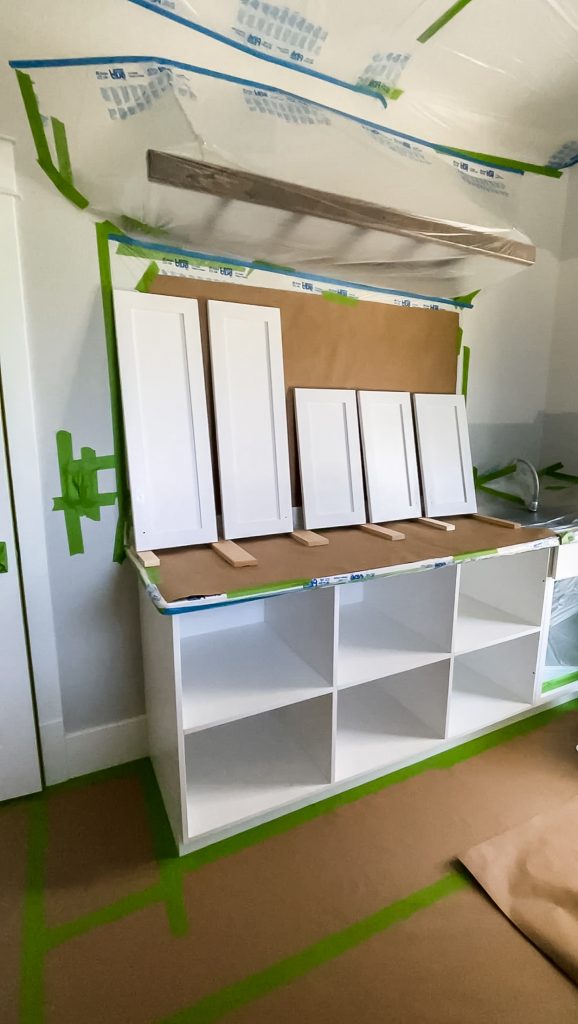
Frogtape is my tape of choice to go around areas where a crisp line and security is needed like around floors and windows.
Then follow up with Scotch blue pre-taped plastic sheets.
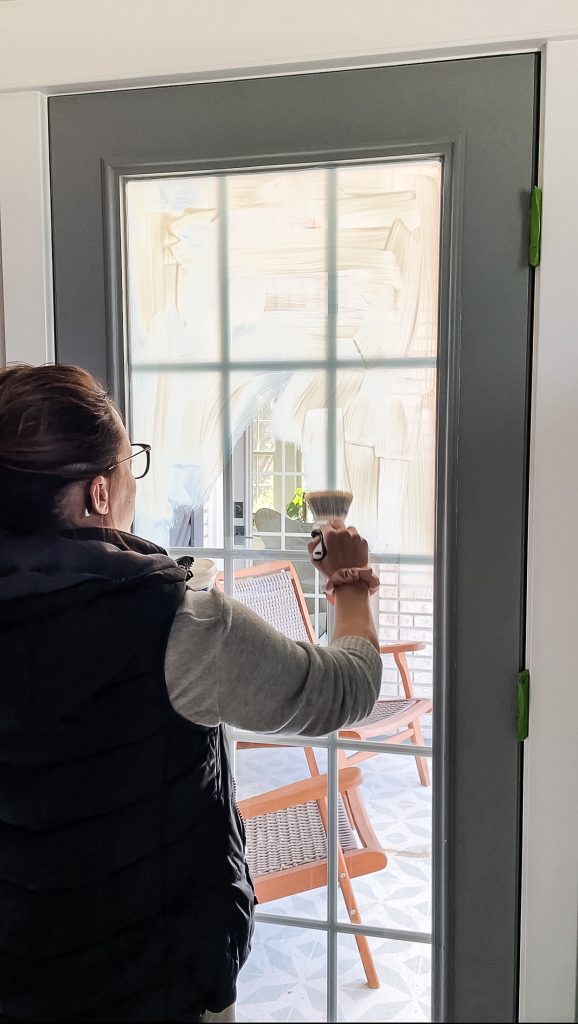
If you will be painting any doors with windows in them, grab a bucket of Jasco Mask and Peel. It honestly reminds me of rubber cement. Apply with a paint brush, don’t worry about getting it on any previously painted surfaces because it will act as a primer.
This will go on opaque then turn clean when its dry. Make sure to do a nice thick coat (or two coats). It will be easier to remove the thicker it is.
NOTE: Make sure you do this a few hours before painting. Each coat will take about an hour to dry.
When the fresh paint is dry simply take a box cutter or razor blade and score the edges of the masking where the glass meets the door trim. Then simply pull off. Use the razor blade at an angle on the glass to peel off any remaining masking.
Better with video tutorials?
Here is a my process on YOUTUBE
FAQ – Frequently Asked Questions
Do you HAVE to sand cabinets before painting?
I ALWAYS recommend sanding cabinets before painting for the best adhesion. Cabinet painting is a LOT of work already, and skipping steps is going to result in the job not lasting and needing to be redone sooner than later. I suggest taking the time to do it right the first time to avoid frustration in the future.
Can I just paint over old paint on cabinets?
It is super important to go through all of the proper cabinet prep steps each time you paint cabinets. It is a pain in the moment but taking the extra time to do the job correctly will give you results that LAST.
Should you brush or roll paint on cabinets?
When it comes to hand painting cabinets I suggest to use both a brush and a roller. An angled brush is helpful to get into corners. If you have more intricate details on your kitchhen cabinets you may try a brush shaped like THIS.
Use a brush on any part of the cabinet that has intricate corners or details. Then use a 4 inch foam roller to go over the rest of the doors. This will eliminate brush strokes and give a professional finish.
How many times should I prime my cabinets before painting?
One time should be plenty UNLESS you have dark cabinets that you are taking to a lighter color. In this case it makes more sense to do two coats of primer for better coverage. Just make sure to wait 24 hours or overnight between then lightly sand with 220 grit sandpaper in between each coat of paint, whether it is primer or top coat.
What happens if you don’t sand kitchen cabinets before painting?
You risk the top coat peeling after a short amount of time or the top coat not adhering to the cabinet.
Do I need to sand cabinets before primer?
I always recommend lightly sanding with 220 grit sandpaper before priming kitchen cabinets for the best adhesion.
Is it best to sand cabinets before primer?
Yes. I always recommend sanding with 220 grit sandpaper before priming kitchen cabinets for the best adhesion.
What is the fastest way to sand cabinets?
Cabinets just need a light stuffing before painting. Therefore I always recommend sanding cabinets by hand to achieve fastest result and least amount of mess.
What grit sandpaper is best for cabinets?
220 grit sandpaper can be used to lightly skuff the finish on cabinets. If there are areas of old paint that are peeling then use a 120 grit to remove as much of the peeling paint as possible first.
What is the easiest way to sand kitchen cabinets?
It is easiest to sang kitchen basinets by hand. You don’t need to fully remove old finish or paint. They just need to be lightly scuffed and hand sanding will get the job done quickly and with less mess.
What is the best paint for cabinets without sanding?
I ALWAYS recommend sanding cabinets with 220 grit sandpaper before painting for the best adhesion.
WHAT PRIMER IS BEST FOR WOOD CABINETS?
My favorite primer for wood cabinets is Sherwin Williams EXTREME BONDING PRIMER.
WHAT PRIMER IS BEST FOR LAMINATE CABINETS?
Laminate cabinets need a shellac base primer in order to adhere properly. I love BIN PRIMER by Zinsser.
how to get a factory finish on cabinets?
The best way to get a factory finished look at home is by prepping your cabinets properly (using all of the steps above) and then painting the cabinets with a paint sprayer.
ready to paint!
Your room is officially prepped for paint!
To see my favorite products for painting cabinets including the BEST PRIMER EVER, the paint sprayer I love, and my choice of top coat paint, head to my post about how to paint kitchen cabinets with a sprayer.
Here are some other links that you may find helpful:
WAIT UNTIL YOU SEE THIS DIY BASEMENT BAR
HOW TO PAINT A ROOM LIKE A PRO
Happy Painting!!!

RECENTLY ON THE BLOG
- What Is Elevated Casual HOME™️ Design?
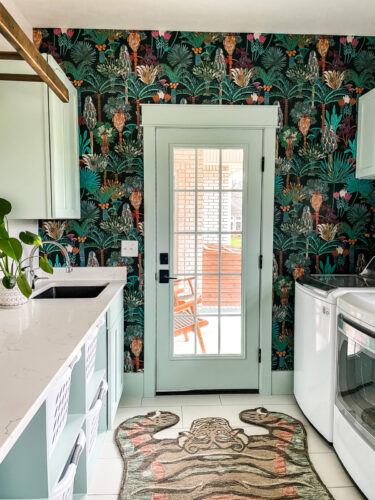 Ready to make your home your own? Discover the power of elevated casual home design, a totally customizable and family-friendly home design approach. Read now.
 - How to Paint Bathroom Floor Tile
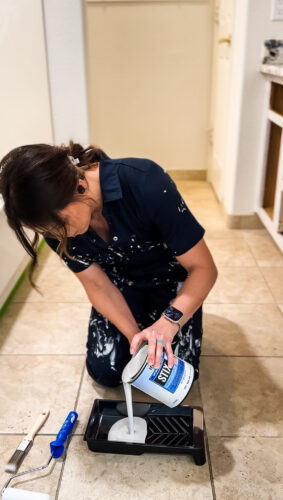 Use paint on bathroom floor tile for a quick cosmetic update on a budget! Do your bathroom floors need an upgrade, but you don’t want to break the bank with… Read more: How to Paint Bathroom Floor Tile
 - THE HAUTE NOTE: WORTH THE HYPE? – home edition
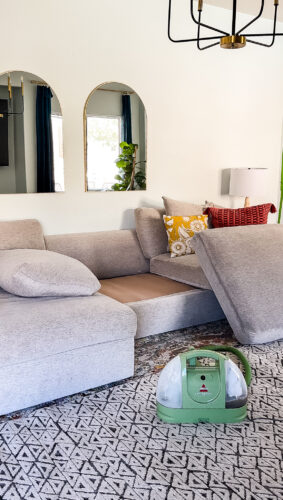 I don’t know what has gotten into me the past few weeks but I randomly decided to pull the plug on some viral home products that have been in my… Read more: THE HAUTE NOTE: WORTH THE HYPE? – home edition
 - THE HAUTE NOTE: KITCHEN FLOOR REVEALLast week I took on what I would likely call one of my top 3 hardest projects to date. The kids were on a spring break trip with my in… Read more: THE HAUTE NOTE: KITCHEN FLOOR REVEAL
- The Haute Note: Destroying my kitchenThis week is my kids spring break and they are on a trip with grandparents. So I’m taking a small pause on the boys bathroom to knock out a project… Read more: The Haute Note: Destroying my kitchen
- THE HAUTE NOTE: FEBRUARY READS
 At the beginning of 2024 I set a goal to read 20 books this year. When I hit 10 mid February I knew it was time to up the anty.… Read more: THE HAUTE NOTE: FEBRUARY READS

