How To Paint Kitchen Cabinets with a sprayer
So you want to paint your kitchen cabinets but don’t know where to start. You’ve come to the right blog post.
Be prepared. Because if I’m being straight with you, painting cabinets is NOT for the faint at heart. It’s a process, and one that takes a long time. There is something that can make it easier though — a paint sprayer for cabinets and trim!
If you’re still iffy about getting started, believe me. If I can do it, you definitely can too!

MATERIALS NEEDED TO PAINT KITCHEN CABINETS
With all of the painting experience that I share on Instagram, it may surprise you to know I’ve NEVER painted kitchen cabinets before! THIS project contains a whopping 12 base cabinets, and 28 doors and drawers. OY!!
Luckily, I have some amazing products to help get the job done.
FROGTAPE
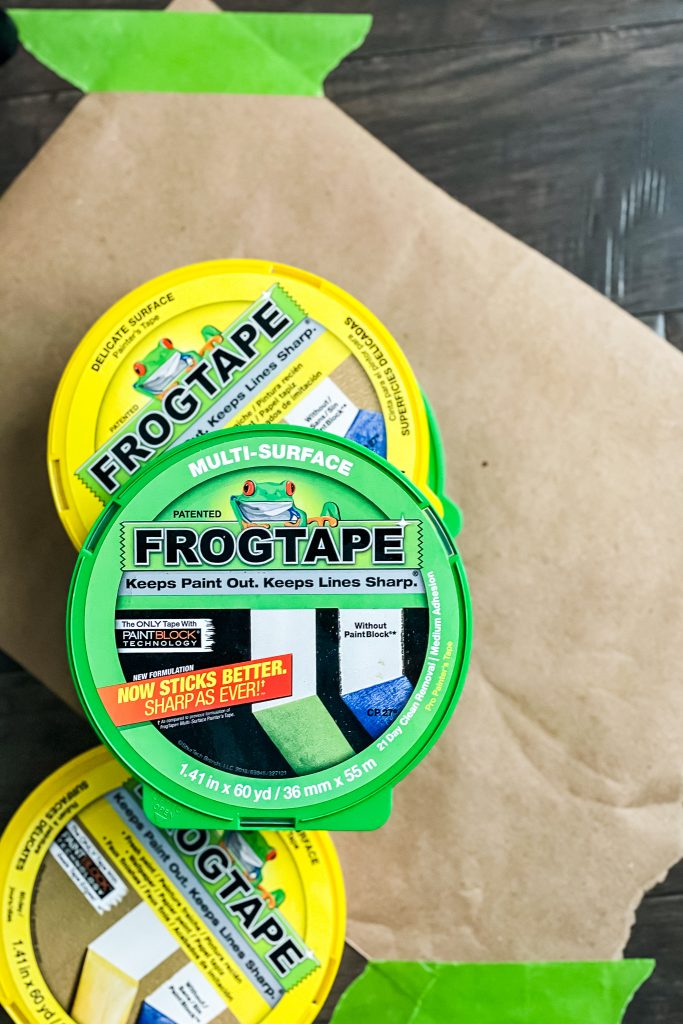
FROGTAPE will be used to tape off the floors and also to create a plastic bubble to surround the kitchen area.
It was super helpful to be able to paint indoors, considering I was spraying all of the cabinets with a spray painter for cabinets AND we were in the middle of Snow-pocalypse 2021. There was no way I was going to be able to get outside the week that the painting went down!
Frogtape is my absolute favorite tape to use when painting. In fact, I’m sure you have seen me using it a lot if you follow me over on Instagram!
FrogTape contains PaintBlock Technology which creates a micro-barrier seal to prevent bleeding.
For this part of the project I needed the premium adhesion to help hold my bubble together but would also remove cleanly when I was finished.
FrogTape delivered!

GRACO PAINT SPRAYER
I decided to use the Graco Magnum Project Painter Plus for cabinets, and it go the job done in record time.
I have used a paint sprayer before, but this bad boy was a BRAND NEW adventure.
The start-up directions were a bit much for my attention span, so I resorted to YOUTUBE to figure out the ropes. Below is the video I watched time and time again to figure out the sprayer!
The initial set-up took a good amount of time as I carefully learned how to use the sprayer properly. But this is common with any new tool!
What I didn’t realize when getting started is that I did need to have two 5-gallon buckets to help with start-up. which I didn’t have on hand. Therefore, a trip to the hardware store was needed before I could actually paint.
It ended up taking about 30 minutes each day to set up the sprayer for paint.
Once I was able to start painting I was shocked at how easy and fast it was.
Since I was painting kitchen cabinets, I had to be extra careful not to layer on to much paint or else I would get drips. Small, quick strokes worked the best. I also had to figure out a walking pattern through my set-up, so I wasn’t bumping freshly painted cabinets with the dangling sprayer hose.
Knowing these things after the first coat made each of the following coats that much easier.
Using a paint sprayer was a LOT of prep work, but it saved so much time in the end and gave the most amazing professional finish.
SHERWIN-WILLIAMS PAINT
I’m definitely no stranger to Sherwin-Williams paint. In fact, their colors and products encompass every square inch of my home! You can head over to this post to TAKE A PAINT TOUR OF MY MODERN ECLECTIC HOME.
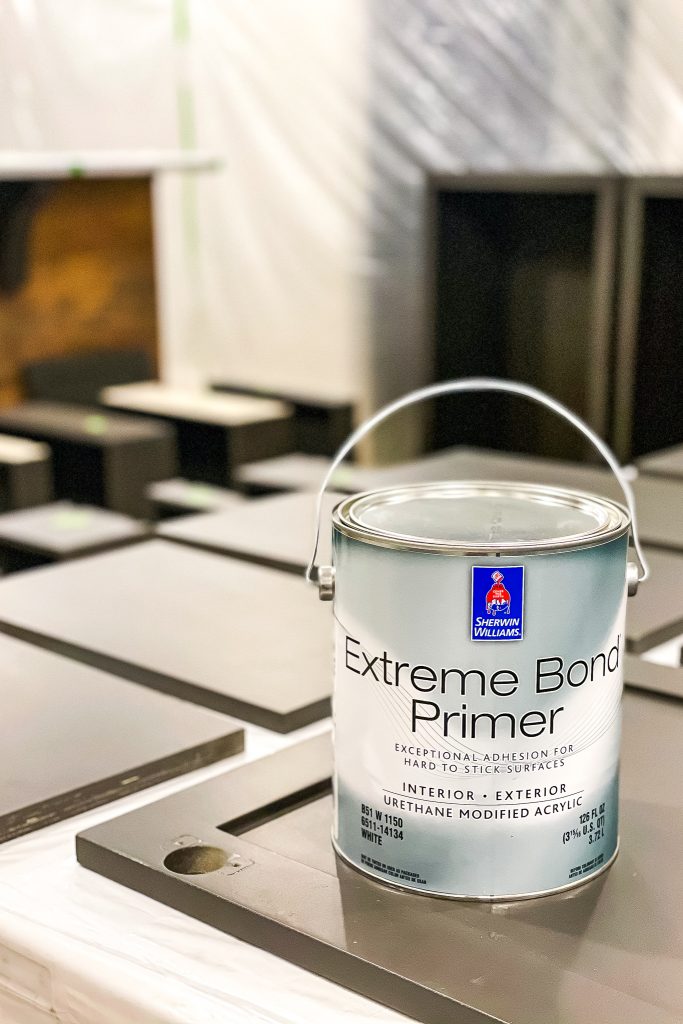
Sherwin-Williams has my absolute favorite bonding primer as well. Since our cabinets were not painted properly in the first place, starting with a primer coat was my assurance that this new paint would stay put!
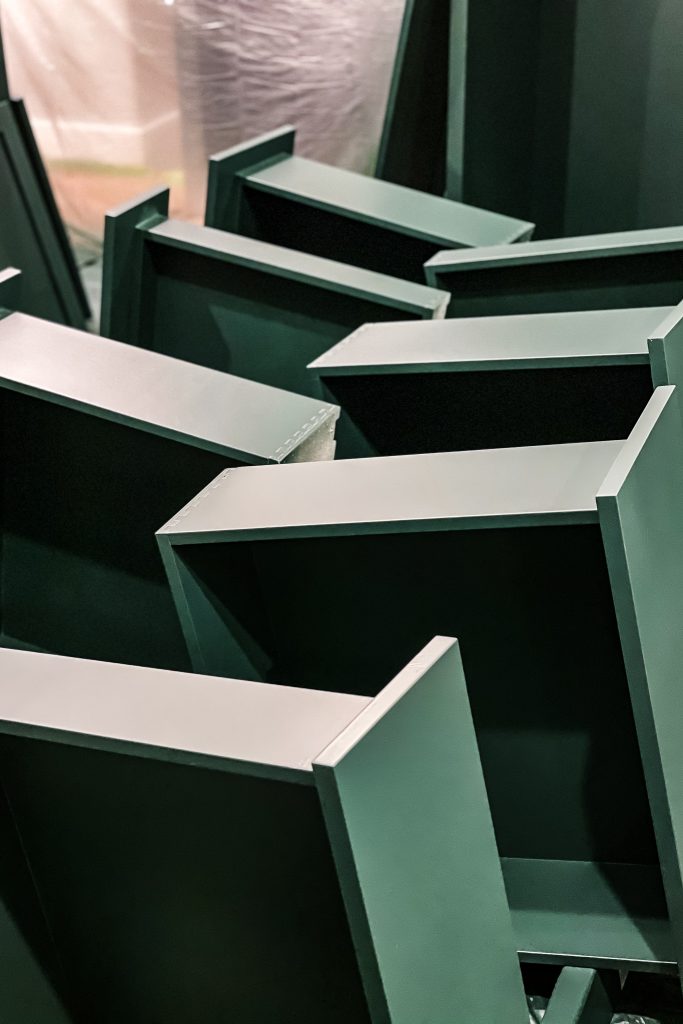
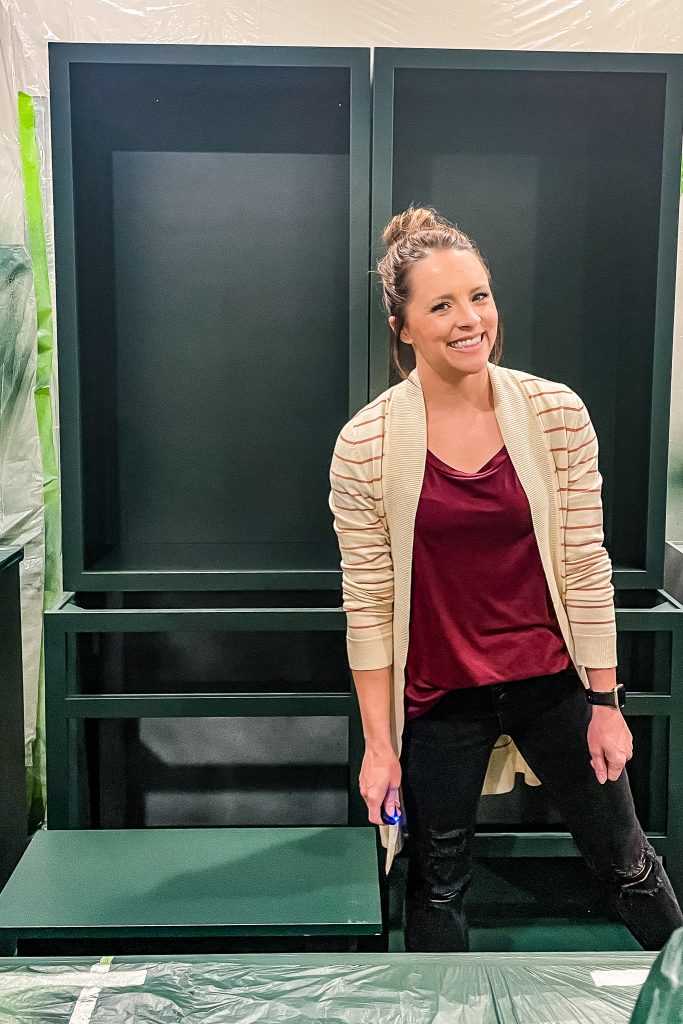
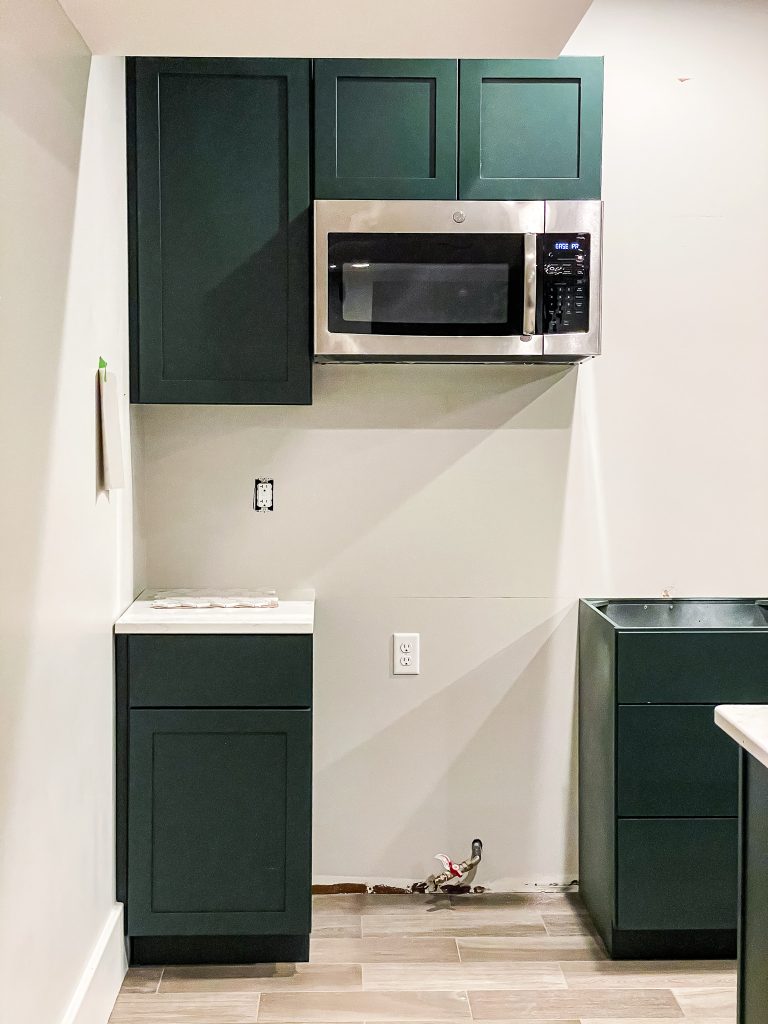
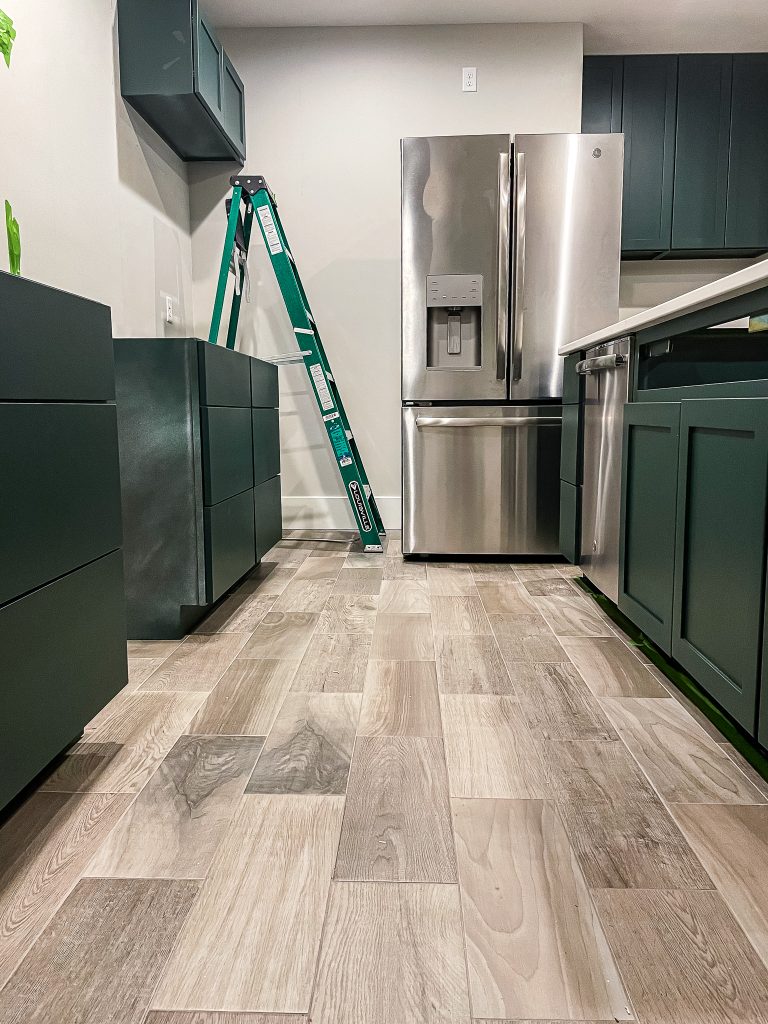
For the cabinets, I decided on the most beautiful shade of dark green, Roycroft Bottle Green (SW2847).
The color is a blend of greenish-black with a hint of blue. It was the perfect choice for the style of the basement bar.
I had the color mixed into Emerald Urethane Trim Enamel in a Satin finish. This paint has the durability of an oil based cabinet paint with the luxury of water-based clean up. It is self leveling and leaves the smoothest most luxurious finish.
There is no top-coat needed when painting with Emerald Urethane Trim Enamel, as it is already added into the paint.
Emerald Urethane Trim Enamel comes in Satin, Gloss and Semi-Gloss finish. I would recommend choosing satin or semi-gloss for kitchen cabinets.
other materials needed
plastic sheeting
two gallon buckets
drop cloths
paint coveralls.
respiratory mask (esp when painting indoors)
HOW TO PAINT KITCHEN CABINETS
Now is the point in the process where I show you how to paint kitchen cabinets with a sprayer. Again, if I’m being 100% transparent, painting kitchen cabinets with a sprayer is by far the most tedious painting project I have ever done. But if you can bring motivation and patience with you along the way, it will be so worth it in the end.
Are you ready? Let’s do it!
STEP 1 – REMOVE ALL DOORS, DRAWERS AND HARDWARE
Prepping the cabinets properly is the MOST IMPORTANT step to ensure that the paint sticks to the cabinets.
Use a screwdriver or drill on a low setting to remove the screws that attach the cabinet doors to the frame.
Then, remove the hardware from the actual door. Some find it helpful to number and label each door and set of hardware with painter’s tape. All of my hinges are the same (and also adjustable), so I simply throw all of mine in a plastic bin.
NOTE: If your cabinets have scratches or gouges that need repairing, apply WOOD FILLER or PATCH to those areas before moving on to the next step.
This step alone took the better part of a day. I started by drawing out a map on a piece of paper where every cabinet was. I then numbered every cabinet on my map and then numbered each door/drawer and hardware for that particular cabinet.
I used FROGTAPE to mark the cabinets and wrote the number on the tape.
Including this step is especially handy when it comes time to reassemble.
STEP 2 – SAND ALL CABINETS, DOORS AND DRAWERS.
Lightly sanding with a 220 grit sanding block is the best way to start prep. Just enough to smooth any rough edges and give the primer something to stick to.
I followed this by wiping everything down with a damp rag to eliminate sanding dust.
I had 28 cabinets/doors/drawers in total and this process took about 4.5 hours.
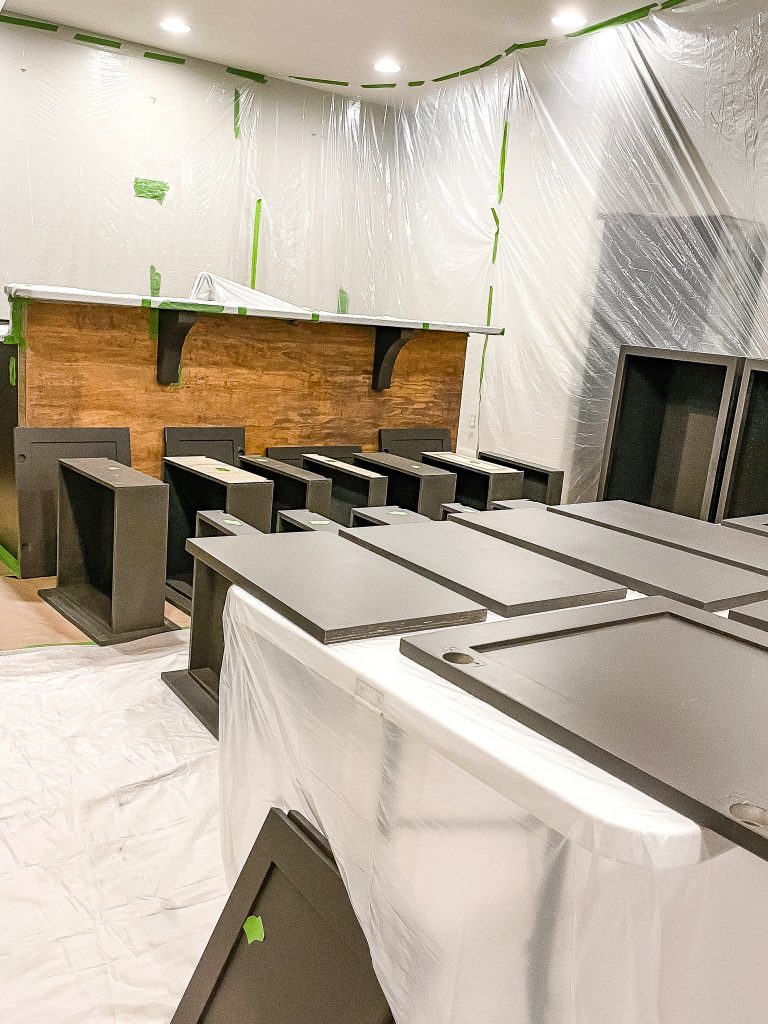
STEP 3 – PREP THE AREA
Since I was painting in the dead of winter, I chose to paint indoors. It also made sense to create one large painting area, since I couldn’t move the island cabinets anyway.
I used two layers of construction paper and FROGTAPE to protect the tile floor and several layers of canvas drop cloths and plastic tarp to protect the carpet.
I then used large plastic dropcloths and FROGTAPE to create a plastic bubble around the entire painting area to protect the surrounding area.
This process took a good part of another day.
HOW TO PAINT KITCHEN CABINETS WITH A SPRAYER
STEP 4 – PRIME CABINETS WITH A PAINT SPRAYER
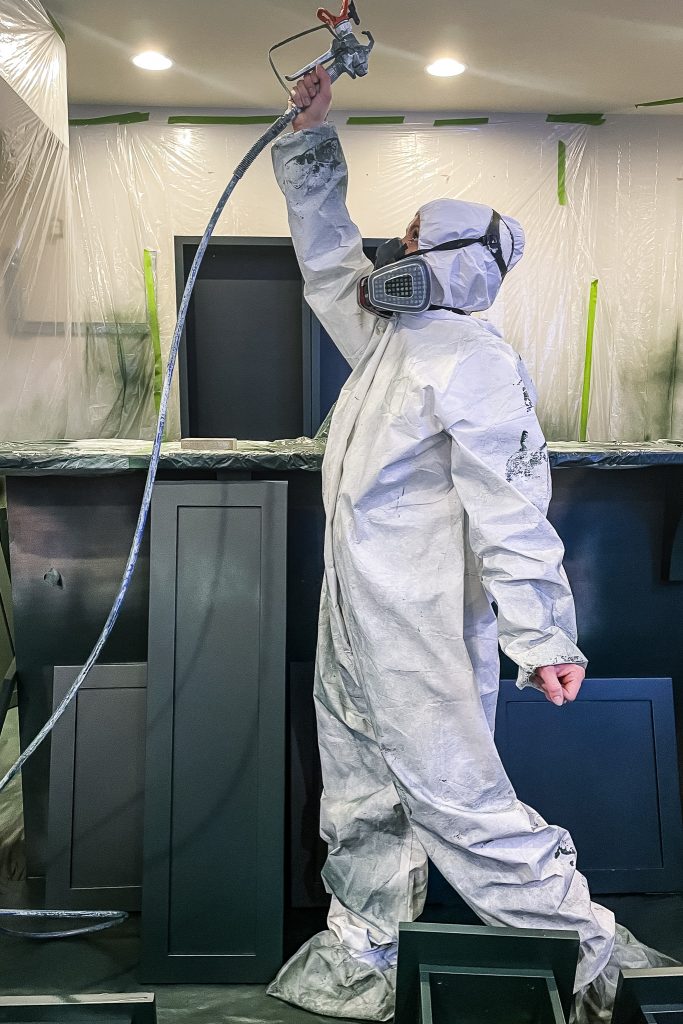
Finally! It was time to start painting. I set up my GRACO MAGNUM PROJECT PAINTER PLUS FOR CABINETS, dressed myself in paint coveralls and threw on a respiratory mask.
I used SHERWIN-WILLIAMS Extreme Bond Primer for this step. This primer is second to none providing an extra degree of adhesion compared to other primers.
A super light coat is all that was needed, and it dried super fast!
STEP 5 – SAND (AGAIN)
I waited 24 hours for the primer to cure and the next day gave everything another once over with 220 grit sandpaper and a damp cloth.
STEP 6 – APPLY THE FINISH COLOR
This step will take a few days and a few coats to achieve perfect results.
Every coat will need 24 hours to cure before another coat can be applied. This is particularly tedious when it comes to the doors and drawers that needed to be coated twice on each side. A few spots needed to be sanded between coats but not to the extent of step 3 and 5.
The entire finish process took four days to spray plus one additional day for the last coat to cure.
AFTER NINE LONG DAYS, I WAS OFFICIALLY DONE PAINTING CABINETS!
TIPS FOR USING A PAINT SPRAYER for cabinets
1 – Thoroughly watch a YouTube video on how to paint kitchen cabinets with a sprayer and how to set up your particular sprayer. Video directions are often easier to understand than word directions when it comes to new tools.
2 – Have a few large pieces of cardboard on hand to test the sprayer before using it on the actual cabinets. This way you can assure its working correctly, there are no air bubbles and the spray strength is correct.
3 – Use short quick strokes. Lighter layers are better than heavy layers to prevent drips.
4 – If you do get a drip, wipe it up with a rag then allow to dry. Sand the area with 220 grit sanding paper to make the area smooth, then re-spray.
clean up & CABINET INSTALL
At this point in the process, my husband did the most wonderful thing for me. He offered to hire our trim carpenter to come re-hang the cabinets for me!
It was a blessing in disguise as I was swamped with client work and really needed an extra set of hands to get the job done.
The night before they arrived, we had a clean up party from all of the painting in WEEK 2. Three out of my four kiddos were home and my sister in law was over hanging out. Everyone pitched in to help tear down the plastic bubble that I practically lived in the week before.
The kids had a blast playing in the “rubble”, and I was thrilled to get the space cleaned up in record time.
After so many days of non-stop work. I was happy to coach this process from the sidelines!
COMMON QUESTIONS ABOUT PAINTING CABINETS WITH A SPRAYER
Is it better to spray or brush paint kitchen cabinets?
This is really personal preference.
Paint Sprayer Pros
Looks the most like a factory finish.
Once you start, it goes SUPER fast.
Paint Sprayer Cons
Prepping the area for a paint sprayer can sometimes be an hours-long process. You will need to protect every square inch around the spray area from overspray.
Any troubleshooting issues that arise during the spraying process can be frustrating. Especially if you end up getting a clog in the sprayer.
How many coats should you spray cabinets?
I always recommend one coat of primer and two coats of finish coat with 24 hours between each coat for the best cure rate. Always paint the inside of cabinet doors first (the side that faces the inside of the cabinet) then flip over and do the outside (side that you see).
How many gallons of paint do I need to spray kitchen cabinets?
1-2 gallons for an average sized kitchen.
Do you have to sand cabinets before painting?
I ALWAYS suggest sanding cabinets lightly before painting to make sure that the paint will stick. This doesn’t have to be a full sanding/stripping job. Lightly scuffing the surface with a 120 or 220 grit sanding sponge works well.
How do you get the smoothest finish when painting kitchen cabinets with a sprayer?
To achieve the smoothest finish when painting cabinets, use a 220 grit sanding block to gently sand between each coat of paint. For the most professional finish, use a paint sprayer to apply the paint.
What happens if you paint kitchen cabinets without sanding?
You risk the paint not adhering properly. For maximum adhesion, I always recommend lightly sanding with a 120 or 220 grit sandpaper to “rough up” the surface. One coat of extreme bonding primer and two coats of finish paint. Lightly sand between each coat for the most smooth finish.
What happens if you don’t prime cabinets before painting?
Same as the answer above.
What is the most common paint finish on kitchen cabinets?
Satin or Semi Gloss. It’s really personal preference, and each brand of paint will have its own look to each sheen.
What is the very best paint for kitchen cabinets?
Sherwin Williams Ultimate Bonding Primer with Sherwin Williams Urethane Trim Enamel
What kind of paint is most durable for kitchen cabinets?
A Urethane Trim Enamel will dry to the hardest finish. It is the perfect paint choice for cabinets and trim.
WHAT’S NEXT??
That’s a wrap on painting kitchen cabinets with sprayer. The project continues with a lumber run for two building projects and an accent wall, planning the built-in cabinet in the wine nook and starting the process of tiling!!!
CANT WAIT FOR YOU TO SEE MORE!
