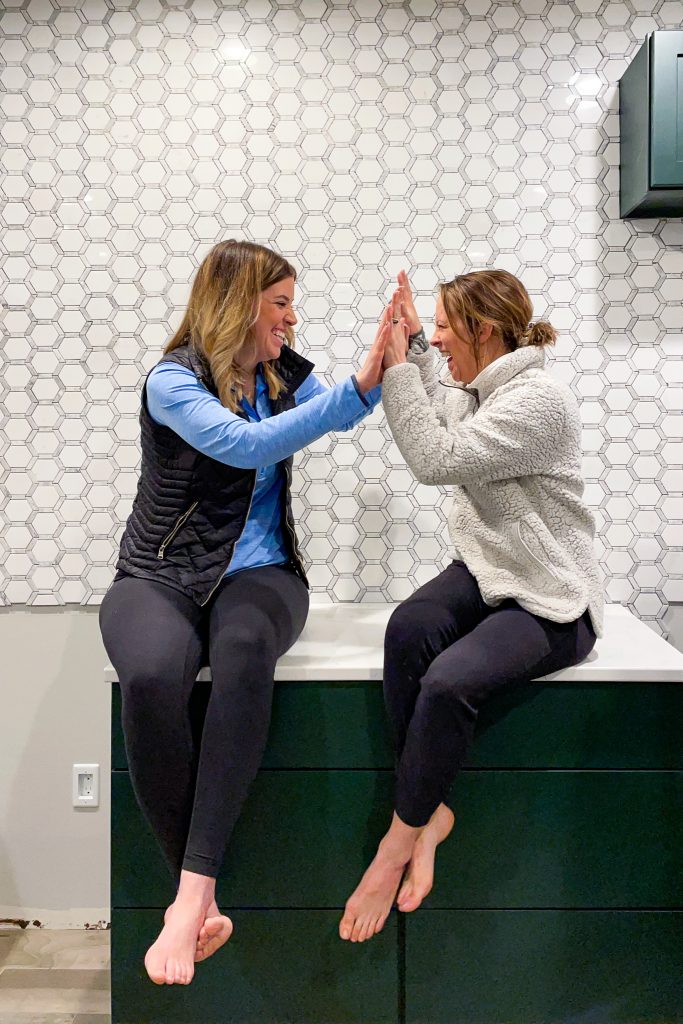
Jeffrey Court tiles make a modern statement in this basement bar design. Read tips on how to install tile two different ways and the pros and cons of each.
This week I fell painfully behind schedule.
Don’t worry, nothing bad happened. I just severely underestimated the time it would take to accomplish this week’s tasks.
Things that I forget take 5 times longer than I think they will.
Like TILING. And BUILDING. And MEASURING. OH MY!
this post contains affiliate links
It’s Week 3 of the JEFFREY COURT RENOVATION CHALLENGE sponsored by FROGTAPE & SINKOLOGY.
All opinions are my own.
In this competition, I am one of 12 design finalists chosen to renovate a space in our home in just 6 weeks!
If you missed previous weeks and need to catch up, head to the WEEK 1, WEEK 2, and WEEK 3 blog posts to read all about it!
don’t forget to vote!!
The winner of this competition is chosen by votes and I need your help!! You can vote once every 24 hours from every device you own!
You can also be reminded to vote by joining the VOTE FOR HAUTE TEXT CLUB!!
Simply text VOTE to 877-649-0816
The voting link will be sent to your phone every morning until 5/16/21.
VOTE HERE
You can also purchase a VOTE FOR HAUTE T-SHIRT to help spread the word on social media during the competition. This is purely for fun and all profits from t-shirt sales will go into a giveaway for more shirts! How fun is that?!? Make sure to follow along on INSTAGRAM for a chance to win a shirt!
Week 4 Update: TILING THE KITCHEN
This week I was giddily excited to host my good friend, Emily (from @MBHOMEDESIGNERS) to help me navigate the tiling process. Emily is a former 2-time Jeffrey Court Renovation Challenge participant and happens to know a thing or two about tiling.
I, on the other hand, DO NOT!
I mean, I thought I could complete 200sq ft of tiling in a weekend…
HAHA!! The joke was on me!

THE Jeffrey Court TILEs
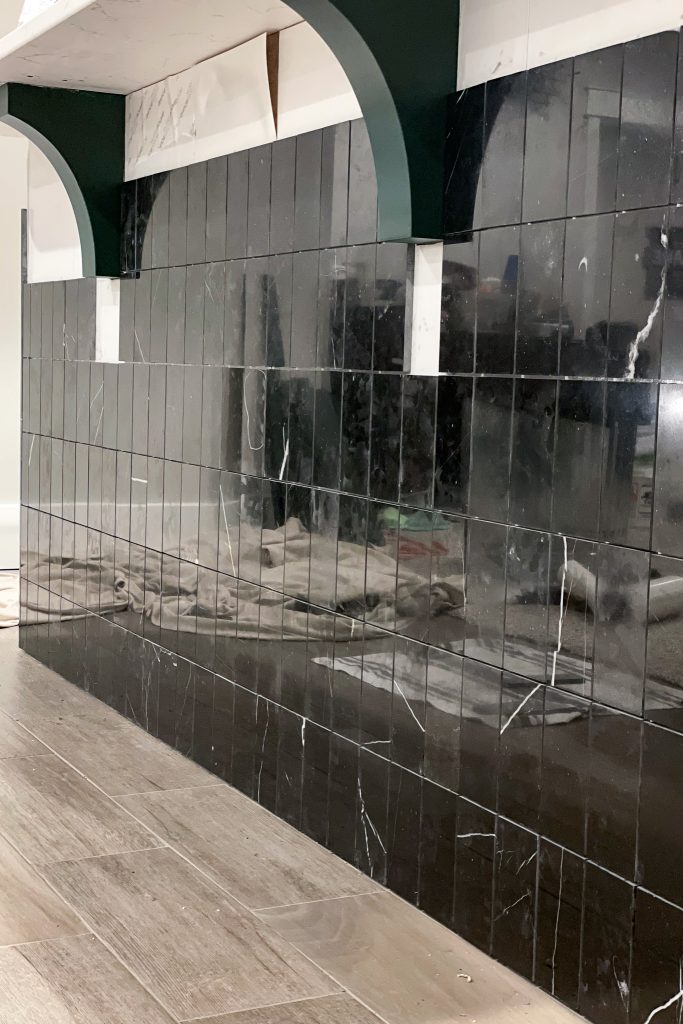
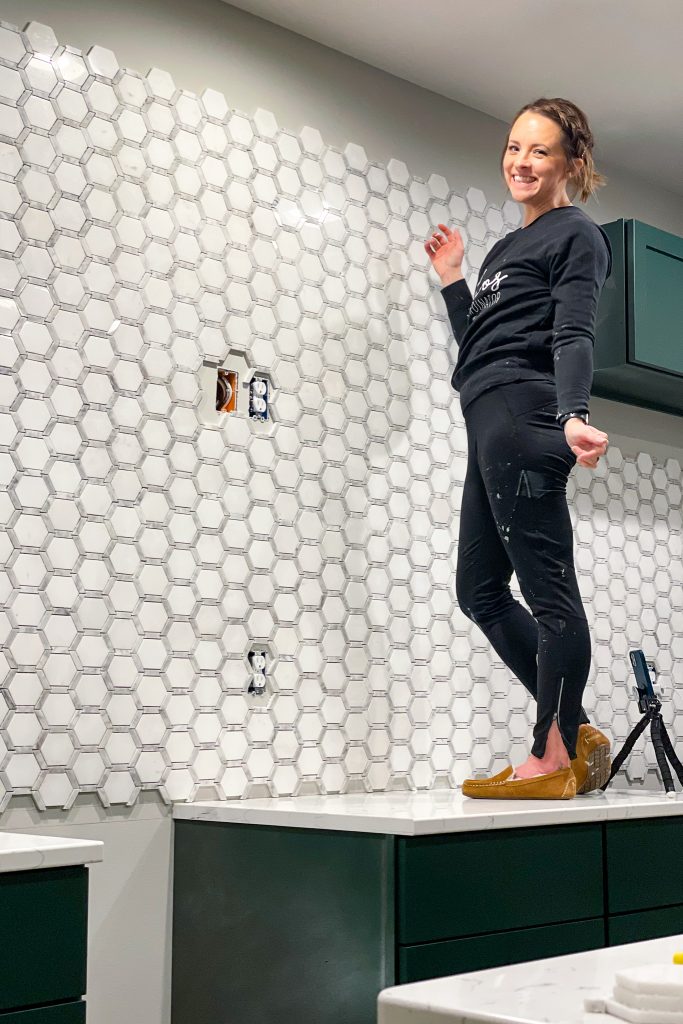
The tile I chose for the kitchen is absolutely stunning. I chose the NORTON WHITE MOSAIC MARBLE TILE as well as the NERO BLACK MARQUINA MARBLE tile from JEFFREY COURT.
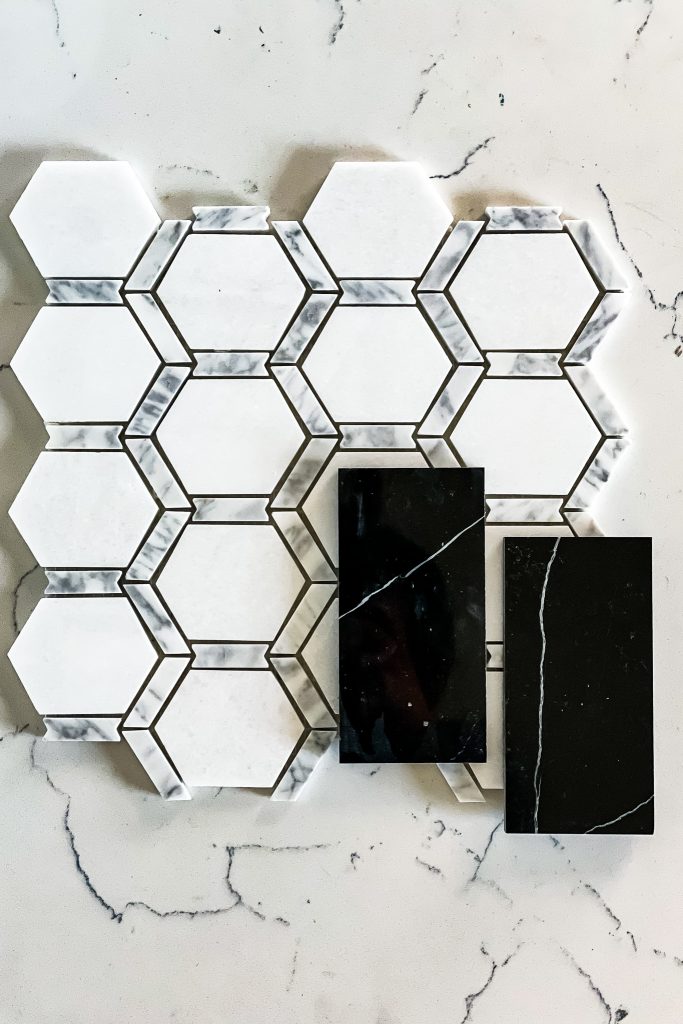
Together they are a beautiful play on the modern eclectic style that I love so much!
I ordered enough of the mosaic tile to cover not only the backsplash of the kitchen but the entire wall above it as well.
The black marble tile will cover the back of the island as well as the inside of the wine nook cabinet. These tiles are 3×6 in size and they will all be laid in a vertical grid pattern.
Jeffrey Court TILEs Install METHODS (PROS & CONS)
Being brand new to tiling. I thought this was the perfect opportunity to try out two different install methods to learn my personal preference.
Trying out traditional mortar was my first go-to. I knew the process would be messier than the alternative but it was worth it to save a little money.
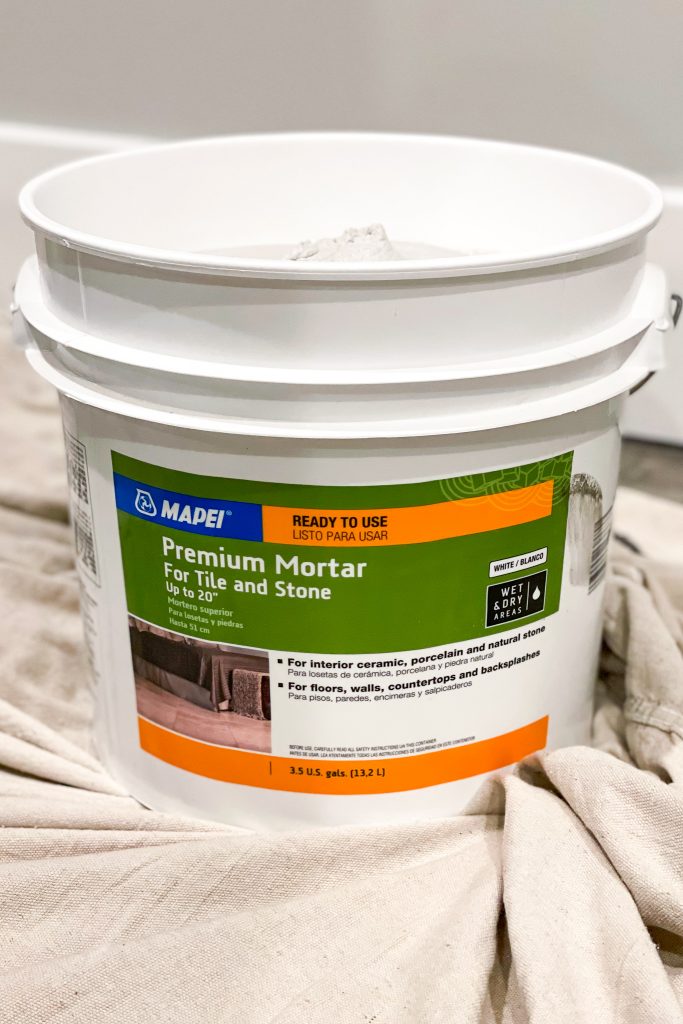
To make it easier still, I purchased PRE-MIXED MORTAR. Pre-mixed is more expensive than powdered mortar but with time on the line, it made more sense to choose the option that would allow me to start immediately.
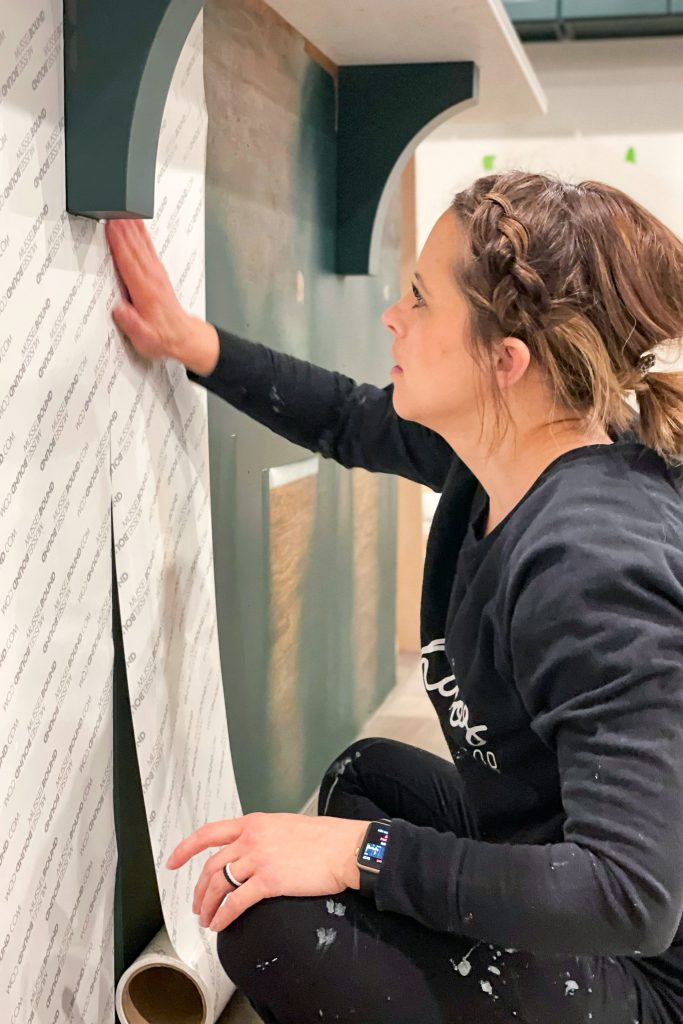
The second option was MUSSELBOUND. I first saw this product when my friend LIZ @withinthegrove tiled her laundry room last fall. It’s essentially a peel and stick product that is applied to the wall as an adhesive backing for the tile.
There is a layer of paper on the front (similar to a sticker) and when peeled off it exposes an adhesive face that the tile is then applied to. Precision is super important in this step because once the tile is on its pretty hard to get back off. (I definitely learned this the hard way)
Jeffrey Court TILEs APPLICATION pROCESSES: PROS & CONS
While I’m definitely no expert, I wanted to share the PROS and CONS that I came across with each product to help you make a more informed decision for which direction to go for your next tile project!
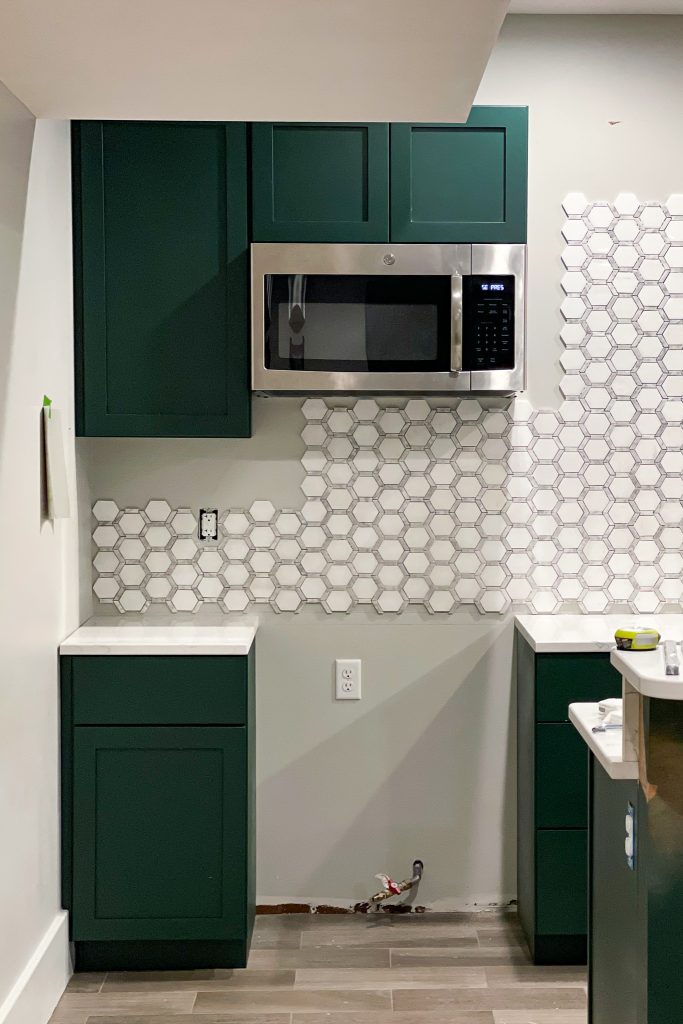
MORTER PROS:
IT’S INEXPENSIVE – I purchased a 3.5-gallon bucket of pre-mixed mortar for around $50. I was able to cover a 6x12ft wall and still had plenty of leftovers! If you want to tile in a way that’s even more budget-friendly, powdered mortar is even cheaper!
IT CAN BE MANIPULATED EASILY – Once I applied the mortar to the tile and the tile to the wall, it was super easy to readjust the tile as needed. This was super helpful when working on the more intricate mosaic pieces.
MORTER CONS:
IT’S MESSY – Similar to painting I made sure to throw on clothes that I didn’t care about. My hands were gross, my workspace had tons of splatters and if I had too much mortar on the grout lines it was a pain to clean up.
IT’S MORE TIME CONSUMING – All of the things that made using mortar messy are what made this choice more time-consuming. The mortar had to be carefully hand buttered on each piece, then there was a lot of stopping in between tiles to clean up. Once the tiles are laid, the mortar then has to sit for 24 hours to cure before grouting can take place.
IT’S HARDER TO START AND STOP – Similar to paint, mortar needs to be closed up when not in use. The trowel will also need to be covered or cleaned. While not a super long process, it’s still an extra step.
THERE ARE EXTRA SUPPLIES NEEDED – This one isn’t a huge con but it does have the potential to be tricky. When using mortar to tile there is the additional expense of a trowel. Trowel size is dependent on the size and type of tile that is being laid, so it’s important to research first to assure the correct size is chosen.
THERE IS THE POTENTIAL FOR SLIDING – Occasionally a tile will slide out of place after being applied to the wall. This doesn’t always happen but if it does it’s important to catch it right away before the mortar begins to set to avoid misalignment.
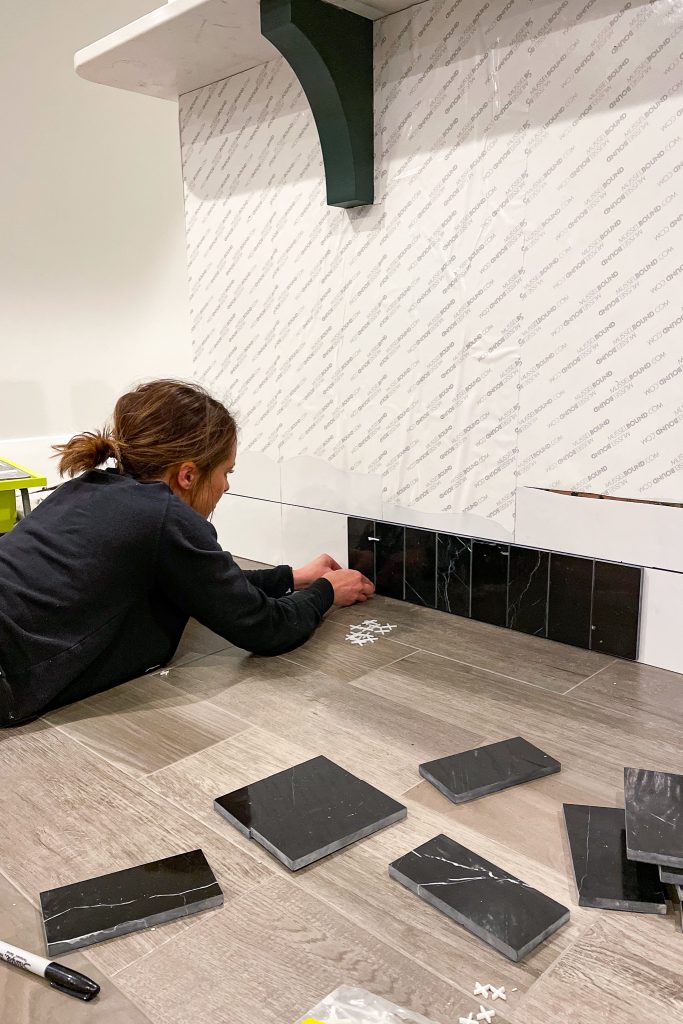
MUSSELBOUND PROS:
PREP IS QUICK – Rolling out MusselBound is a really fast process that only requires a small amount of precision. The rolls are a manageable size and the thickness makes them easy to work with. I rolled out the back of the kitchen island for about 10 minutes and then I was ready to tile!
THERE IS ZERO MESS – Likely the most appealing part for me is the ability to tile with little to no mess. It’s literally peeling the backing and sticking the tile. Simple and straightforward.
THERE IS NO CURE TIME – MusselBound adhesive is activated in 5 seconds by pressing the tile into place. Therefore, there is no wait time required after applying the tile. Grouting can happen right away!
EASY TO START AND STOP – With no mortar or trowel to worry about it’s easy to pick up a tile, line it up, and press it into place. Rinse and Repeat. It’s equally as easy to stop. Just put down the tile and walk away when needed.
FEWER SPACERS ARE NEEDED – This isn’t a huge deal because spacers aren’t that expensive, but I find that I could use the same spacers over and over! Once a tile is set it’s done needing the spacer. I just popped them out and used them on the next tile.
MUSSELBOUND CONS:
IT’S MORE EXPENSIVE – Without a doubt, MusselBound is the more expensive option. At $23-30/ 15 sq feet, it can definitely add up quickly. I would recommend saving my using mortar on larger areas then saving the MusselBound for small areas or spaces that need to be done quickly.
IT’S HARDER TO MANIPULATE – Unlike mortar, it’s extremely challenging to shift a tile that has been placed in the wrong spot. The adhesive is extremely sticky and once the tile is on it’s ON GOOD. I did have luck prying a few pieces off with a flat head screwdriver, but I definitely recommend working slowly and precisely to assure accurate placement.
THERE IS LESS ROOM FOR ERROR – Going along with the previous statement, there is definitely less room for mistakes when using MusselBound. If a tile truly gets placed wrong there is a good chance that the MusselBound will need to be torn up with it. This is risky because it’s basically like throwing money down the drain if a mistake happens. MusselBound isn’t salvageable.
There you go! My first-timer opinion on tile adhesion products. Overall I really enjoyed both processes and think they both have a place in a tile project. Likely, when I tile again I will use mortar for larger areas and MusselBound for smaller areas for the money savings alone. Although, in the end, it was MusselBound that made the whole process go faster.
If you are enjoying my content make sure to subscribe to my blog and follow me on Instagram for all of the step-by-step tutorials and the reveal of this project that is just two short weeks away!!
My goals for last two weeks:
Week 5: Finish Tiling, Complete ALL grouting & finish building the wine nook. Hang the open shelving!
Week 6: Install new sink/faucet, Install cabinet hardware, paint the walls & add finishing touches!
Can I do it?!? I’m starting to feel pretty anxious about my timeline but luckily I thrive under pressure.
See you next week!!


