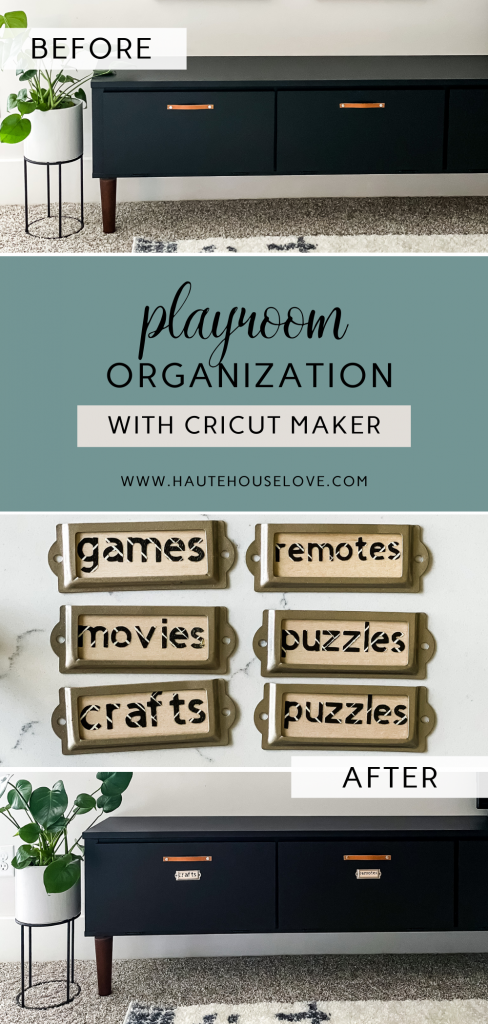
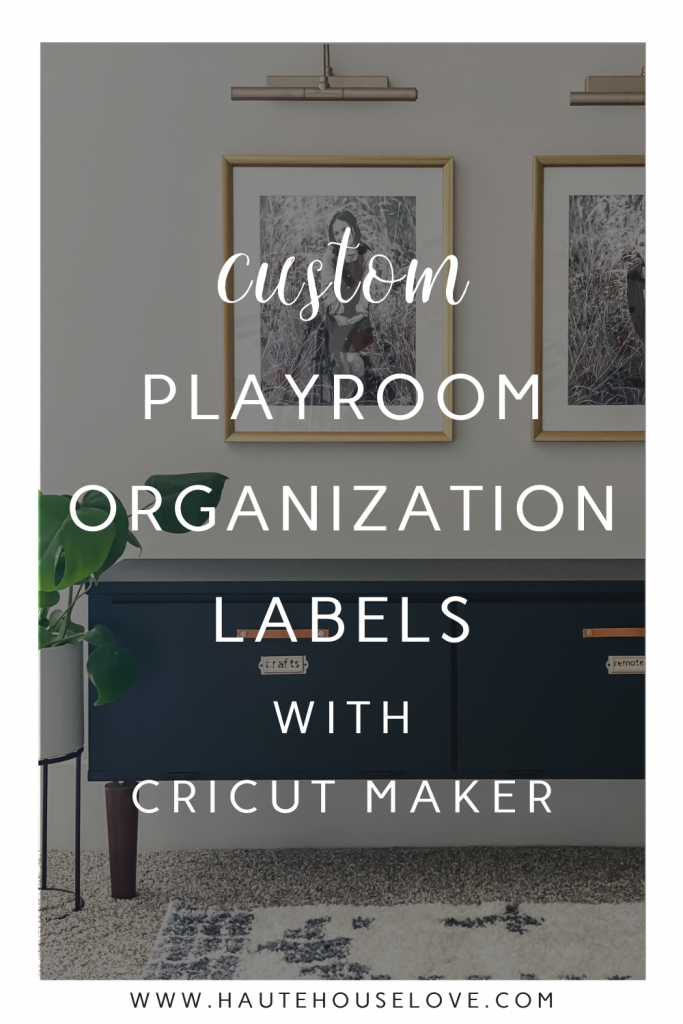
How To Create Playroom Organization With Cricut Maker
Create clever playroom organization ideas with Cricut Maker using this simple “how to” wood label tutorial for beginners.
Playroom Organization With Cricut®
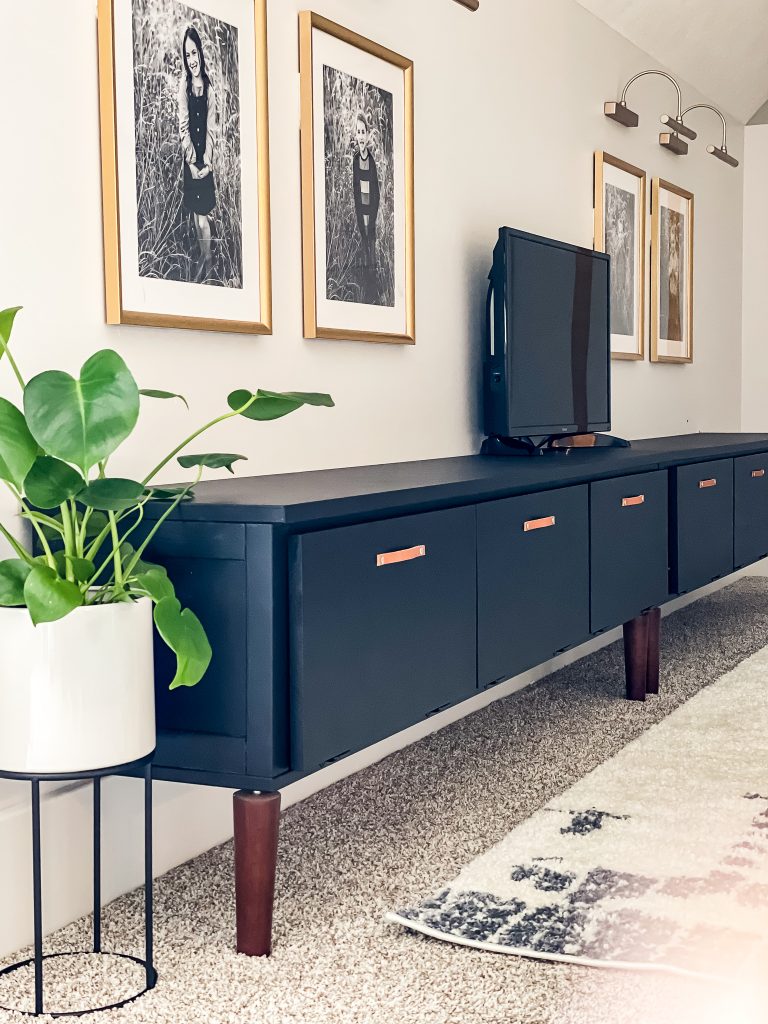
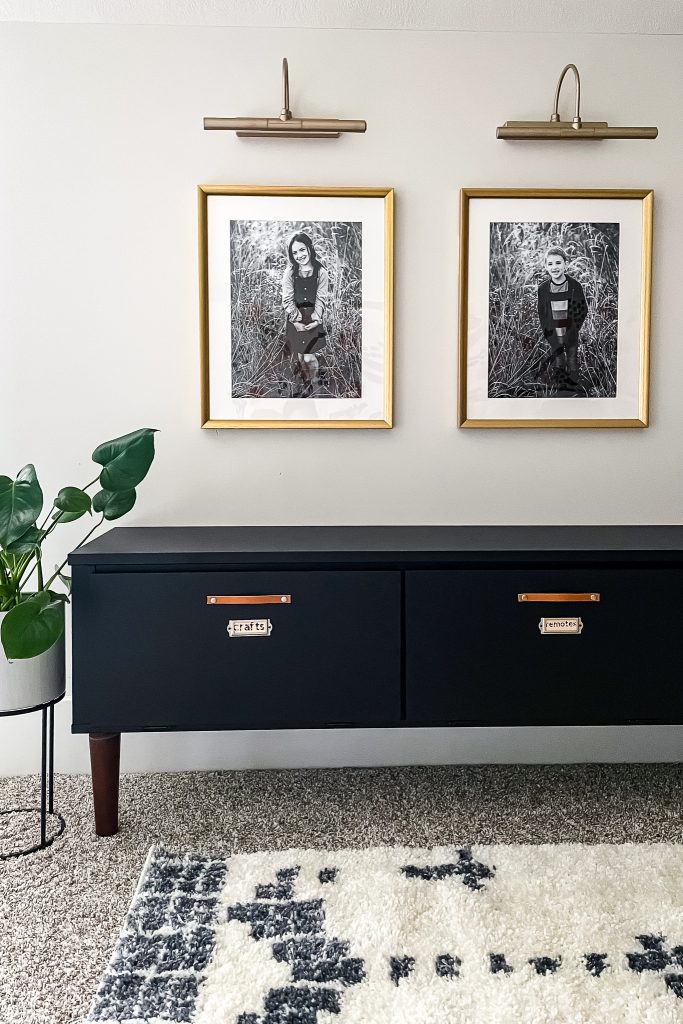
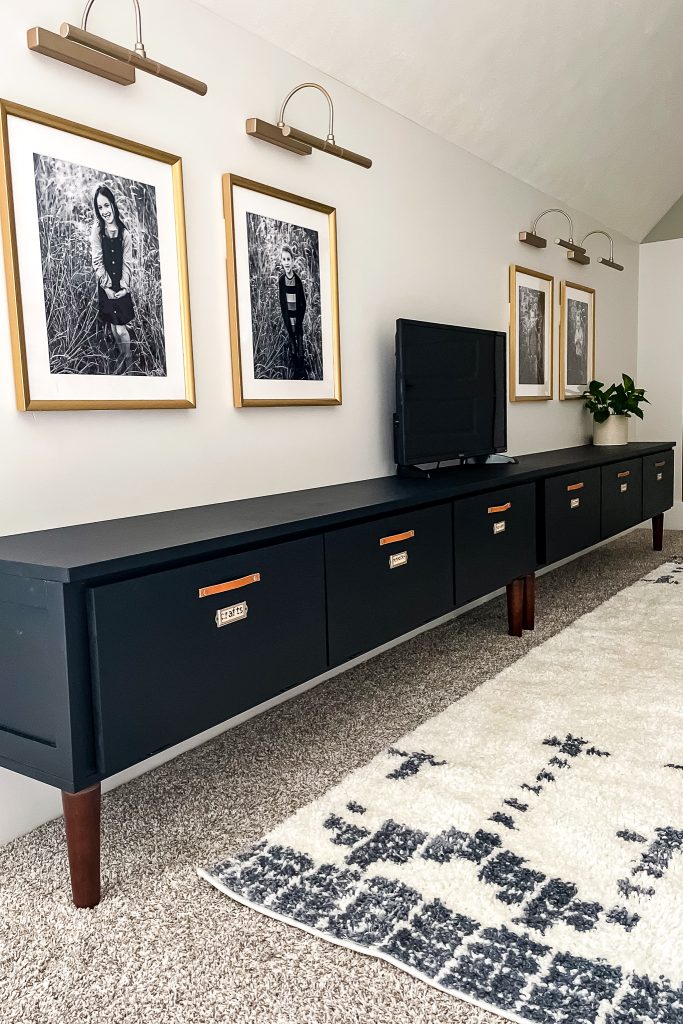
About a month ago I created a BUILT IN STORAGE CABINET for our playroom! I immediately received multiple requests to share how I was planning to organize and label the cabinet.
You guys know me so well!
Since the cabinet is enclosed with custom cabinet doors I wanted to come up with a clever project idea that looked like it was a part of the cabinet.
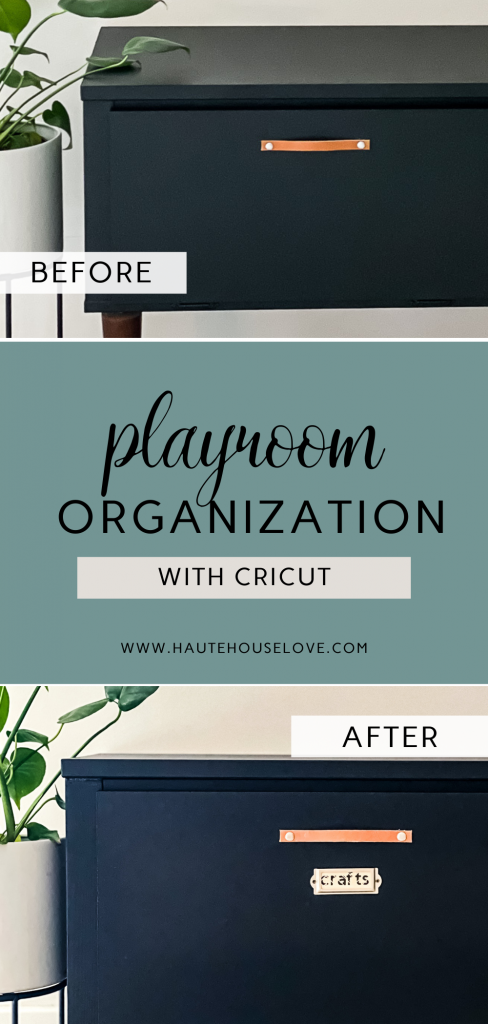
I decided to create a wood label with my brand new Cricut® Maker!
Disclosure: This post is sponsored by Official Cricut and contains affiliate links. All opinions are my own.
[convertkit form=2172100]
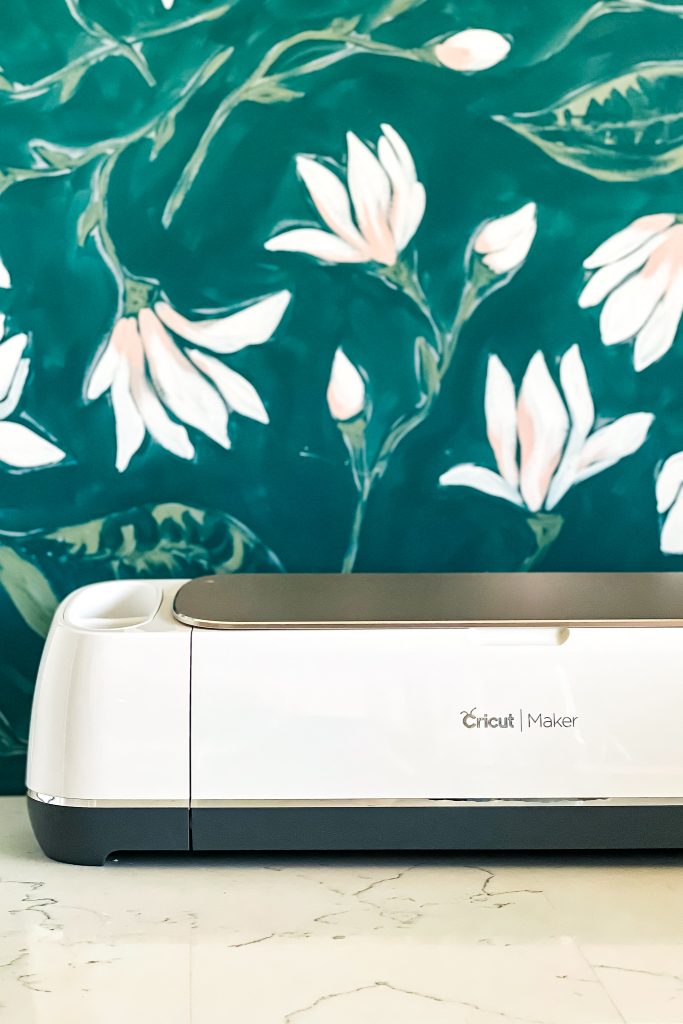
About Cricut® Maker & Smart Materials
The CRICUT® MAKER is the strongest of all of the Cricut® Machines with the ability to cut 300+ materials with exceptional precision. It’s cutting power is 10x greater than other Cricut® machines. From leather and wood to delicate fabrics, the creative possibilities are endless with Cricut® Maker.
Cricut® Maker has the highest number of tools available out of any Cricut® machine, with more on the way. Tools include the ability to cut, score, write and add a vast amount of decorative elements.
Cricut® Maker comes in 5 different colors and contains a large amount of built in storage.
LEARN MORE ABOUT CRICUT® MAKER
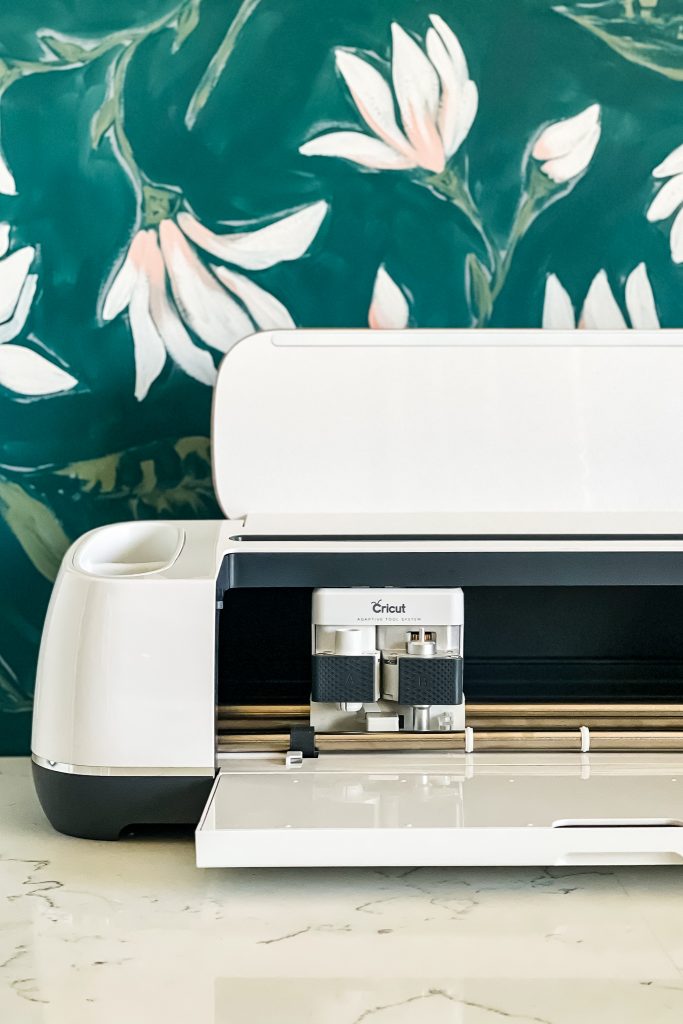

CRICUT® MAKER TOOLS
Cricut® Maker has over 12 varieties of BLADES AND TOOLS in its lineup.
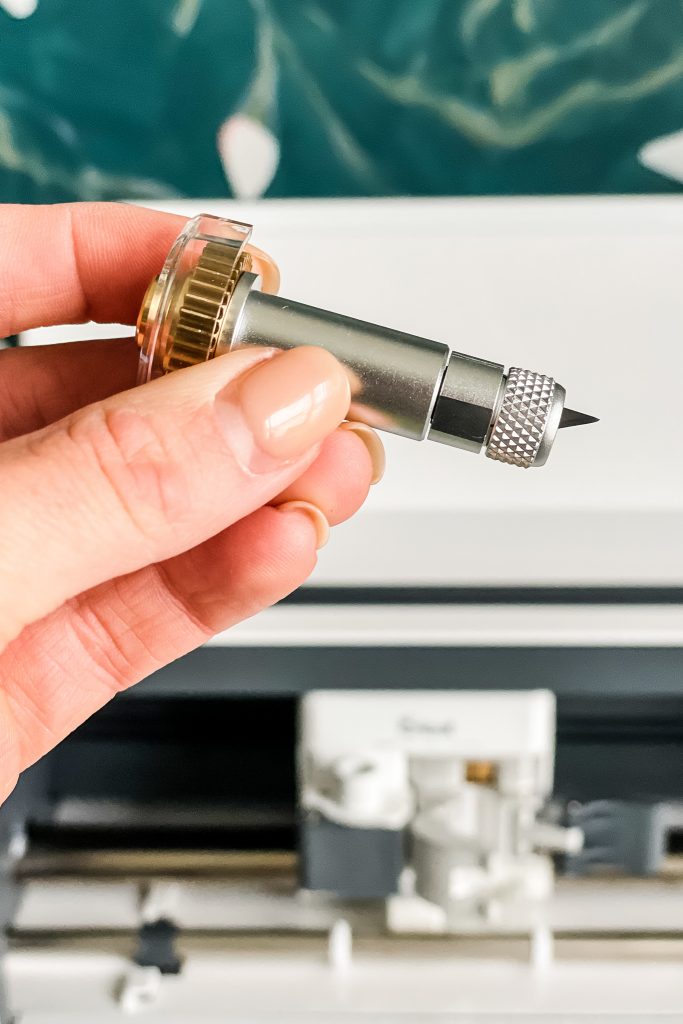
The most impressive tool by far is the KNIFE BLADE, which cuts through thick, compressed material such as basswood and leather up to 2.4mm in thickness.

Honorable mention goes to the rotary blade, fine-point blade and a variety of pens and markers.
There is also a large line of specialty tools for foil transfer, debossing, engraving and more.
CRICUT SMART MATERIALS™
What are SMART MATERIALS™? Cricut SMART MATERIALS™ are a line of vinyl, iron on and writing paper that allows cutting without the use of a mat. This allows for greater cutting ability and less size restriction.
SMART MATERIALS™ can cut individual shapes up to 4.5″ wide and 48″ long and repeat shapes up to 20ft long. All other materials would be restricted by the size of the mat used.
The backing of SMART MATERIALS™ prevents the slipping that would result from using non-smart materials without a mat.
FIND A VARIETY OF CRICUT SMART MATERIALS™ HERE
LEARN MORE ABOUT SMART MATERIALS™ HERE
PLAYROOM ORGANIZATION WITH CRICUT®
Now that you know a little more about the CRICUT MAKER and SMART MATERIALS™, lets organize the playroom cabinet!
If you follow along on INSTAGTRAM, you know I’m a sucker for a good organization project. In fact, I have several tips that help me to have a MORE ORGANIZED HOME.
In the post 7 HOME ORGANIZING MISTAKES YOU ARE MAKING RIGHT NOW, I share that the key to organization maintenance is labeling.
Unfortunately, this important step is forgotten more often than not. Even in my own home!!
Organization with cricut® Project Materials
When it came to the playroom cabinet, I wanted something that looked like it was a part of the cabinet door.
I found METAL LABEL HOLDERS, which seemed like the perfect solution.
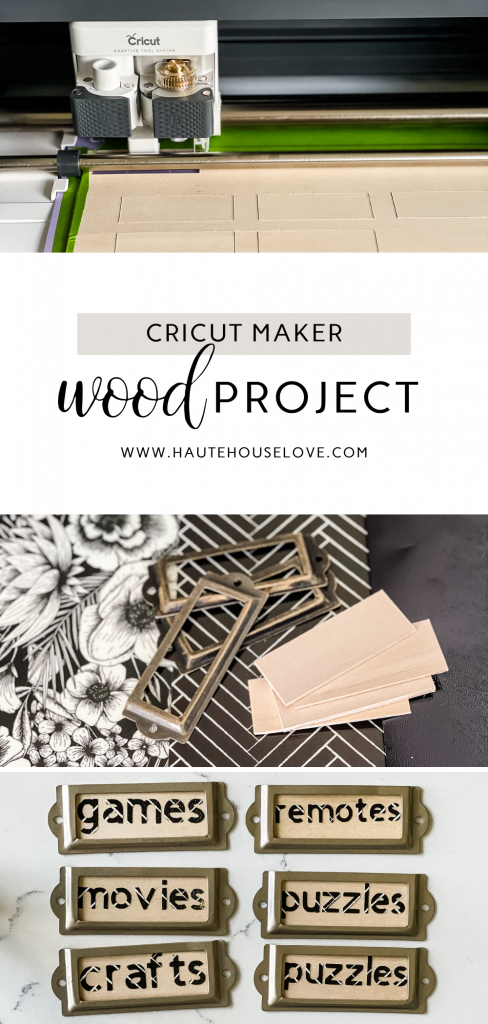
Knowing I could use the CRICUT® MAKER and KNIFE BLADE cut wood pieces, I also purchased a pack of CRICUT® BASSWOOD.
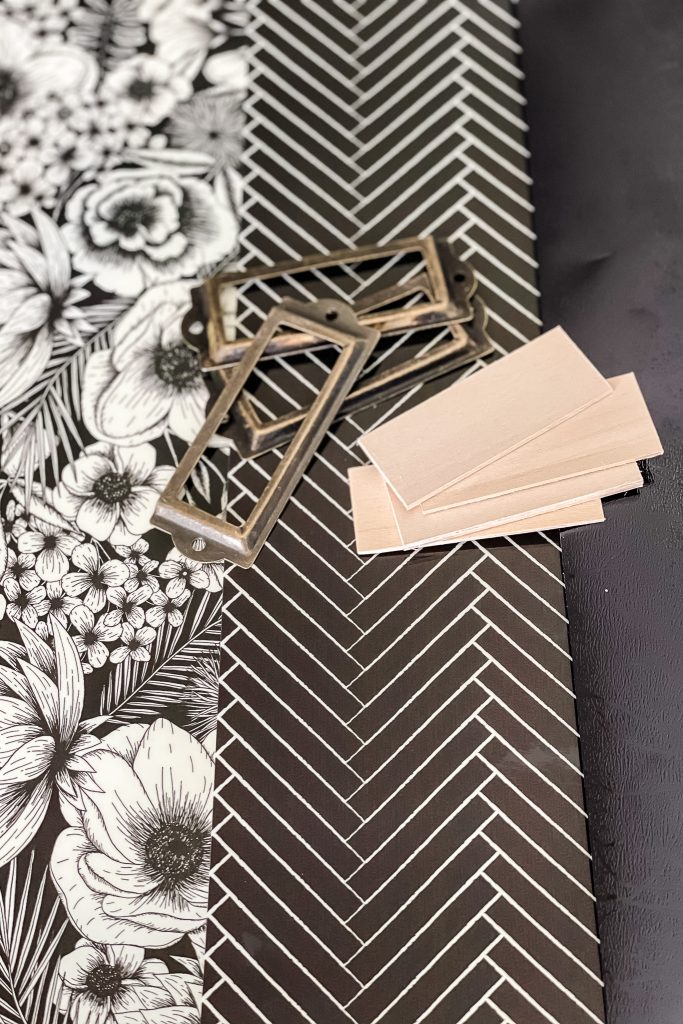
Add a pack of CRICUT® PATTERN IRON ON SAMPLER B & W BOTANICAL and I was ready to create!
Other necessary tools/materials: CRICUT® EASY PRESS (or an iron), CRICUT® EASY PRESS MAT, CRICUT® ESSENTIAL TOOLS KIT, CRICUT® CUTTING MAT SET, PAINTERS TAPE, SPRAY PAINT, LASER LEVEL, DRILL

Cricut® project steps
(note: I already had the Cricut® software downloaded on my computer. If you don’t have it downloaded, be sure to do that step first)
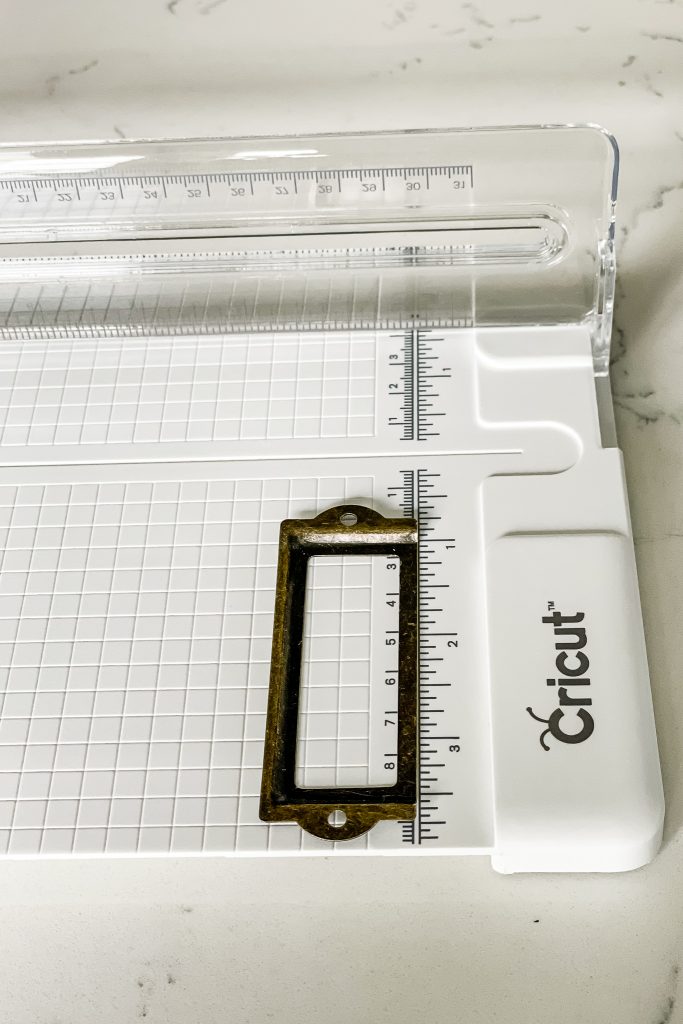
Step 1: Measure
Before I could cut anything I needed to figure out the measurements for the wood pieces. I used the Cricut® ruler and decided on a measurement of 2.5″x1″.
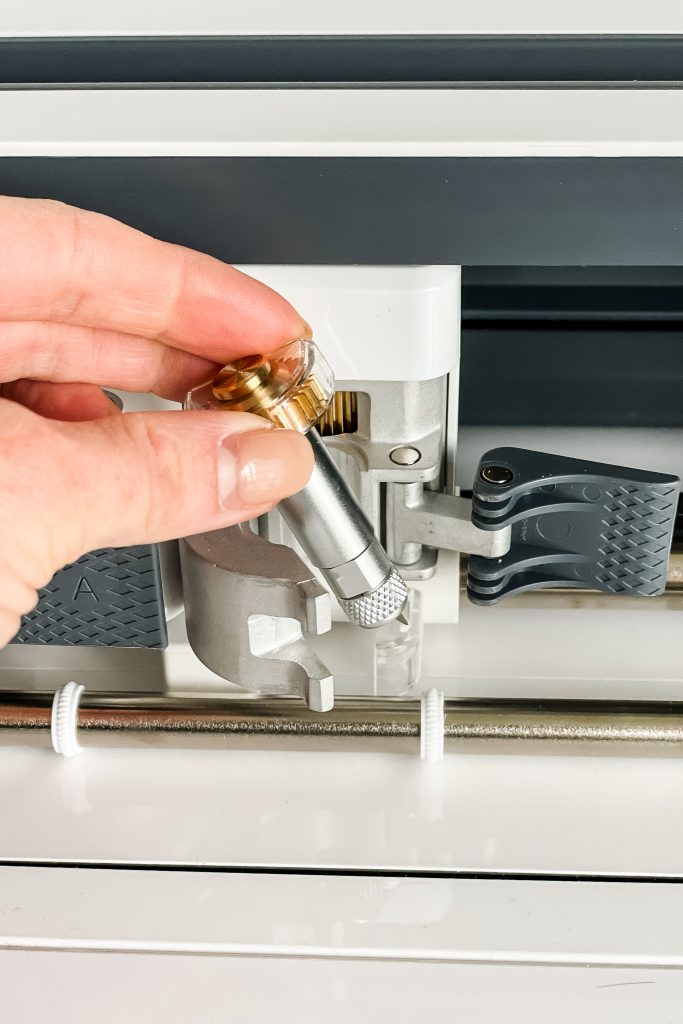
Step 2: Insert & Calibrate the Knife Blade
Inserting the knife blade was very simple. I just unlocked the blade holder, slide in the knife blade, then closed it up.
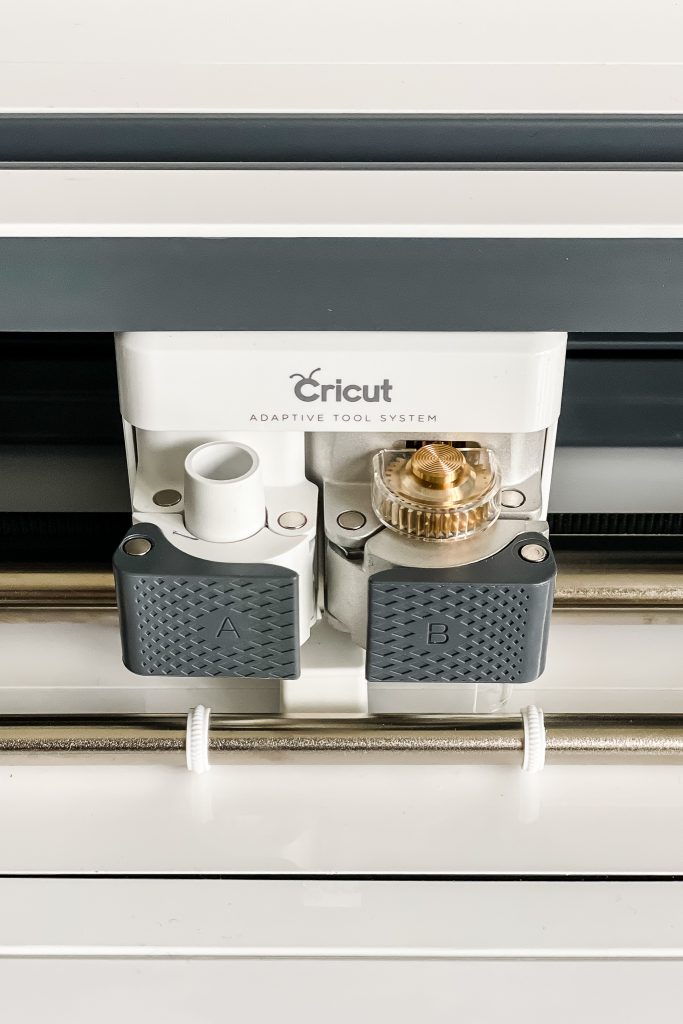
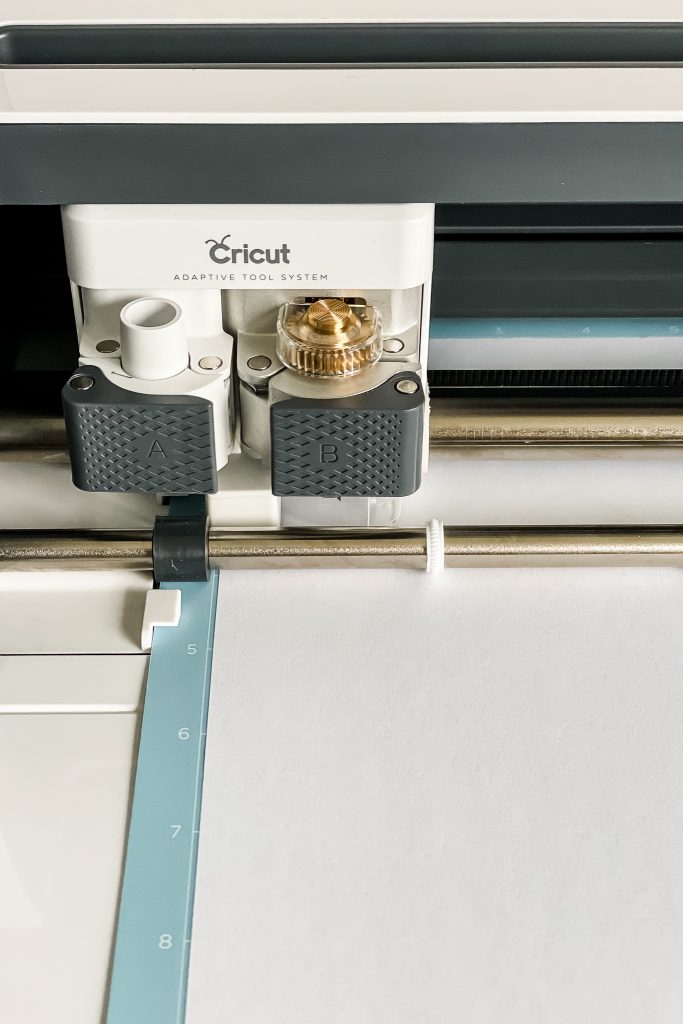
Every time the knife blade is inserted the Cricut® software will recommend calibrating the blade. The process is quick, simple and noted step by step right in the software. The only material I needed was a blank sheet of computer paper.
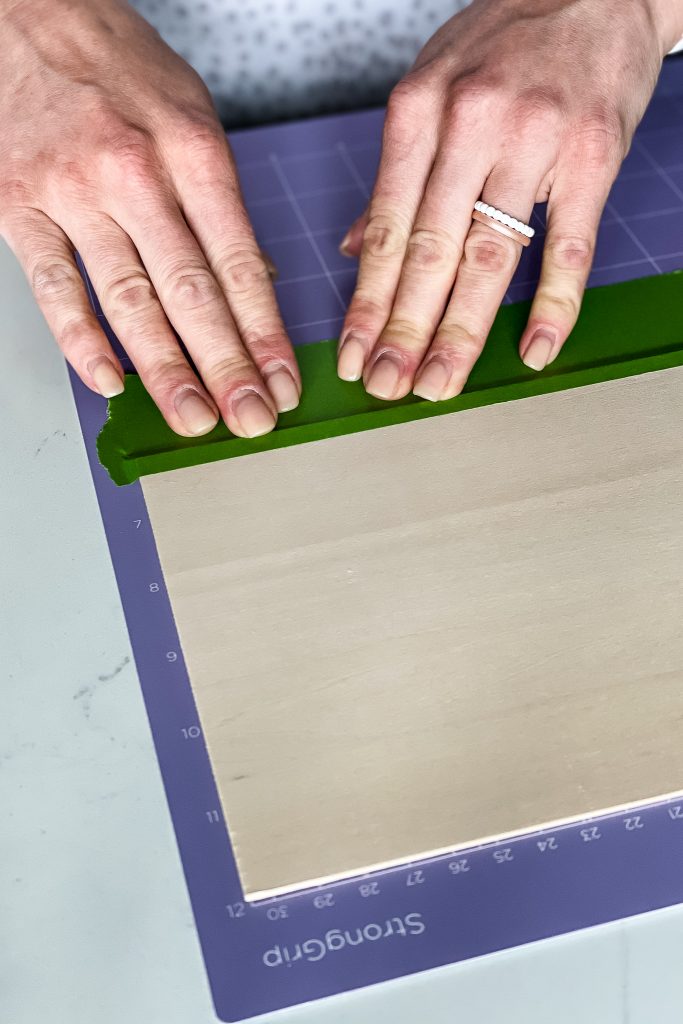
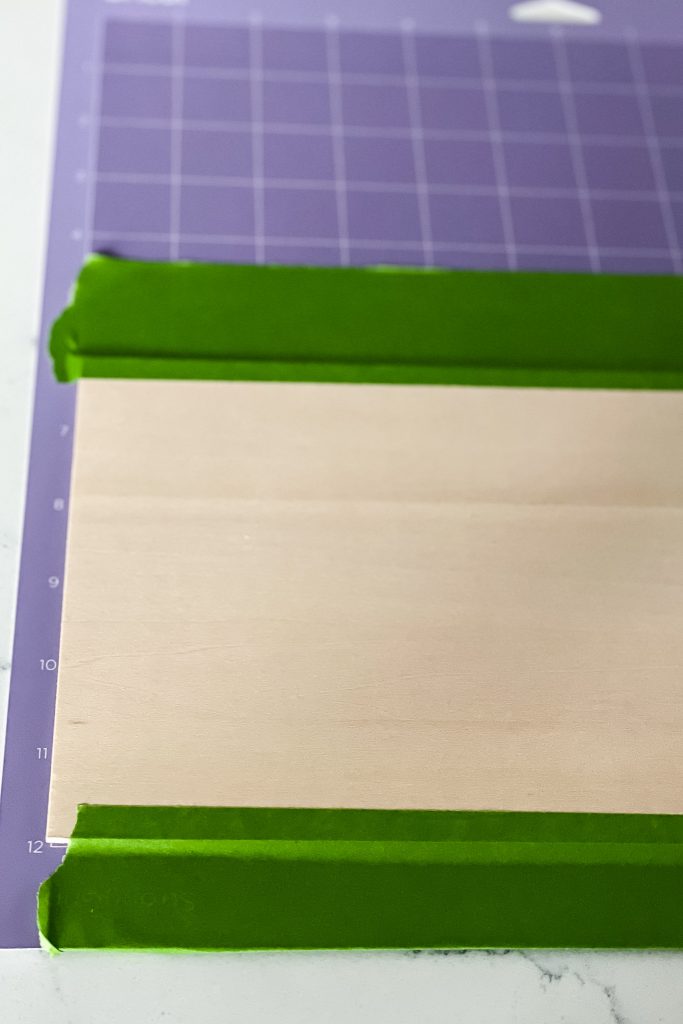
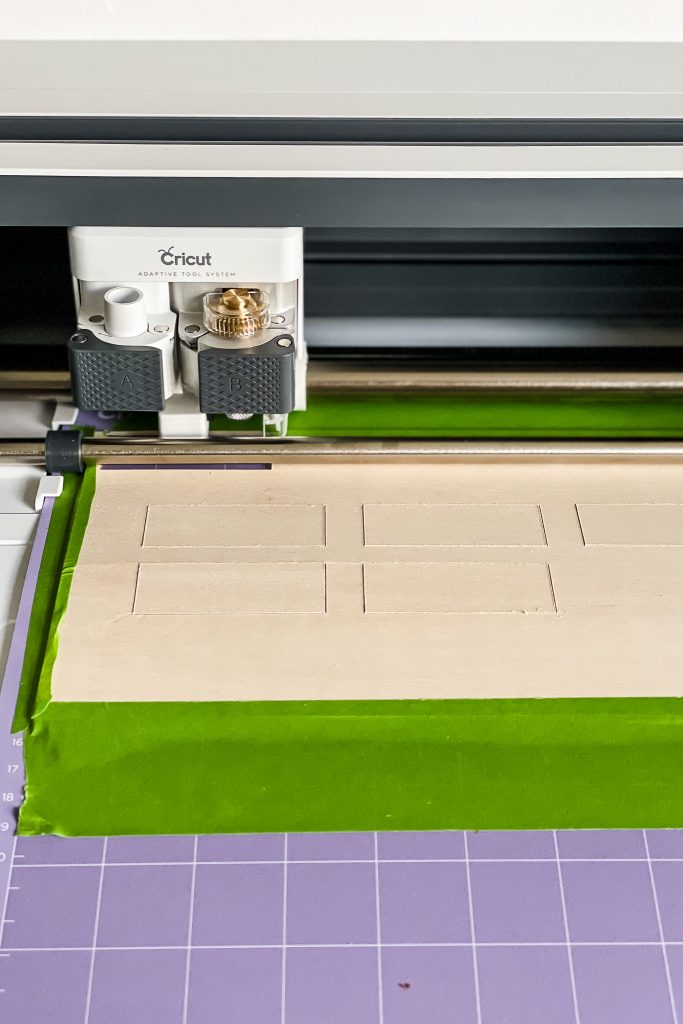
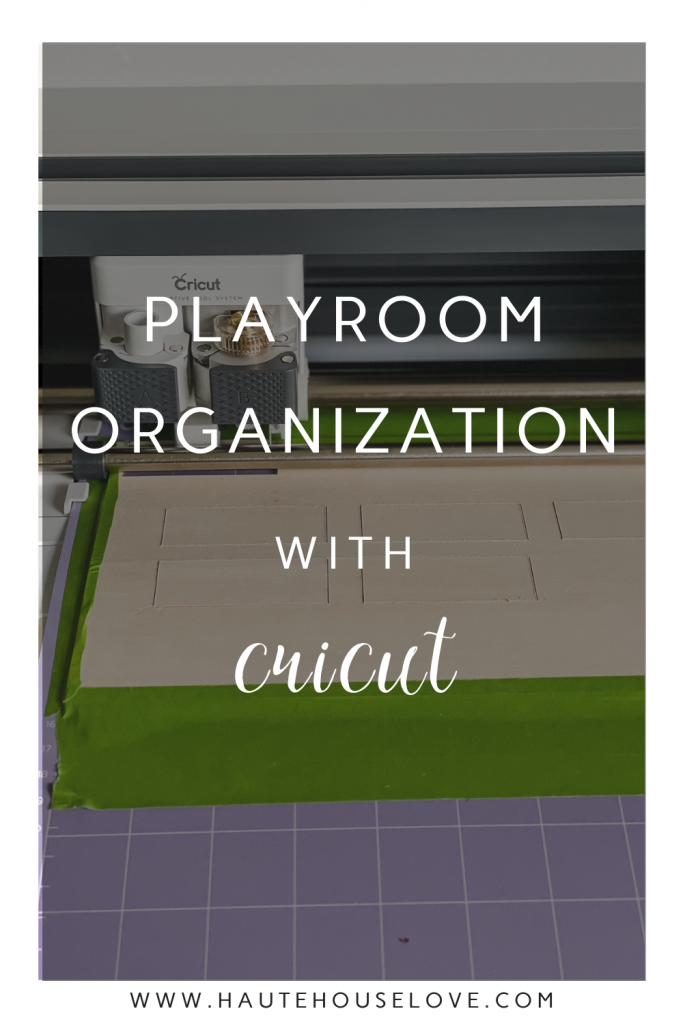
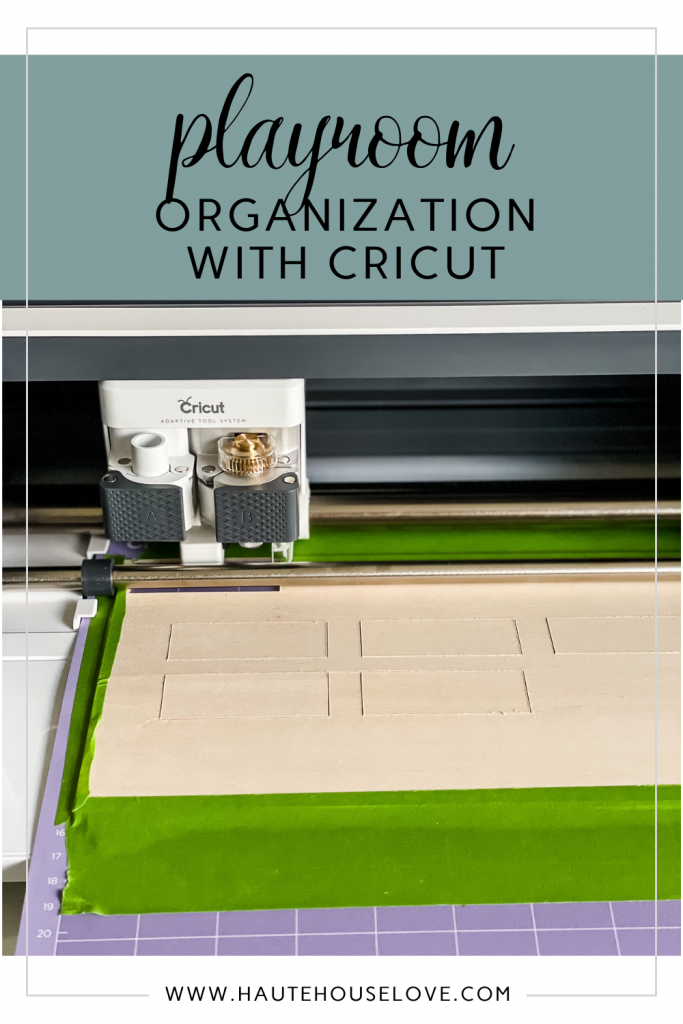
step 3: Tape basswood to the strongGRIP (purple) cutting mat
It is highly recommended to use painters tape to tape wood material to the cutting mat. This helps to avoid shifting during the cutting process.
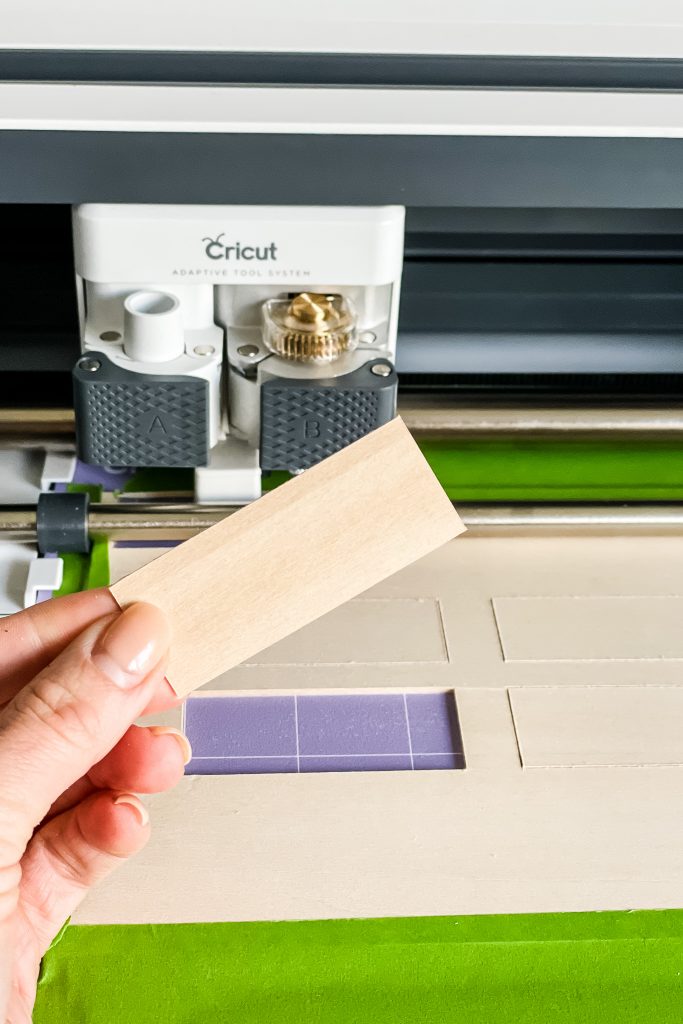
STEP 4: DESIGN AND CUT OUT WOOD SHAPE
I created a 2.5×1″ rectangle in the Cricut® software and gave it a test cut. Somehow it worked out perfectly the very first time (which never happens, right)
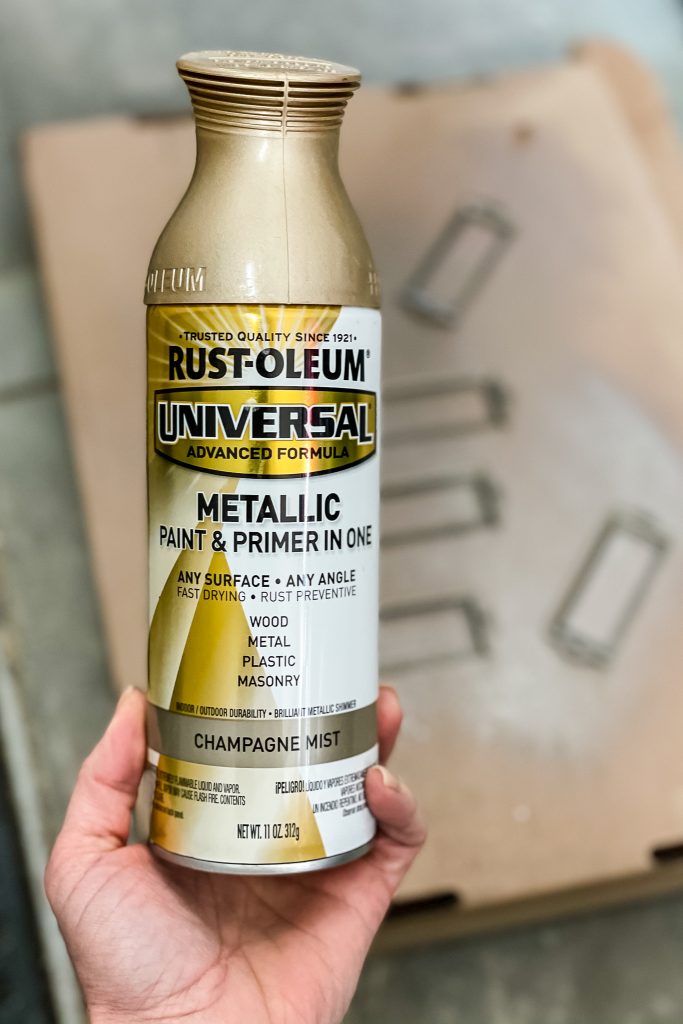
Step 5: Spray Paint (optional)
I wanted the metal label holders to coordinate with the room I was installing them in, so I decided to spray paint them.
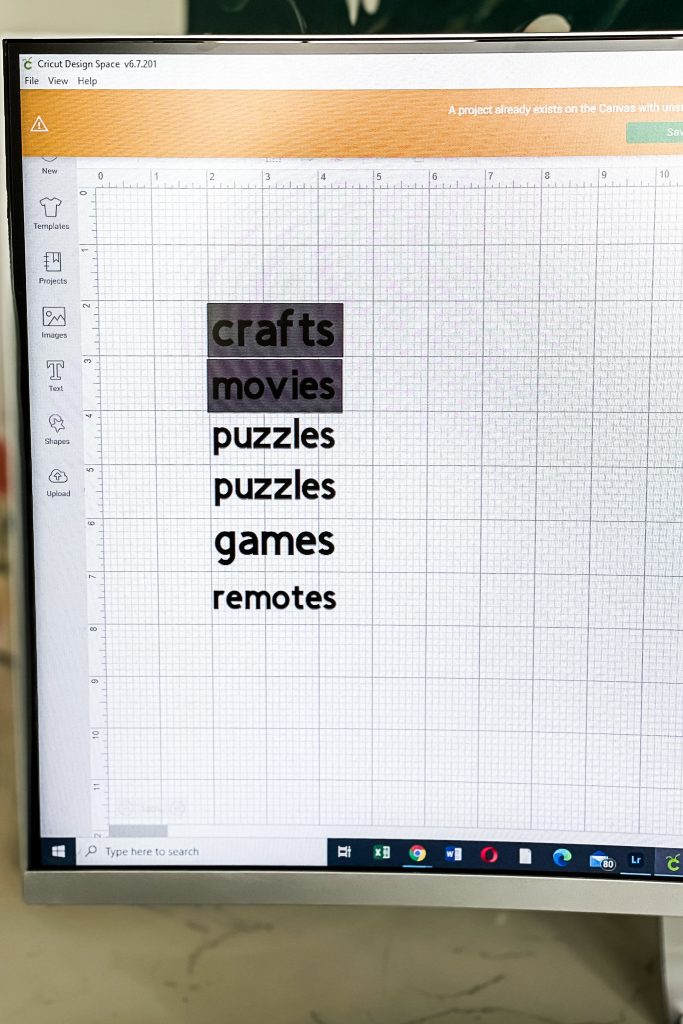
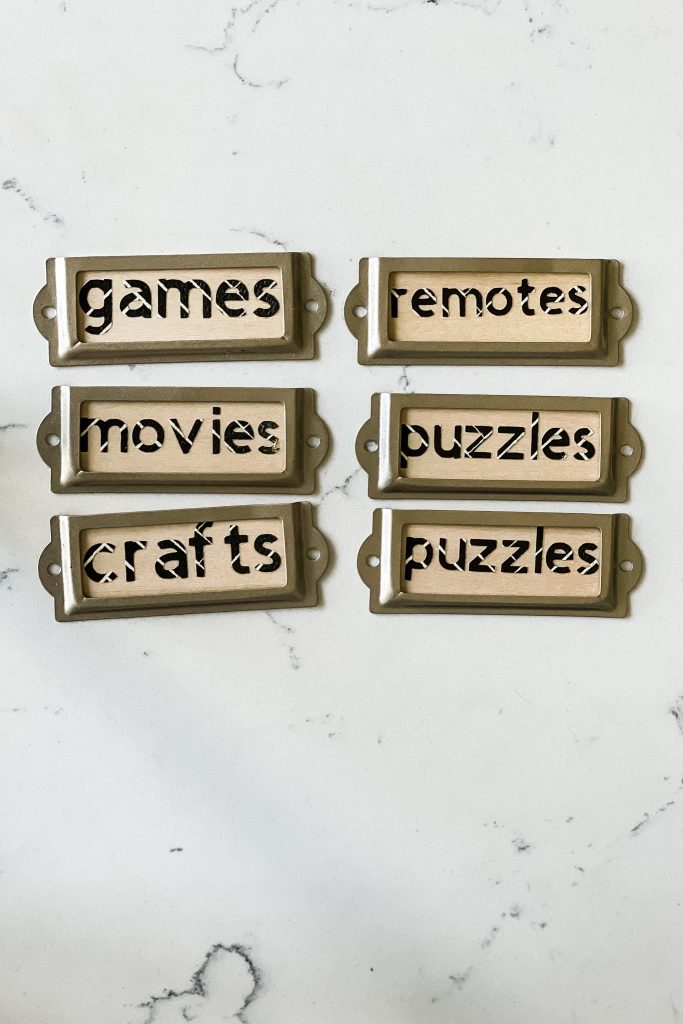
Step 6: Create the word labels
While the paint dried I designed and printed the word labels for the wood pieces.
During the design process I made sure each label would fit inside the rectangle wood piece with a little room to spare.
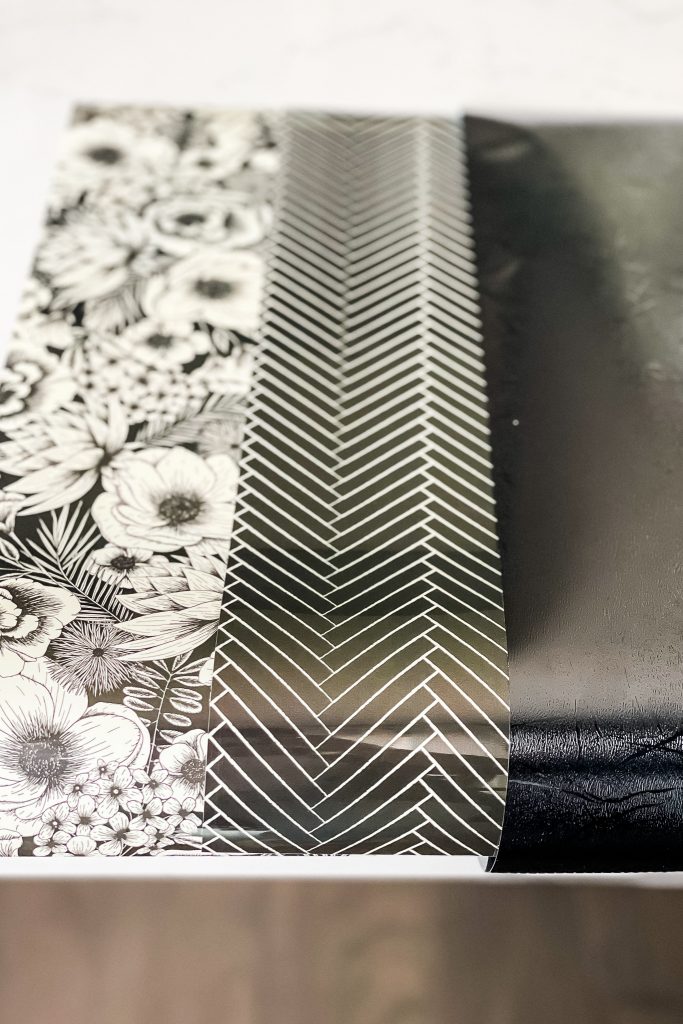
Next, I test printed the words onto three types of iron-on to determine which pattern I liked the best.
The black herringbone was the winner!
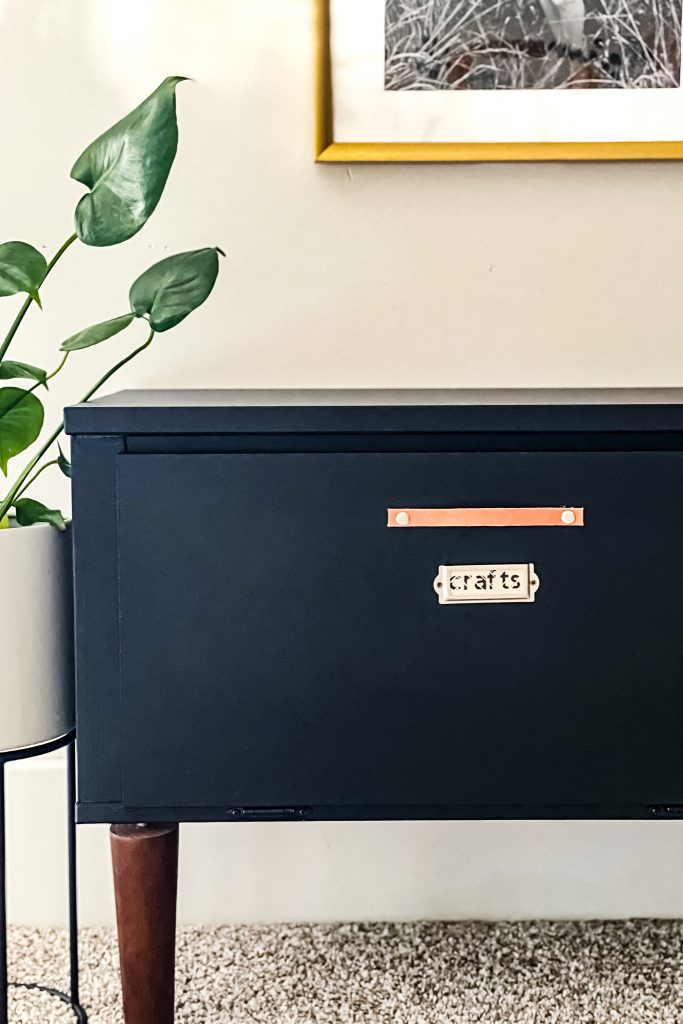
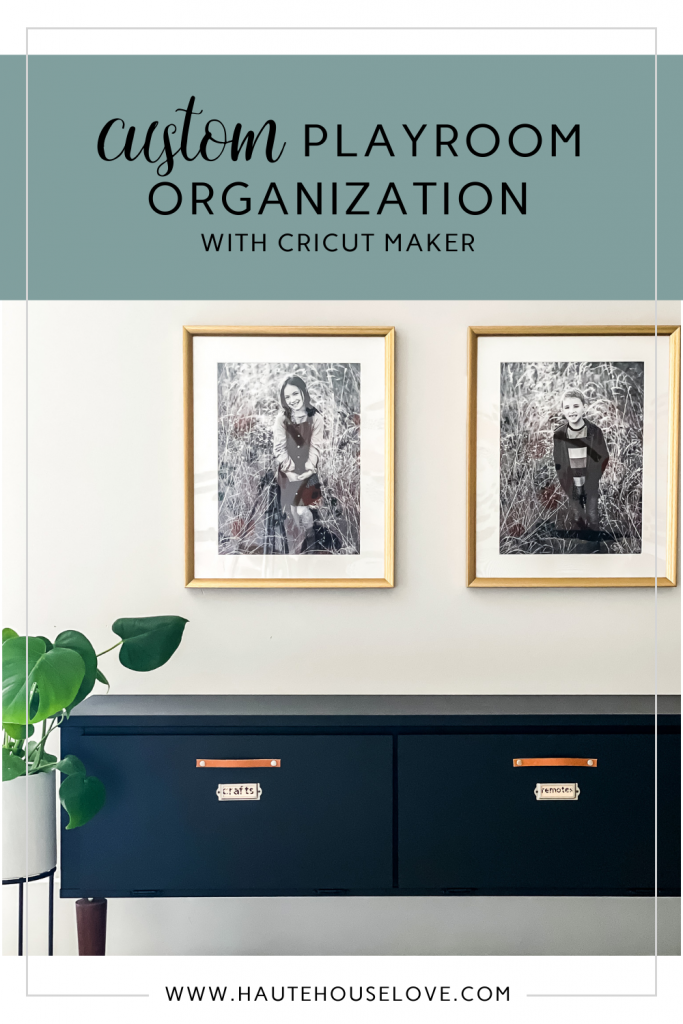
step 7: install
The final step is install! I used a laser level to mark my height across the cabinet, then used a drill and screws (that came with the label holders) to attach the label holders to the cabinet fronts.
Once installed the wood labels slid right into place!
Cute, Right?!??
I would LOVE to know if this project has inspired you to create a simple organization project with your CRICUT® MAKER! Please leave a comment if you try it and make sure to subscribe to my email list if you want to see more of my content!!
HAPPY ORGANIZING!!
[convertkit form=2172100]
The Comments
Nathan Torres
Thanks for the high quality and results-oriented help. I won’t think twice to endorse your blog post to anybody who wants and needs support about this area.
https://us-cricut.com/setup/