If you had told me a year ago that 2020 would be the year I became a new houseplant mama, I likely would have laughed at you.
Sure, it was always a dream of mine to be able to grow big, beautiful plants. However, my outdoor plant thumb had a track record of being terribly black.
Besides, after having 4 kids in under 7 years I was already struggling to keep my head above water. Making sure the kids were alive and well felt like a task enough.
I couldn’t imagine having responsibility over ONE. MORE. LIVING. THING.
And then something miraculous happened.
My youngest turned two.
And. Suddenly.
I FELT READY FOR ANOTHER BABY.
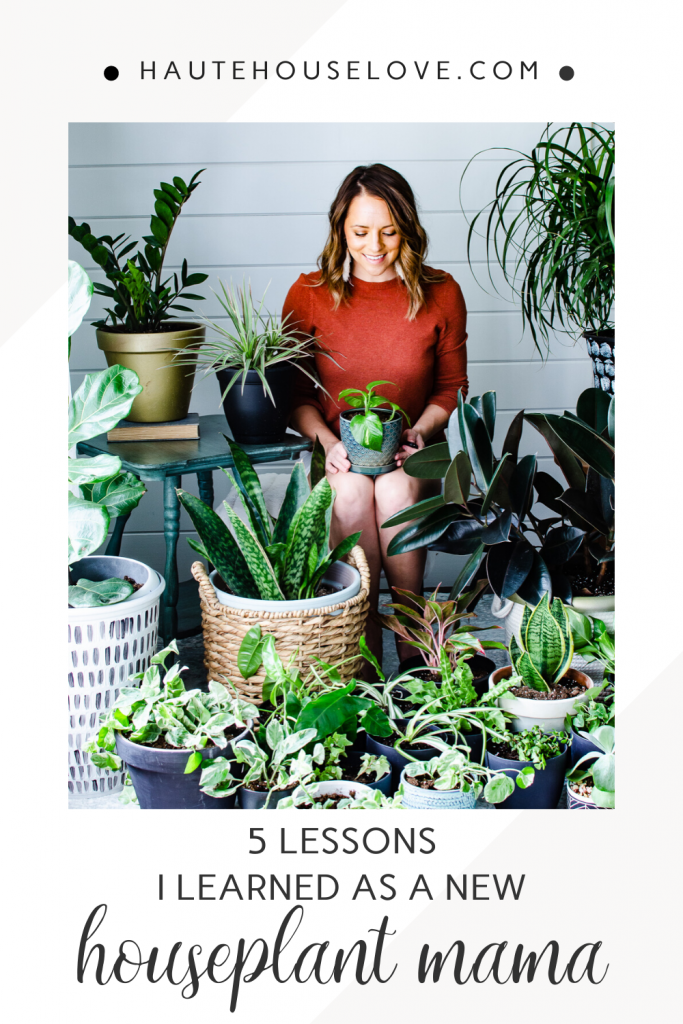
If you are new here, Hi! I’m Kera. I am a blogger, home stylist and mom of 4. I have a colorful, collected eclectic style with pops of modern vintage and boho farmhouse. If you enjoy my content I would love to connect with you on Instagram where I share my daily projects and home inspiration!
Now Back To This BABY Thing
In the spring of 2020 I had the urge for another baby. But not of the human kind. Or EVEN of the animal kind.
If I was going to do this, I needed something low maintenance.
I couldn’t tell you if it was sentiment for the time of year. Or the fact that my heart favors green in the spring.
But around Mothers Day 2020, I decided it was time to take my first leaping risk. At HOUSEPLANTS.
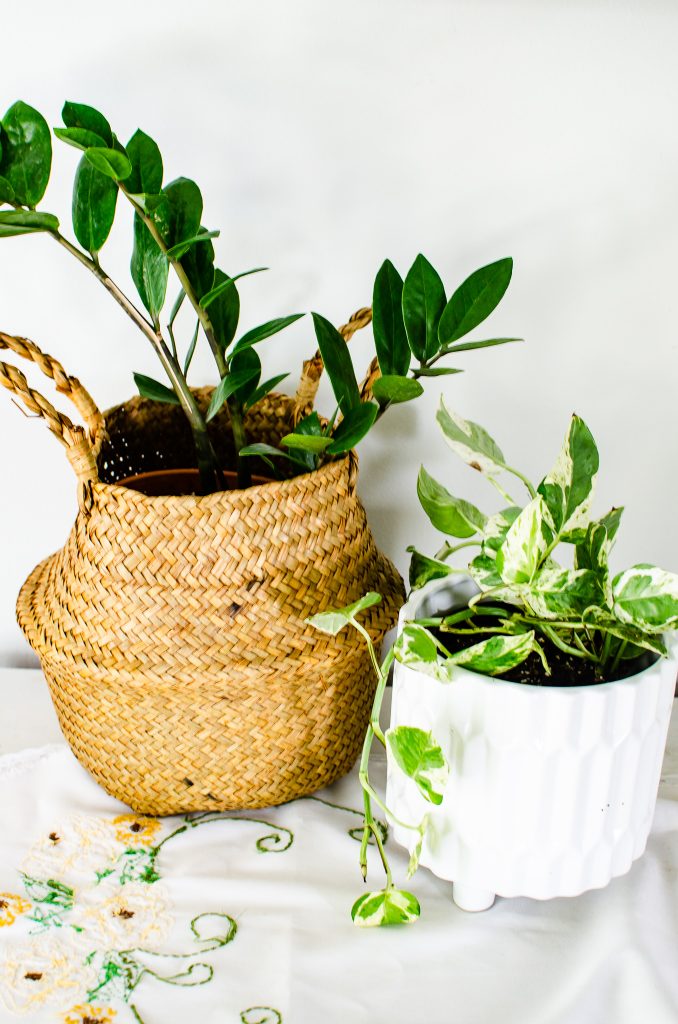
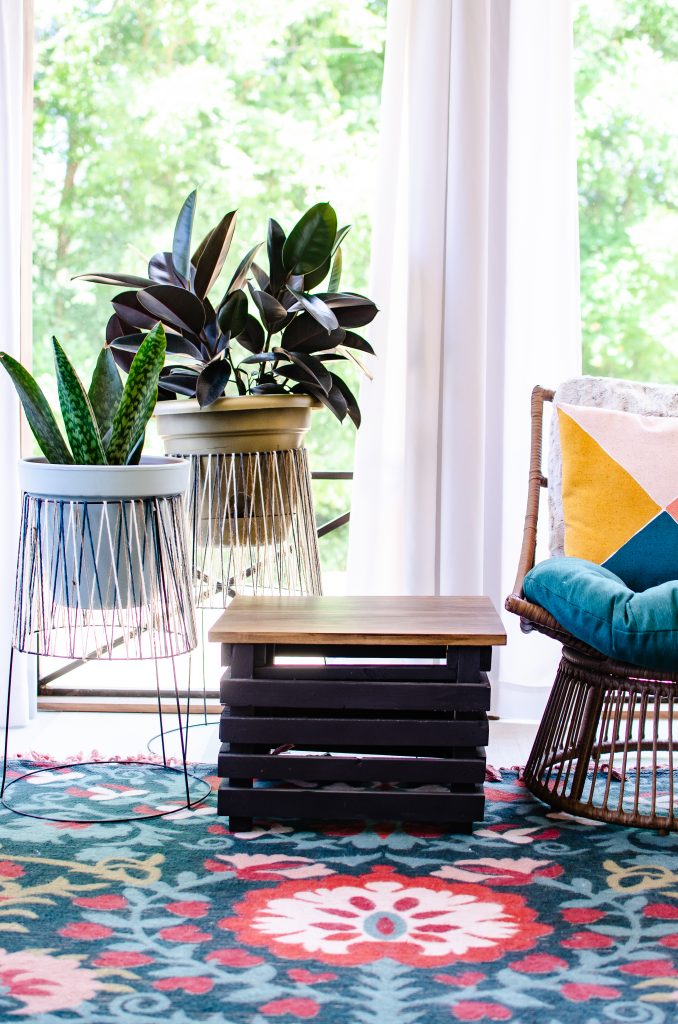
Meet Phoenix (left) and Chloe (right). My first houseplant babies.
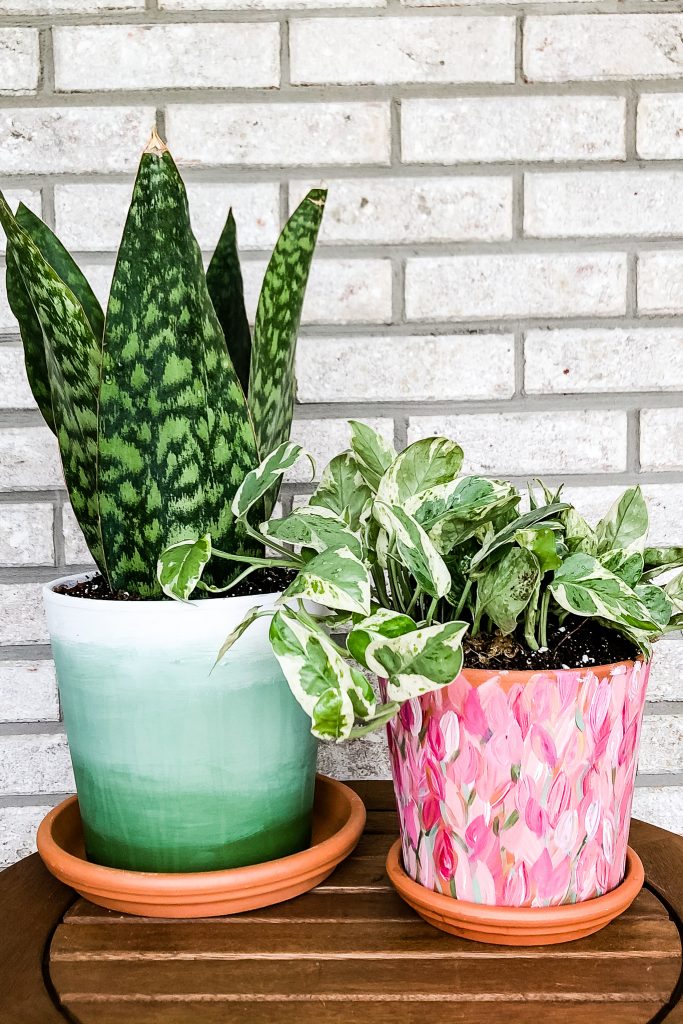
Over the past few months I’ve gone from two baby houseplants to a whopping 30 houseplants (including their offspring.) You know the term crazy cat lady?!? Yup. That was me. Only with houseplants.
The crazy thing is that I have managed to keep EVERY-SINGLE-ONE alive and (mostly) thriving. Along my journey I have learned FIVE very important lessons in how to keep my plants happy and healthy. If you are considering becoming a houseplant mama. You will want to read on!
This post contains affiliate links for your shopping convenience.
Houseplant Lesson ONE
Learn how to start.
When I decided to become a houseplant mama I literally had NO idea where to start. I did, however, know two things.
1 – I needed to start with plants that were hard to kill [for a confidence boost, duh!]
2 – I needed to do a little research to deem how to keep the [hard to kill] plants alive.
It didn’t take more than a quick google search to figure out that I couldn’t go wrong with a snake or pathos plant (hence Phoenix and Chloe above)
Both plants were deemed good in low light conditions and were considered “easy” houseplants to keep alive. I later added a ZZ plant, a Rubber plant and a philodendron to my collection of easy plant babies.
Be smart with your shopping source
Houseplants can be found at a variety of places but it is the smartest to shop from local garden centers and dedicated nurseries. The people who work here are extremely knowledgeable and can usually offer a wealth of knowledge about your growing houseplant interest.
I have a wonderful local nursery that houses a few basic houseplants. I also completely trust THIS big box store which has amazing garden center reviews and a 1 year plant guarantee.
There are also a TON of online nurseries. In fact, I purchased Phoenix and Chloe from THIS online shop, referred to me by a fellow houseplant loving friend.
Initial Screening
When you considering a potential plant baby give it a thorough screening before purchasing. Check the plant for leaf health, root health and any potential bugs. The soil should be damp and well drained, not to dry and definitely not soggy. Choose plants that look happy and healthy.
Once you have made your purchase, it’s smart to give your plant a brief quarantine period away from other houseplants once it has arrived home. This observation period will help you evaluate the plant to assure there are no potential problems. Once a week or so has passed, and all seems well, pot that baby and introduce him to his new home!
Choose the proper soil
In my beginning research I read that houseplants need a particular type of soil in order to drain properly. Cactus soil for Phoenix (snake) and regular houseplant soil for Chloe (pathos) was the general consensus in my reading. Different soil blends are made with different porosity levels which make the soil drain properly for the particular plant form.
Later, when purchasing new plants, I made sure to research and note the type of soil it would thrive in. I then planted accordingly.
As a side note, In case you are curious, I have only had ONE houseplant so far that has needed a different blend of soil. And really, it was more of a mix of the two mentioned blends rather than needing to purchase something new. In general, cactus and general houseplant soil should set you up for success with virtually any houseplant.
Choose the proper planters
Next lets talk planters. Honestly, this area is where I MAJORLY messed up the first time around. Please don’t do what I did!
My problem started when I somehow thought that an enclosed self watering pot would work similarly to a regular drainage pot. WOW, was I wrong.
After a few weeks I started having problems with these particular pots. Problems of the bug kind. GROSS!! I’ll chat about how I solved this problem in a later step but learn from me. Drainage pots with a hole and saucer are your friend as a new houseplant mama. Don’t deter.
Houseplant Lesson Two
Liquids, Solids and Schedule Related Things
Just like a new human baby I knew I needed to take the time to figure out a watering/feeding schedule for my new plant babies.
In my early research I learned that one of the most common reasons for houseplant failure is over watering. (ahem, did you read about the bugs above?!?) Because of this it’s imperative to use proper soil and planters (as mentioned in lesson one) to encourage well drained soil and to prevent root rot. I also found that using a particular watering can is helpful for keeping water off of the leaves of the plant as well as preventing a watery mess.
I recently purchased THIS watering can for my houseplants and I’m obsessed!
Use a care app
Shortly after announcing my plant arrival on Instagram, one of my sweet followers shared the Vera Plant Care app. that she uses to keep tabs on all of her houseplants. I downloaded the app immediately and instantly fell in love with its ease of use.
The app allows you to not only search for the type of plant you have purchased (in case you forgot to look) but it also allows you to name your plant, select its location in the home and list when it was acquired.
There is an option to take a photo of your plant and add any special instructions for keeping it healthy and thriving (ie. preferred light, soil, temperature conditions etc.)
Next, you set up a watering/fertilizing schedule. You can set a watering alarm and choose if you want to receive notifications for the plant.
Watering Tips
While the app mentioned above is a great resource for scheduling, its also important to use common sense when it comes to plant watering.
Houseplants typically need to dry out between watering so its best to use a poke test to determine if its time for a drink. One method is to simply stick a finger in the soil to determine if it is dry. However, my preferred method involves a wood craft stick. Poke the stick into the soil near the roots and pull it out. Similar to baking, if the stick comes out clean it is time to water. If the stick has damp soil on it give it a few days then check again.
Houseplants can be finicky when it comes to the type of water it consumes. Homes with a water softener, for example, can provide to much sodium for a houseplant.
If you have a softener in your home you are better off purchasing distilled water for your houseplants. We happen to have a reverse osmosis system in our house and it seems to work really great.
Feeding Tips
Research individual plant needs when it comes to fertilizing. Some of my plants need to be fertilized monthly in the summer and left alone in the winter. Others prefer to be fertilized every 3 to 6 months or so.
I have fertilized my plants using a few methods. If the soil in the pot seems to be low I will top it off with fresh potting soil and a fresh drink of water. For others I’ll use plant fertilizing sticks. Just follow the package directions and make a note in your app with any needed reminders.
Houseplant Lesson Three
Find its happy place in the home.
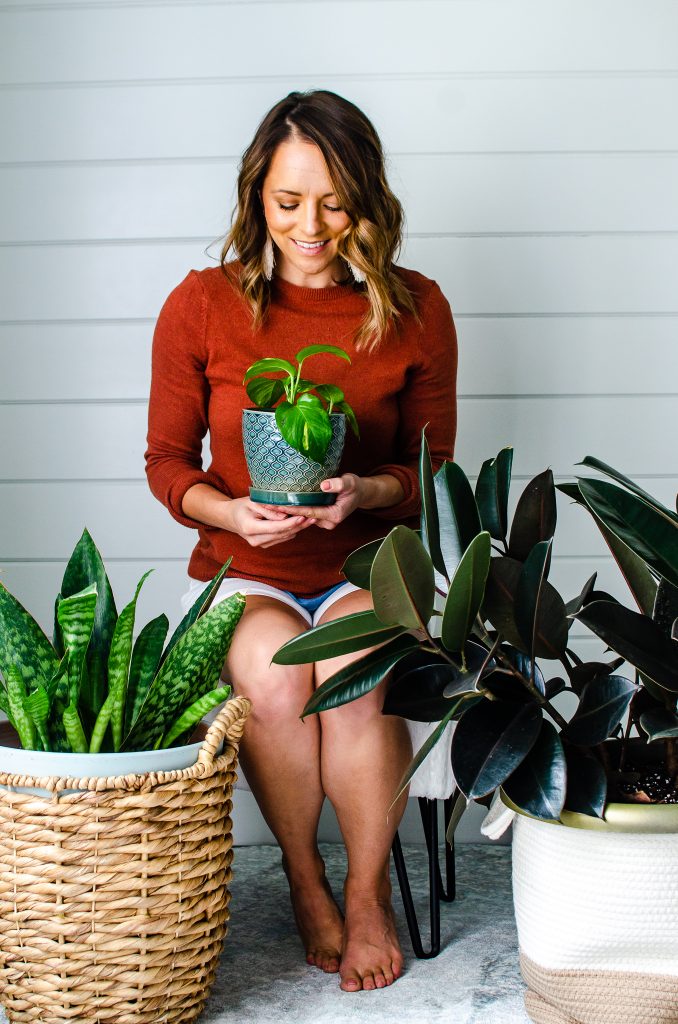
This part was honestly pretty tricky for me. I think it’s because the terms “low light” and “bright indirect light” seemed rather vague to me. How much light is “low light”? Is a room with large, north facing windows going to be “bright” enough?
Overall, if a plant seems to be thriving, you can pat yourself on the back for finding its happy place. If it’s failing to grow or changing leaf colors you will want to consider moving it to another room in your home.
Let’s dive deeper into different light conditions.
Low Light Plants
In general, rooms with north facing windows (or no windows at all) are the best for plants requiring low or indirect light. There are a variety of plants that thrive in these settings including the ZZ plant, the monstera plant and the peace lily. I’ve also had luck placing snake plants, pathos and my ponytail palm in these spaces.
The caveat to these plants are paying attention to their color and growth. If they are becoming lighter in color or not producing new leaves they may be in an area of to little light. Try moving them closer to a window or to another room entirely.
My living room is the perfect place for low light plants to thrive. This room is located in the center of my home, with only indirect sunlight coming from neighboring spaces.

Bright/Indirect Light Plants
Windows facing east are best for plants requiring bright, indirect light. My fiddle leaf fig, rubber tree and spider plants go nuts in these spaces. They prefer the few hours of bright morning light then happily rest in indirect light the rest of the day.
When my low light plants need a little growth kick I temporarily reroute them to these areas so they can have a nice sunny vacation.
My back porch and hearth room windows face the east. When i’m in doubt of how a plant will respond to light, I always start in one of these spaces.
Plants that like these conditions also do well in west facing windows in my home. I tend to keep these plants a little further away from the windows, however, since the afternoon sun is much stronger than the morning sun.
My infamous window wall is along the west side of my house. I have several low-moderate light plants in this space and I rotate them often to test out their favorite location.
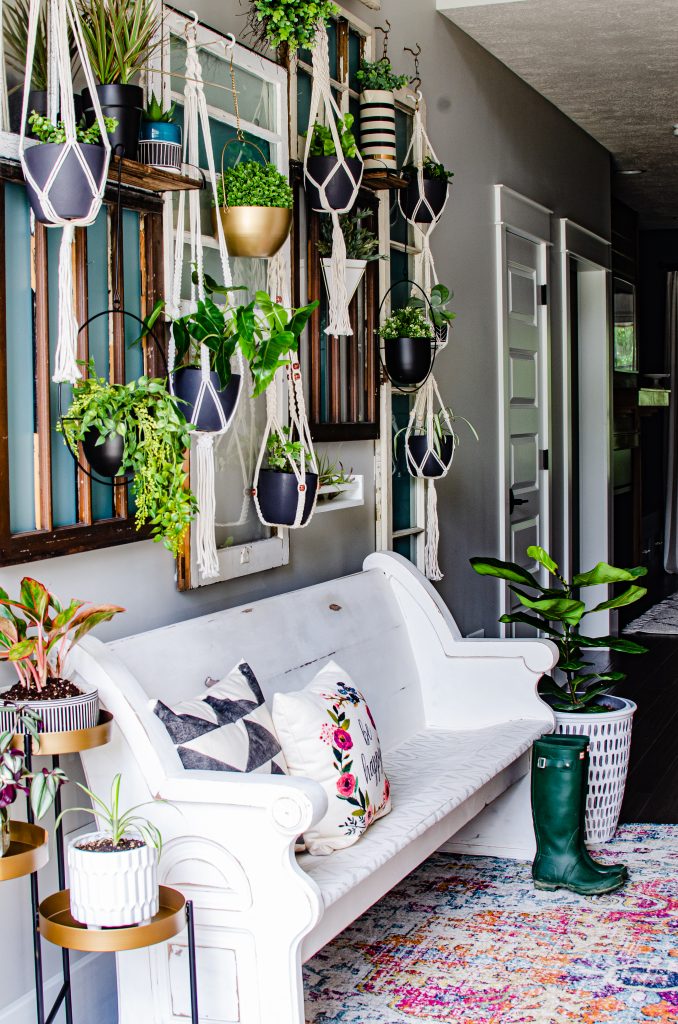
Shop My Favorite Hanging Planters
Houseplant Lesson Four
Mitigating bugs and other gross things.
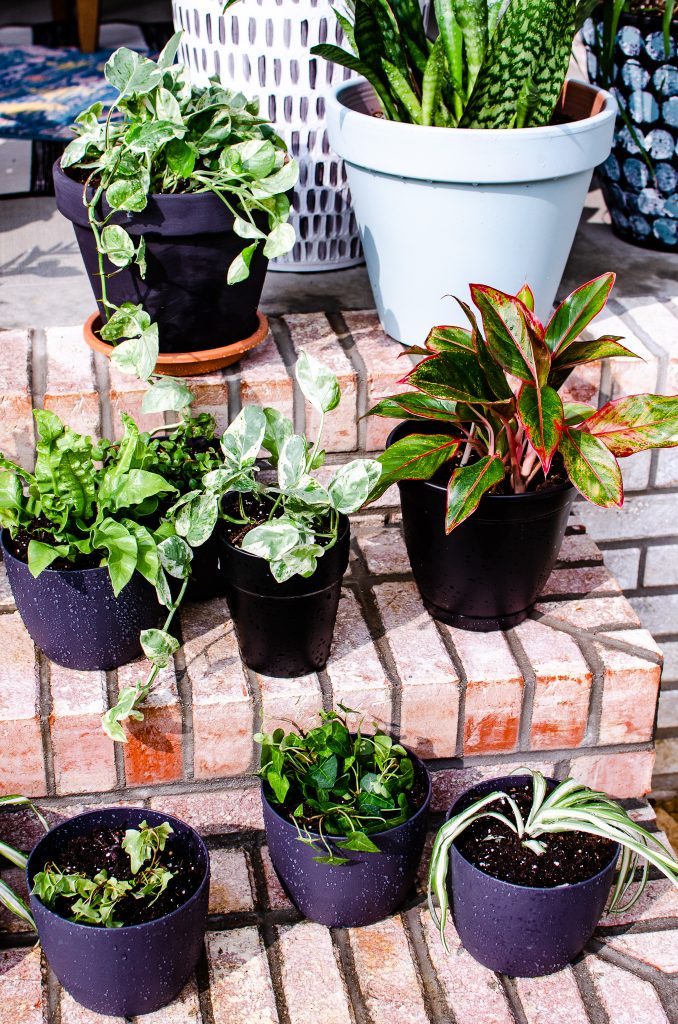
I would love to say that I was such a good natural houseplant parent that I NEVER had a problem with bugs and other gross things. Unfortunately I’m not that lucky.
In fact, about two week ago I ended up re-potting about 13 of my houseplants. And only 3 of them had outgrown their pots. The others, well, let’s just say they were in desperate need of a fresh start.
You can’t win them all.
Go back to the pots and soil
Do you remember in lesson ONE when I said that well draining pots were a major key to houseplant success? Well, when bugs overtook 6 [yes, SIX] of my window wall plants, I narrowed it down to one thing… poorly draining pots!
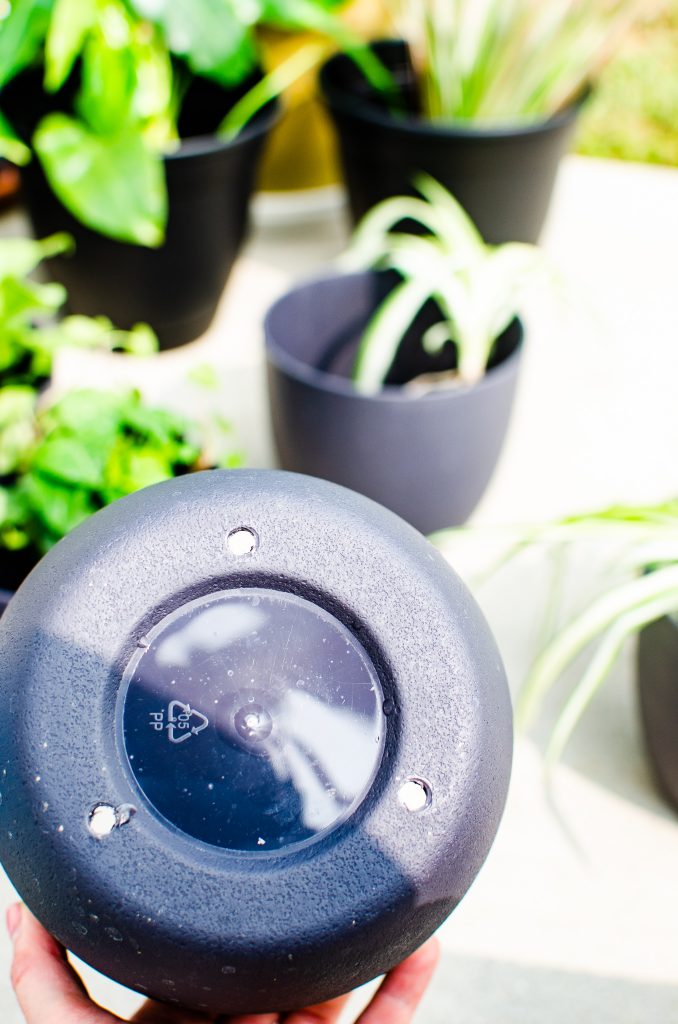
Turns out, every single pot that had an enclosed self watering feature had started the process of becoming a rotting root mess.
They stunk and they were buggy. They were straight up GROSS!
Fortunately, I was able to catch the problem before it completely ruined my plants.
Saving the plants
I circled back to some of my first resources. If I de-potted the plants, rinsed off the old soil and repotted with fresh soil, my babies had a pretty good chance of a fresh start.
The next day I put my plan into action. I also ended up drilling drainage holes in the enclosed pots to encourage better circulation.
After the plants were repotted, I gave them a good watering and let them fully drain and sunbathe for about an hour before bringing them back inside. The freshly potted plants quarantined on brightly lit windowsills for 2-3 days until they perked back up.
As an extra precaution I had also purchased a bottle of neem oil concentrate. Neem oil is used for pest mitigation and can be safely sprayed on houseplants once a week. I gave each plant a quick spritz before returning them to their respective home.
As I write this, it been a week since the emergency measures took place. I’m happy to report that several of my plants are growing better than ever! Many are taking to their new soil and sprouting new growth. Several have already taken a second watering as they acclimate.
Houseplant Lesson Five
Double Down – learning to propagate
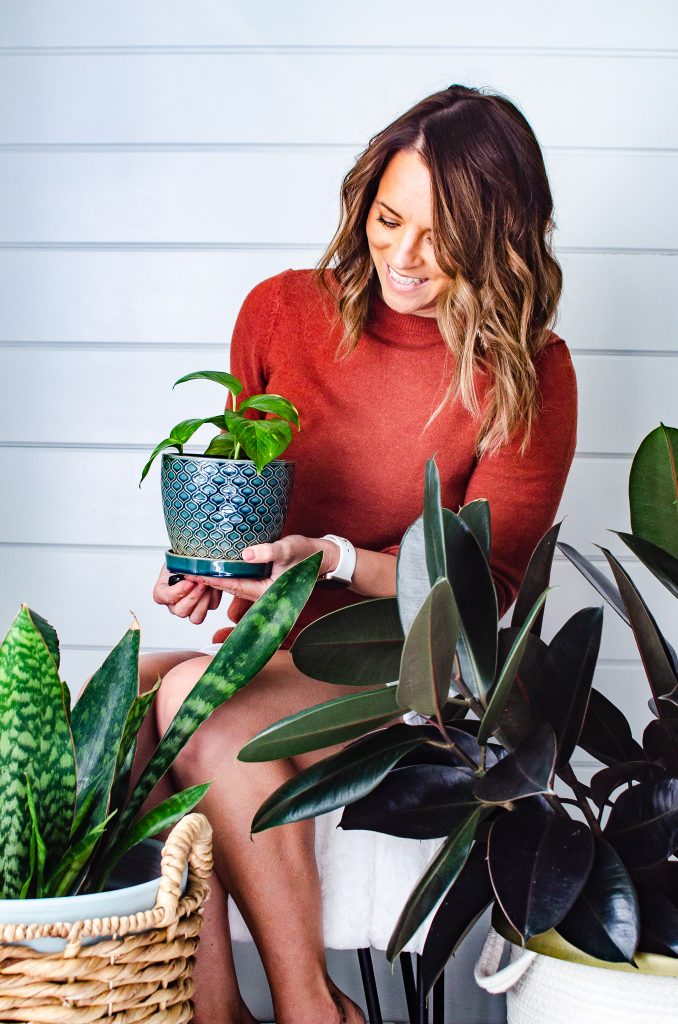
Propagating is the process of growing new plants from seeds, cutting and other plant parts. Obviously, it was something I was super excited to try out. I mean, who doesn’t want a free plant??
Beginning with Phoenix and Chloe felt like the right first step.
While there are a few ways of going about it, I decided to propagate them with water submersion.
Propagating Chloe (the pothos)
According to a plant loving Instagram friend of mine, houseplants with nodules are the easiest to propagate. Specifically a pothos plant. When cut and separated out, each nodule produces roots when submerged in water for a period of time.
Beginning with Chloe, I carefully trimmed one of her vines. I separated the nodules and placed them in a mason jar of water.
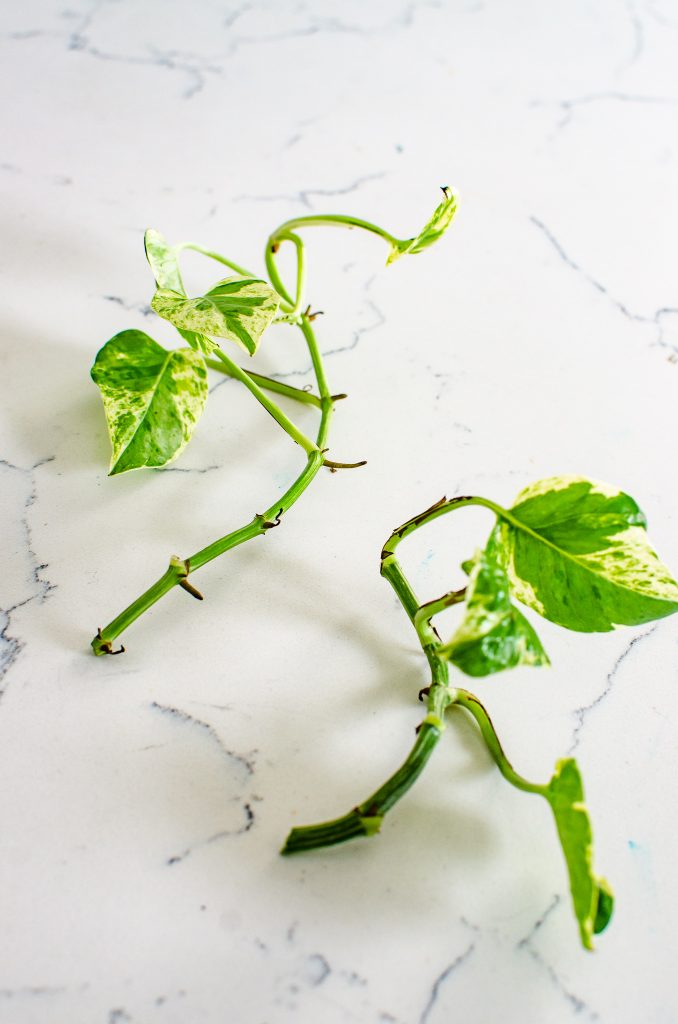
About every 4-6 days I switched out the water, checked the leaf health and rotated it between the window sill and counter of my south facing laundry room.
As a result, about a month later, Chloe formed roots!! When the roots were about two inches long, they received their own soil and window sill. The fresh plant took a few days in the sun to perk up and acclimate to its new home.
Propagating Phoenix (the snake plant)
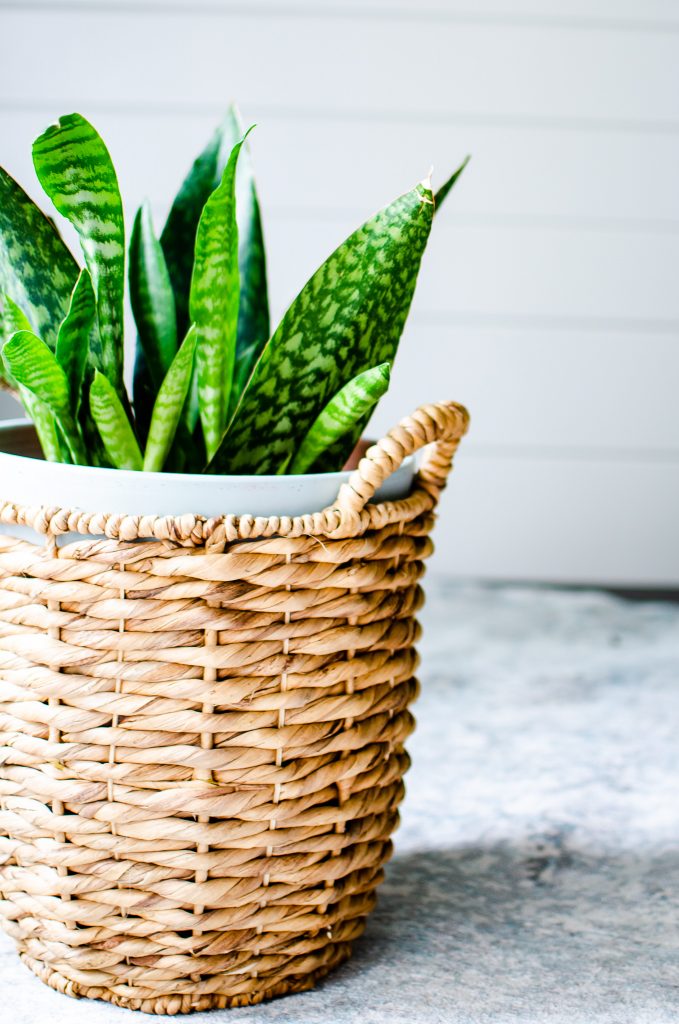
From everything that I have read there are three ways to propagate a snake plant. I have tried two out of the three ways and so far have been successful with one of them. Because patience.
Prepping Phoenix for his initial propagation started with a simple scissor snip. I took off 3-4 cuttings near the soil and placed them bottoms down into a jar. Only covering the bottom inch of the plant with water.
I switch out the water every 4-6 days. I waited. And I waited.
You see. Snake plant propagation takes a lot of waiting. In fact, I’m still currently waiting for Phoenix to sprout roots.
I’ll keep you updated.
Meanwhile, I had another snake plant that was producing pups!
A pup is an offshoot from the original mother plant (pictured below). When the soil is taken away from a plant with pups you can see how the baby is connected to its mother through the roots.
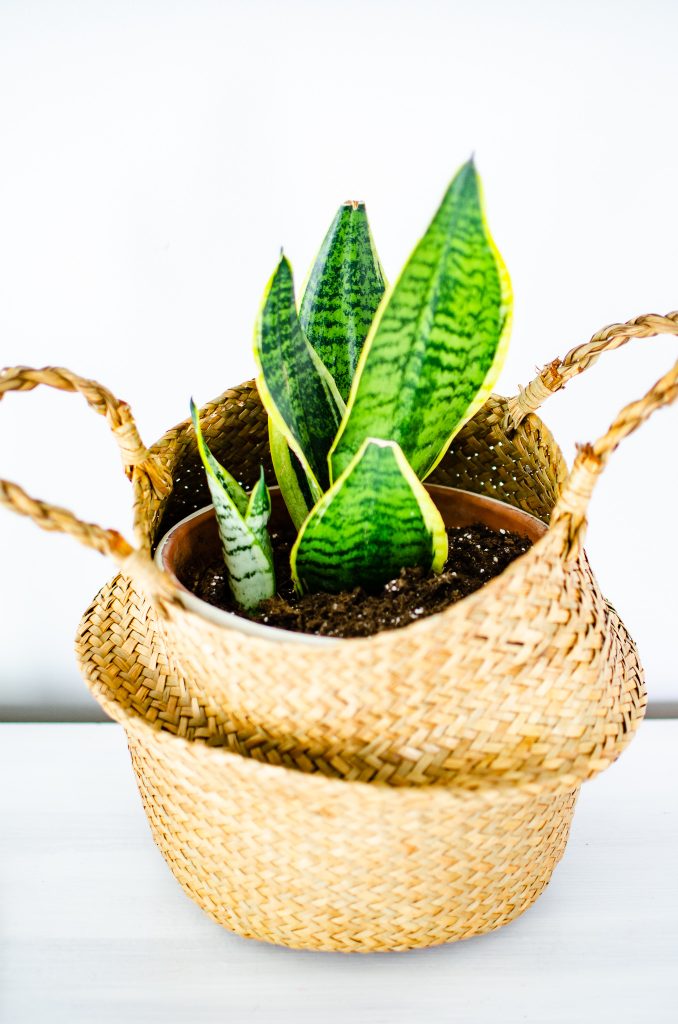
Luckily, my pups were already sprouting roots of their own so I took the opportunity to split the pup from its mother and create a whole new plant.
Obviously I’ll also have to give this new baby time to grow and root itself. Patience, remember? But at least I have a little cutie to stare at in the mean time.
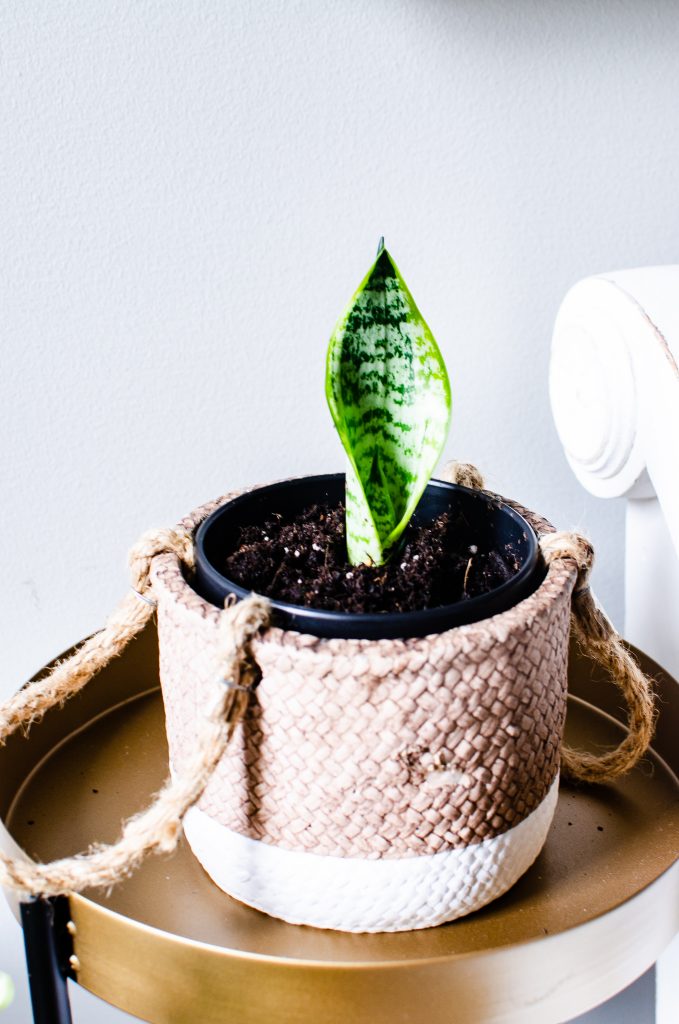
The current state
To this day I have propagated SIX of my houseplants and I have two more working on their roots. Some of the plants I propagated with the same methods as above and some I propagated by splitting the plants at the roots and transplanting.
I plan to go more in detail on propagating in the future as I gain more knowledge and experience.
Shop My Favorite Plant Accessories
Thanks for hanging out!!
Wow! You made it! There is a LOT of information packed into this post.
I hope you were able to gain some insight and knowledge to become a better houseplant mama. If you have any comments or questions I would love to chat with you! Feel free to leave any insight below or hop over to Instagram and contact me there!
You can also click on any of the images in this post to Pin for later.
Happy House Planting!
Need More Home Inspiration?
Check out these popular posts!
- What Is Elevated Casual HOME™️ Design?
- How to Paint Bathroom Floor Tile
- THE HAUTE NOTE: WORTH THE HYPE? – home edition
- THE HAUTE NOTE: KITCHEN FLOOR REVEAL
- The Haute Note: Destroying my kitchen


The Comments
Marie
What a beautiful post! Love your propagation tips and all of your gorgeous photos!
Carol Karl
A lot of great information in here. Thanks for sharing.
Jennifer Williams
Go big or go home! Wow. You leaped. I am an avid houseplant lover. Great post and great info ❤️
Kristin
All so great for me to read! A green thumb, I am not so this was so awesome! Thanks for sharing at Charming Homes & Gardens!
Alice
I have to say Kera that your perspectives and points of knowledge you bring to fellow gardeners are great.
Keep sharing more detailed work like this.
Jennifer Howard
This was a great post!! I’m a plant Mama too. My snake plant is about the only one I haven’t propagated yet. I’ve had great luck with my Zz and Hoya lately.