Paint & Organization For A Playroom: Design Update
We are about halfway into our playroom makeover and it has already gone through quite the transformation!
The first few weeks were ALL about paint and organizing.
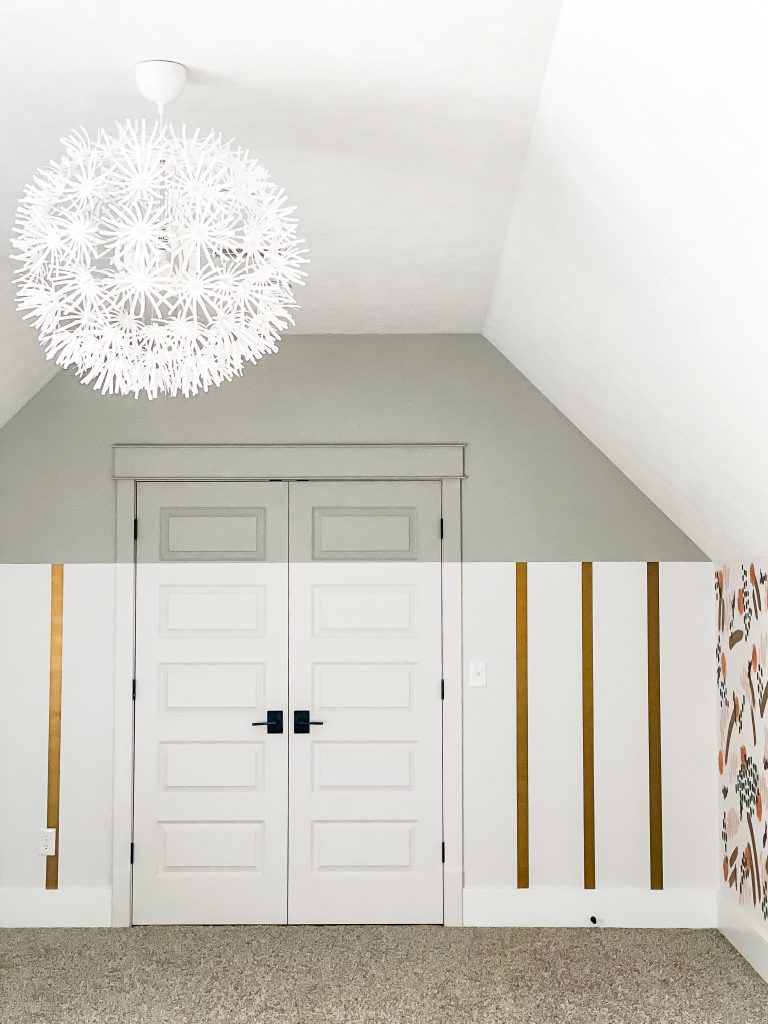
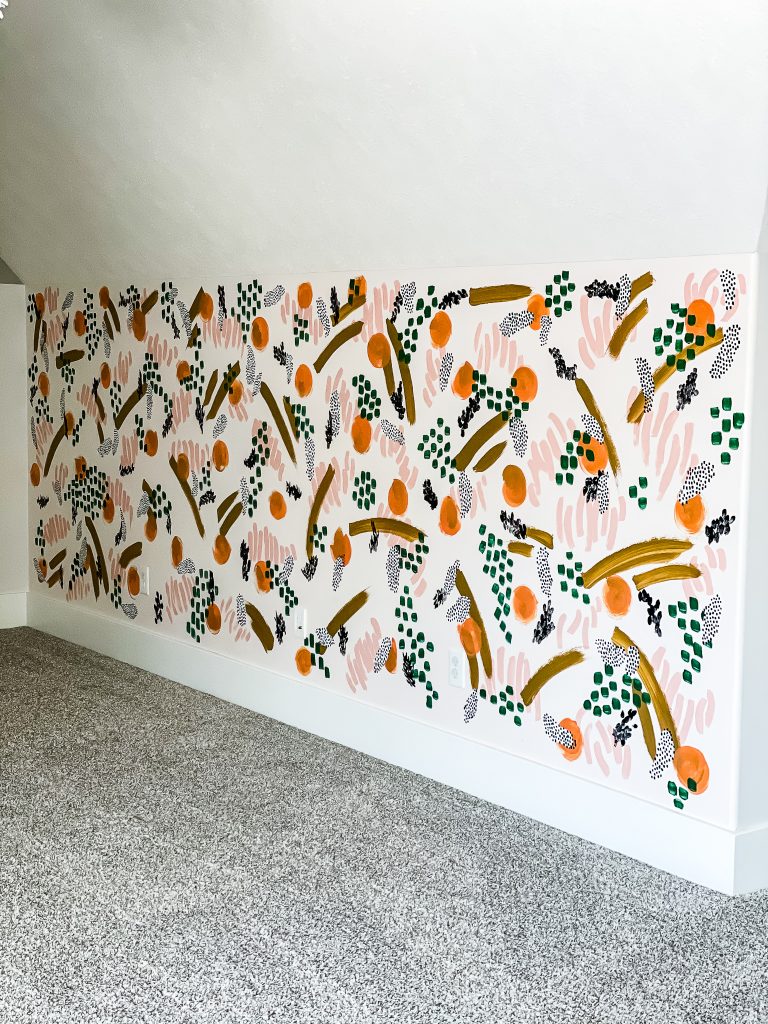
We color blocked the walls and doors, hand-painted a mural, and revamped the toy closet.
And the fun has only just begun!!
Keep reading for all of the makeover details thus far and make sure to subscribe to my blog for more projects and updates!

playroom paint
When I originally picked up the paint cans from my neighborhood Sherwin-Williams store, the manager looked at me like I was crazy.
“What do you have up your sleeve this time, Kera?”
They like to keep tabs on my projects. I like to keep them guessing!
click to view the Playroom Design Board
Over on INSTAGRAM, I spent a full week sharing all of my best tips and tricks when it comes to painting a room. My dad is a professional house painter and taught me well at a young age!
I love sharing my painting knowledge with others and even wrote a blog post about it! Click over to read HOW TO PAINT A ROOM – 5 MUST KNOW TIPS, and don’t forget to PIN it for later!
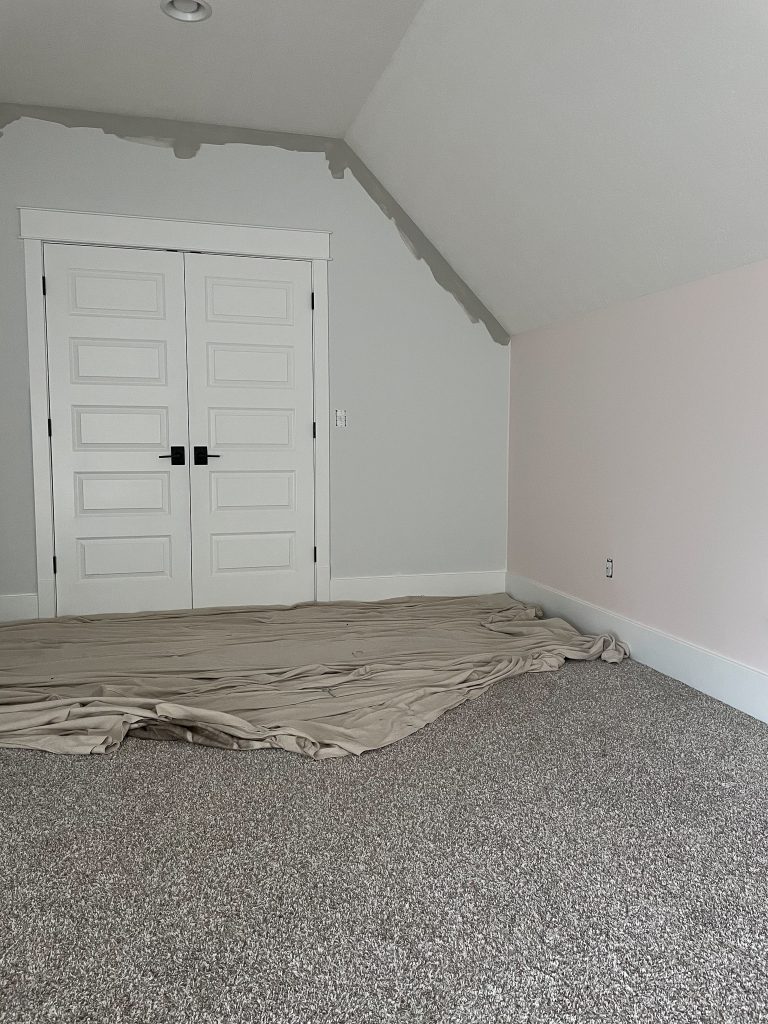
This playroom started off with plain gray walls which were elevated in MULTIPLE ways.
Color blocking, a hand-painted mural, and a bold-colored closet, to name a few.
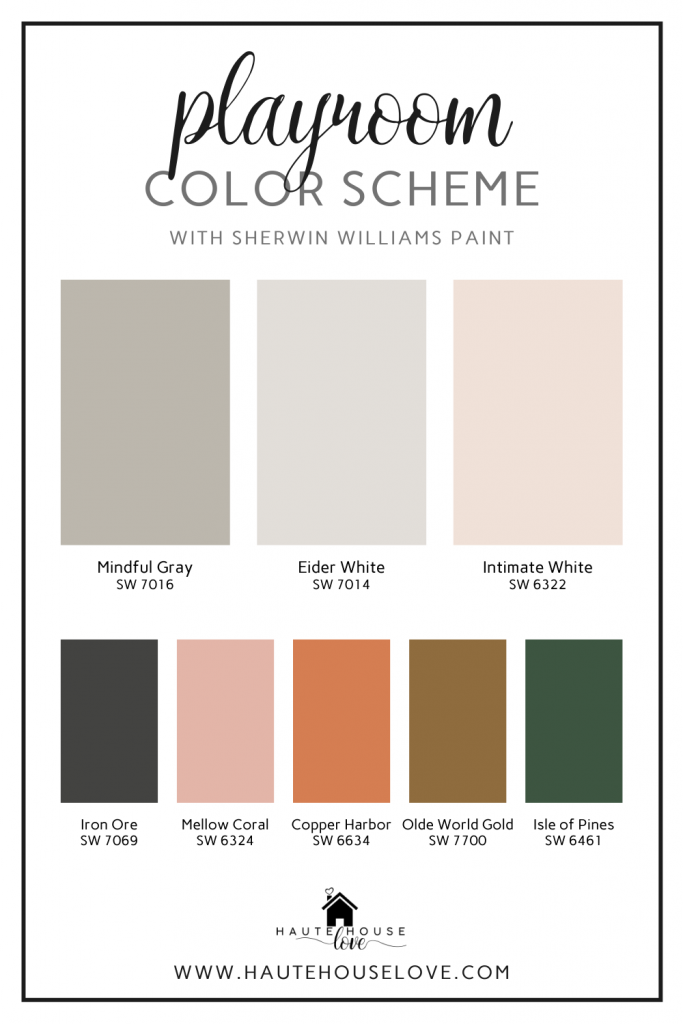
The color scheme includes staple neutrals and bold (but muted) gender-neutral shades.
Here are all of the paint colors I chose for this space!
I started this transformation by painting the base for the mural and by color blocking the walls. It took me a while to decide if I was going to also color block the doors and trim. In the end, I chose to go for it and I AM SO GLAD I DID!
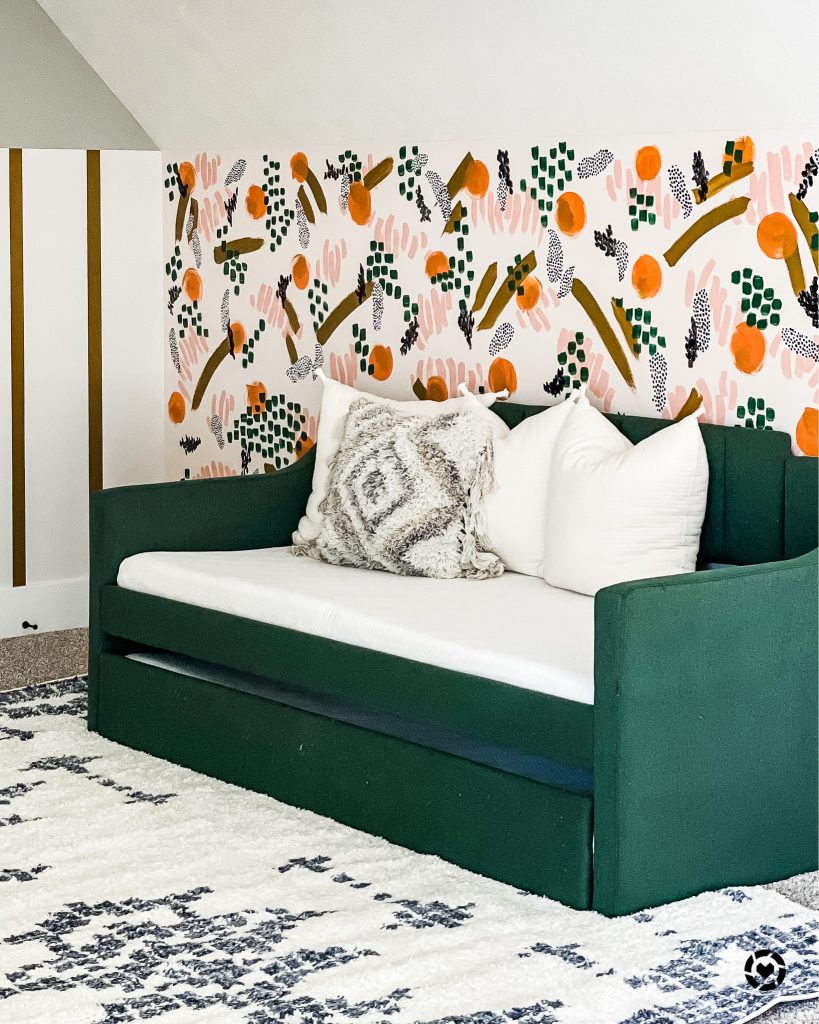
The Painted Mural
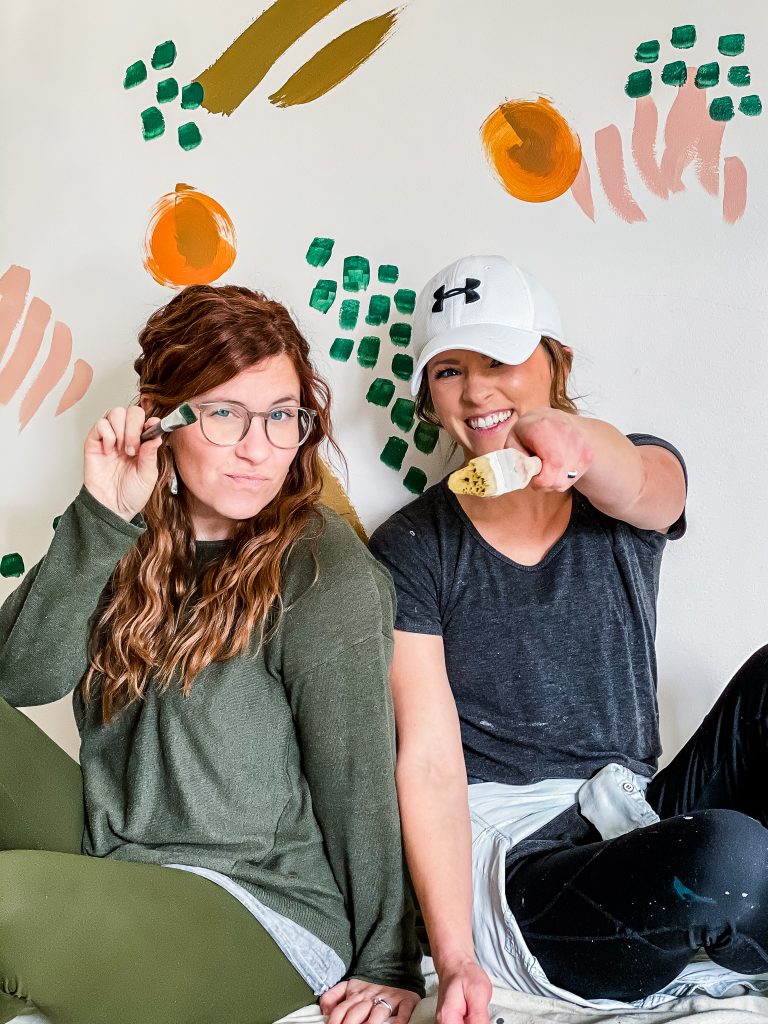
When it came time to paint the mural wall I called up a girlfriend of mine who also happens to be an amazing artist! She was super excited to jump in a teach me the ropes.
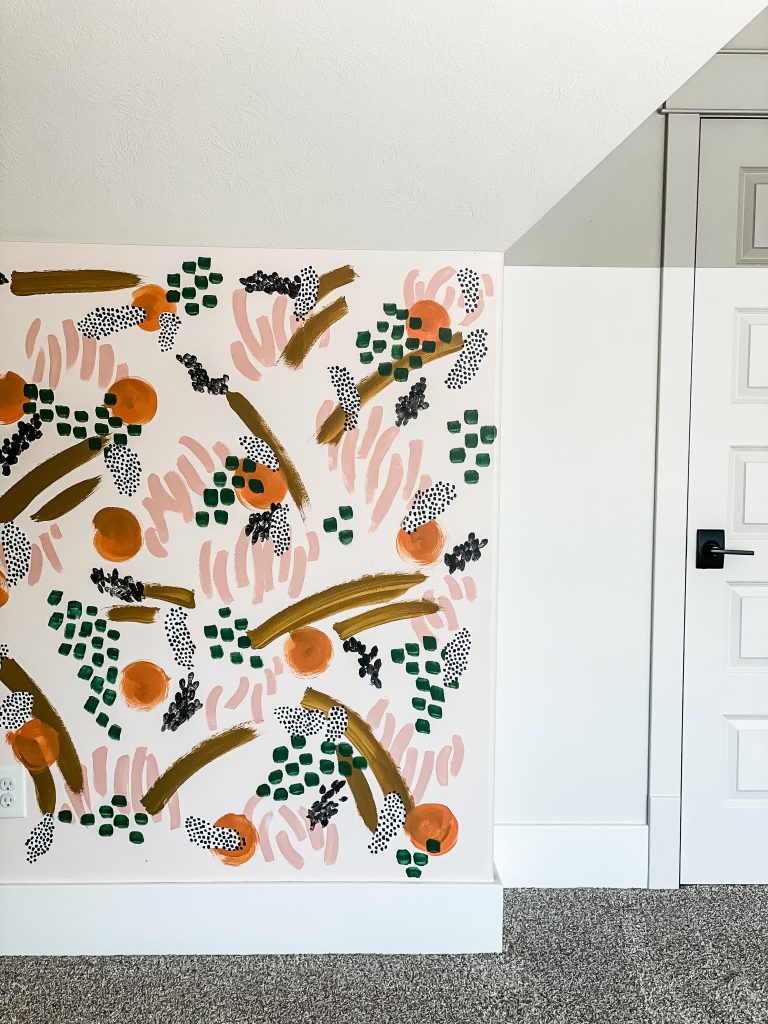
Using a WALLPAPER print as inspiration, I let creativity lead the way.
I learned so much during our few hours together. Tips revolving around which brushes to use, how to practice shapes on cardboard before going to the wall, and stepping back often to check my work for balance.
After a few hours of “training”, I felt I had a baseline to take it the rest of the way.
If you want to watch HOW THE MURAL CAME TOGETHER, click over for a short clip!
Before the reveal went live some of the furniture arrived for the space. I chose a THICK PILE RUG for my kids to cozy up on as well as a TWIN DAYBED (with a trundle) for relaxing movie nights and cousin sleepovers.
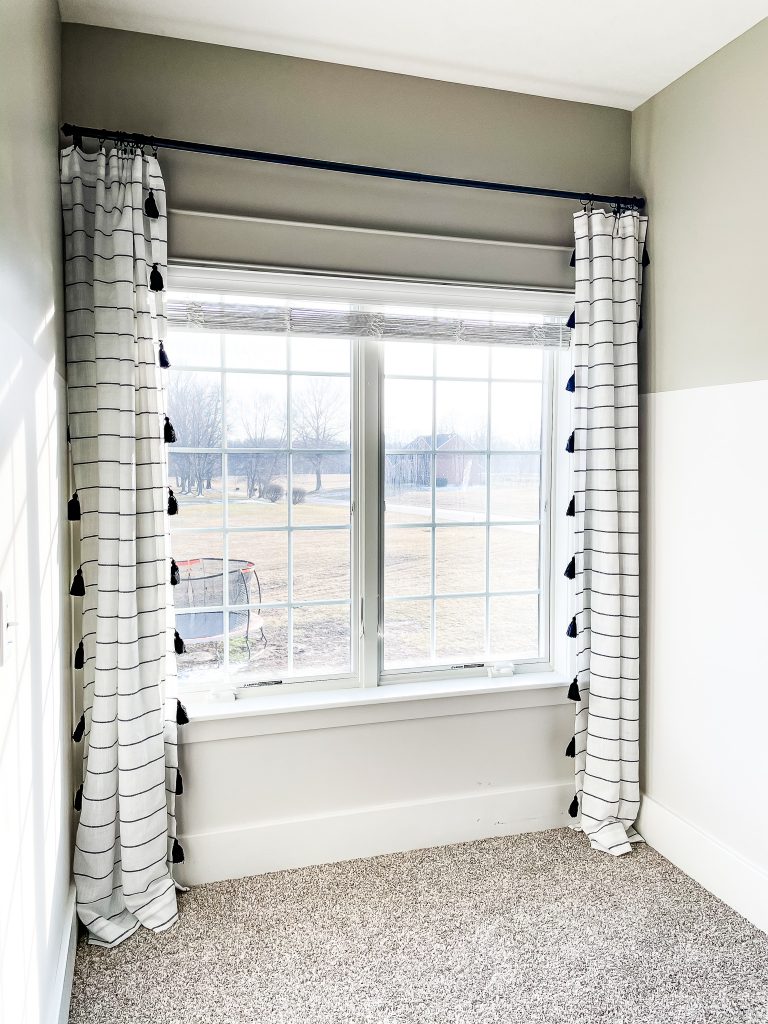
I also reinstalled the curtain rod and hung NEW CURTAINS that better fit the new space. If you struggle with choosing curtain length for your windows. WATCH THIS VIDEO!
The MURAL REVEAL on Instagram was epic! It was a super proud moment for me as a creator and the response was nothing short of amazing. Yes, I used wallpaper as my inspiration, but the general consensus deemed the final result is SO MUCH BETTER!
I couldn’t agree more!
playroom Organization
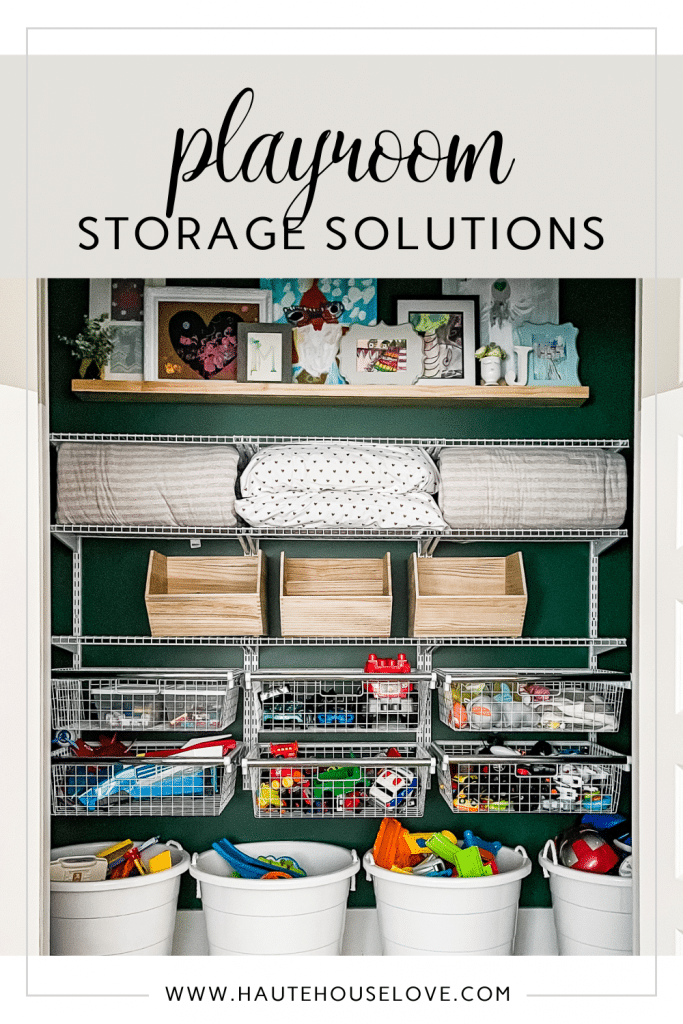
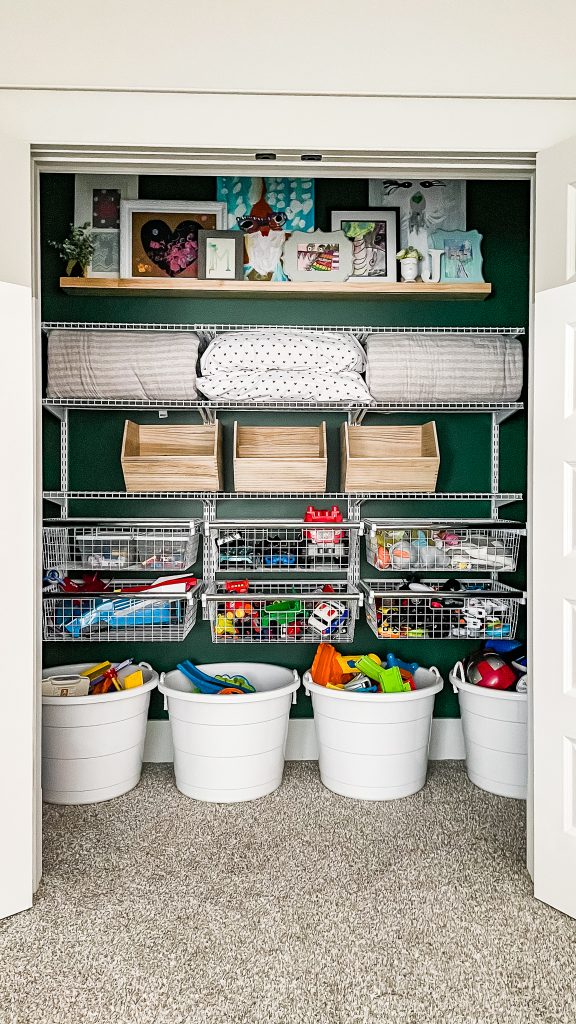
After the walls were complete and large furniture pieces in place it was time to tackle the toy closet. OY!! Hot mess express doesn’t even begin to explain this disaster!
The problem was more from a lack of functionality. As my kids have gotten older, their needs have changed, and therefore the closet needed to be revamped to accommodate them.
As I type this I’m realizing that I took a video of the space in my Instagram stories but I didn’t take any photos. If you really want to see it I can probably dig it up, but trust me when I say it was BAD!
After emptying the closet completely I quickly realized that it would be best to take out the closet system and give it a complete revamp. Also, since the room was freshly painted it gave the perfect opportunity to go ahead and paint the closet as well.
I decided to use leftover paint from the wall mural and let my INSTAGRAM friends take full reign of the color choice. They chose Isle of Pines by Sherwin-Williams and I couldn’t have been happier!
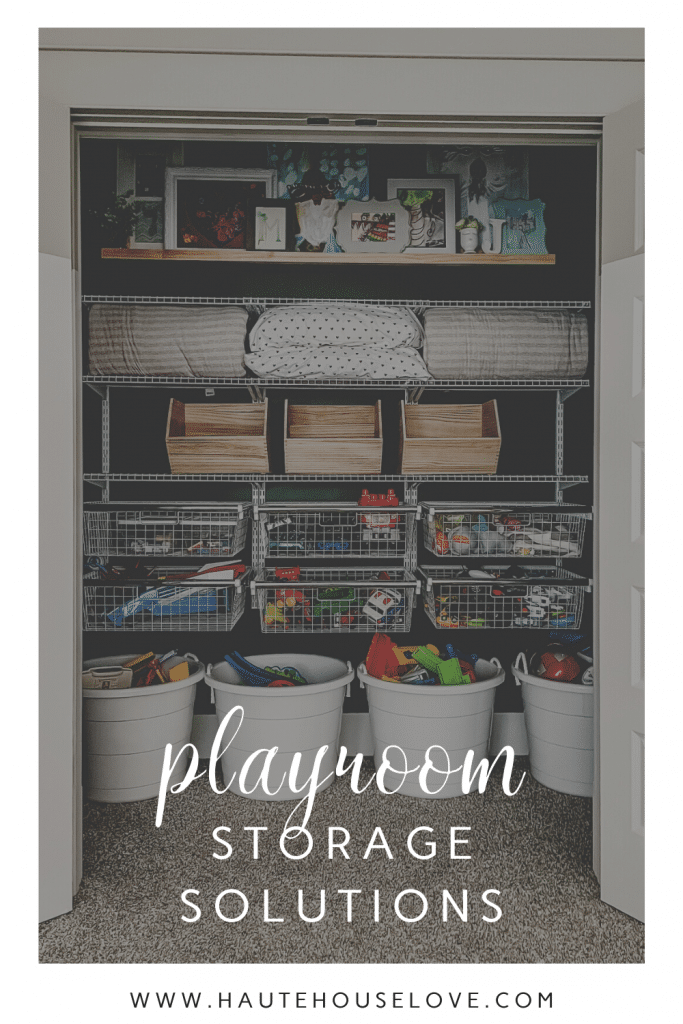
After the paint went up I reinstalled our RUBBERMAID CLOSET SYSTEMS, even stealing some DRAWERS from the Master Closet to bring full functionality back to the space.
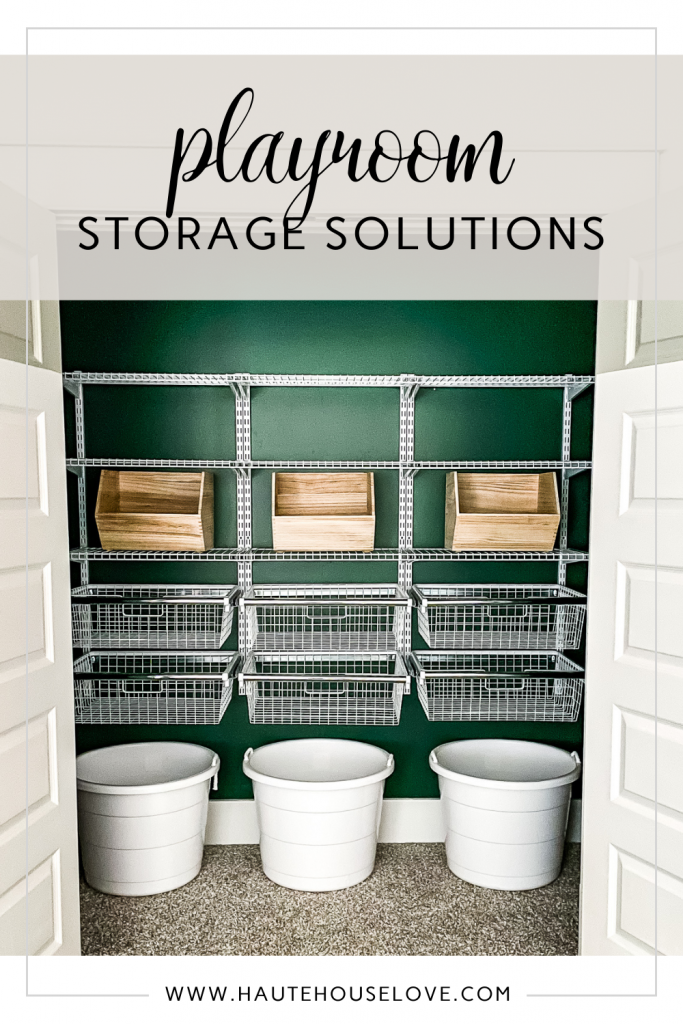
The weekend was spent purging and reorganizing. I’m still waiting on a few more bins to arrive in order to deem it 100% complete, but it’s already WAY better than before.
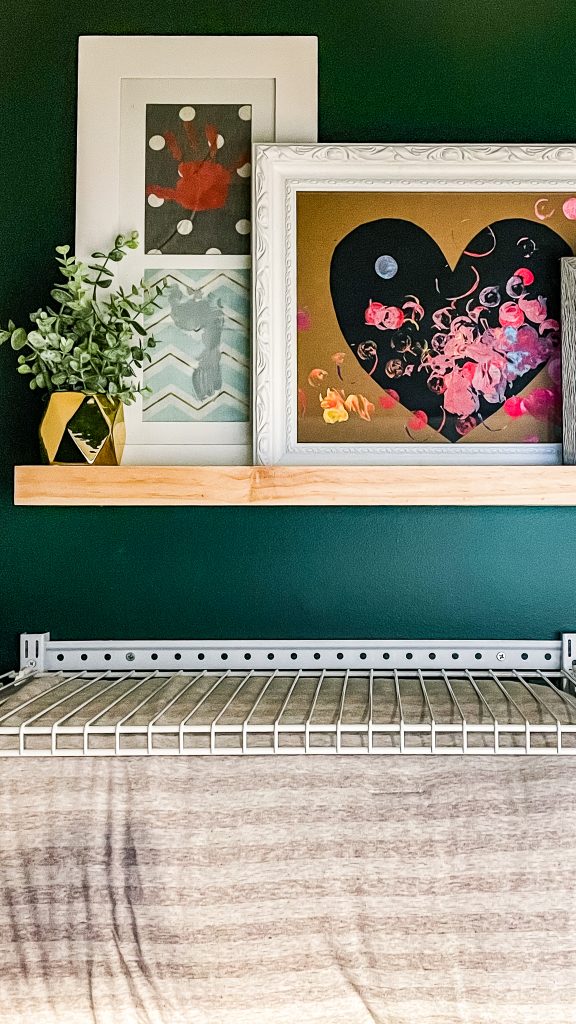
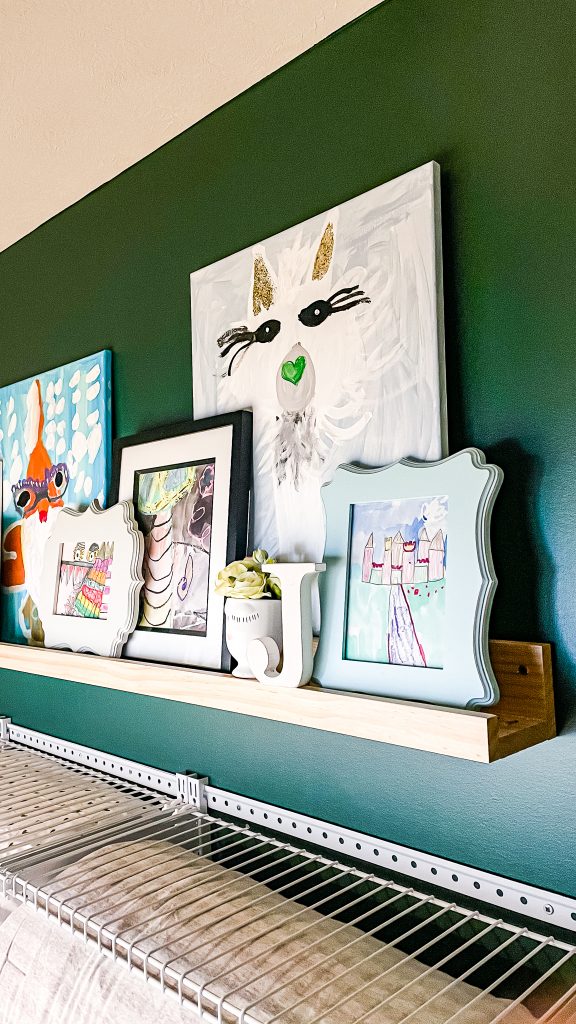
THE PHOTO LEDGE
Since I like to utilize every inch of vertical space in a closet I decided to build a photo ledge above the closet system to display some of my kids’ artwork. I shared a full tutorial on Instagram and I’ll be writing a blog post soon sharing all of the steps.
PHEW! That is the past 3.5 weeks in a nutshell and we still have another few weeks of projects to go before this space can officially be deemed finished.
If you want to follow along, make sure to subscribe to my blog and give me a follow on INSTAGRAM for all of the latest project updates.
I’ll see you in stories!
Airbnb Arizona arizona rentals basement bar design blog hop Budget Friendly christmas gifts crafts decor DIY diy projects easy diy FAQs fashion favorite things fitness Friday Faves gardening Gift Guide home decor home decor ideas home design home improvement home organization How To Jeffrey court kitchen design living room modern boho most requested links Organization organization ideas paint Paint Colors peel and stick wallpaper Random Thoughts recipes scottsdale arizona Sherwin Williams the weekender this week's content this week's FAQs travel vacation rental wallpaper
SHARE ON PINTEREST!

