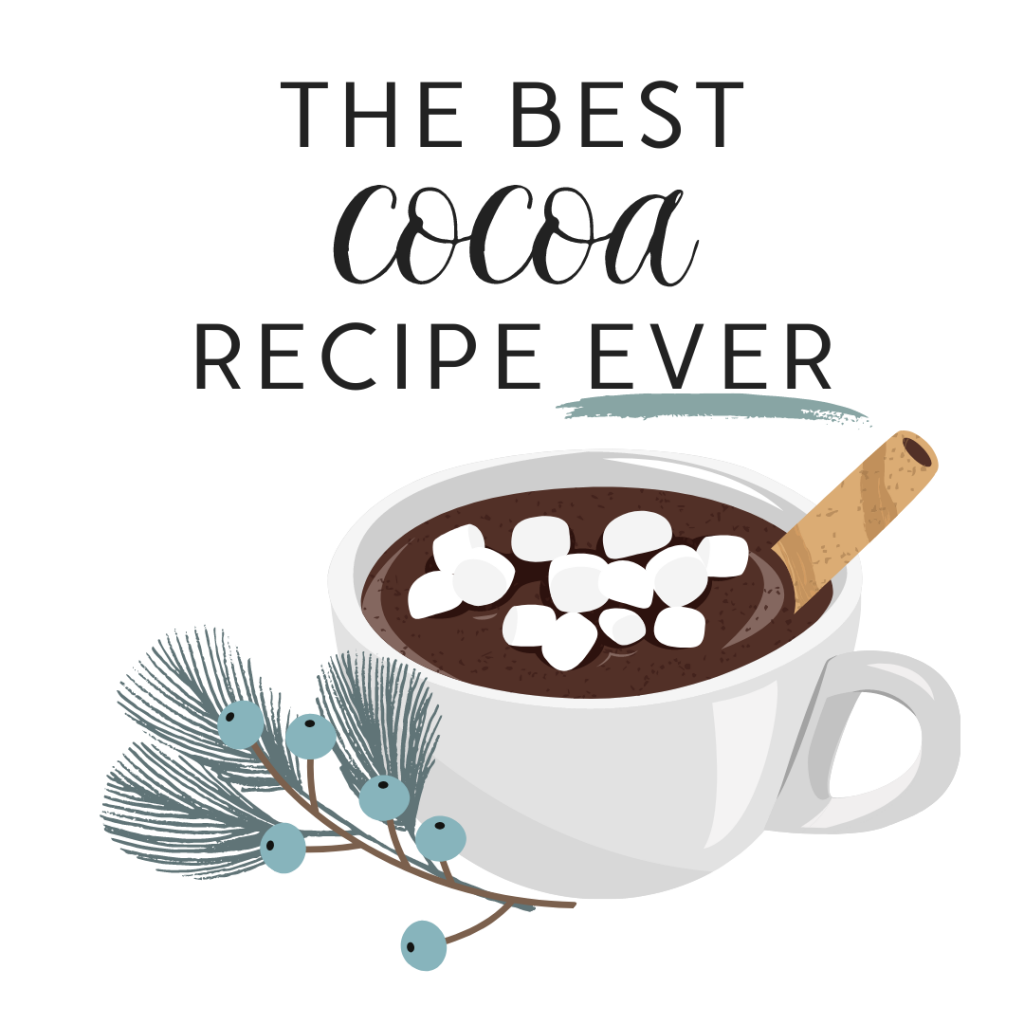
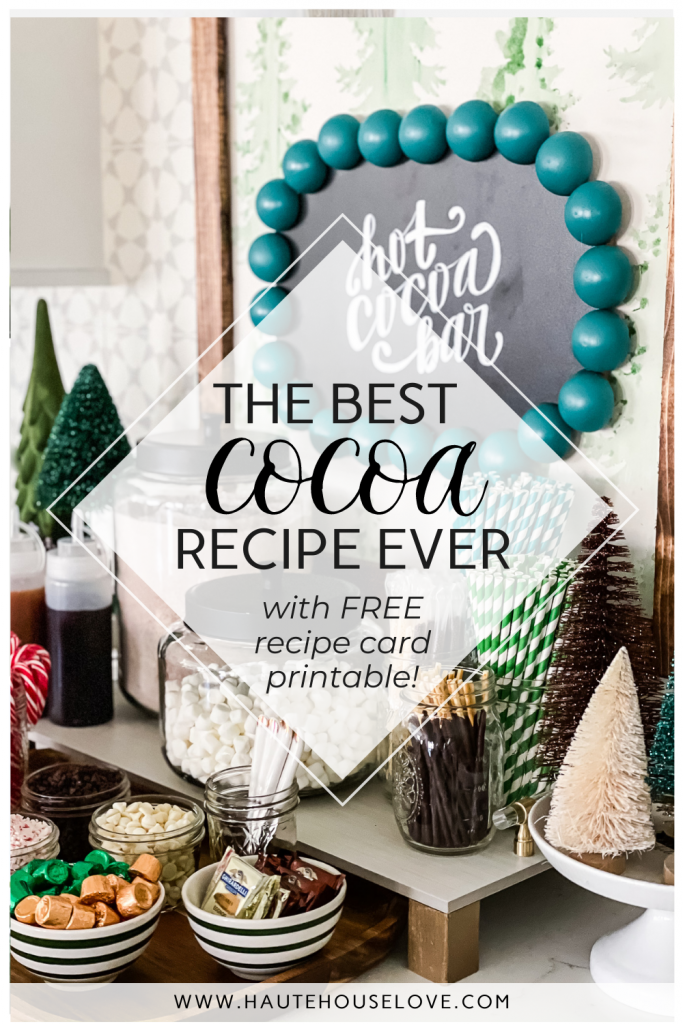
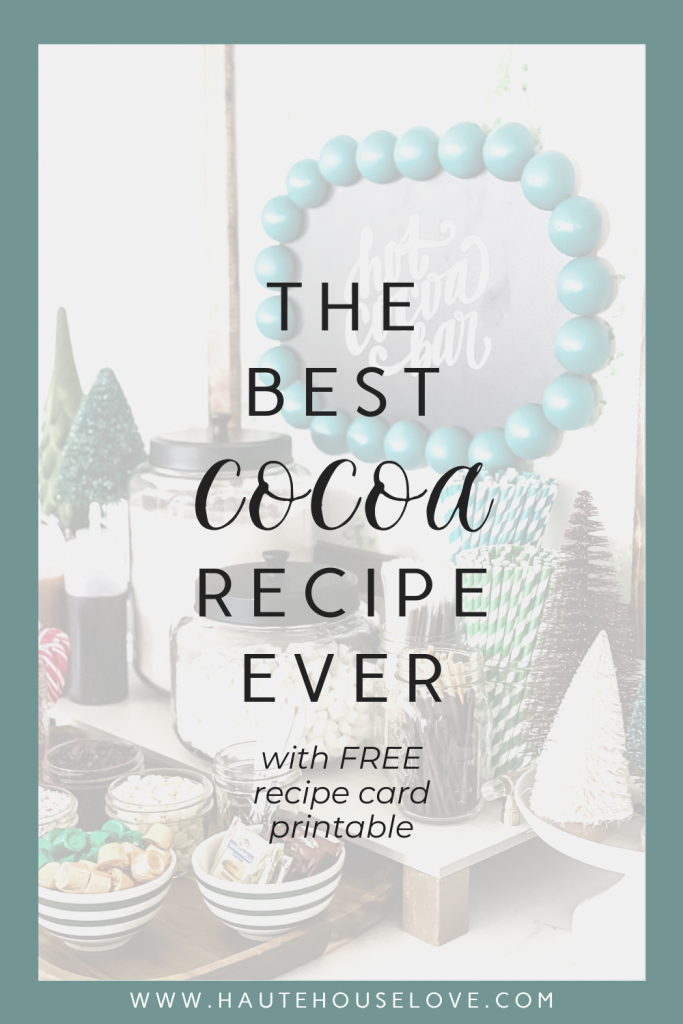
How To: The BEST Homemade Hot Cocoa Bar
Are you looking to create a homemade hot cocoa bar that will WOW your guests? These easy styling tips and 4 simple cocoa ingredients make a delicious display that will last all winter long!
Read to the end for a HOT COCOA BAR SIGN and a FREE PRINTABLE RECIPE CARD.
Like my content?? Come hang out on INSTAGRAM!
The Hot Cocoa Bar
A hot cocoa bar has become a staple around our house during the cold winter months. We typically set it up the week before Thanksgiving and let it roll through early March.
I used to make a small, minimal display but with the kids getting older it’s so fun to go all out! Whether you choose to go simple or extravagant – my styling tips, topping suggestions, and cocoa recipe will please even the toughest cocoa critics.
this post contains affiliate links
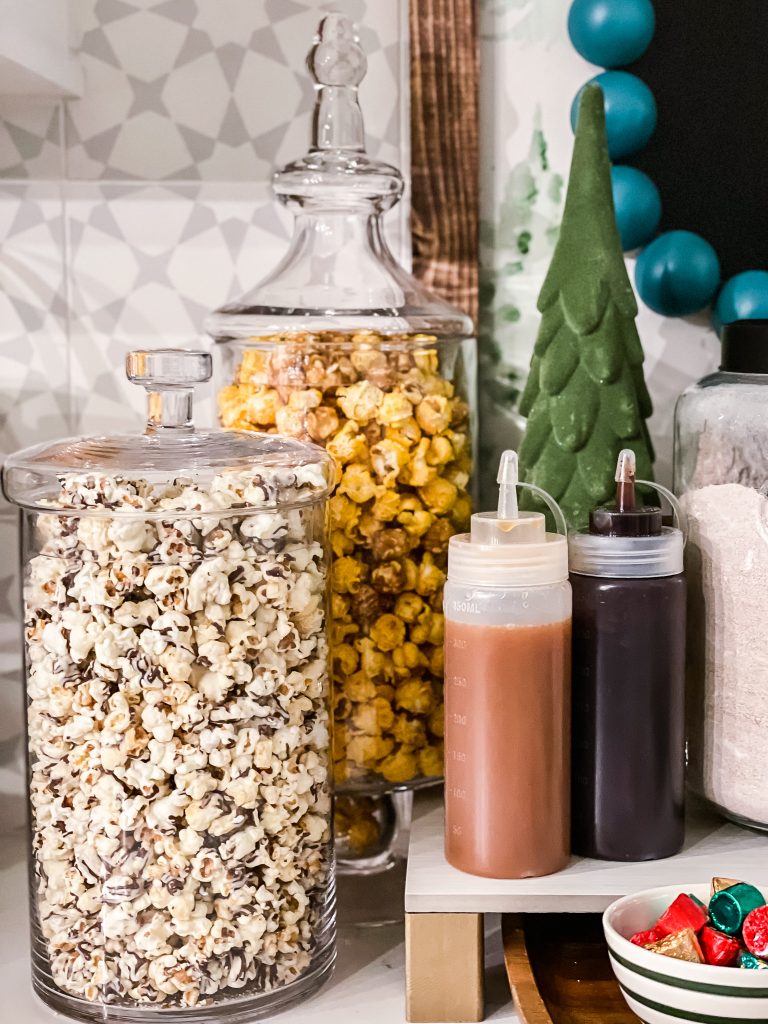
Jump to RecipeHot Cocoa Toppings
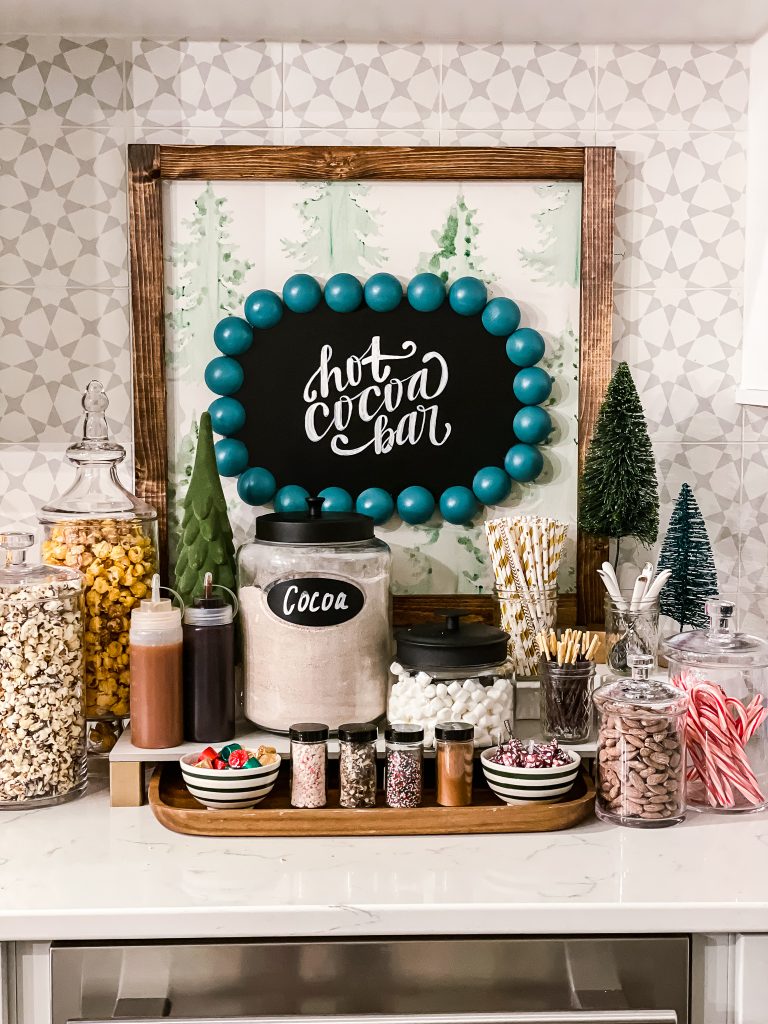
We prefer to store our (non-liquid) toppings in glass vessels to make them easy to access and identify. I typically choose mason or spice jars so lids can easily be added or removed. We use plastic squeeze bottles for sauces and small serving dishes for extra treats.
Topping Ideas:
- Marshmallows
- Whipped Cream
- Chocolate Syrup
- Caramel Syrup
- Mini Chocolate Chips
- White Chocolate Chips
- Crushed Peppermint
- Candy Canes or Peppermint Spoons
- Sprinkles
- Cinnamon Powder
- Cinnamon Sticks
- Cookie Sticks
- Milk Straws
- Seasonal Chocolates or Truffles

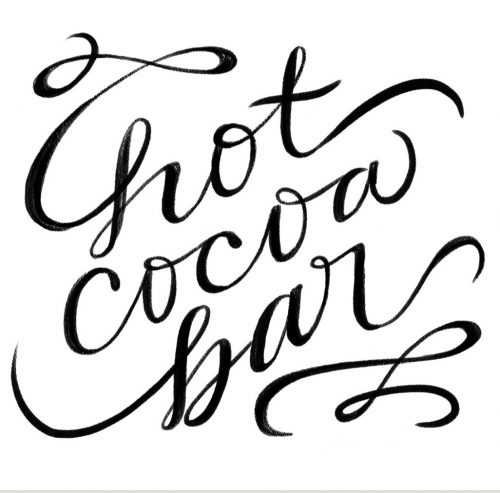
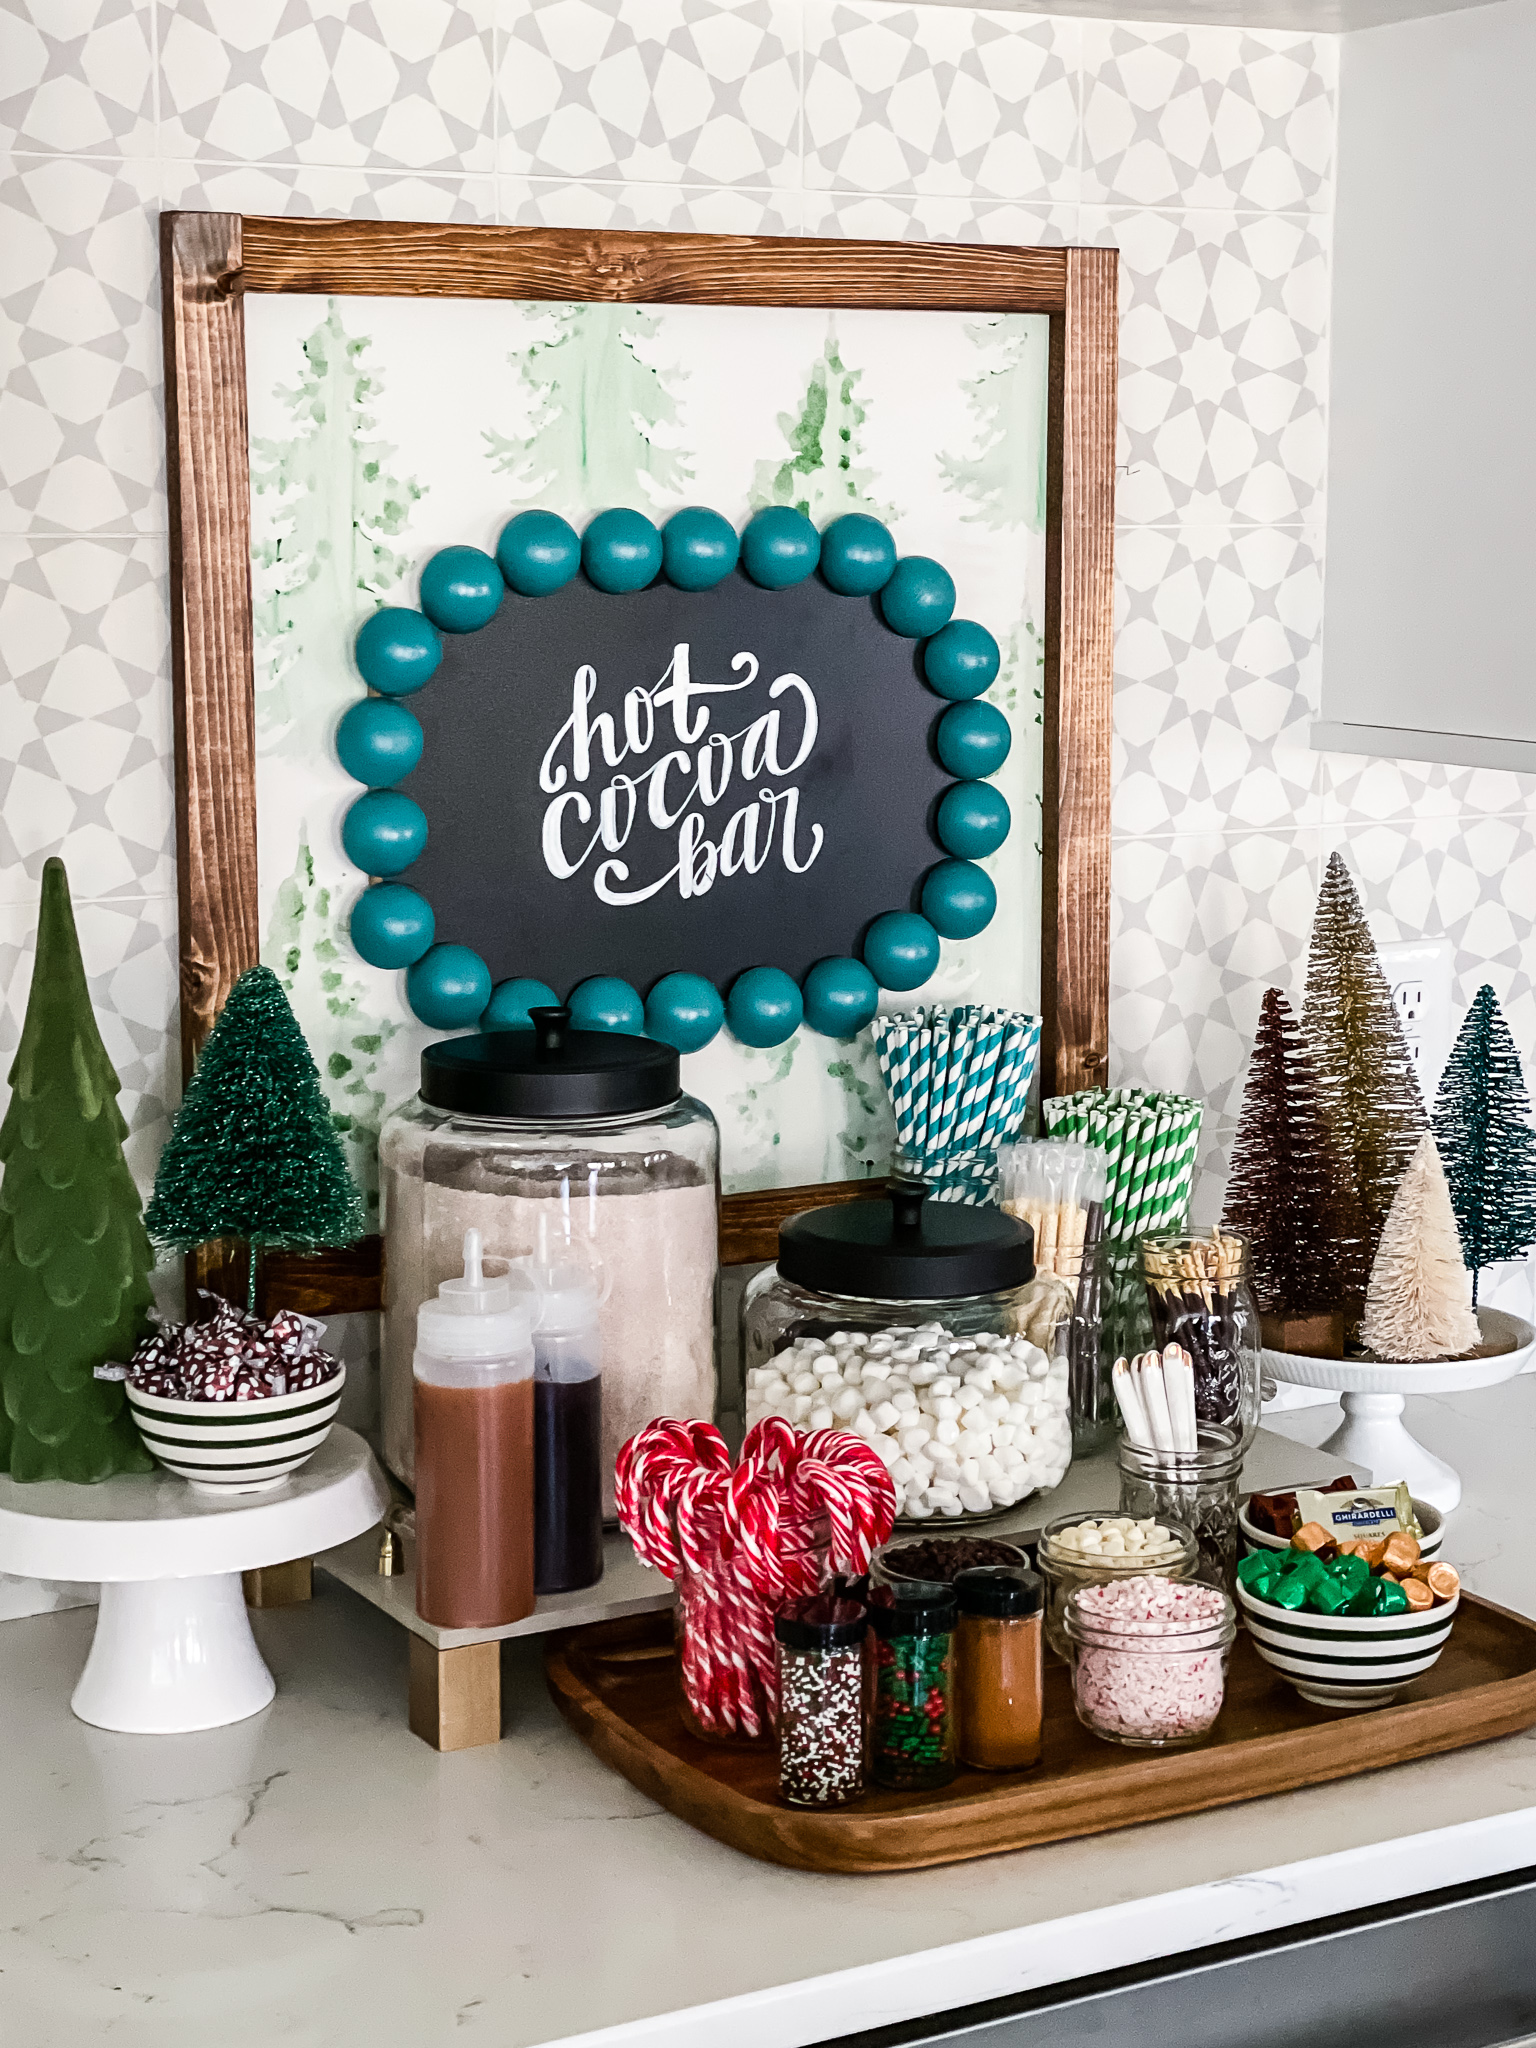
Hot Cocoa Bar Sign
Every great hot cocoa bar needs a great hot cocoa bar SIGN! In the past, I have framed a Microsoft Word document or used a vintage sign from a local thrift store. While they were good options at the time, this year I wanted something that was more my own.
Luckily, I have an amazing artist friend who helped me to create a collection of printable hot cocoa bar signs to share with YOU! Simply purchase, print and frame! You can use code HHL20 for 20% off!
Hot Cocoa Bar Styling Tips
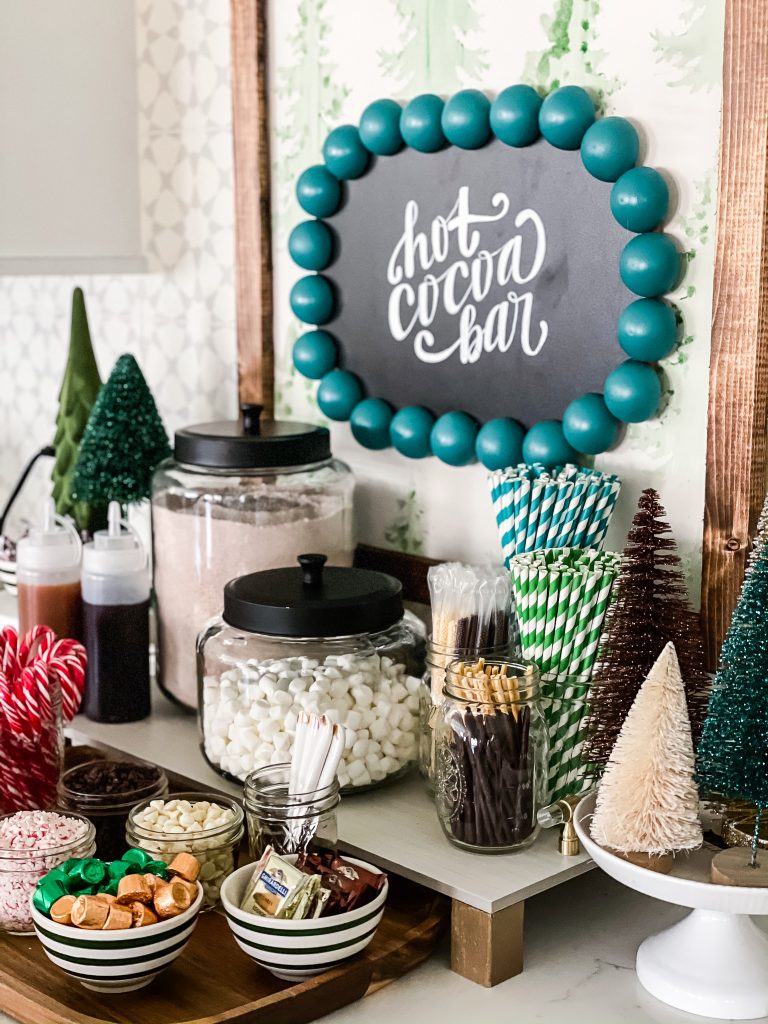
Create A Base Display
Use a single large tray or several serving trays and pedestals to display the cocoa bar. This year I made a footed tray out of a piece of leftover 12″x24″ tile to achieve a tiered look! You can find the tutorial for my DIY Footed Tile Tray HERE.
I completed the bottom tier of the display with THIS ACACIA SERVING TRAY.
Decorative Touches
An optional but fun element is to use cake stands to anchor the sides of the base display. Work with a variety of velvet and bottle brush trees (or other seasonal decor) to bring texture and color to the space.
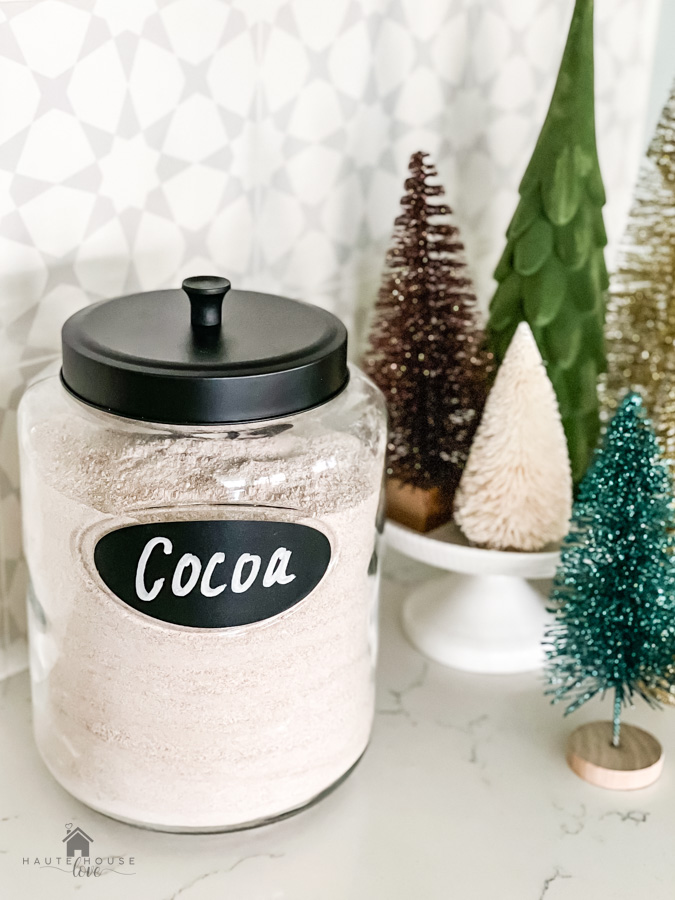
Storage & Serving
Chocolate candies are held in MINI STRIPED SERVING BOWLS and sauces are stored in PLASTIC SQUEEZE BOTTLES
Our cocoa mix and marshmallows are stored in large glass airtight containers with pull-off lids.
I suggest adding toppings to clear glass jars with lids. This way each topping is easy to identify and can be sealed when the bar is not in use.
Don’t Forget MUGS!!
Mugs are another must-have! We use a versatile plain white but feel free to have fun with it if your style desires! Ours aren’t pictured but I have them displayed on a tiered tray between the cocoa bar and our Keurig machine for easy hot water dispersion.
Here are a few simple and holiday-inspired mug ideas.
Finishing Touches
I love adding paper straws and little stir spoons as finishing touches. Display them in glass containers a little shorter than length so they add a fun pop of color!
THE COCOA RECIPE
I have been using this cocoa recipe for the past 4 years and it is truly the BEST mix out there!! The ingredients are easy to find at your local grocery store and make a HUGE portion! We typically double or triple the recipe to make it last longer!
Feel free to modify proportions if you want a sweeter, creamier, or more chocolaty cocoa.
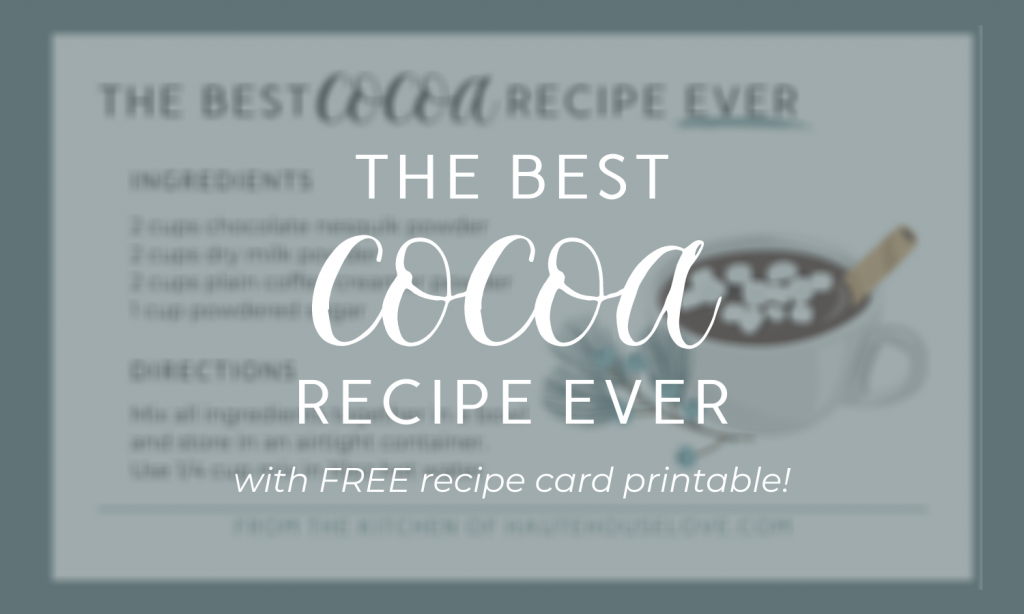
…and don’t forget to print your FREE RECIPE CARD!!
The BEST Hot Cocoa Recipe
Ingredients
Equipment
Method
- Layer ingredients on top of one another in a bowl.
- Stir with a slotted spoon to combine.
- Store in an airtight container.
- Use 1/4 cup of mix per 10oz cup of hot water.
- Add toppings as desired (not included in nutrition info)
The Cocoa Bar Over the Years
Hot Cocoa Bar – 2021 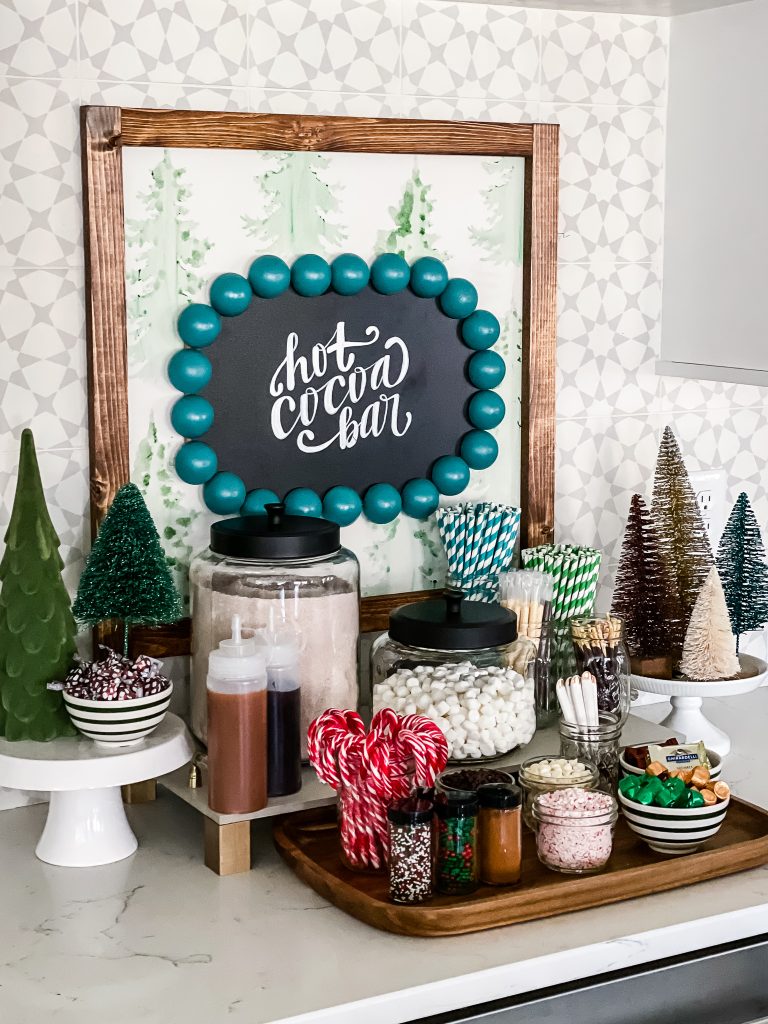
Hot Cocoa Bar – 2020
I cant wait to see all of the fabulous cocoa bars this year!! If you feel inspired by this post take a photo and tag me on Instagram! I would love to share your cocoa creations with my followers!
Happy COCOA Making!!
SEE MORE ON THE BLOG
Airbnb Arizona arizona rentals basement bar design blog hop Budget Friendly christmas gifts crafts decor DIY diy projects easy diy FAQs fashion favorite things fitness Friday Faves gardening Gift Guide home decor home decor ideas home design home improvement home organization How To Jeffrey court kitchen design living room modern boho most requested links Organization organization ideas paint Paint Colors peel and stick wallpaper Random Thoughts recipes scottsdale arizona Sherwin Williams the weekender this week's content this week's FAQs travel vacation rental wallpaper