this post contains affiliate links
In 2020 I picked up a power tool for the first time and decided to become FEARLESS!
My mission in 2021 is to take the knowledge and skills I learned last year and share the fundaments with you.
I will be teaching 10 basic projects this year in INSTAGRAM STORIES and then sharing the full tutorials here on the blog.
By the end of 2021, my hope is that you have the confidence to take on many types of building projects in your own home! If you’re looking for more suggestions from me on where to begin with power tools, check out The 5 Best Power Tools for DIY Beginners.
Building a simple wood PICTURE frame
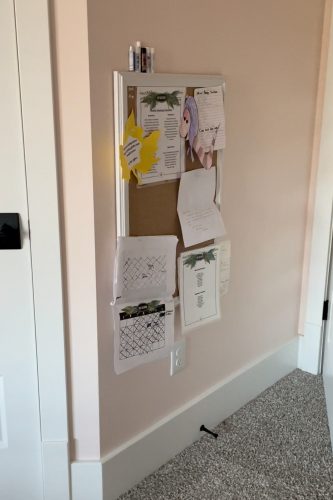
Before 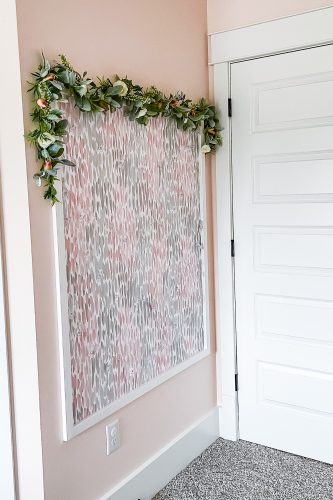
After
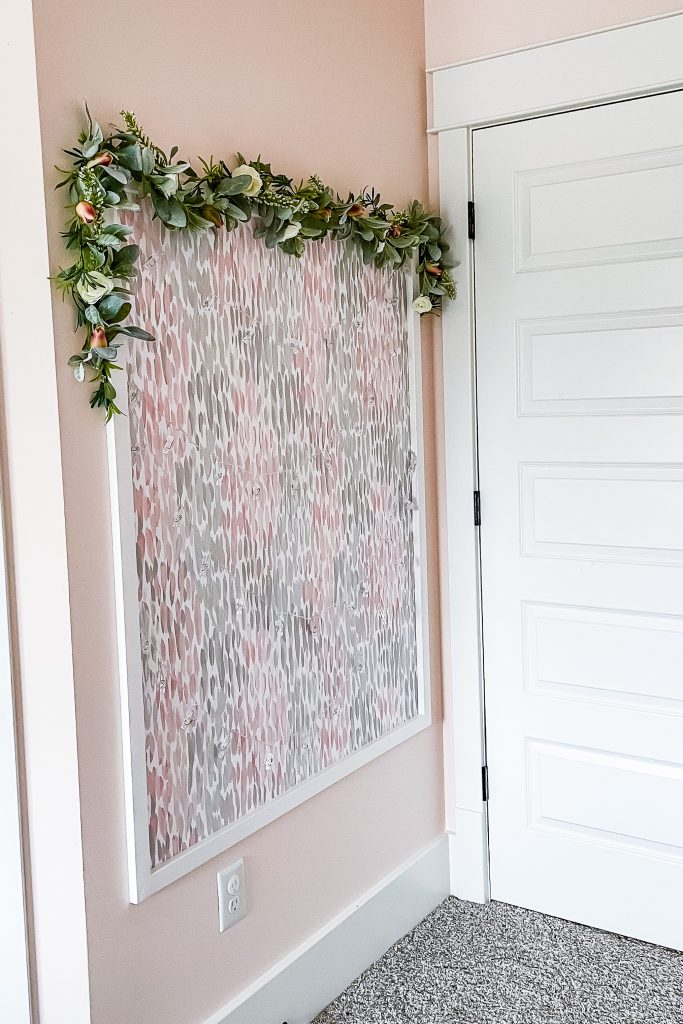
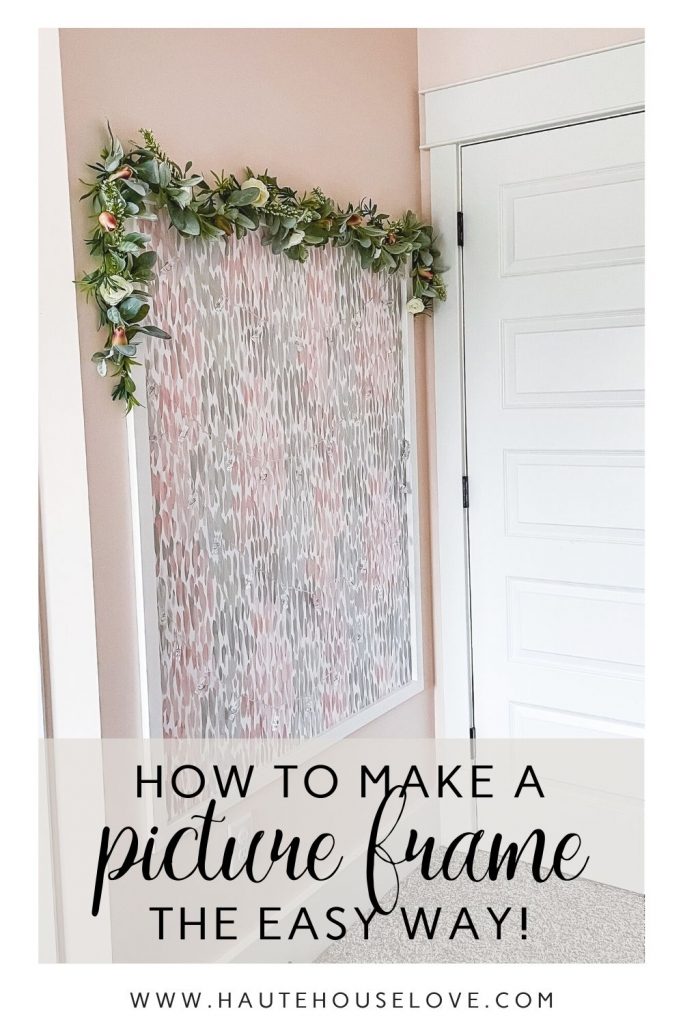
In this blog post, I’m going to walk you through the steps that I used to build out a large wood frame on a wall with a fabulous peel-and-stick wallpaper to create a giant custom picture frame for my daughter’s room.
The fundamentals of this picture frame project are great because they can apply to any type of frame. Whether you are building a trim frame on a wall or simply making a picture frame for a piece of wood or canvas, the steps are nearly identical.
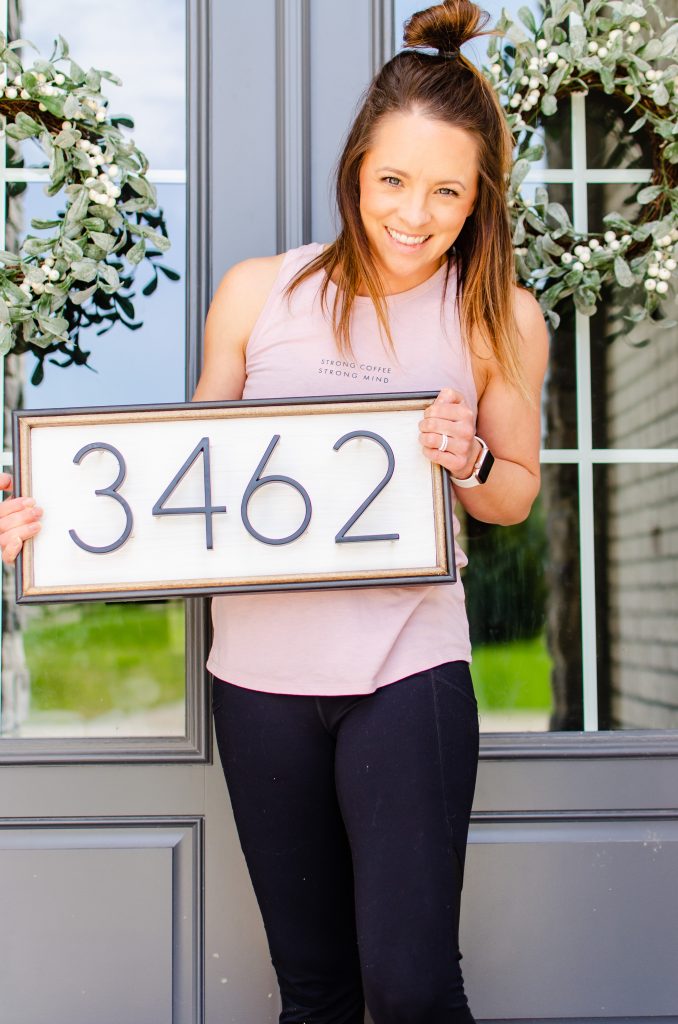
The only difference is the installation of the frame and the finishing touches. If you want to see a previous project where I built a small wood frame for a sign, hop on over to my DIY House Number Sign post!
Gather Equipment and Materials
Before you begin, you will want to make sure that you have the necessary equipment and materials for this project. I’ve listed the important equipment and materials that I used for this specific project and they will pretty much be the same for any wood frame project that you are building.
EQUIPMENT:
- Miter Saw
- Miter Saw Stand
- Measuring Tape
- Speed Square
- Sharp Pencil
- Brad Nailer
- Wood Clamps
- Level / Laser Level
- Safety Equipment (eyewear + mask)
- Stud Finder
MATERIALS:
- Lumber Boards of Choice (Pine, Poplar or MDF)
- Brad Nails
- Wood Glue
- Spackling / Wood Filler / Caulk
- Paint or Stain
- Painter’s Tape
- Peel and Stick Wallpaper (specific to this project)
Step 1 – Take Measurements
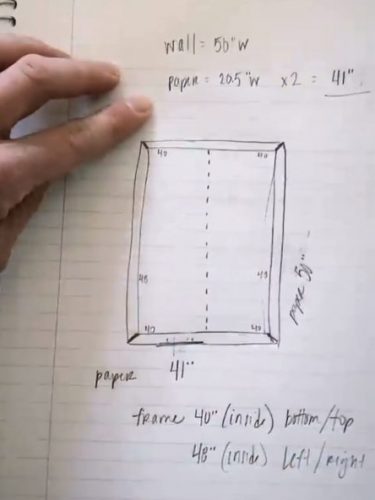
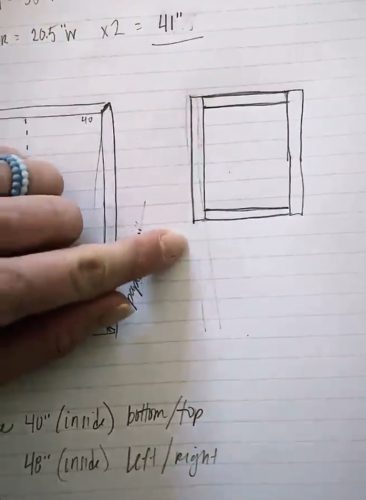
Any type of frame that you make will have custom measurements specific to your project. When taking measurements, it’s important to consider the width and length of either the wall space you are working with or the material you are wanting to surround.
I typically measure my space first and write out those dimensions before moving on to my rough drawings and project measurements to create my cut list.
When measuring, decide on your outside measurements first, then subtract the width of your piece of wood on each side in order to find your inside measurements. (And always double-check your math!)
Step 2 – Make Cuts
I love having a miter saw on hand for these types of projects because it allows me to make several different types of cuts (straight, mitered (angled cuts), and bevel (slanted cuts).
For my frame project, I’m going to be making some mitered cuts, but it’s also possible to create a wooden frame with “butt joints” – which basically means the pieces of wood will butt up against each other without making any angled cuts to get them to fit.
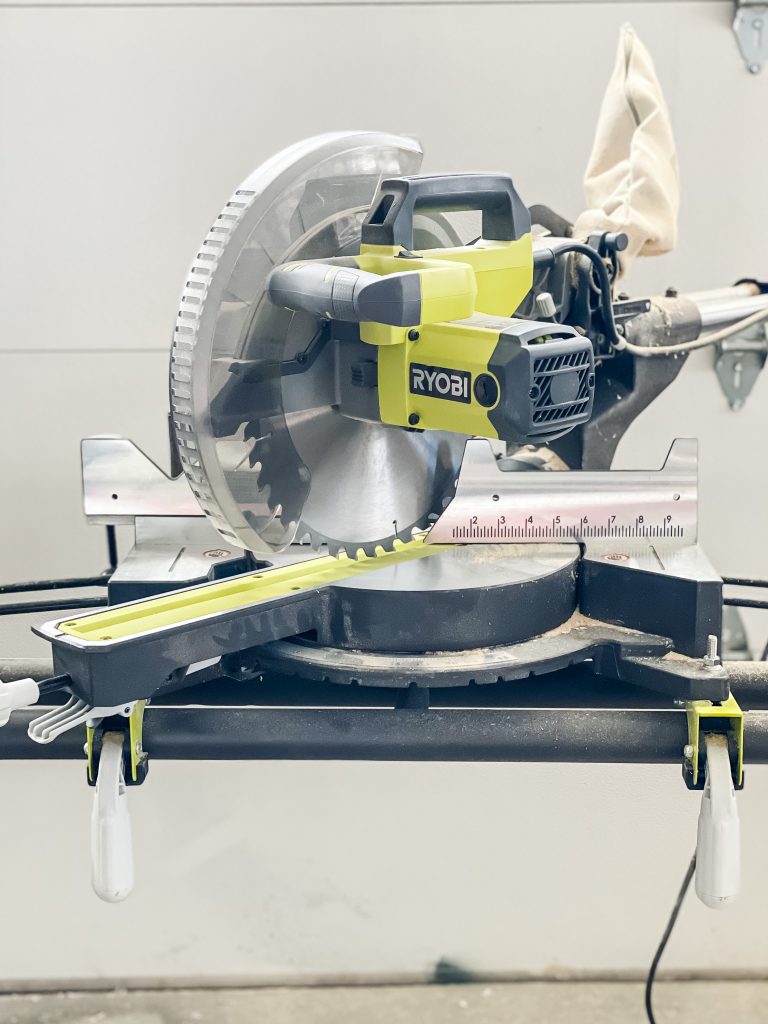
Once you are ready to cut your pieces of wood, you will use your miter saw to make your first 45-degree cut at the end of one piece of wood.
If you want to save a few steps, you can clamp together two pieces of wood and make your cuts through both pieces of wood at the same time.
If you do cut more than one piece of wood at a time, it’s important to line up the ends that are already cut so that they are perfectly aligned and then clamp the pieces of wood together so that nothing moves around while you are cutting.
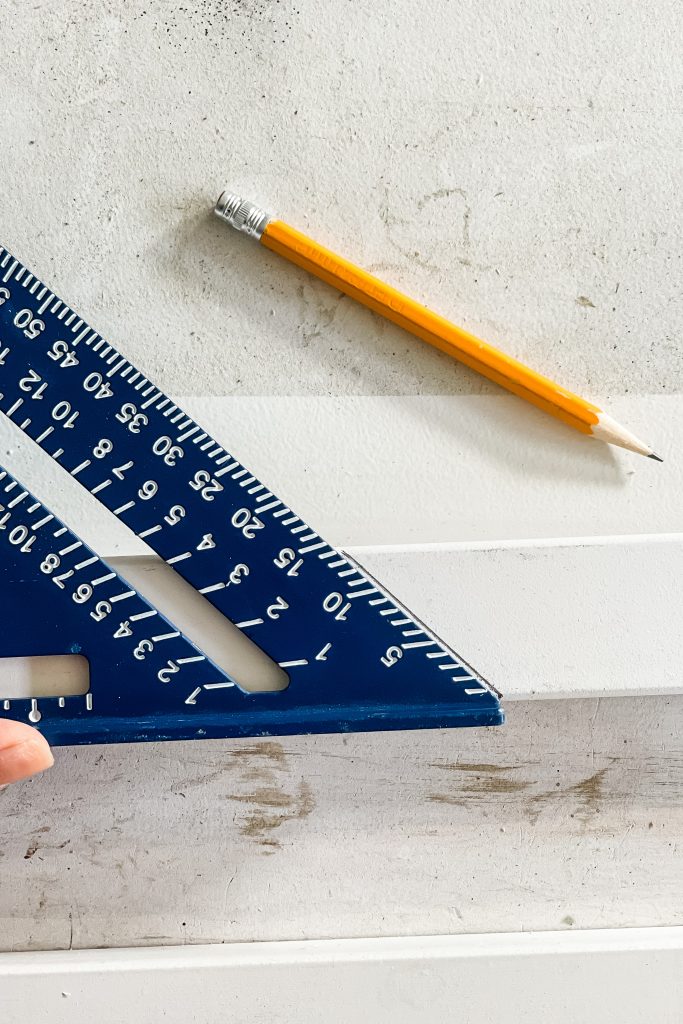
Using a measuring tape, measure from the inside cut (your bottom angle) and mark with a small pencil line where you want the bottom angle for the new cut. You can now use a speed square and line up the bottom of the piece of wood with the bottom of the speed square where you marked your first pencil line for your measurement and draw a line along the angle that you need to cut.
Repeat the process to cut the longer sides of your frame.
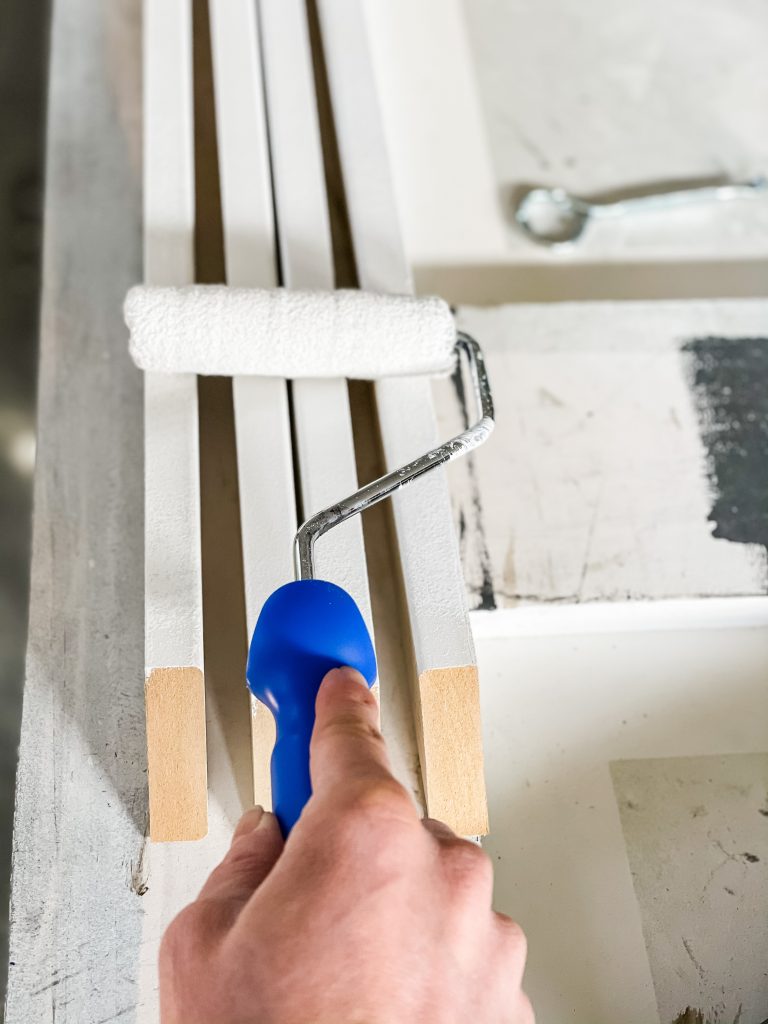
For this project, since I am installing a piece that is going to be painted, I am also planning ahead and painting two coats of finishing paint on the inside of my pieces of wood so that I don’t have to do any cutting in with paint on the frame once it is on the wall.
Step 3 – Install Your Frame
Once you have made all of your cuts, you are ready to install! If you are installing this frame directly onto a wall, make sure to locate and mark studs so that you can make a really secure install of your frame.
If this is going to be a permanent piece on your wall, you will want to use a bead of construction adhesive behind your frame. Since I want this project to be less permanent in case we want to take it down in a few years, I’m going to skip the adhesive and just use a brad nailer.
This will help to limit any drywall damage since I don’t want to keep it on the wall permanently.
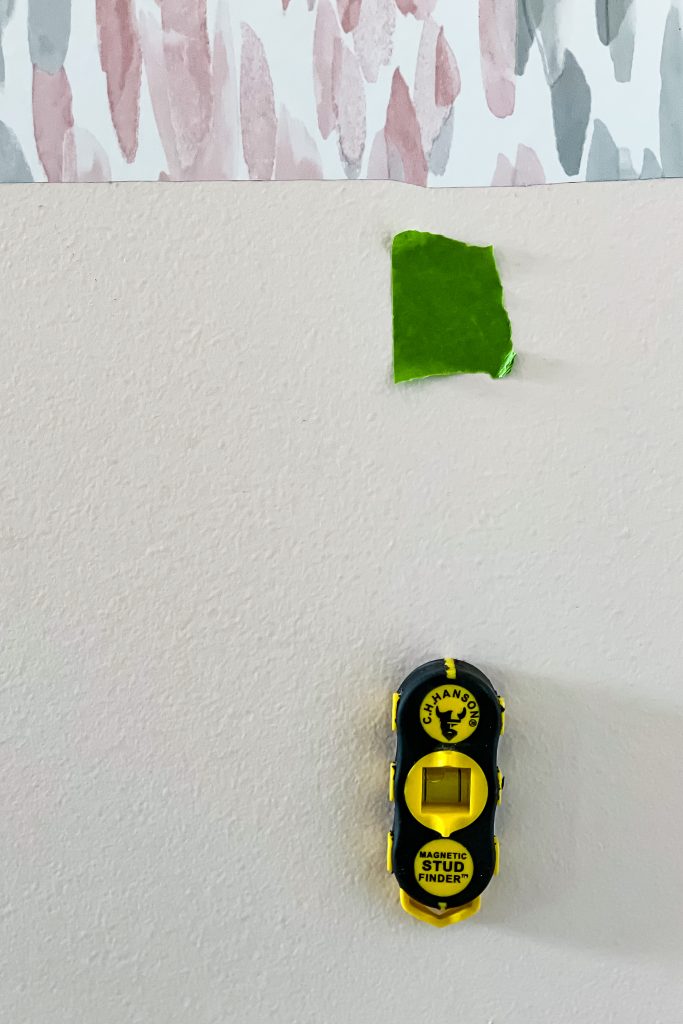
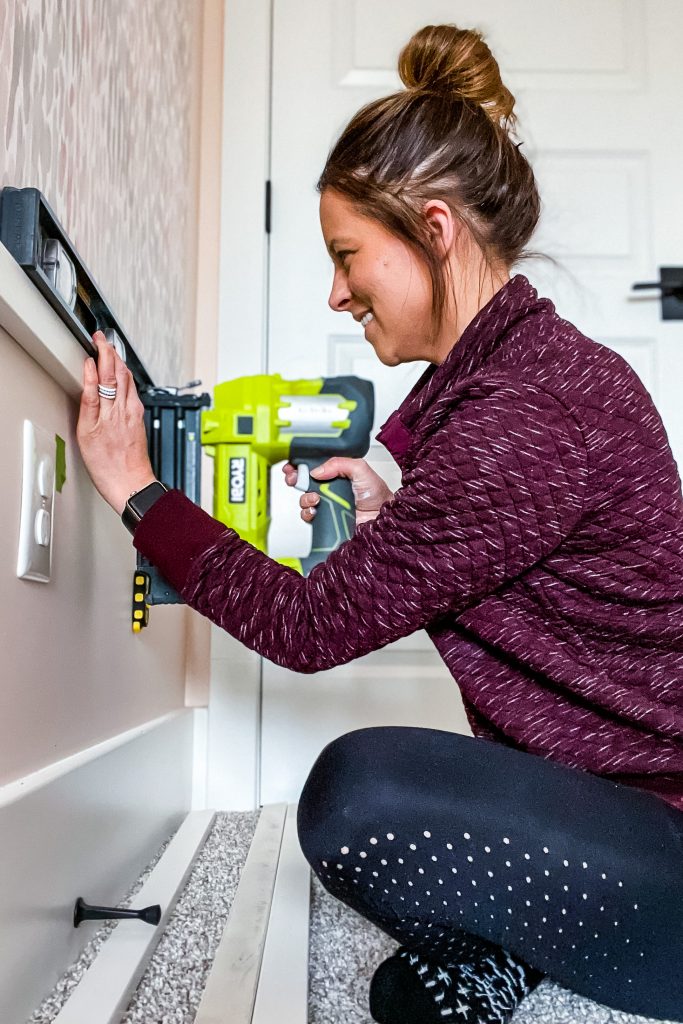
HOW TO FIGURE OUT WHAT SIZE NAILS TO USE FOR YOUR PROJECT
Measure the thickness of your wood for your frame, plus the thickness of your drywall, and use a nail that is going to be slightly longer than both of those added together! (Example: for this framing project, I used wood that was 3/4″ thick and our drywall is also 3/4″ thick. Added together, that’s 1.5″ – so I’ll be using 2″ nails. This helps to ensure that I have at least 0.5″ going into the studs.)
When installing the frame on the wall, I like to put my bottom board in place first, then the sides, and finish with the top of the frame. Use a level when you are holding up your bottom piece of the frame to ensure that you are placing your frame straight on the wall! You can also use your speed square to make sure the corners line up evenly. You will want to make sure that you nail your frame into the studs first before you nail in the rest of the frame.
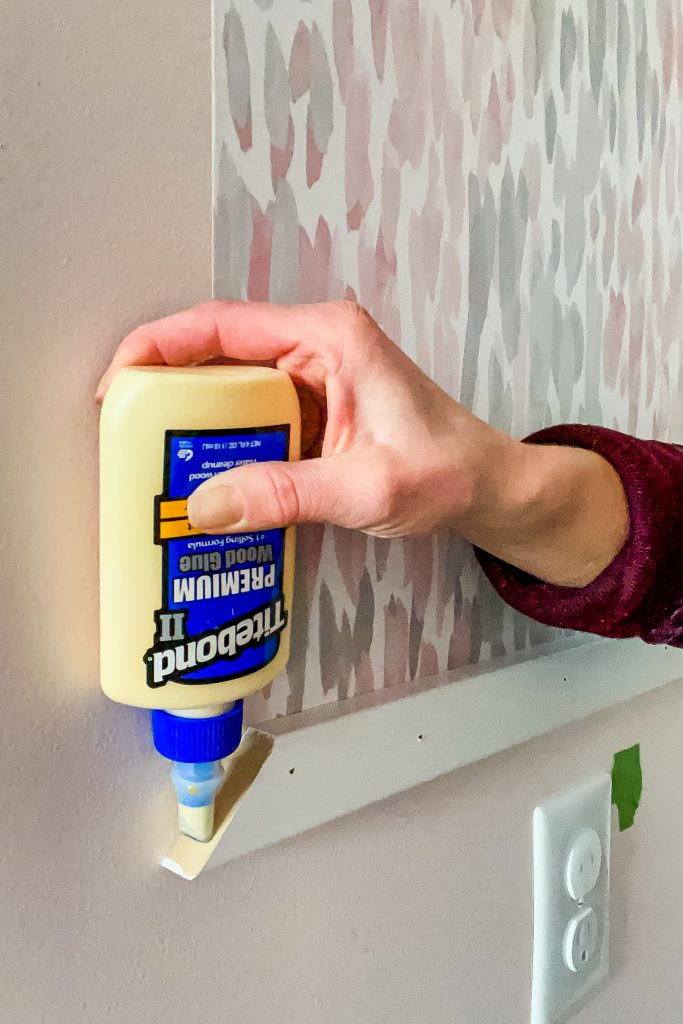
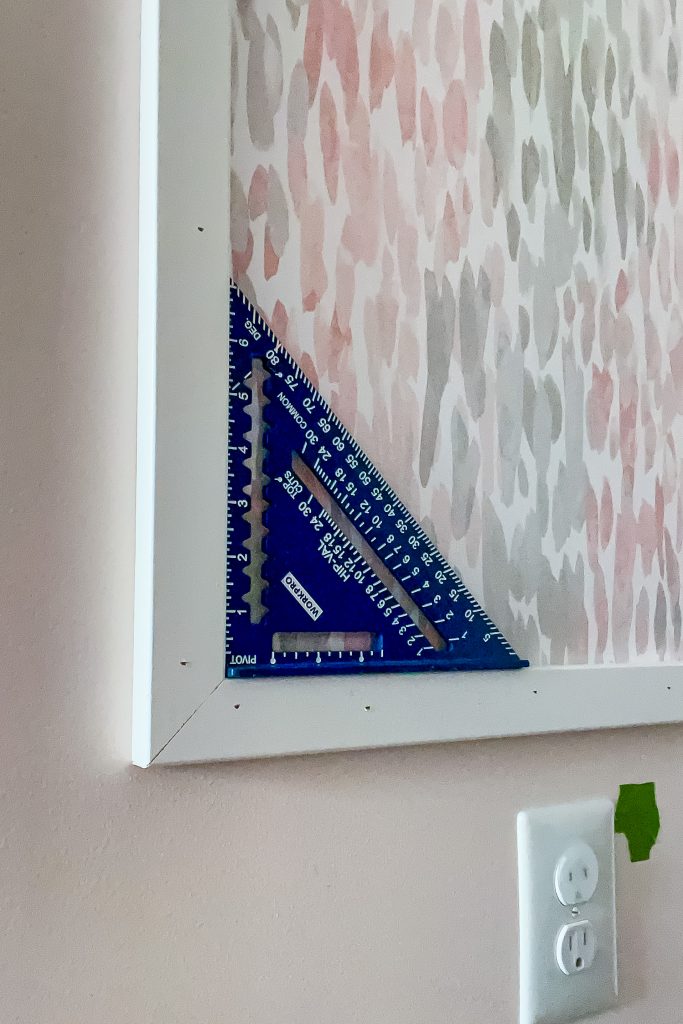
After you placed the bottom piece of your frame, you can work on the side pieces. I suggest using a small amount of wood glue on your corners before you nail them in to help them stay together.
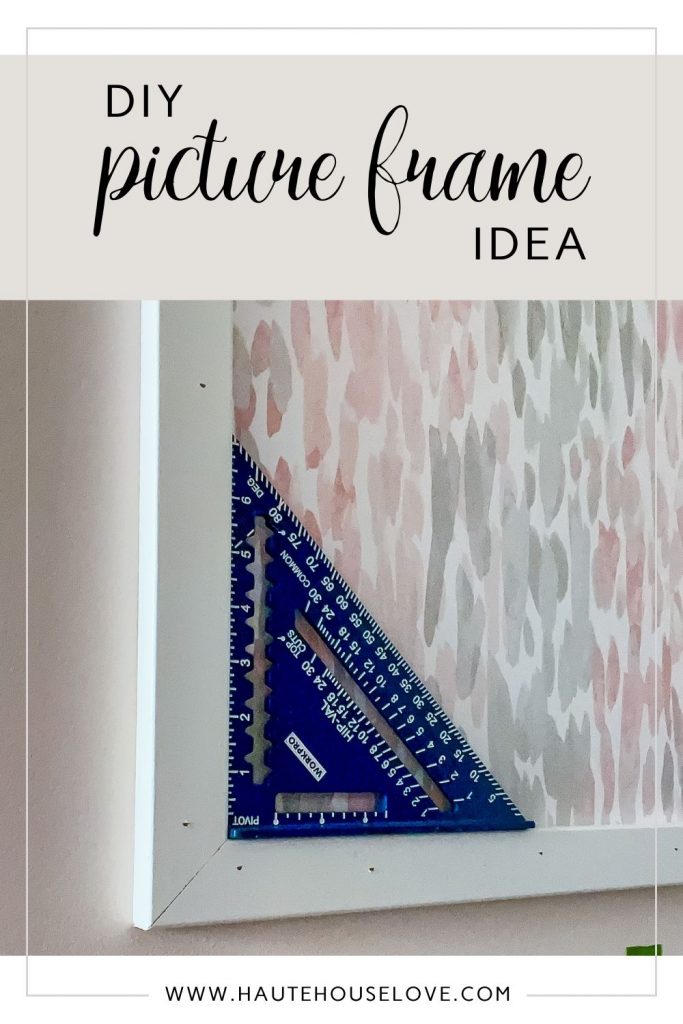
Use your speed square to check that your corners are lined up evenly by placing the speed square on the inside of your frame. These side pieces will stay secure using the pressure on the corners plus the nails that you are using.
Put two nails into the bottom of your side piece near the corner first. Then you can use a level to line up the top of the side piece and make sure everything is straight. Move on to your other side and repeat the process.
Once both sides are nailed into the wall, you can lay the top piece of your frame and make sure it fits snugly into the side pieces. Again, I used a small amount of wood glue in the corners before I started nailing the top of the frame.
When you are ready to nail it into place, start by nailing into the studs (like you did with the bottom piece). Check your level one more time and then add your final nails into the top piece to secure it into place!
Step 4 – Finish the frame
Now that your wood frame is installed on your wall, you will want to do some final touch-ups to the piece to bring it all together. To make sure that your frame is nice and smooth and finished off really well, you will want to add some wood filler to patch each of the nails. Once that is dry, you can sand it all down.
I really like to caulk the outside of the frame to give it a really uniform and professional finish, so I add painter’s tape to the wall around the outside of the frame before I add the caulk. T
his way I don’t have to worry about adding any touch-up paint to the wall. Depending on your project, you may want to consider caulking the inside of your frame as well. For my project with wallpaper behind my frame, I do not want to caulk on the inside of the frame because I don’t want to risk pulling up the wallpaper.
Using a small paintbrush and small roller, add a few coats of paint to your frame and give it time to dry before you clean it all up. Now you’ve got a beautiful new frame that you installed yourself!
STEP 5 – add Photo Clips & SWAG
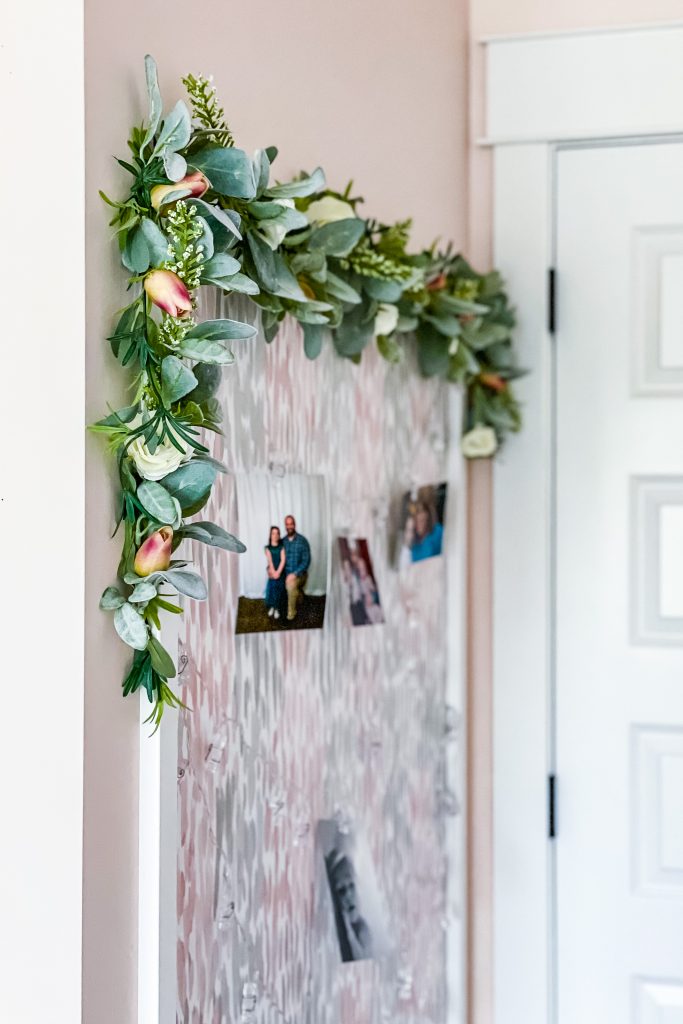
Since my daughter was planning on using this space to hang photos I added a strip of STRING LIGHT CLIPS to the board and secured them with push pins.
The STRING LIGHT CLIPS run on a battery pack that I secured to the wall with a VELCRO COMMAND STRIP.
To hide the battery pack I searched my basement decor closer for leftover floral. I attached two pieces of garland to the top of the frame with more push pins then plucked off the heads of a few FAUX FLORAL STEMS and attached them with hot glue. It’s the perfect finishing touch!
LET ME KNOW IN THE COMMENTS IF YOU DECIDE TO TRY THIS PROJECT!
Simple Wood Frame
Equipment
- miter saw
- measuring tape
- Speed Square
- Pencil
- Brad Nailer/Nails
- Wood Clamps
Materials
- lumber boards of choice pine. poplar or mdf
- brad nails
- wood glue
- spackling/wood filer/caulk
- paint/stain
Instructions
Gather Materials and Equipment
Step One – Take Measurements
- Any type of frame that you make will have custom measurements specific to your project. When taking measurements, it's important to consider the width and length of either the wall space you are working with or the material you are wanting to surround.
- I typically measure my space first and write out those dimensions before moving on to my rough drawings and project measurements to create my cut list.
- When measuring, decide on your outside measurements first, then subtract the width of your piece of wood on each side in order to find your inside measurements. (And always double-check your math!)
Step Two – Make Cuts
- Once you are ready to cut your pieces of wood, you will use your miter saw to make your first 45-degree cut at the end of one piece of wood. If you want to save a few steps, you can clamp together two pieces of wood and make your cuts through both pieces of wood at the same time. If you do cut more than one piece of wood at a time, it's important to line up the ends that are already cut so that they are perfectly aligned and then clamp the pieces of wood together so that nothing moves around while you are cutting.
- Using a measuring tape, measure from the inside cut (your bottom angle) and mark with a small pencil line where you want the bottom angle for the new cut. You can now use a speed square and line up the bottom of the piece of wood with the bottom of the speed square where you marked your first pencil line for your measurement and draw a line along the angle that you need to cut.
- Repeat the process to cut the longer sides of your frame.
Step Three – Install Your Frame
- Once you have made all of your cuts, you are ready to install! If you are installing this frame directly onto a wall, make sure to locate and mark studs so that you can make a really secure install of your frame. If this is going to be a permanent piece on your wall, you will want to use a bead of construction adhesive behind your frame. Since I want this project to be less permanent in case we want to take it down in a few years, I'm going to skip the adhesive and just use a brad nailer. This will help to limit any drywall damage since I don't want to keep it on the wall permanently.
- When installing the frame on the wall, I like to put my bottom board in place first, then the sides, and finish with the top of the frame. Use a level when you are holding up your bottom piece of the frame to ensure that you are placing your frame straight on the wall! You can also use your speed square to make sure the corners line up evenly. You will want to make sure that you nail your frame into the studs first before you nail in the rest of the frame.
- After you placed the bottom piece of your frame, you can work on the side pieces. I suggest using a small amount of wood glue on your corners before you nail them in to help them stay together. Use your speed square to check that your corners are lined up evenly by placing the speed square on the inside of your frame. These side pieces will stay secure using the pressure on the corners plus the nails that you are using. Put two nails into the bottom of your side piece near the corner first. Then you can use a level to line up the top of the side piece and make sure everything is straight. Move on to your other side and repeat the process.
- Once both sides are nailed into the wall, you can lay the top piece of your frame and make sure it fits snug into the side pieces. Again, I used a small amount of wood glue in the corners before I started nailing the top of the frame. When you are ready to nail it into place, start by nailing into the studs (like you did with the bottom piece). Check your level one more time and then add your final nails into the top piece to secure it into place!
Step Four – Final Touches
- Now that your wood frame is installed on your wall, you will want to do some final touch-ups to the piece to bring it all together. To make sure that your frame is nice and smooth and finished off really well, you will want to add some wood filler to patch each of the nails. Once that is dry, you can sand it all down.
- I really like to caulk the outside of the frame to give it a really uniform and professional finish, so I add painter's tape to the wall around the outside of the frame before I add the caulk. This way I don't have to worry about adding any touch-up paint to the wall. Depending on your project, you may want to consider caulking the inside of your frame as well. For my project with wallpaper behind my frame, I do not want to caulk on the inside of the frame because I don't want to risk pulling up the wallpaper.
- Using a small paintbrush and small roller, add a few coats of paint to your frame and give it time to dry before you clean it all up. Now you've got a beautiful new frame that you installed yourself!
Notes
SHARE ON PINTEREST!


The Comments
Deanna Critzman
Do you put anything under the peel and stick wallpaper? If it gets a lot of use you may damage the drywall behind it.