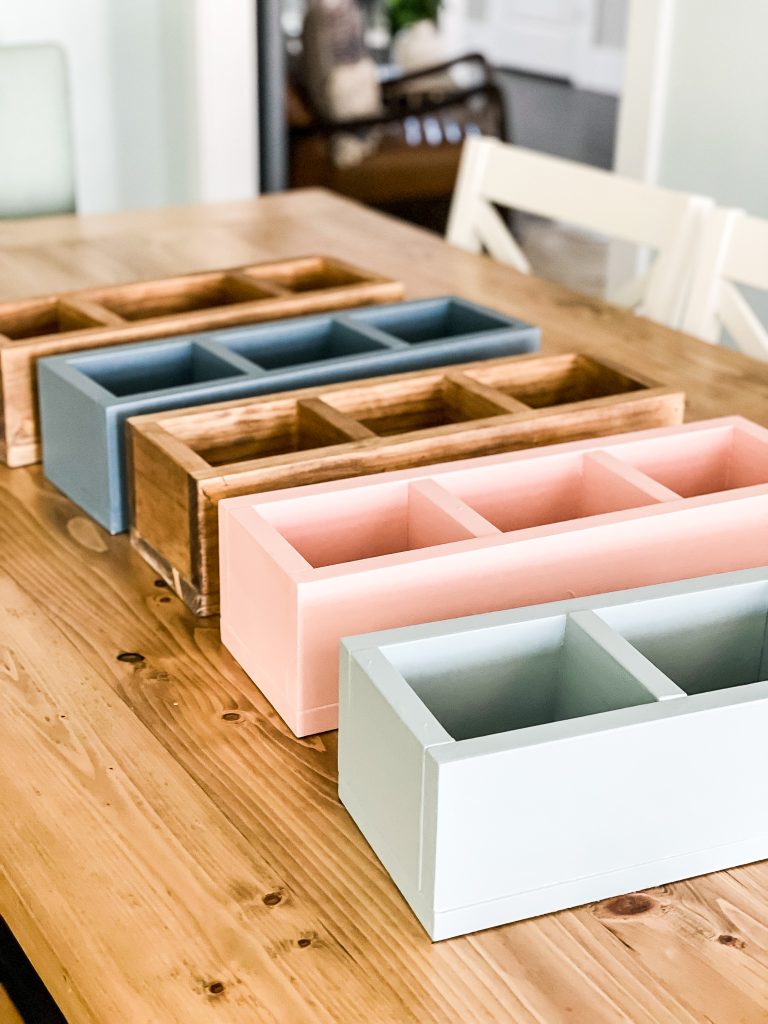
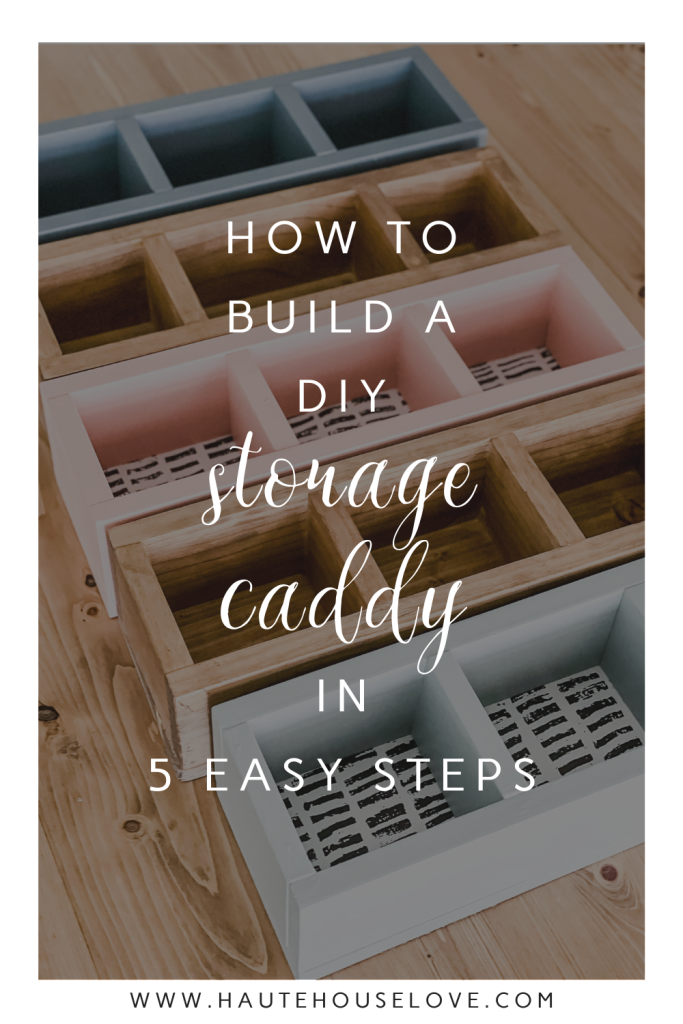
How To Build a DIY Storage Caddy in 5 Easy Steps
Have scrap wood laying around your garage? Try these woodworking plans for a DIY Storage Caddy with just a few hours of time and in 5 easy steps.
This year I’ve been on a mission to simplify the things in my home by purging and organizing.
One area that definitely needs some attention is the massive scrap woodpile in my garage. Leftovers from dozens of building projects that have wreaked havoc in a lonely corner of my workshop.
After doing a quick evaluation of what I had, I made a list of small projects that I could knock out quickly and this DIY STORAGE CADDY came to mind.
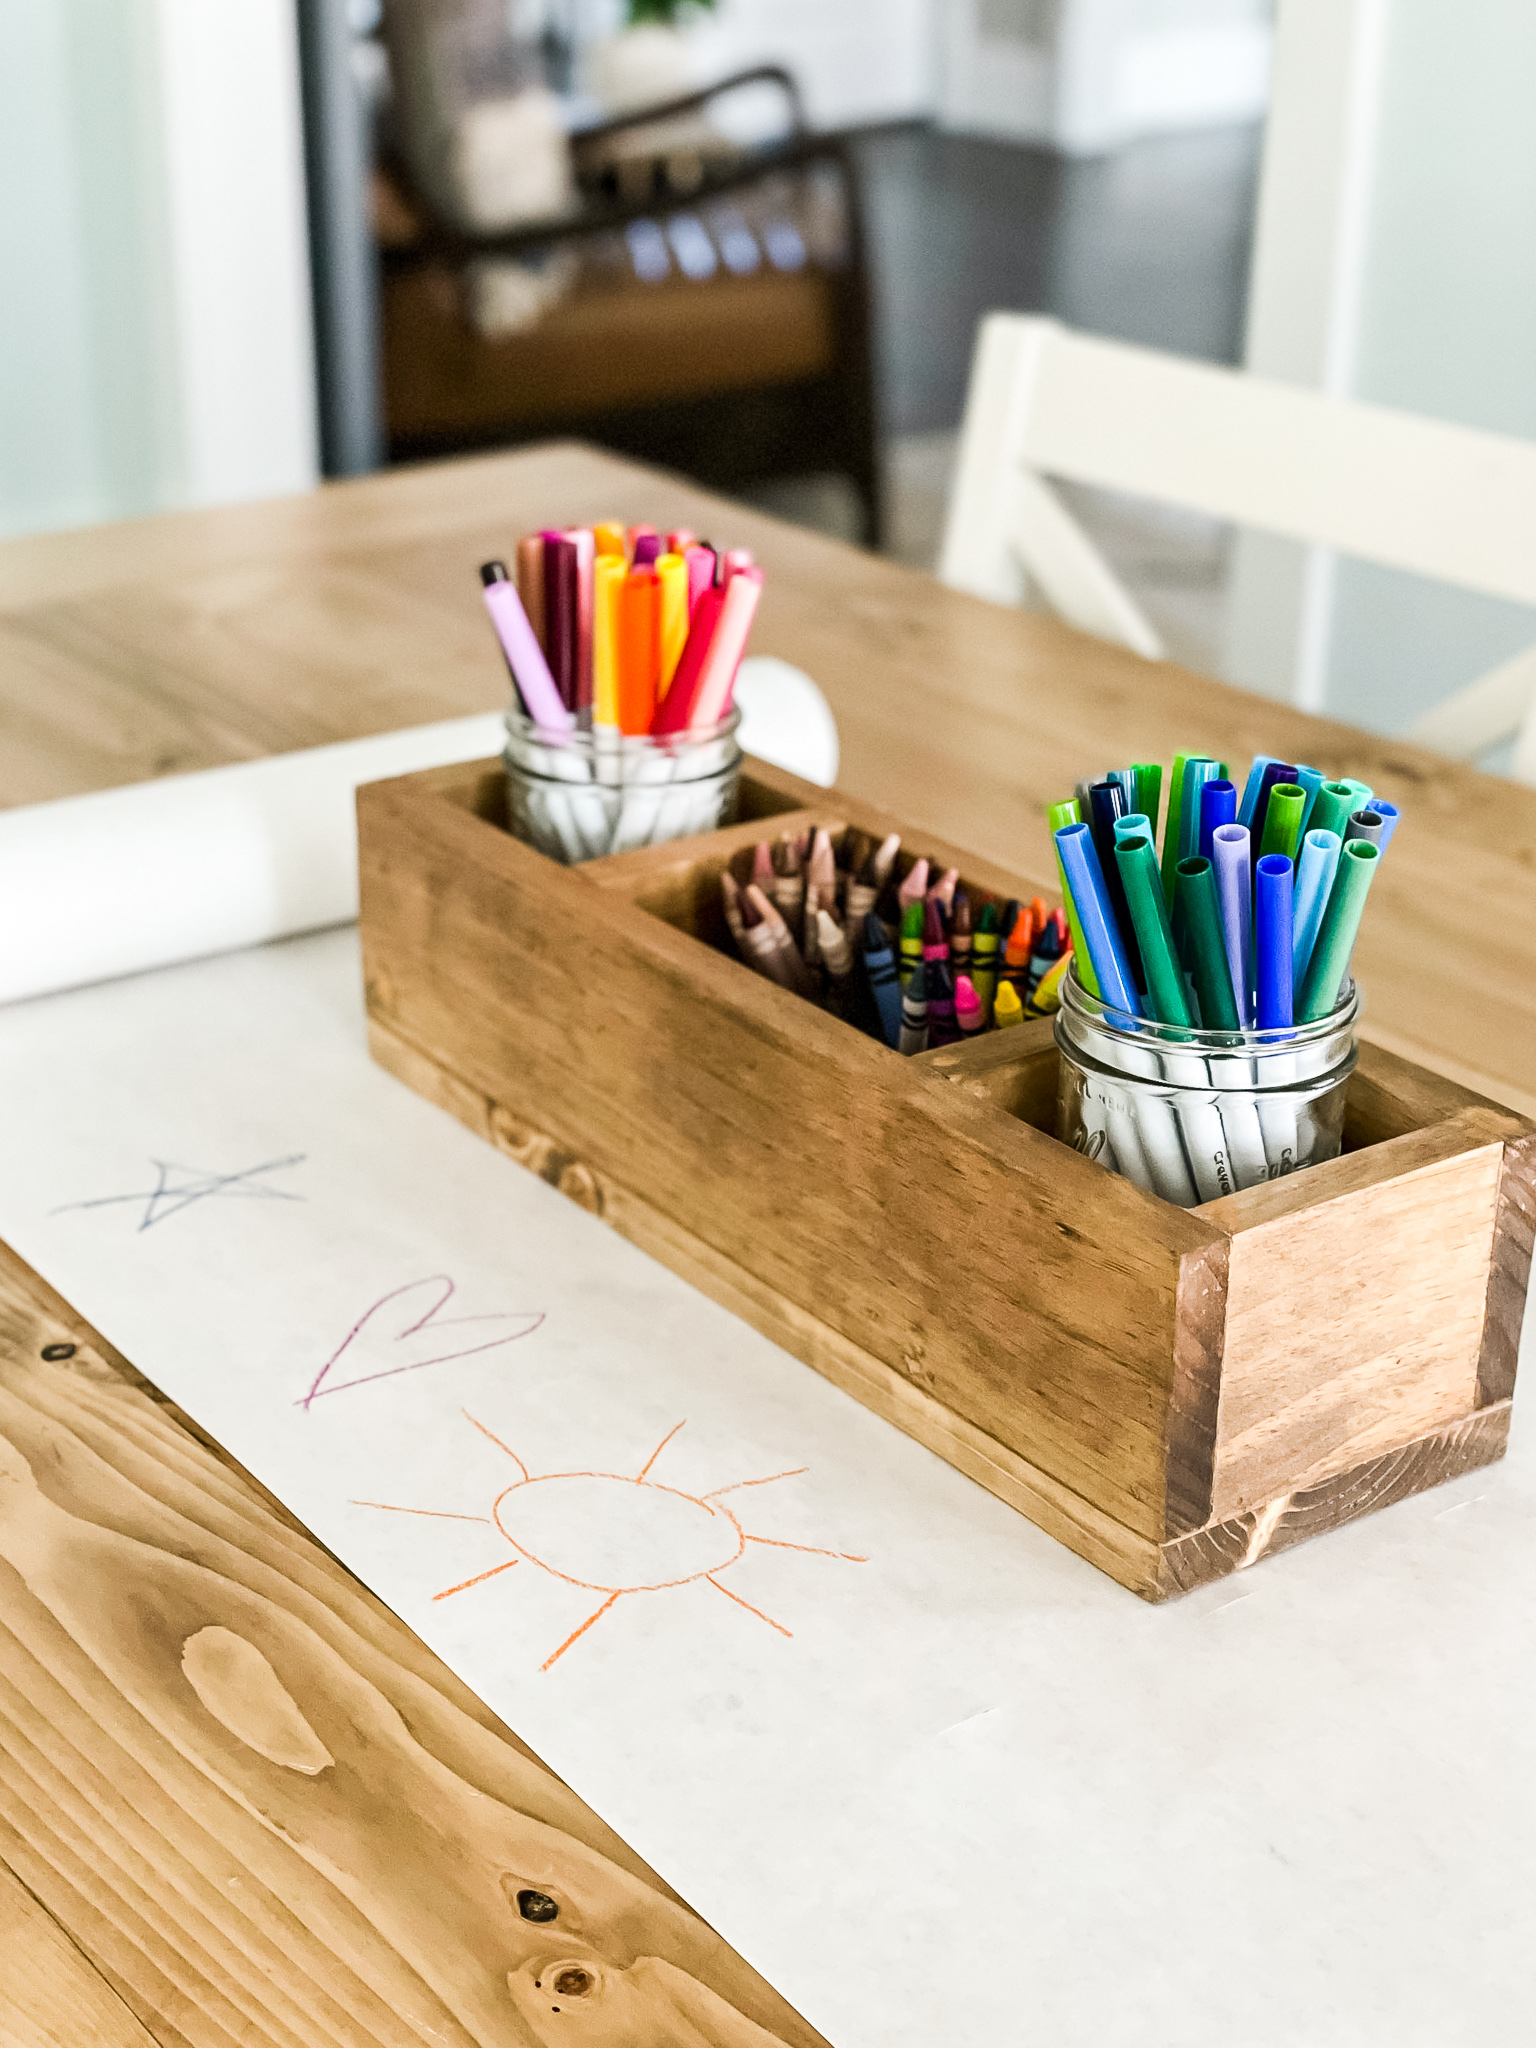
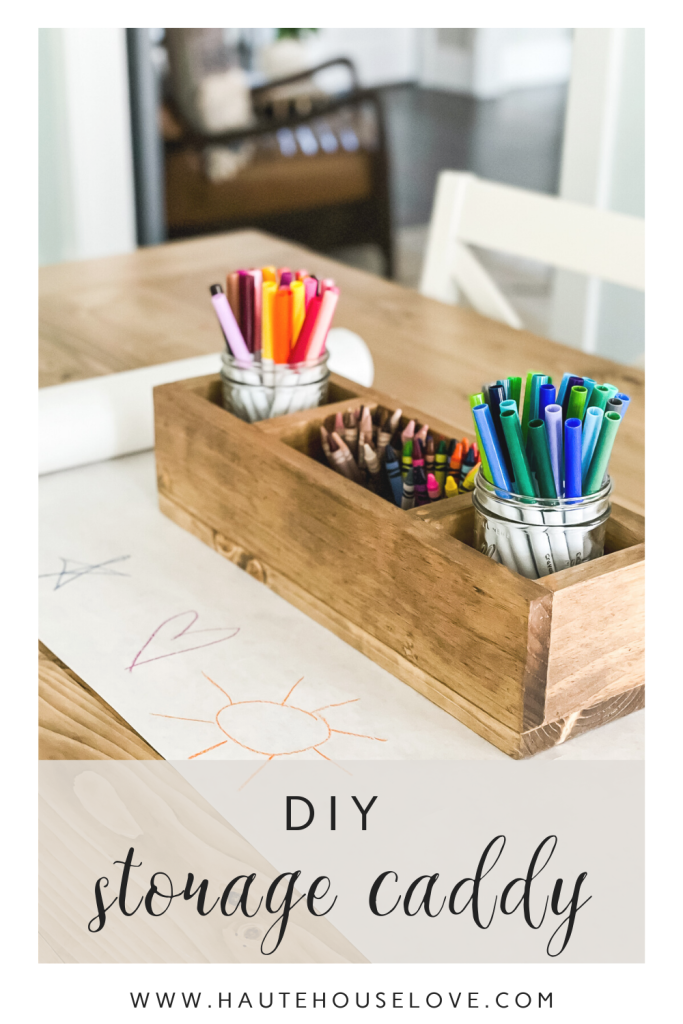
One of the things I get asked about a lot in our home is the art caddy that we use to store crayons, markers, glue, etc. Since I purchased it long before my woodworking days, it was always a challenge to source something similar when it was inquired in my inbox.
I knew it couldn’t be a difficult project, so with a free afternoon, and a few tools, I came up with this tutorial easy enough for the beginning woodworker.

Cut List:
1 – 1×6 pine board (cut to 17″ in length)
2 – 1×4 pine board (cut to 17″ in length)
4 – 1×4 boards (cut to 4″ in length)
Tools Needed:
Saw – a Miter Saw OR Circular Saw with a stop block will work perfectly for this project
Orbital Sander OR Sanding Blocks
Brad Nailer & Nails
Rubber Mallet
Bar Clamps and Corner Clamps
Wood Filler, Caulk (optional)
Paint Or Stain
SHOP SUPPLIES:

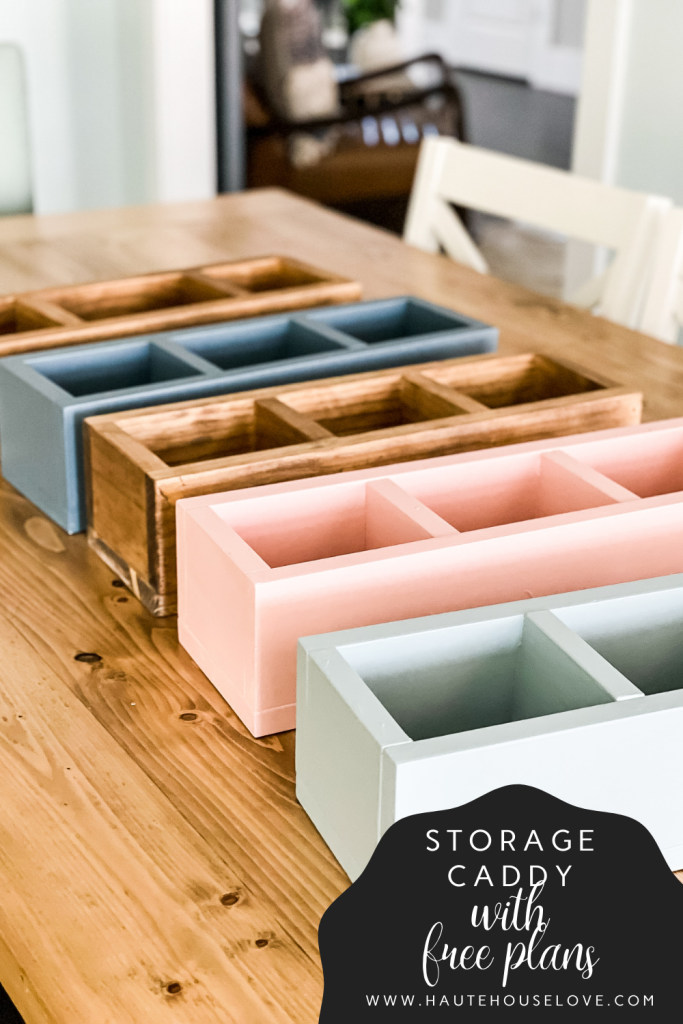
DIY Storage Caddy WOODWORKING PLANS:
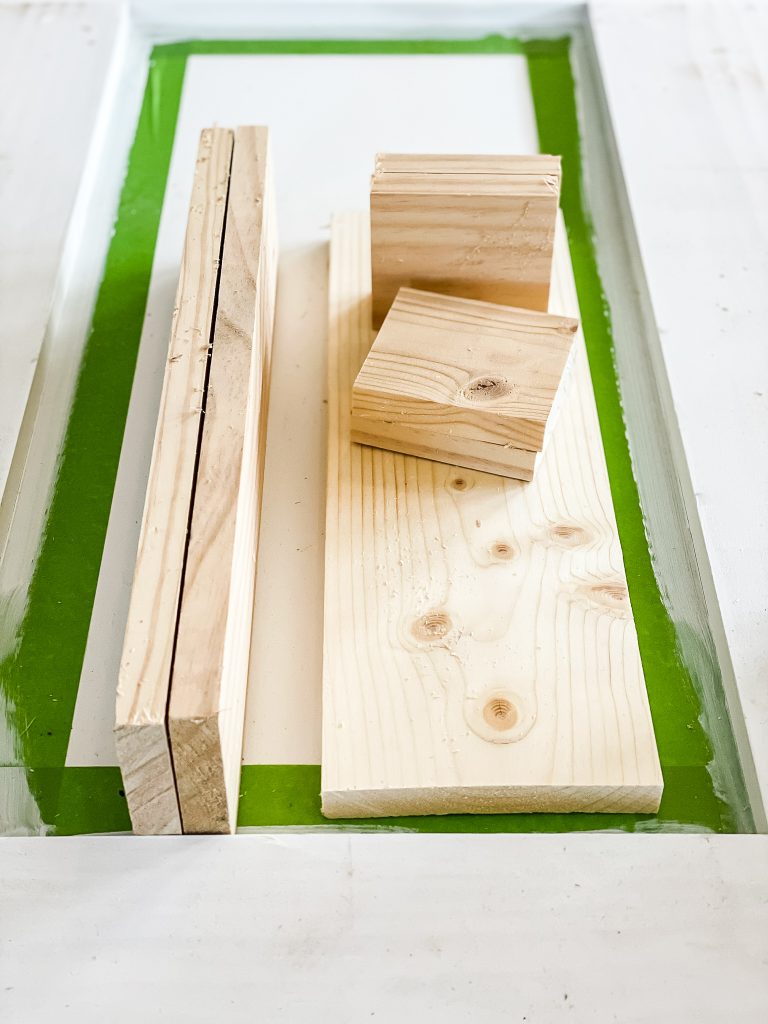
Step 1 – Prep the Wood

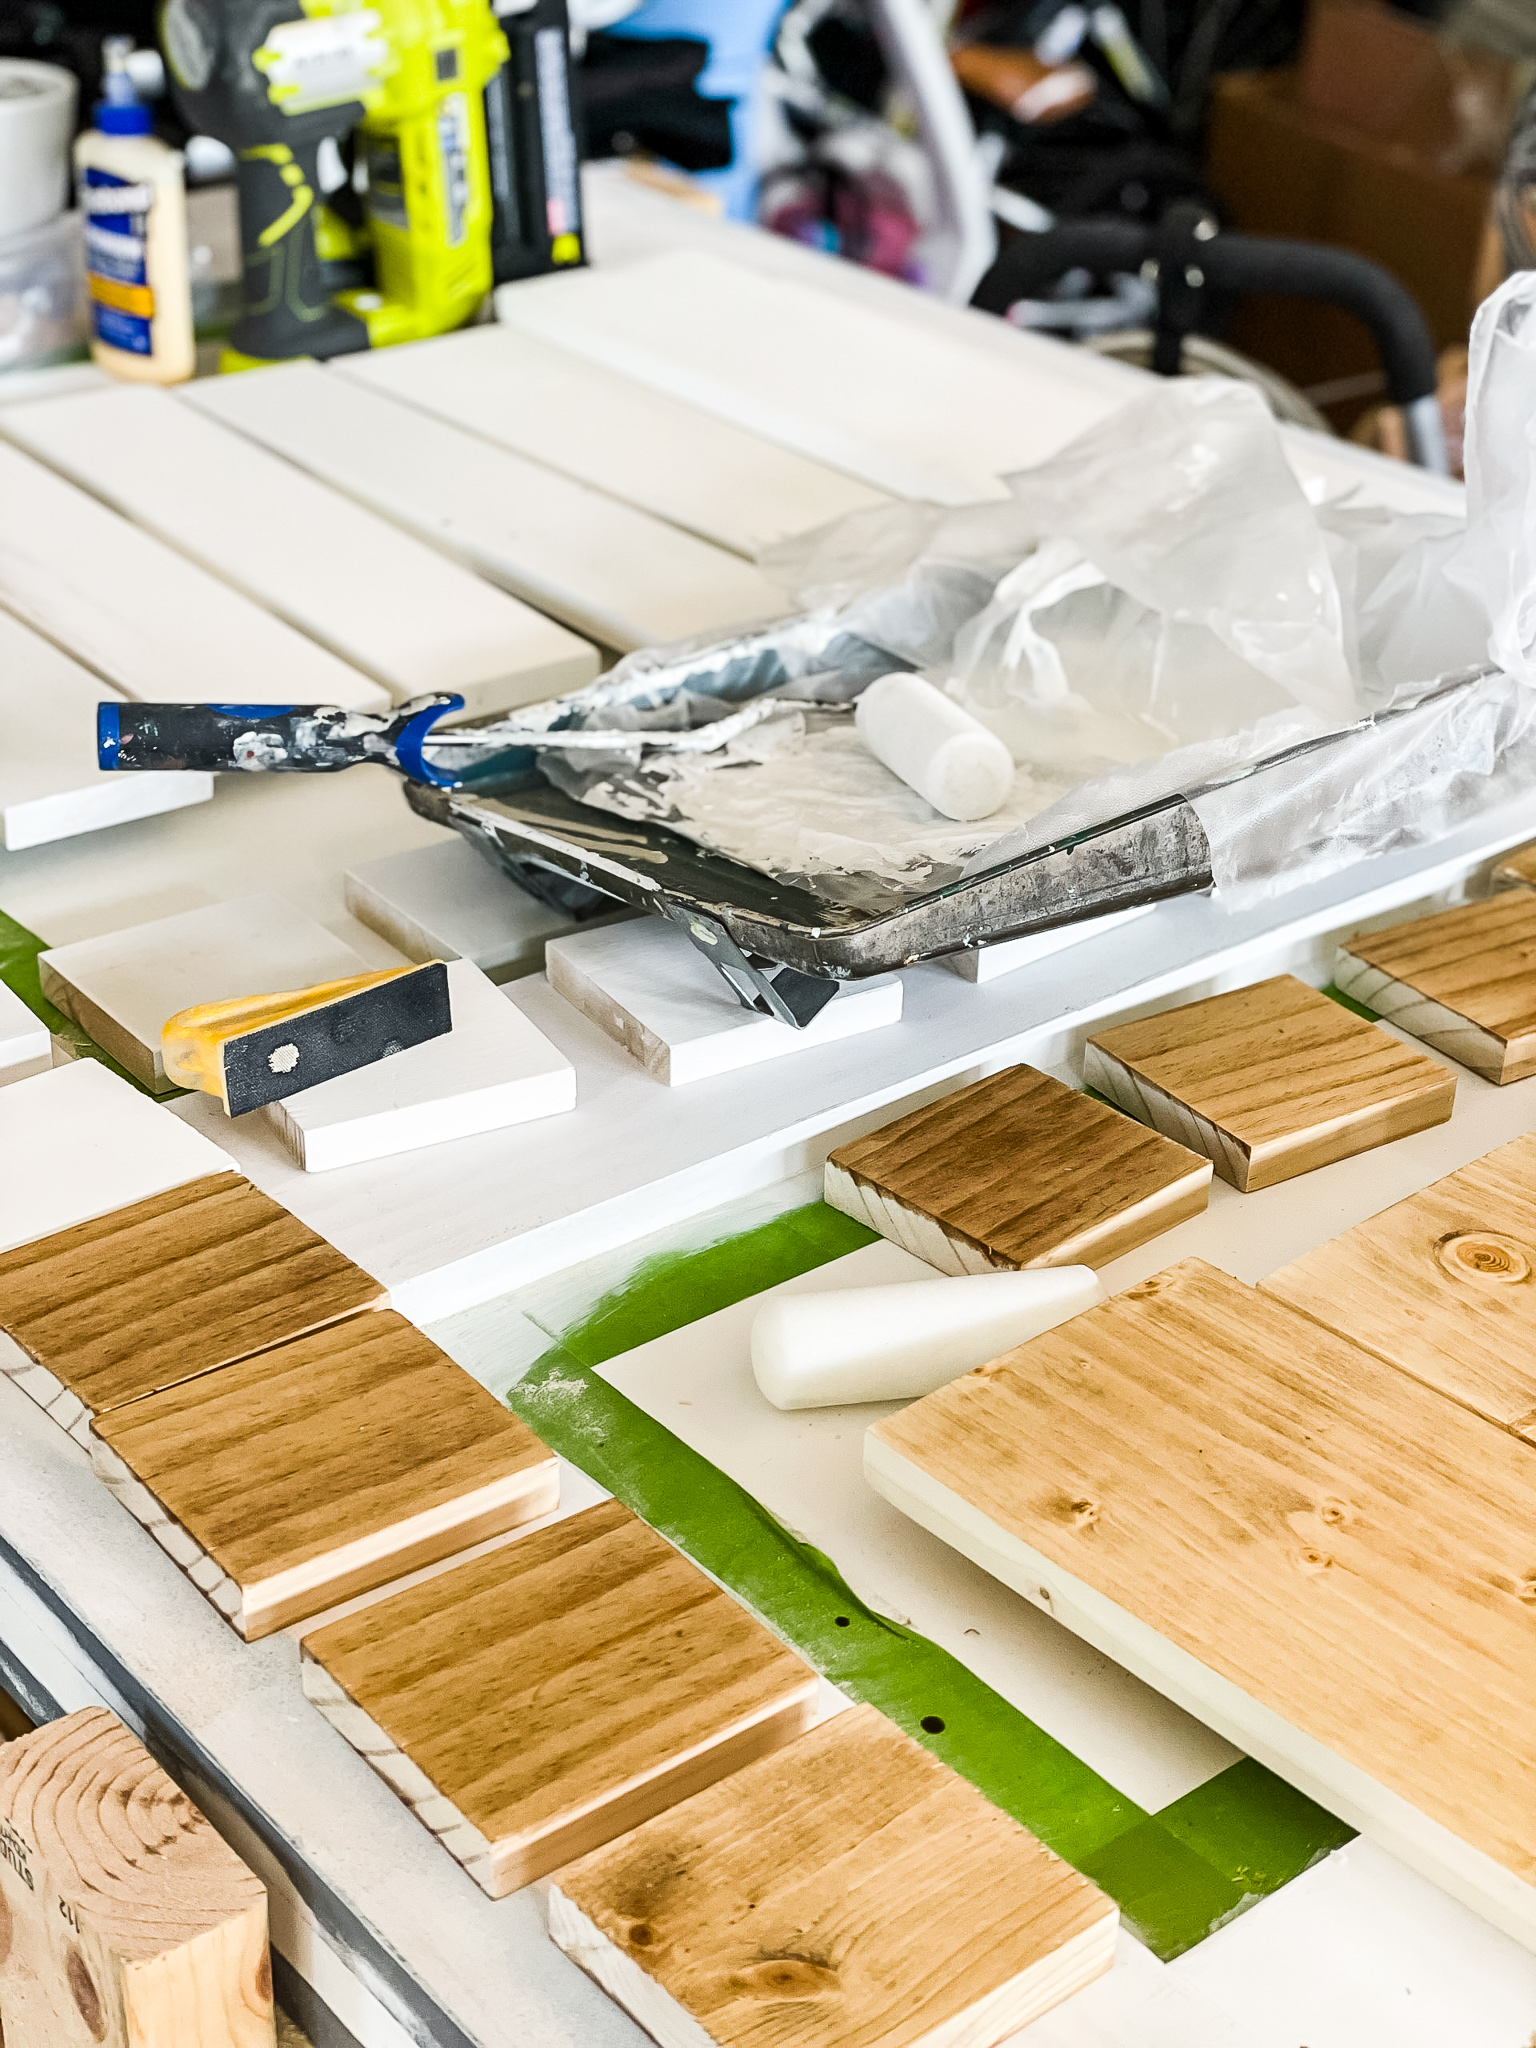
Cut all wood pieces to size according to the cut list above. Before assembling, sand pieces with an orbital sander (or block sander).
Note: I found it easier to go ahead and get one coat of paint/stain on the pieces that I knew would be inside the box when complete. This is optional but definitely made finishing a whole lot easier.
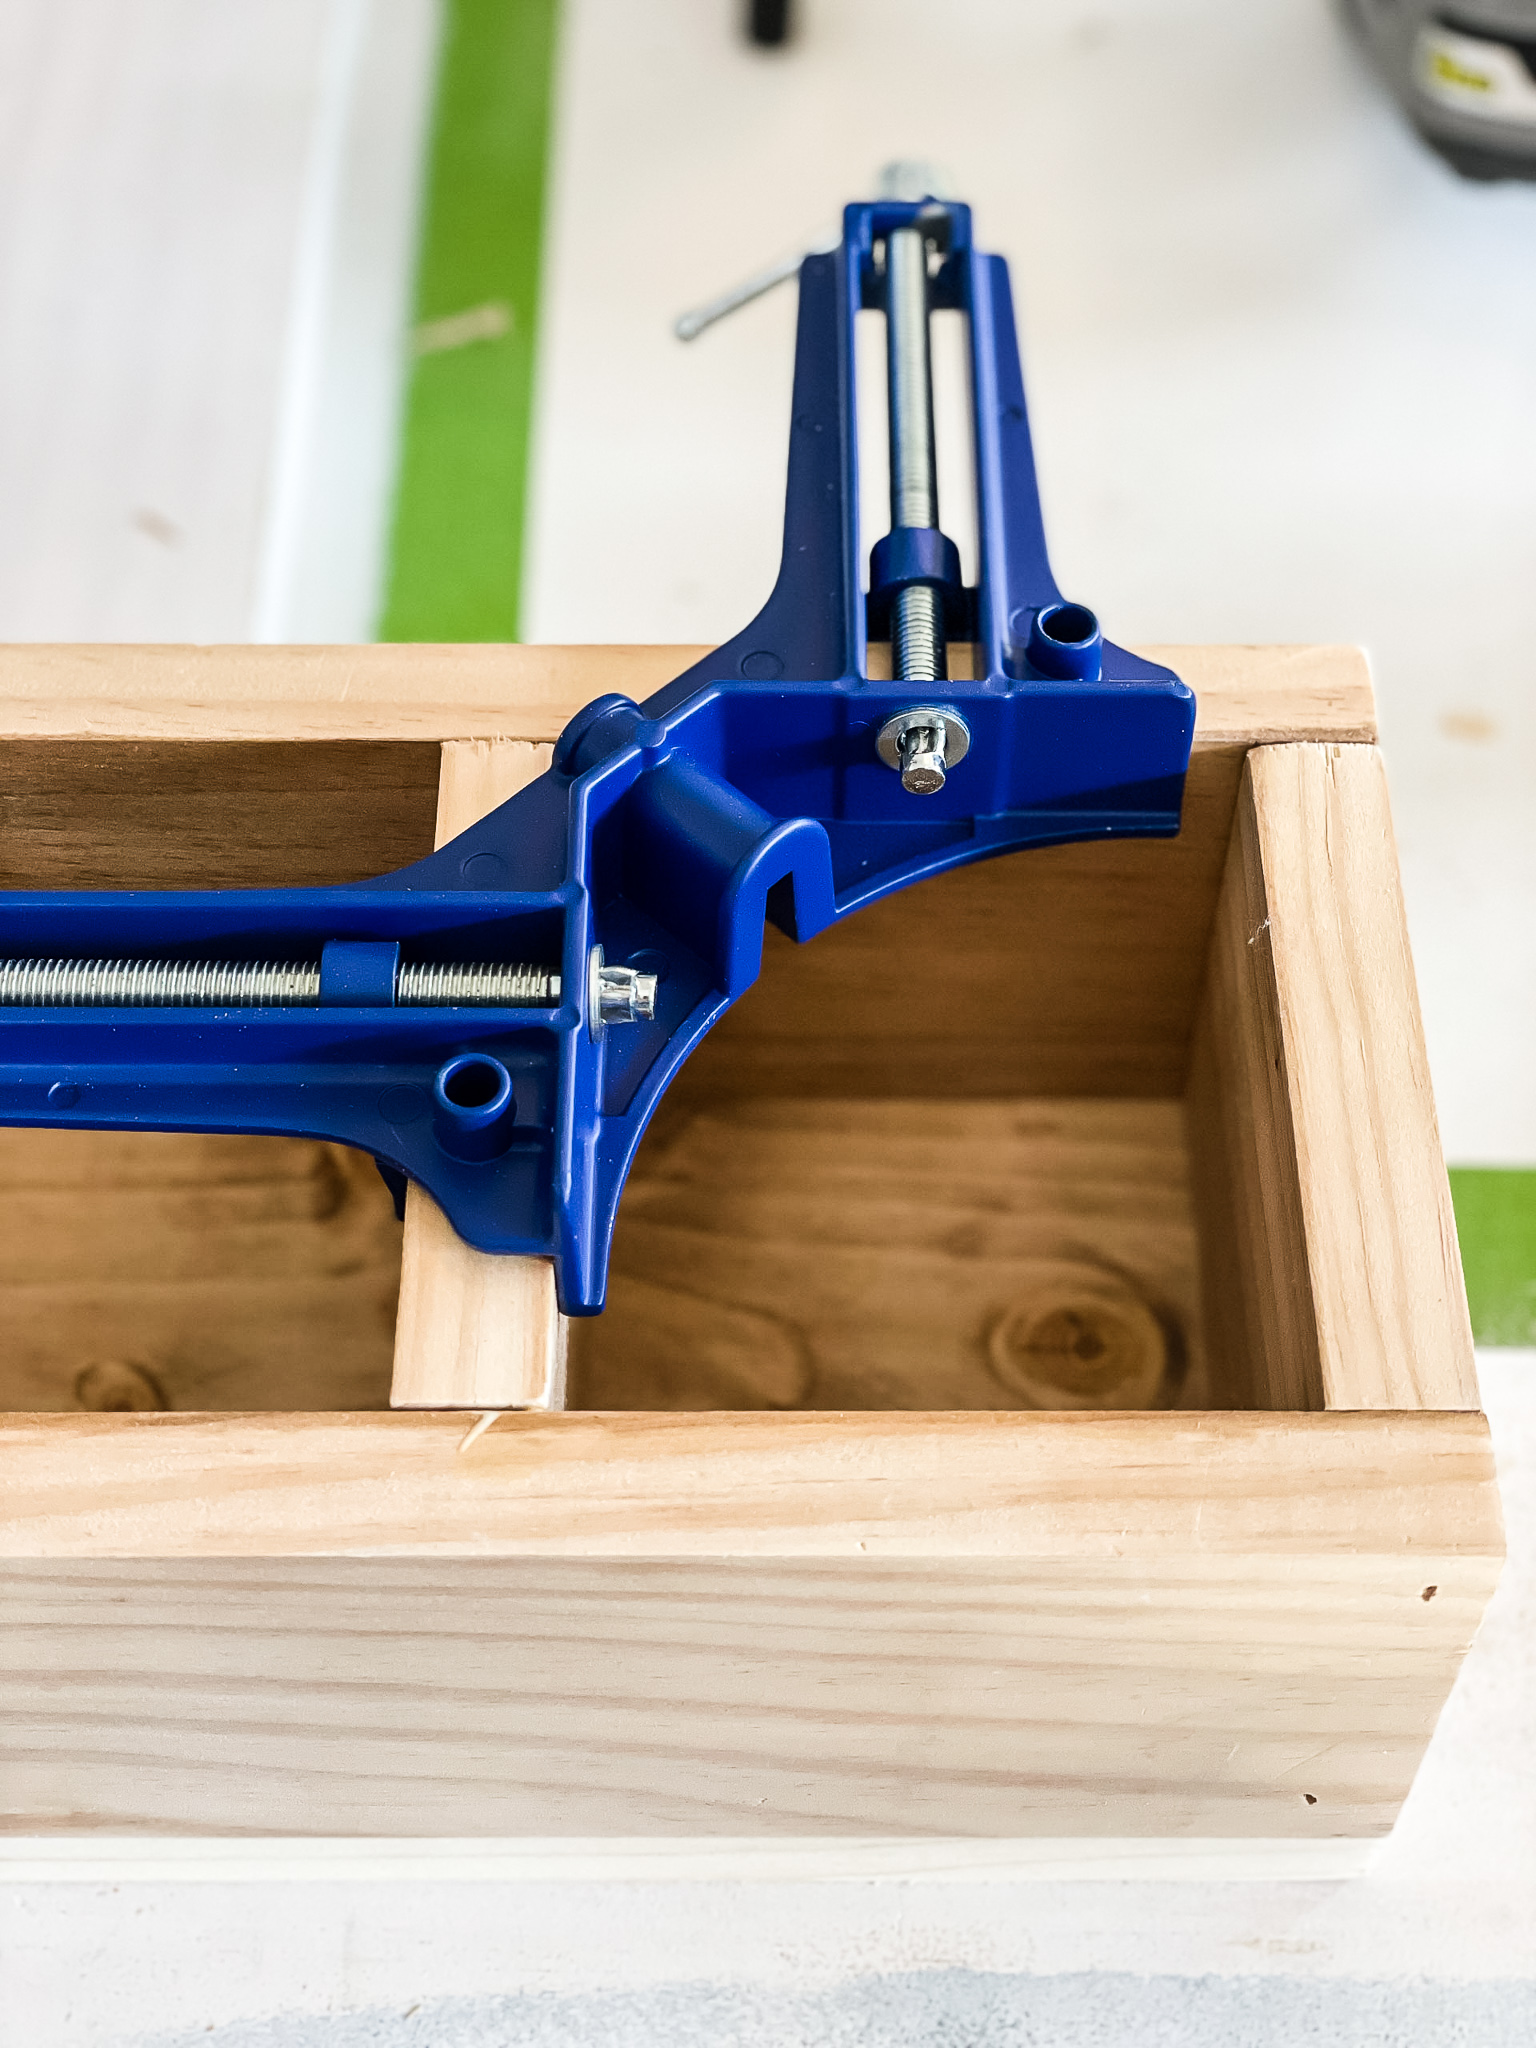
Step 2 – Assemble the base box
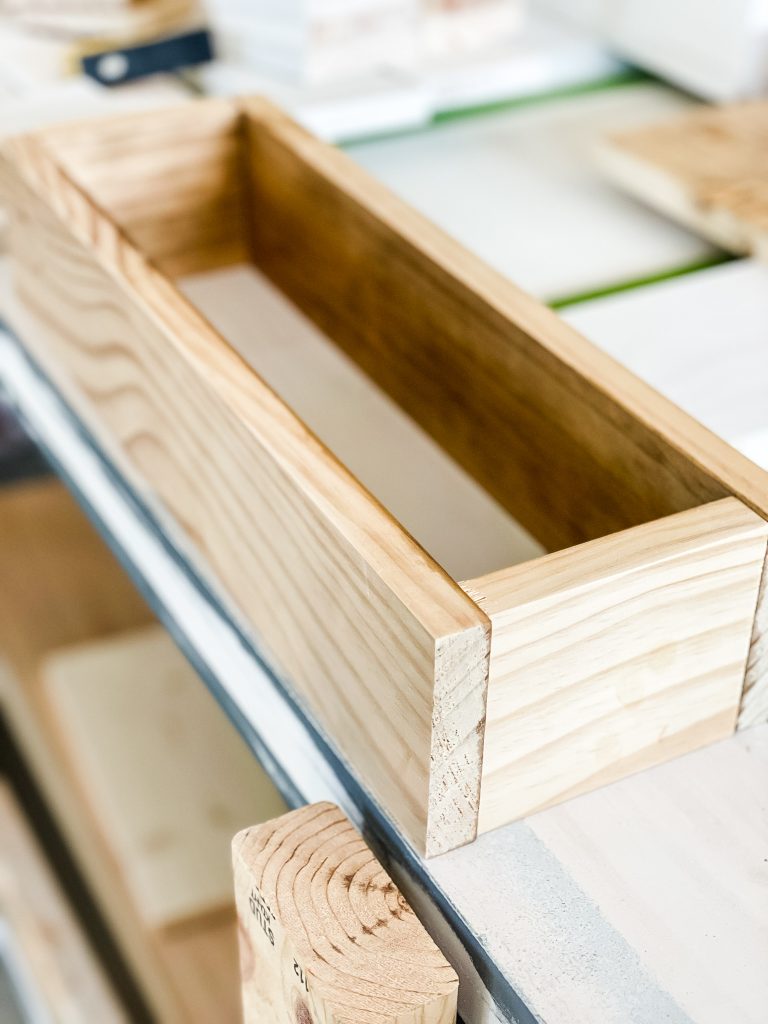
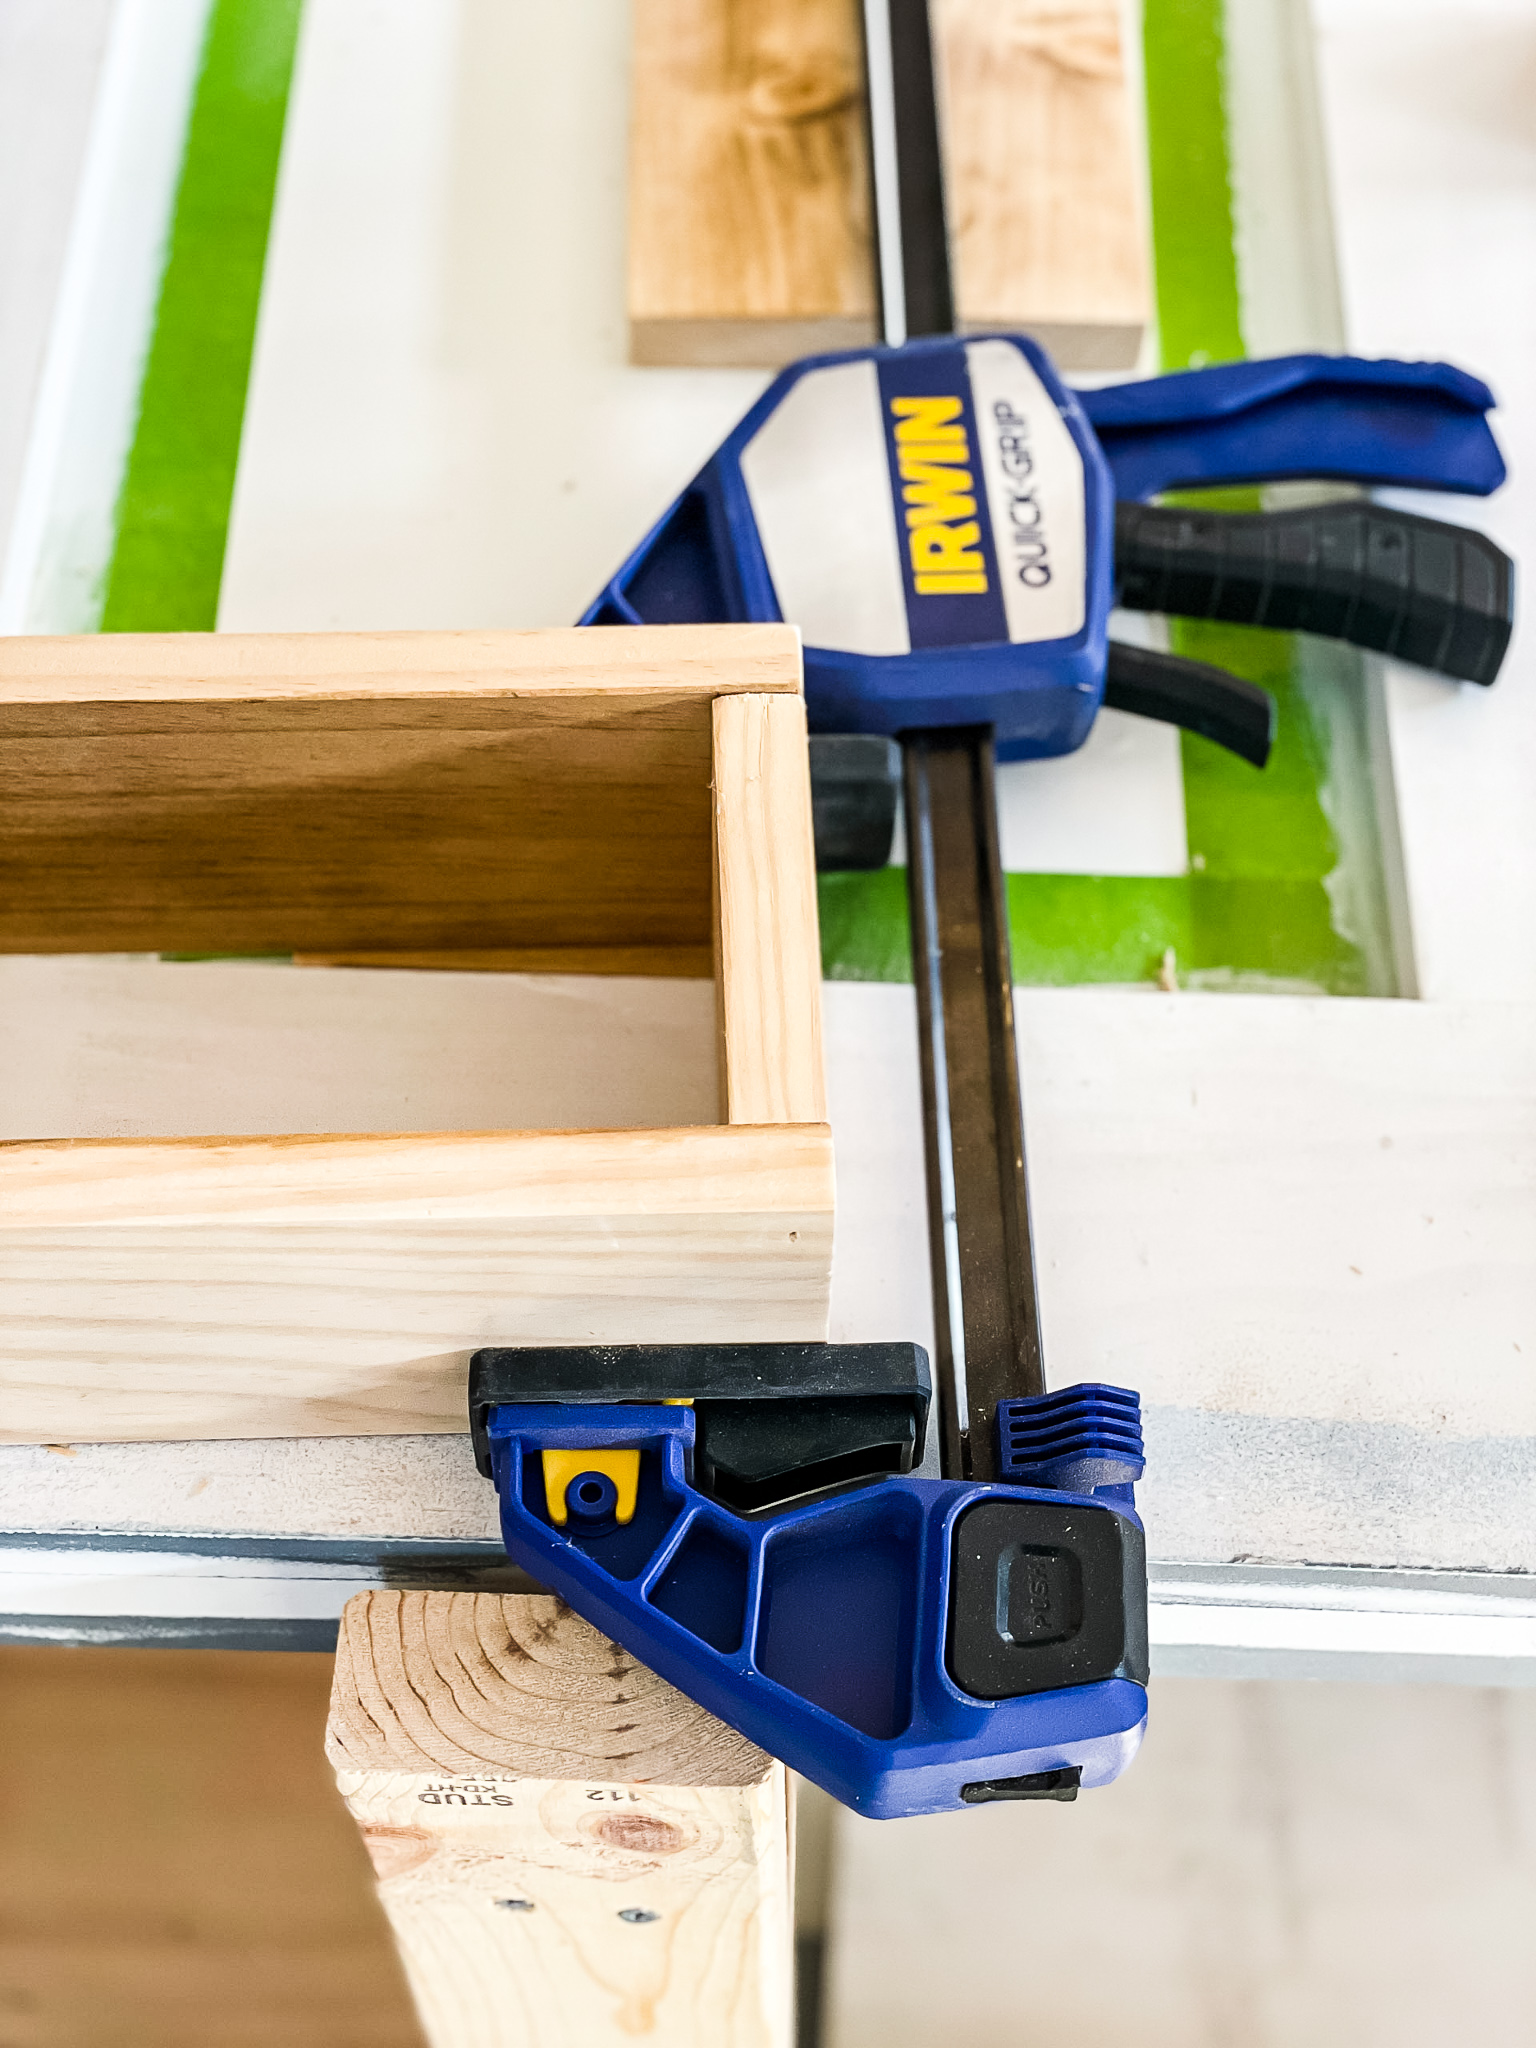
Take 2 – 1×4 pieces (cut to 17″ in length) and 2 – 1×4 pieces (cut to 4″ in length) and dry fit them together into a box shape. Next apply wood glue to the short pieces where they will meet the longer pieces and clamp them together.
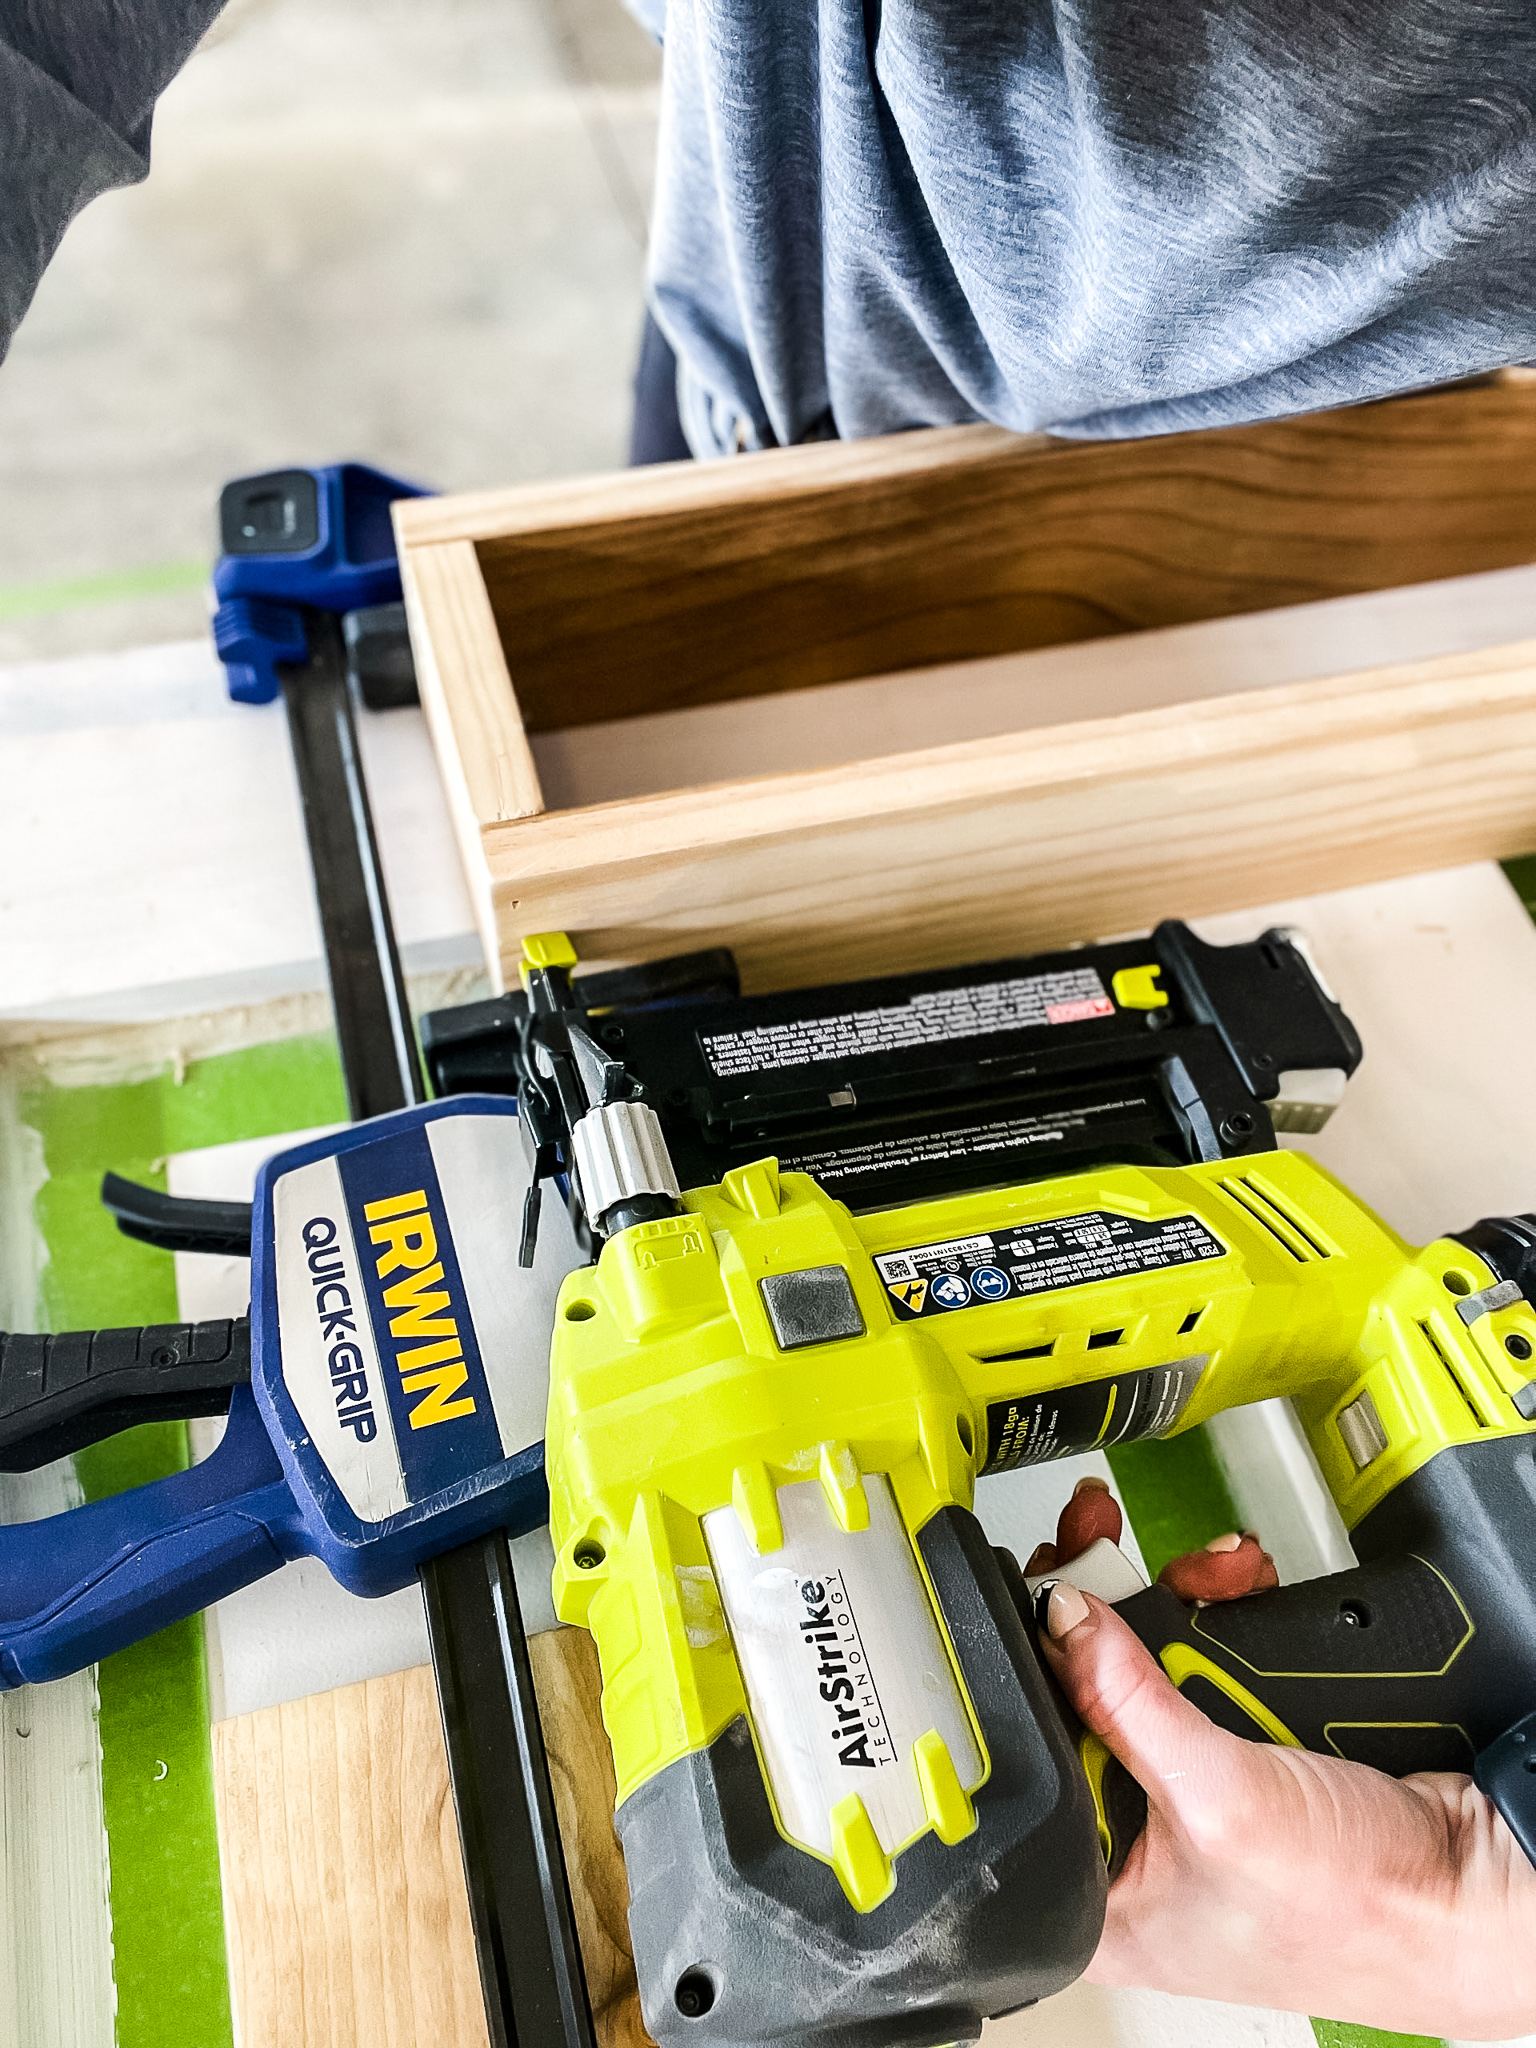
With the clamps holding the box steady, use a brad nailer to secure the sides together.

Step 3 – Attach the Bottom Piece
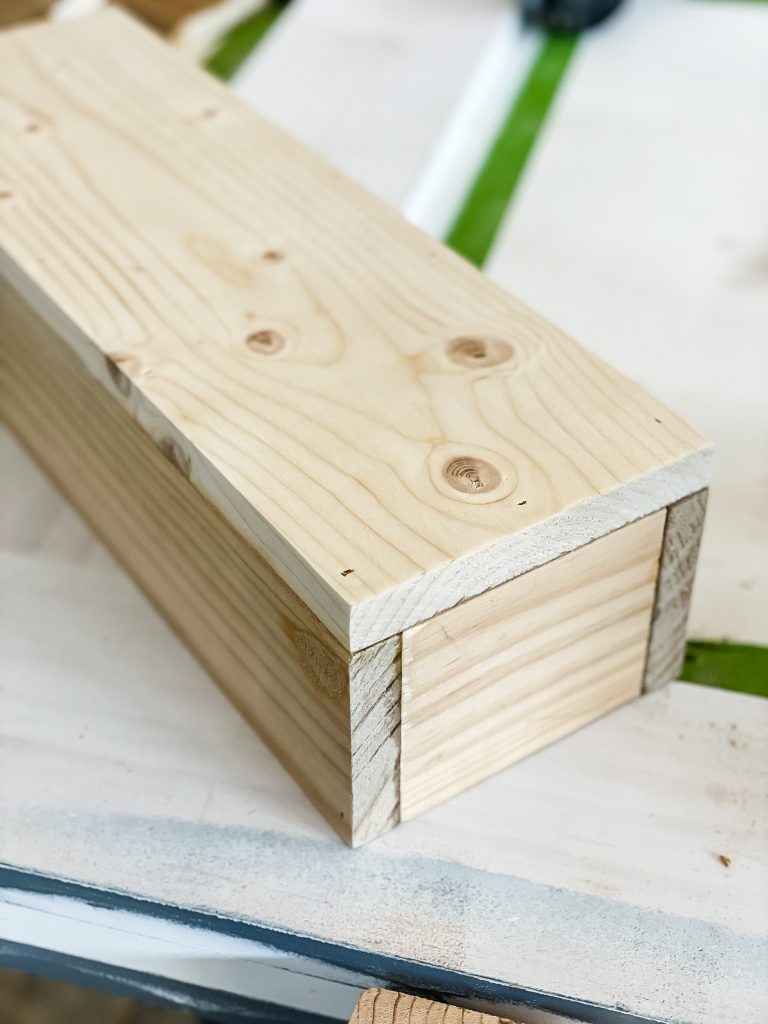
Release the clamps and flip the box over to determine the best-looking side. Place the best-looking side down on the work table. Next, grab the 1×6 piece (cut at 17″ in length) and line it up on top of the box. I made sure that the best-looking side was facing up.
(Note: If you decided to line the bottom of the box with peel and stick wallpaper like I did in the finished photos below, add it to the 1×6 piece before attaching it to the base box)
Add wood glue to the base box, then use brad nails to secure the bottom in place.
You can definitely use clamps for this part but I felt like they were in the way so I removed them.
Step 4 – Attach the divider pieces
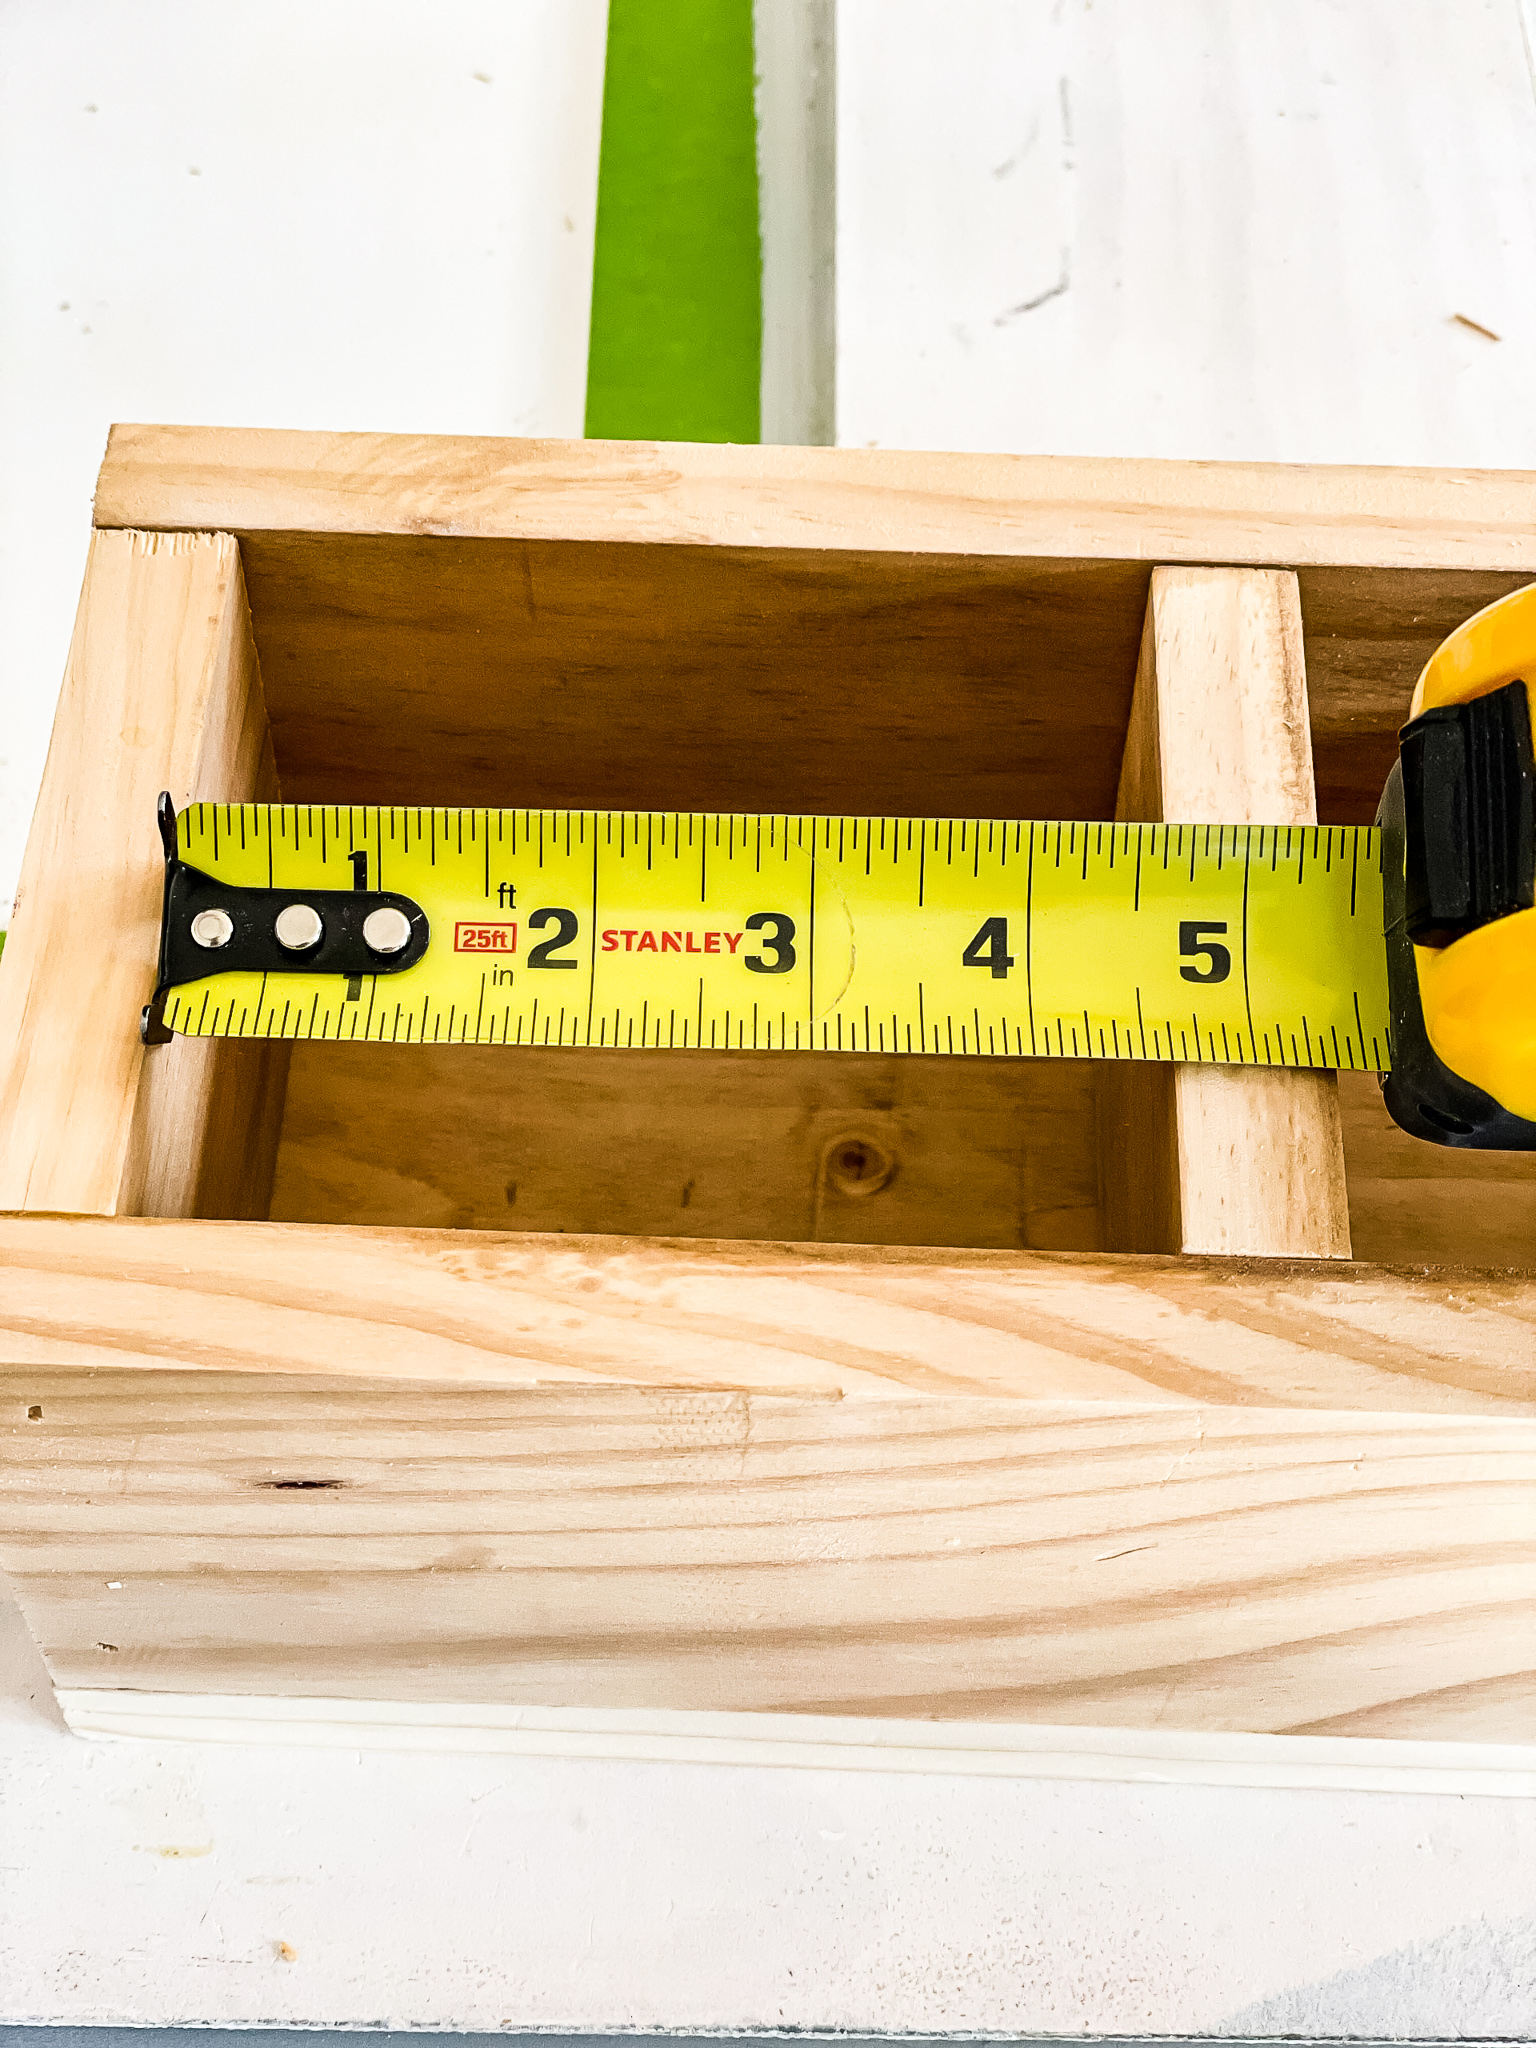
Measure the inside of the box and dry fit the remaining 1×4 pieces into the box. If it is a tight fit you will need to use a rubber mallet to get the divider pieces in the correct placement.
There should be approximately 4-5/8″ in each space to make the dividers equal.
Use wood glue only if the dividers have a loose fit, then nail the divider in place.
Step 5 – Finish the boX
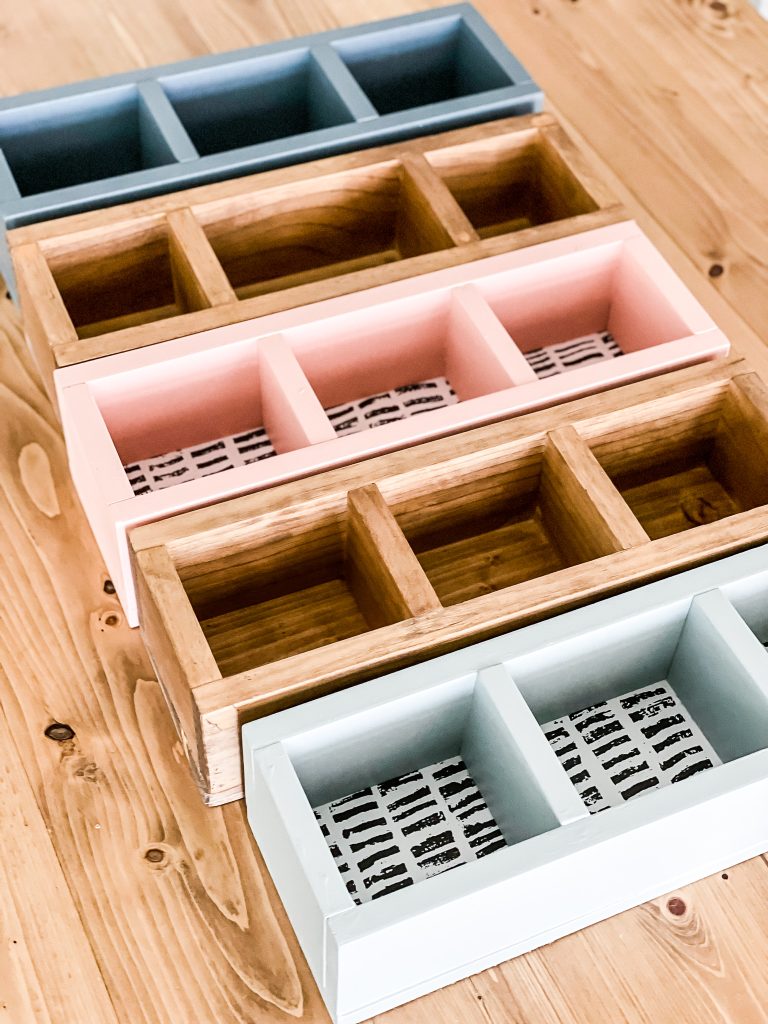
Use wood filler on the nail holes and seams of the boxes that are going to be stained, and putty/caulk on the nail holes and seams of the boxes that are going to be painted.
Give the nail holes one final sand then paint or stain as desired.
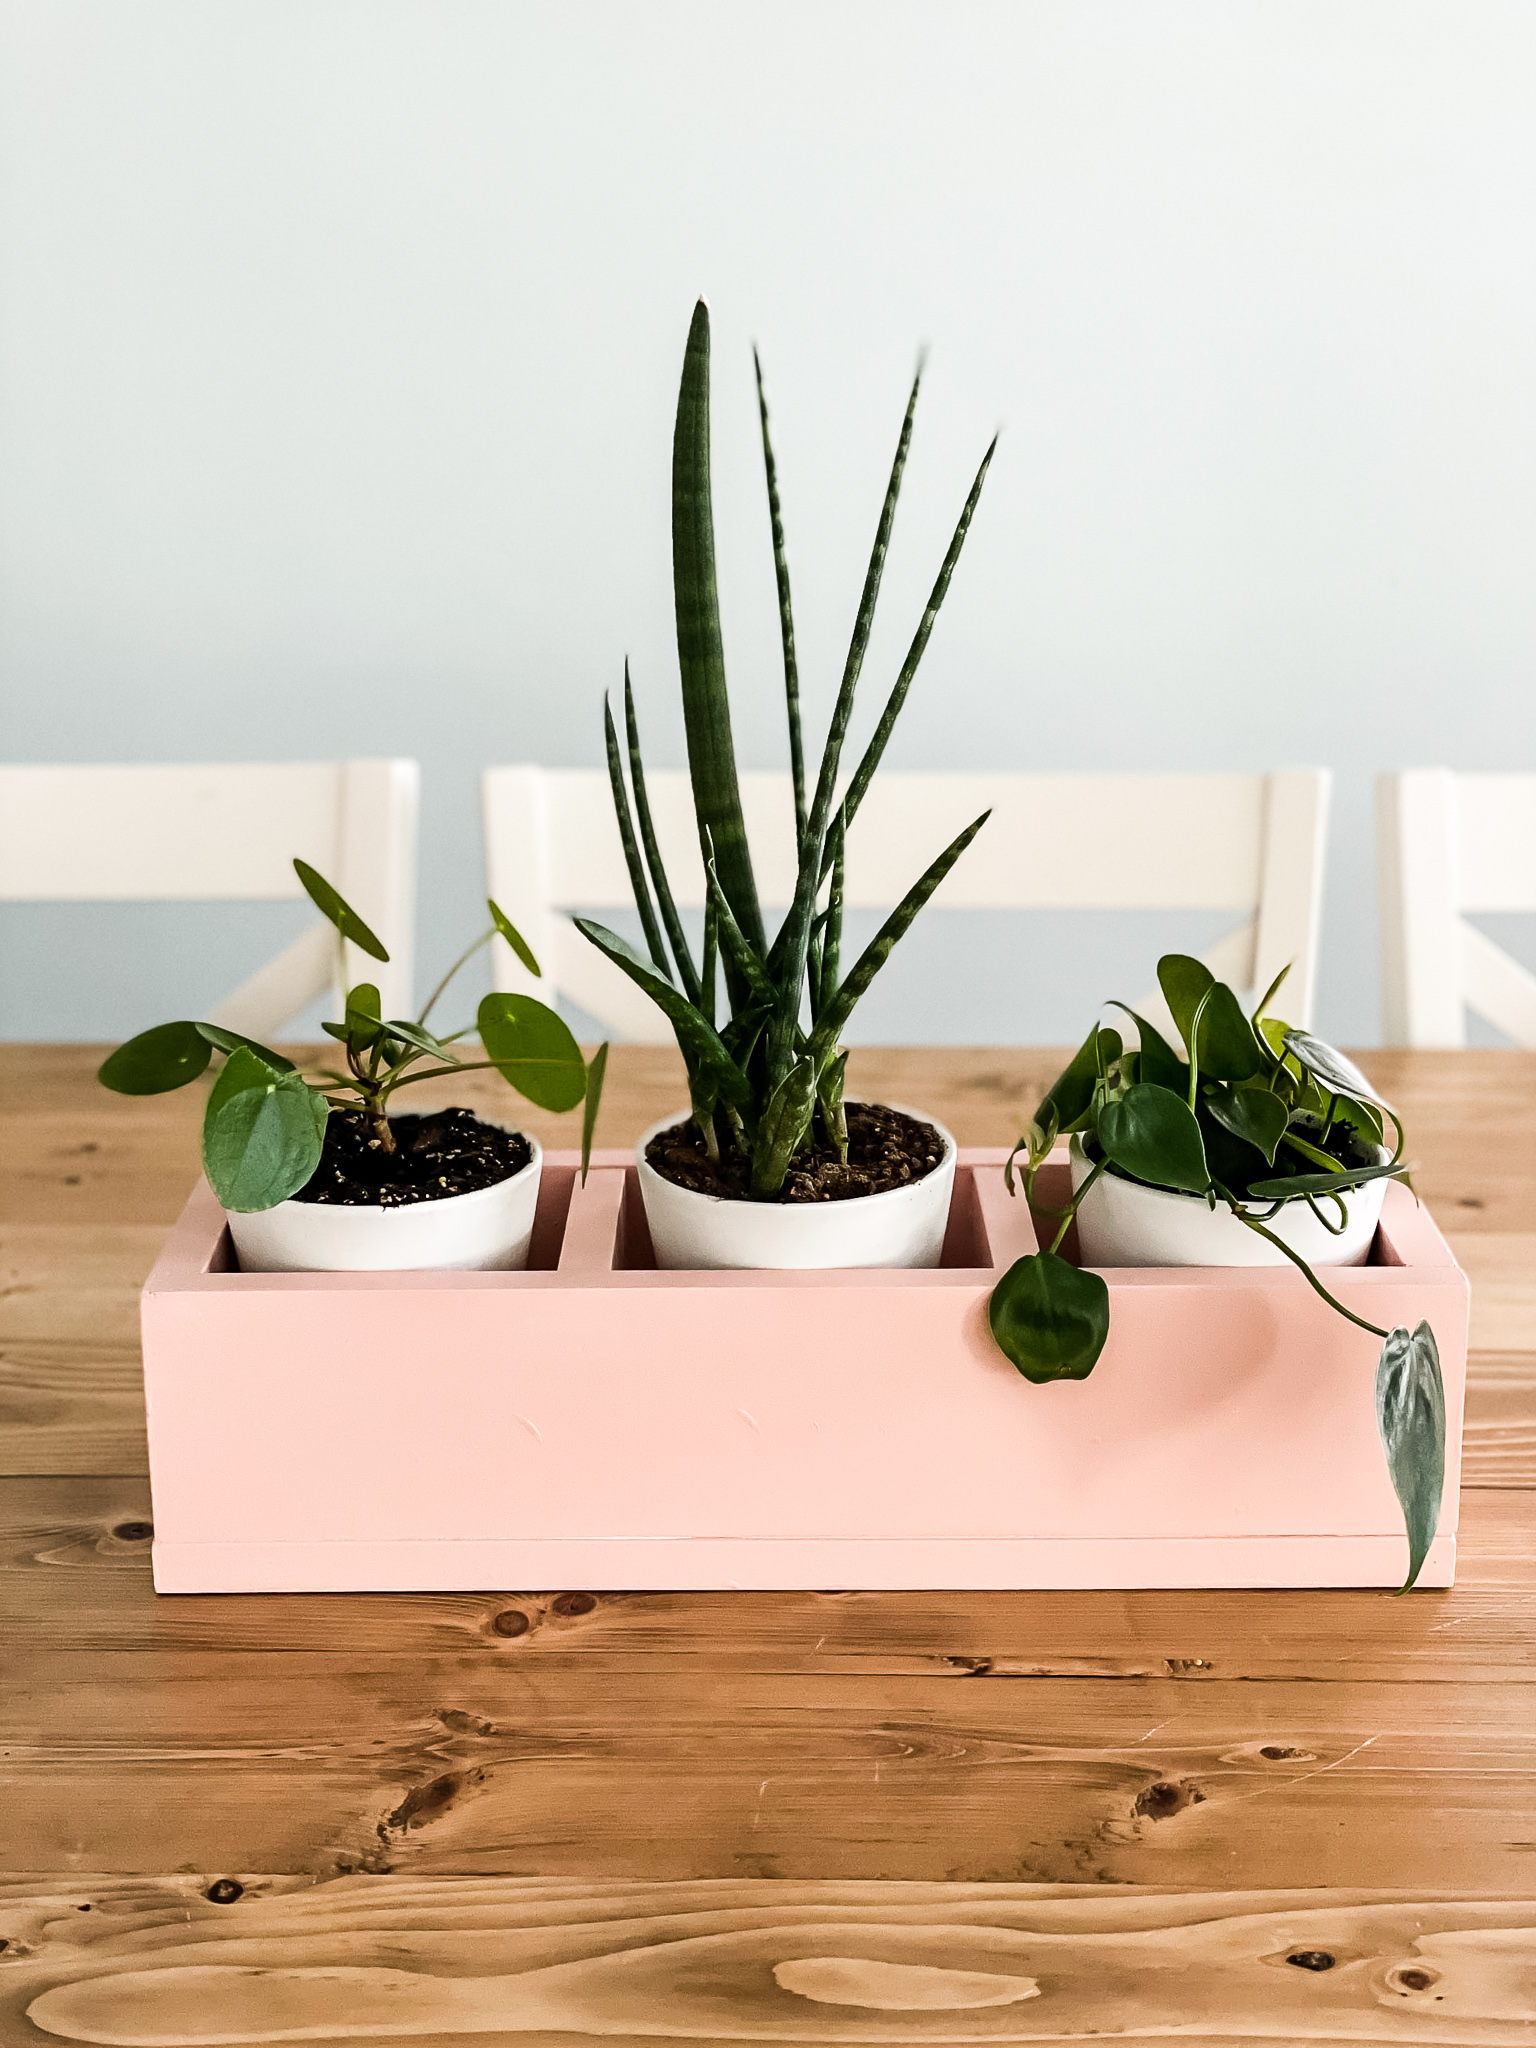
What to do with your DIY Storage Caddy
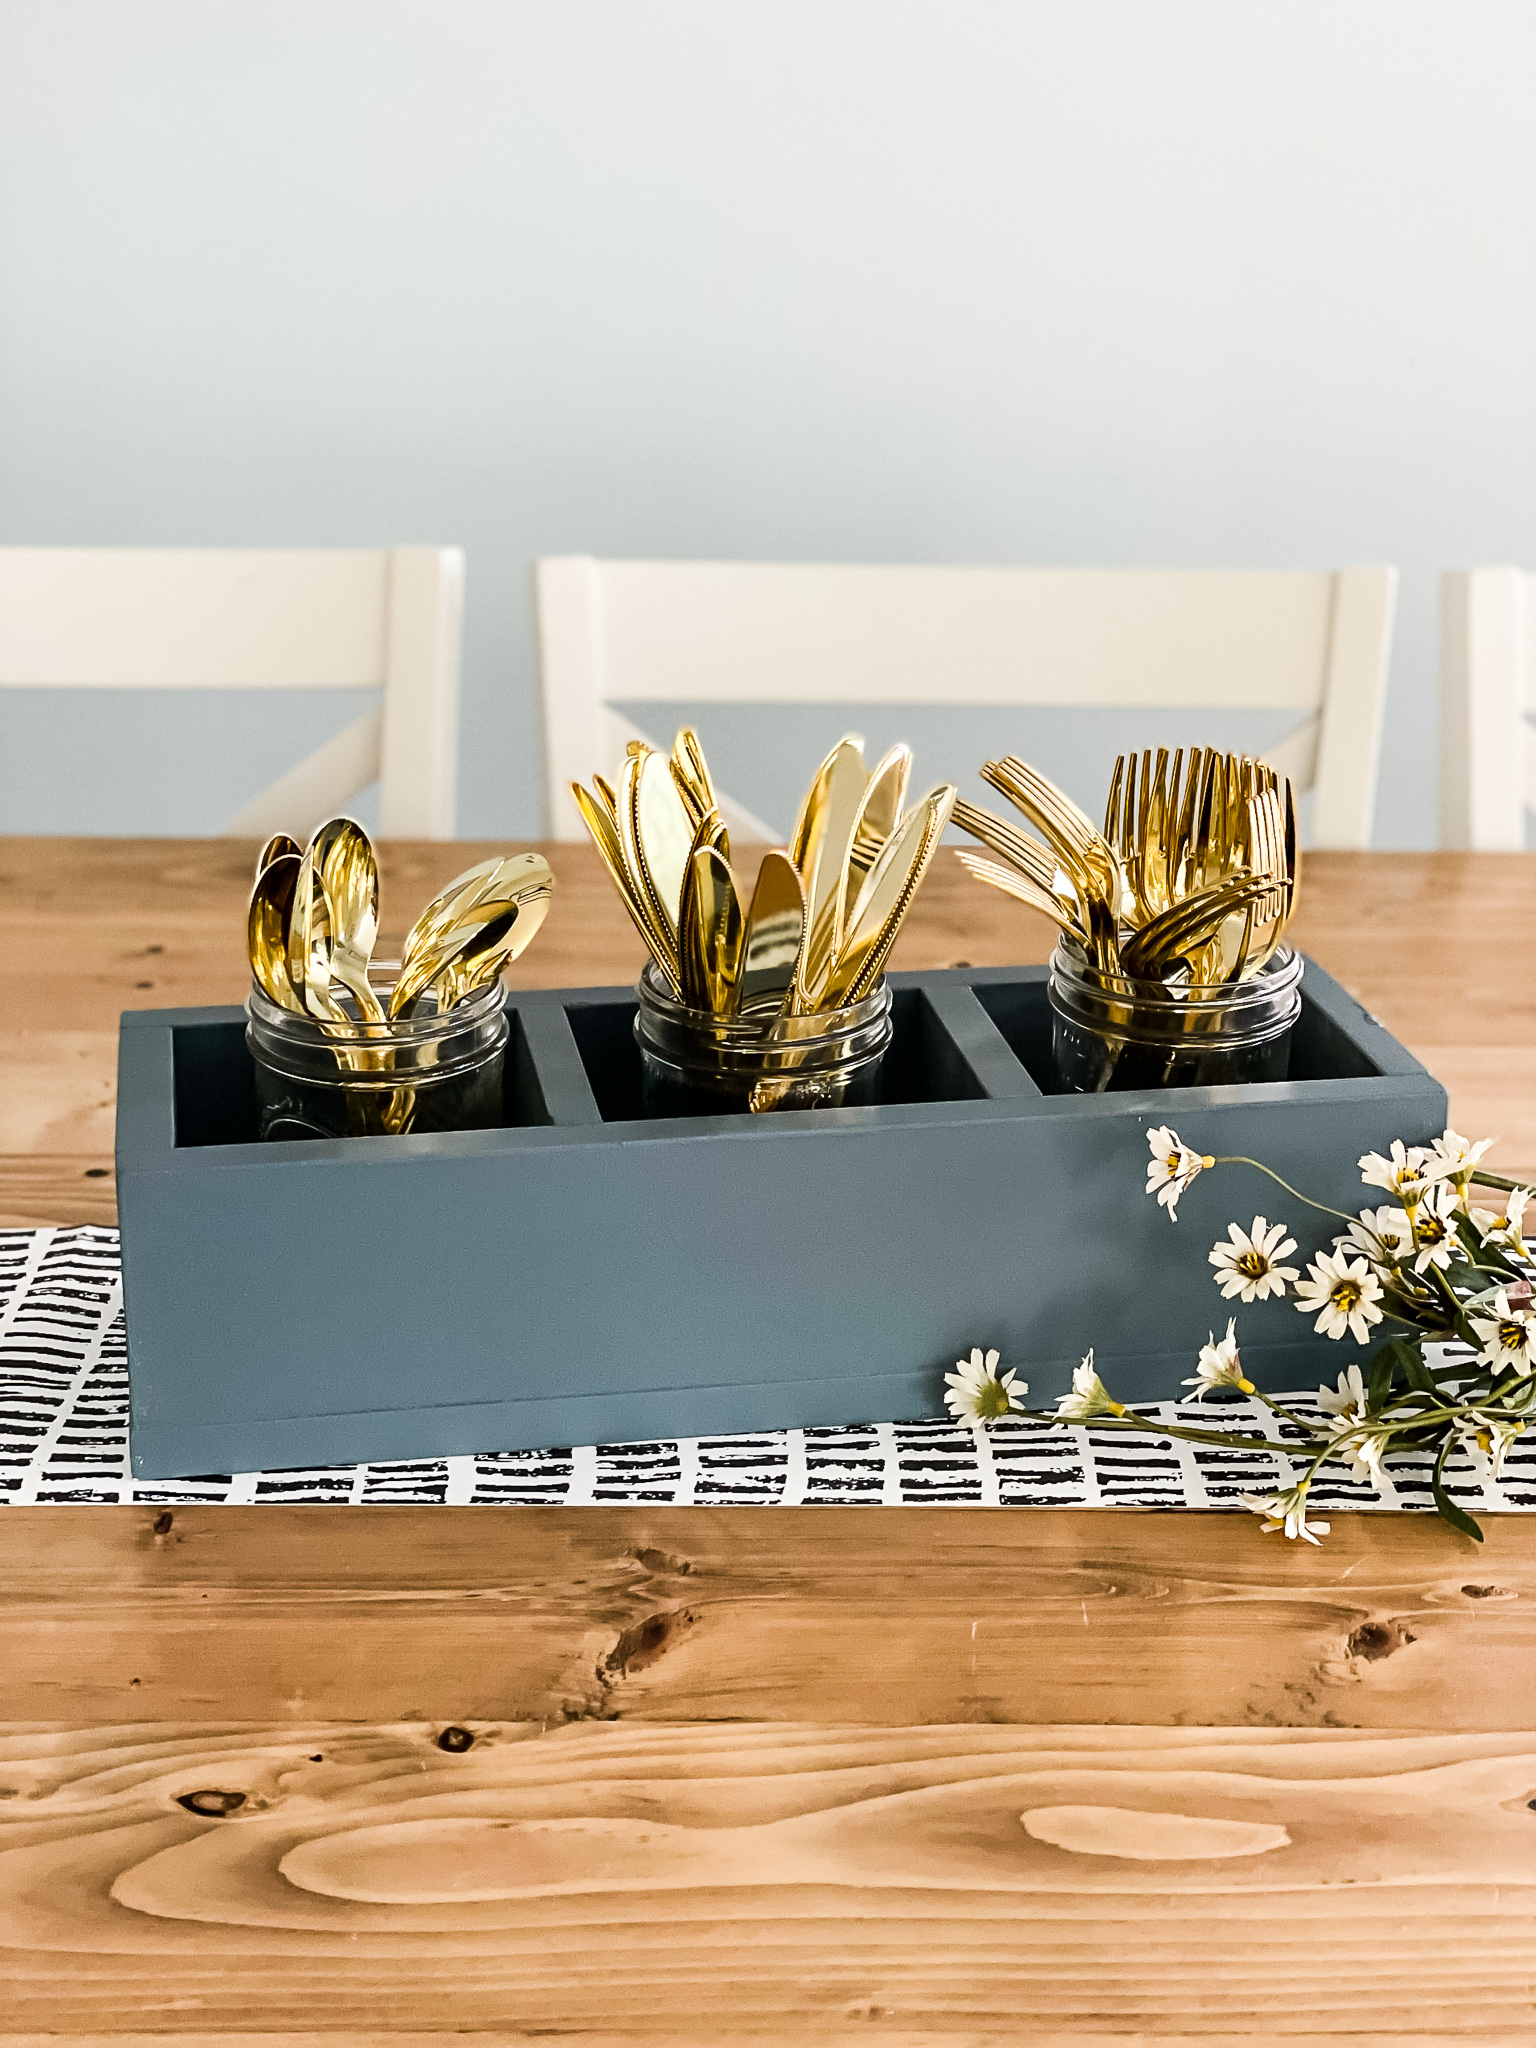
When the caddy is complete grab some art supplies or plastic silverware and a few mason jars for an easy storage solution or plant a few houseplants for a fun tabletop display.
I would love to know what other uses you can think of in the comments below!
SHARE ON PINTEREST!
More Easy Building Projects:
-

DIY House Number Sign
-

4 Simple (One Hour) DIY Projects for your Porch or Patio
-
How To Make A Picture Frame – The Easy Way
.