I don’t know about you but I have a slight obsession with organizing. In fact, in the huge gamut of home projects available, it definitely ranks in my top 5.
Every spring I get the itch to organize the garage before we begin spending the majority of our time outside again. So when the quarantine of 2020 hit I knew it was the perfect opportunity to not only get the garage in shape, but to also add in a little extra storage as well.
I decided to start with the wall that houses all of our shoes. We have a “no shoe in the house” policy around here so this space has unofficially been deemed our outdoor mud room. (I understand that a garage “mud room” may not be fitting for all but we climate controlled our garage when we built – so for us it’s a perfect solution.)
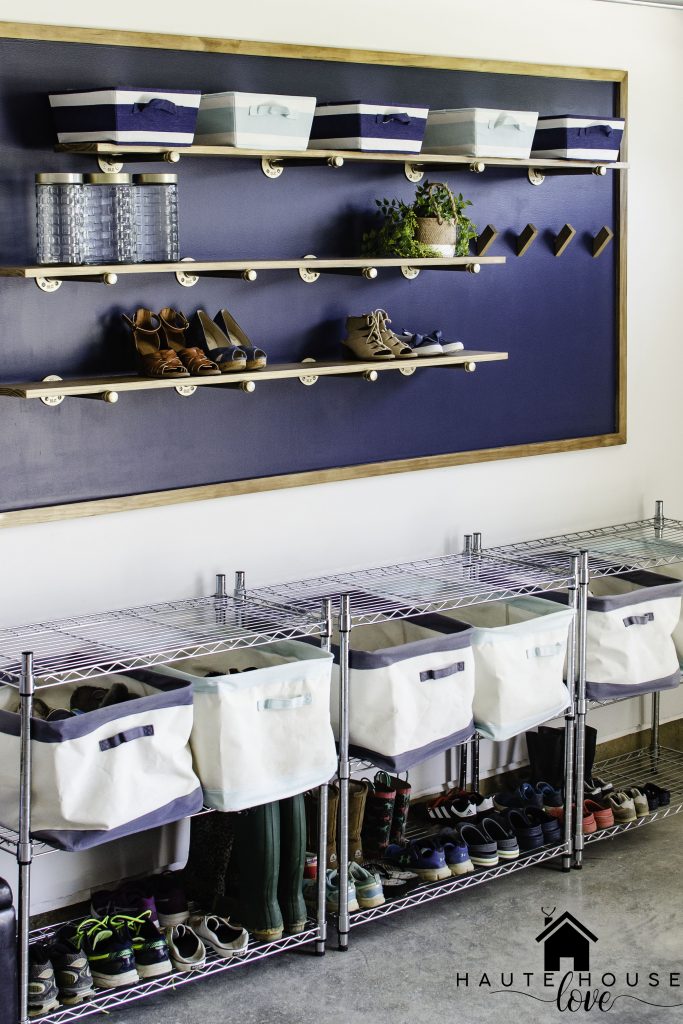
Before I get started with the bulk of this tutorial it’s probably pertinent to mention a few random facts that spurred this project in the first place.
- Unused vertical space makes me crazy. I see so much potential in a space (closets, walls, etc) by just looking UP!!
- It’s surely also appropriate to add in that that this is my FIRST official building project since hub surprised me with a Miter Saw for Valentine’s Day. What a man!!!
So now that you have been enlightened by these random bits, let’s get started!
(This post contains affiliate links. Purchasing through these links may give me a small commission at no extra cost to you. Thank you for supporting Haute House Love!)
How to DIY Garage Wall Storage
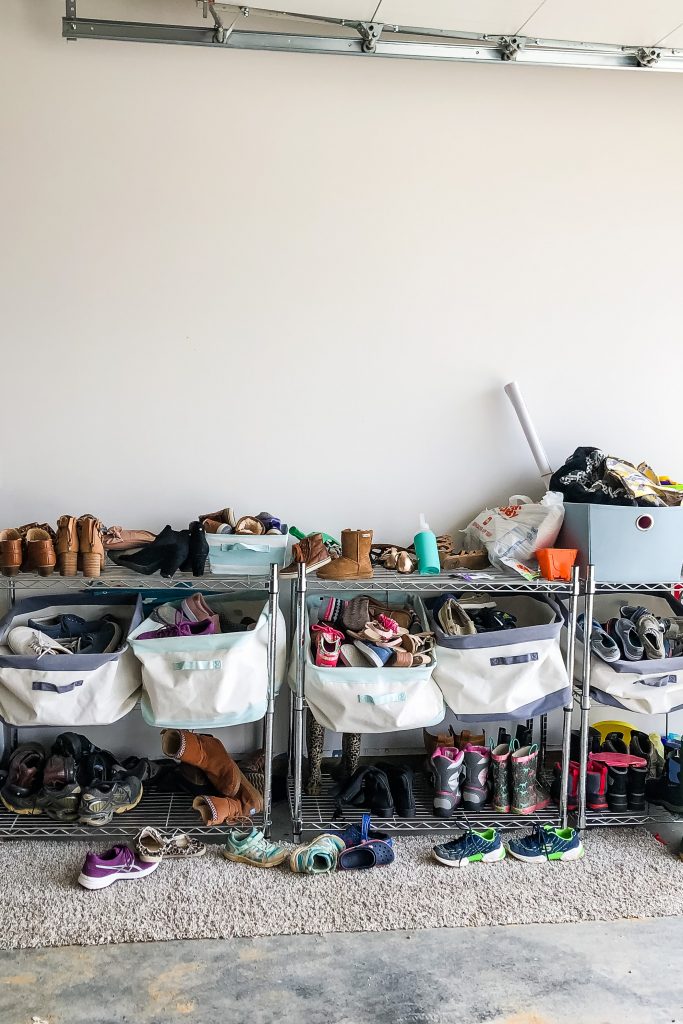
This project began as a typical organizing session for me. Pulling everything out of the space, separating the contents into three piles, (keep – sell/donate – trash) cleaning the area then returning the “keep” contents into designated homes.
This process is always extremely satisfying!
(I get a LOT of questions about our storage shelves and bins. The storage shelves can be found here and come in 3 colors. The bins are no longer available but these are similar and come in several colors and sizes.)
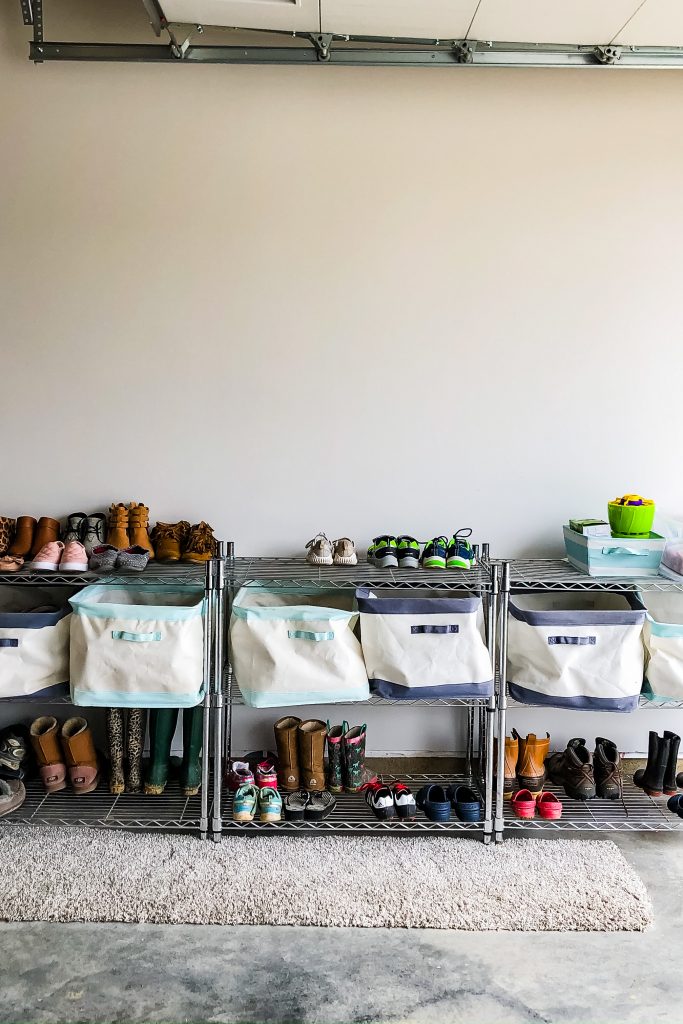
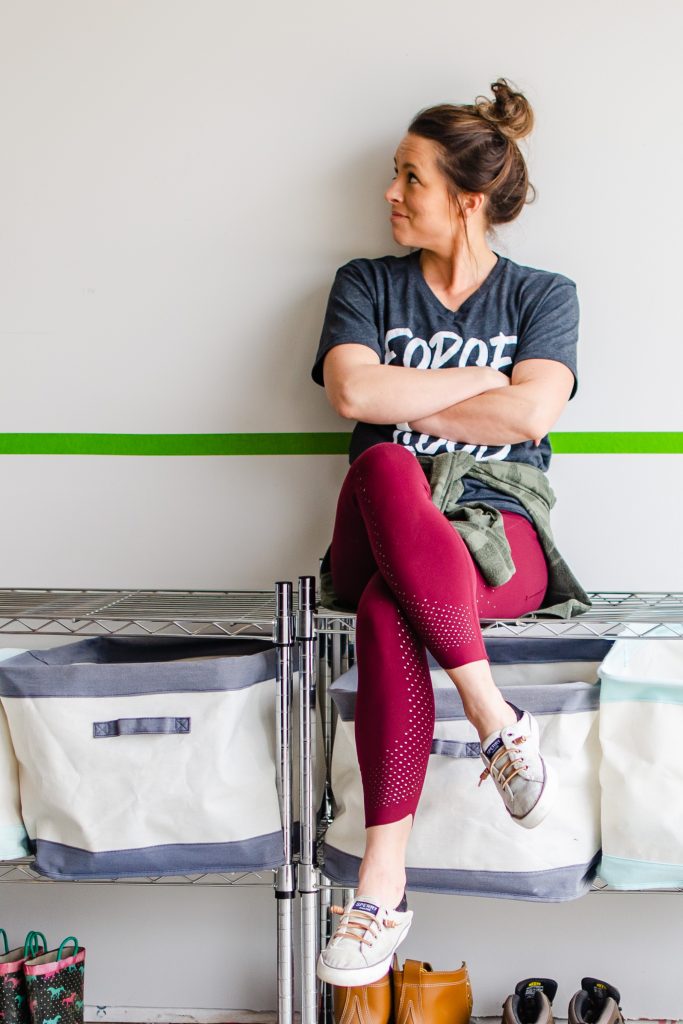
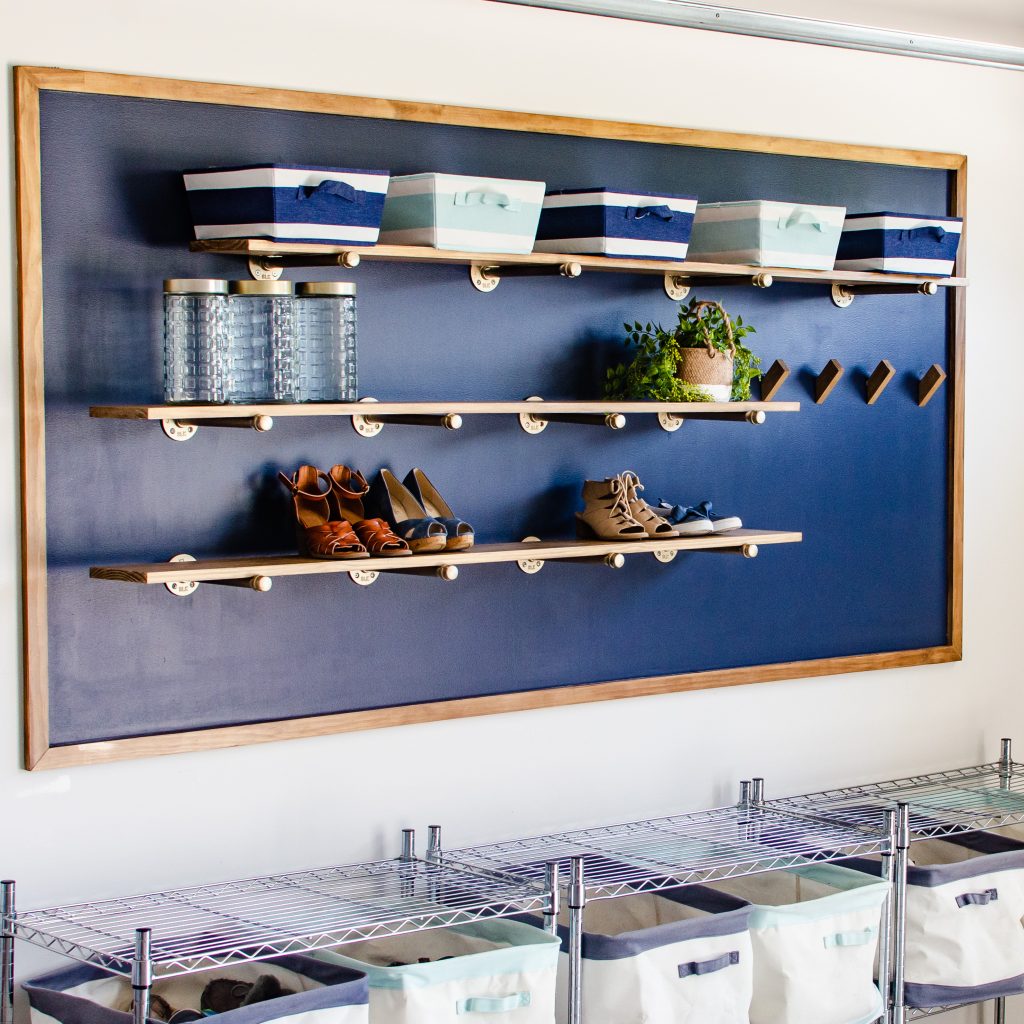
On this particular day, I really had no plans to go further than this… but my brain thought otherwise. I started to envision a large defined space above the shoe racks with shelves and hooks that could house all of our seasonal essentials. Before I was finished for the day I pulled out a roll of Frog Tape, taped off an area for the space, and decided I would paint it the next day.
I had no official plan but I was officially committed!
The next day I woke up ready to work! The kids were happily enjoying the early release of Frozen 2 on Disney+ and I took the opportunity to hop on my design software and give the vision in my head an actual picture. I use this particular software when I’m doing design work for clients and it comes in handy for my personal projects as well.
When the slow morning wore off we headed outside for some kid playtime and mommy work time! I grabbed a sample can of paint that I had on hand (Sherwin Williams – Naval) and got to work on painting the large rectangle that I mapped out the previous day.
Between coats of paint, I enrolled the help of my 7-year-old to help me set up my miter saw and stand.
Watch a video of the space I designed.
I have to be honest. I was feeling pretty giddy at this point, but I knew I couldn’t just jump right in without a lesson. So in the spirit of saw safety, I decided to pull a good ole’ “Who wants to be a Millionaire” and phone a friend.
Once I was at comfort zone level with my new saw I began making my cuts…
Materials I used for this project:
1x2x8 select pine boards (4)
1x8x8 select pine boards (3)
Orbital Sander/Block Sander
Gold Spray Paint (optional)
Minwax Wood Stain – Provincial
Minwax Wood Conditioner (optional but recommended)
Level
Drill/Driver
Installation hardware (screws/anchors if applicable)
My predetermined space for this project was approximately 4’x8’. If you choose to do this in your own home you will need to customize this space specifically for you.
My first step was measuring and cutting my 1×2 boards for the frame that would surround the painted area. I decided to do a miter cut on these edges for a more “picture frame” like finish.
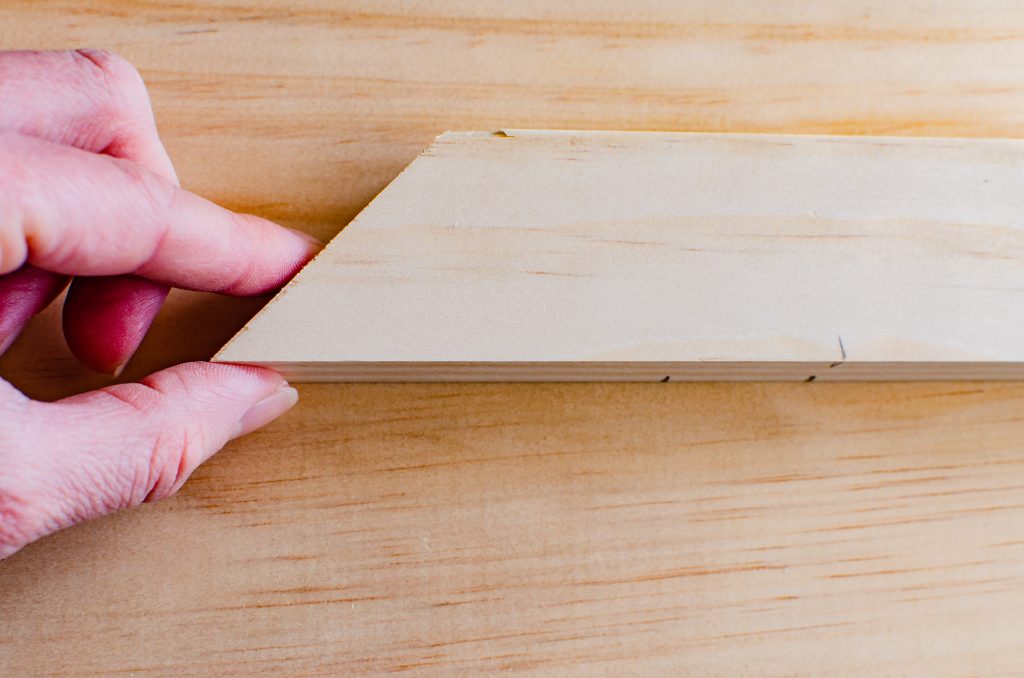
I then cut my 1×8 boards down to the sizes that I predetermined my shelves to be.
Once my boards were cut I sanded them, cleaned them off, and added a coat of wood conditioner. The conditioning step isn’t required but in my experience, it helps the stain application to be less blotchy.
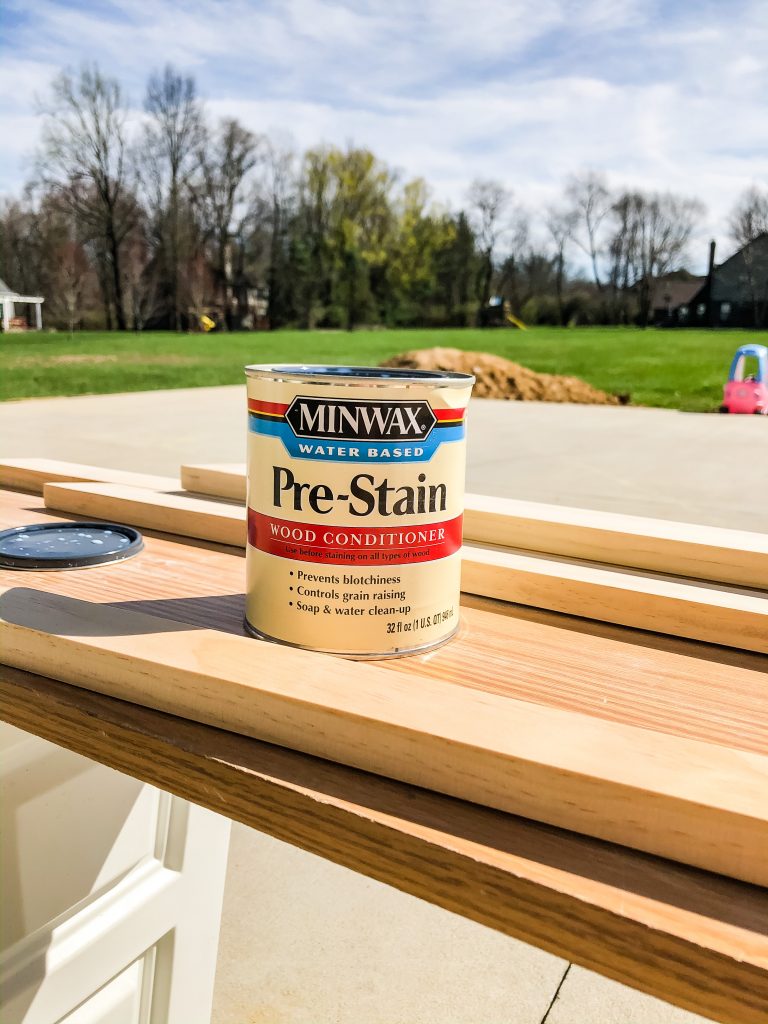
While the wood conditioner worked its magic I set up a painting station for my plumbing hardware and spray painted them in my go-to gold color.
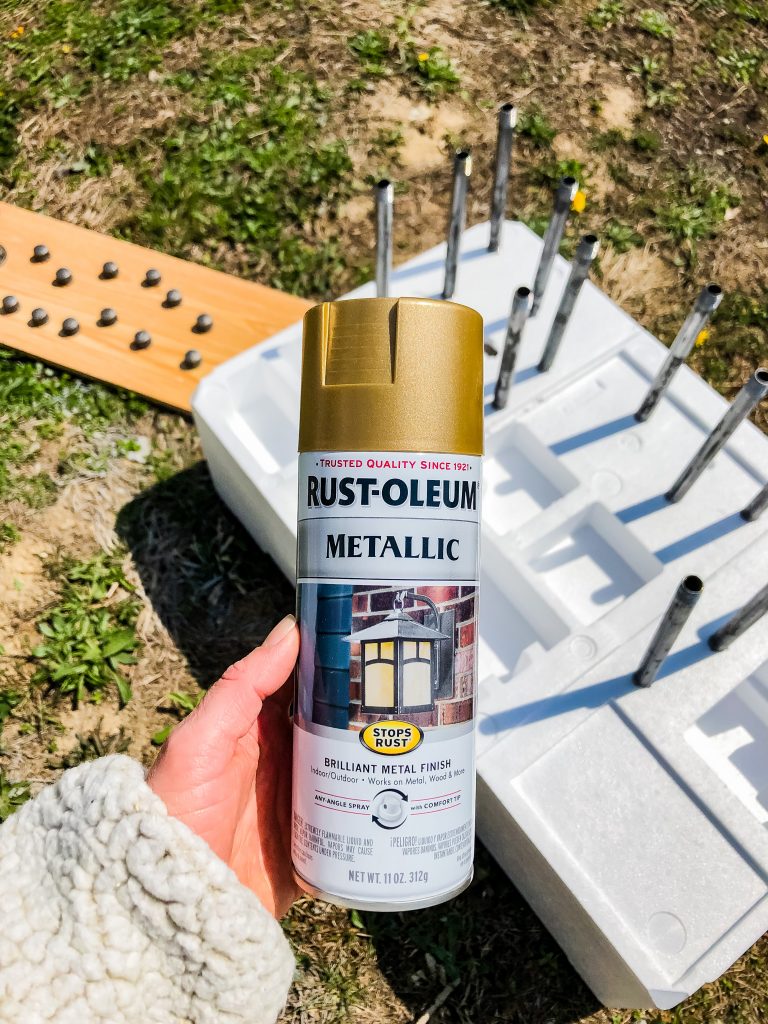
While the spray paint dried I returned to my wood board and applied a coat of Minwax stain in the color Provincial.
Then it was time to install!
I used a level and a brad nailer to attach my frame. Once the frame was up I used wood filler to fill in my holes and seam lines for a more polished look. Once the wood filler dried I sanded the areas and touched up the stain.
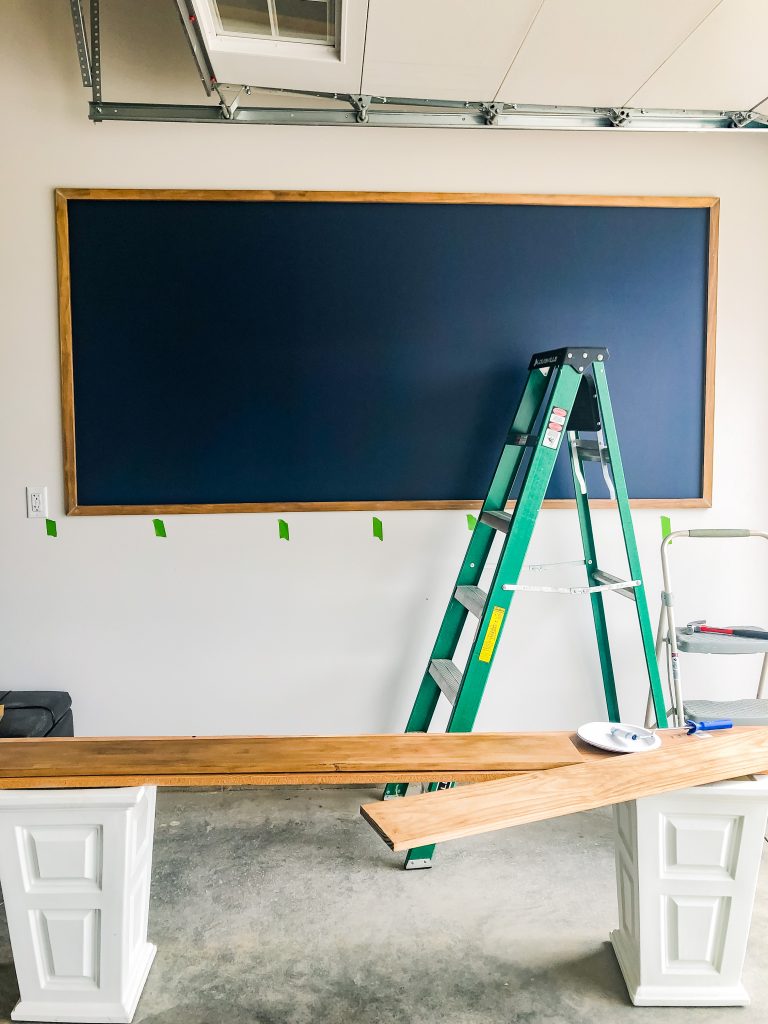
Next up was determining the spacing for my plumbing flanges. I’d love to tell you how I figured this out but I’m terrible at math… so I MAY or may not have phoned a friend for this portion. What I CAN tell you about this part is that a laser level is KING at this point. I love this little gem.
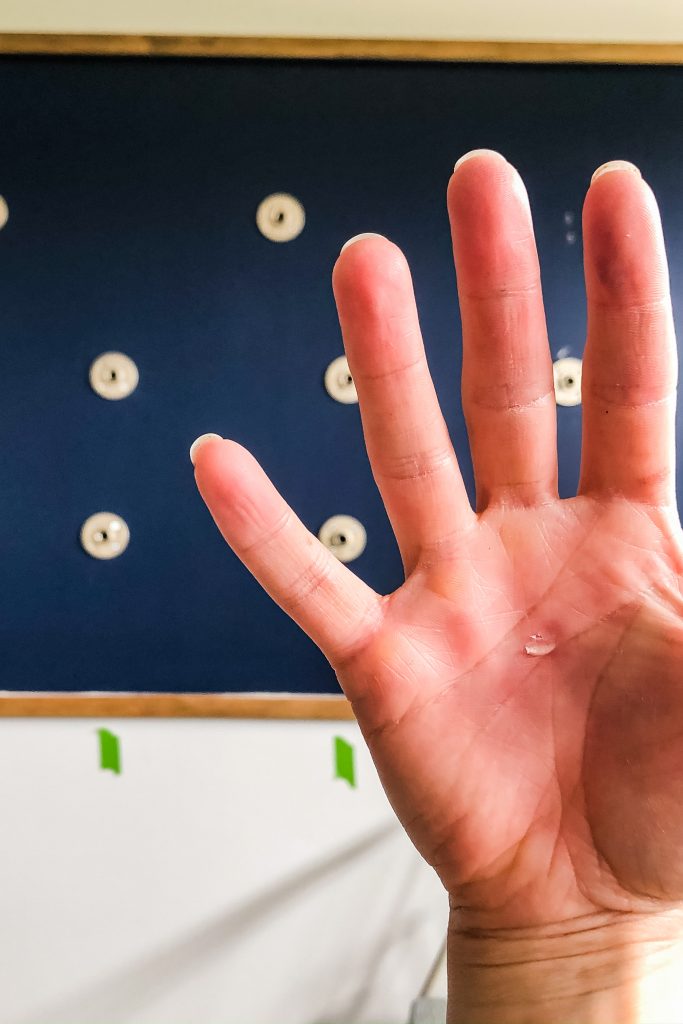
Also, blisters are inevitable when your drill battery dies and you are determined to get the screws finished up.. just sayin’.
Once the plumbing flanges are installed it’s smooth sailing. Just attach your pipe nipples and caps, place your boards on top of the pipe and style them up!
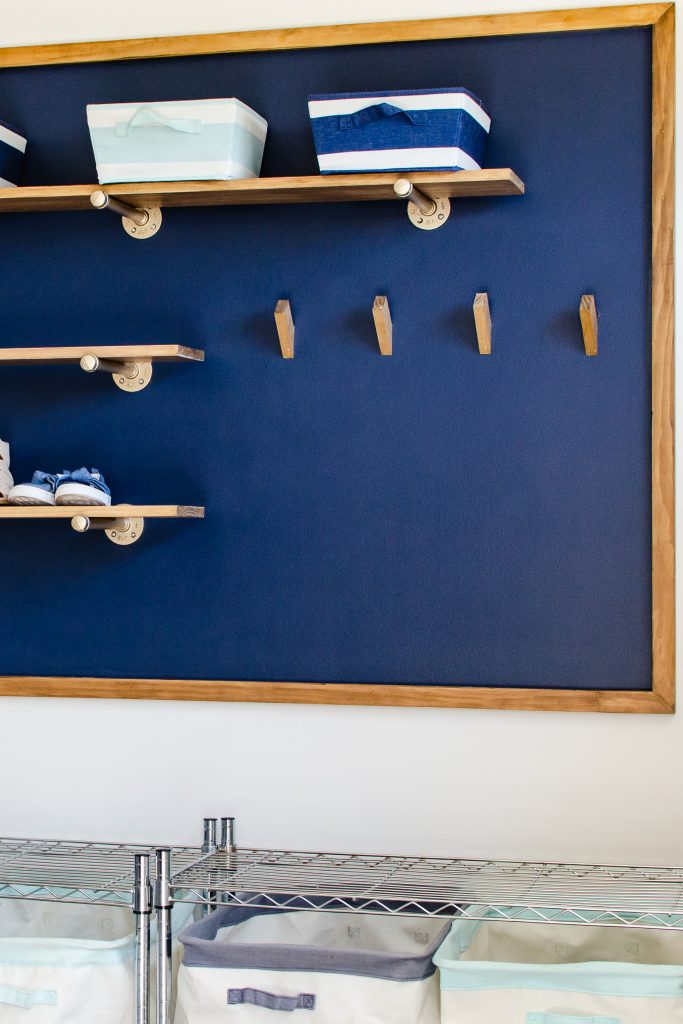
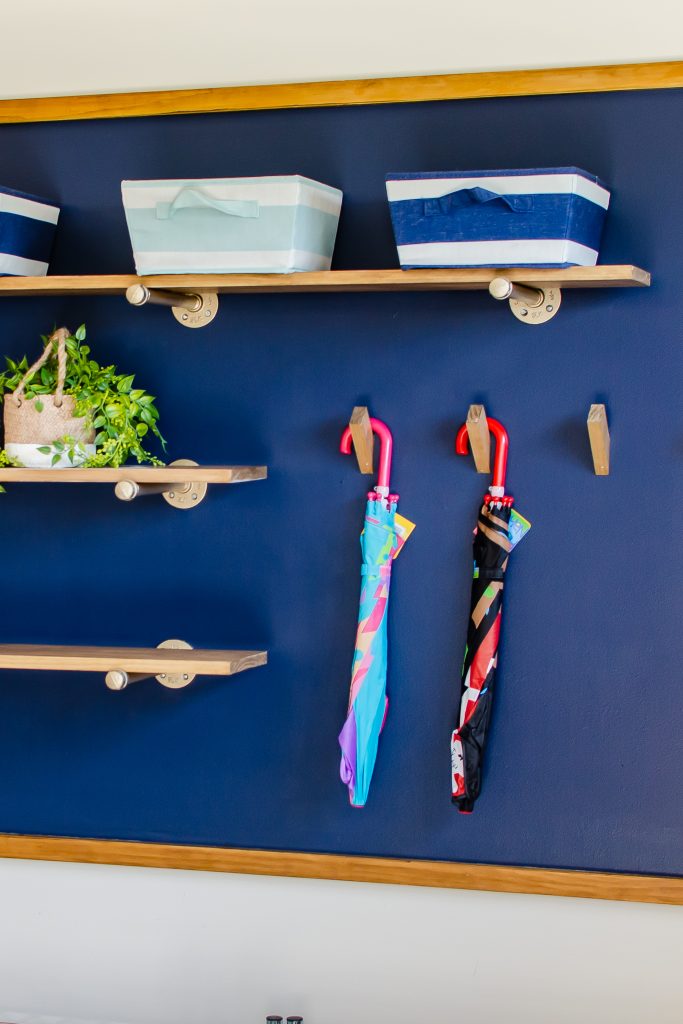
OH!! I should probably also mention these cute little hooks that I added at the VERY end of my project. While I would love to claim this genius idea they came from my dear friend Liz @withinthegrove. I have linked the tutorial here. The only thing I tweaked is the use of leftover 1×2 instead of the recommended 2×2 that Liz suggests. I also made mine a tad shorter. Customization at its finest!!
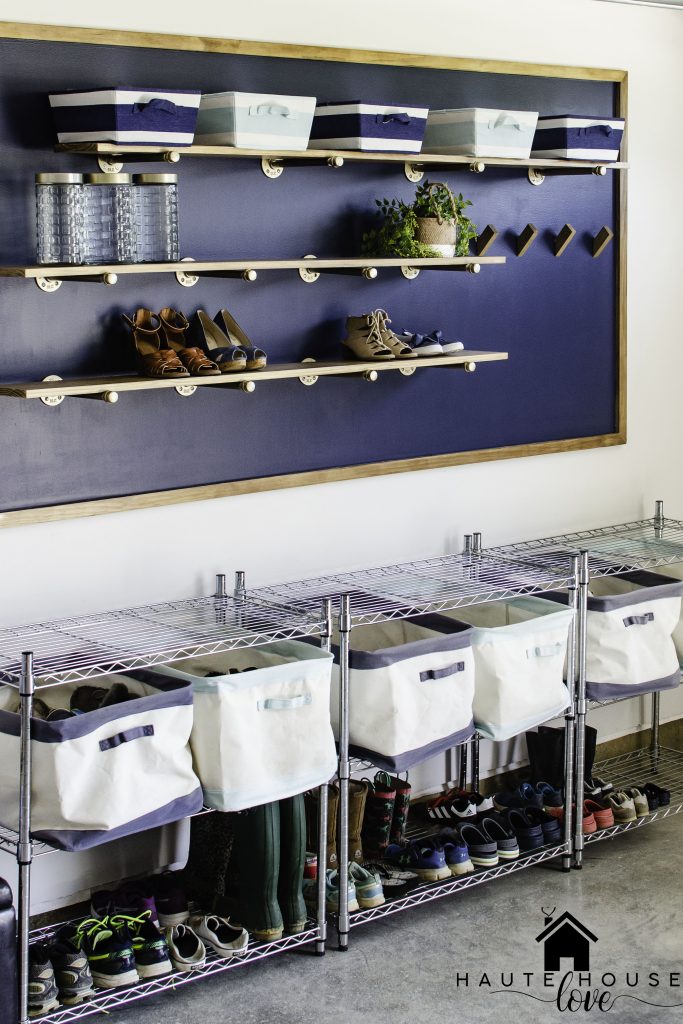
This wall has now been filled with our essentials for spring/summer. Bubbles, chalk, sunscreen, and sandals now adorn this fun and functional space. An organized mom’s dream!

The Comments
waterfallmagazine.com
https://waterfallmagazine.com
This design is wicked! You definitely know how to keep a reader
amused. Between your wit and your videos, I was almost moved to start my own blog (well, almost…HaHa!) Fantastic job.
I really loved what you had to say, and more than that,
how you presented it. Too cool!
Beth
Wow!! Beautifully done!
Kera Jeffers
BethThank you, Beth!
Brittany
This looks so good! I was wondering for the hooks that you added (inspo from Liz) did you use the same size anchors and dowel screws that she linked? I’m trying to do something similar and won’t have studs to screw my dowels in to , but I’m having trouble with the dowel screws being so much larger than the anchors. I just want to make sure I have the right supplies. Any input is appreciated!
Kera Jeffers
BrittanyI so wish I could help from personal experience with this one!! The backside of this wall (behind the drywall) happens to be plywood, so I was able to screw right into wood without anchors.
I would suggest taking the dowel screws into your local hardware store and asking for help to find the perfect fit!