I like shopping for seasonal decor. I LOVE finding a decor item in a store and recreating it myself. This was 100% the case when I found this fall rainbow doormat a few weeks ago on Etsy.
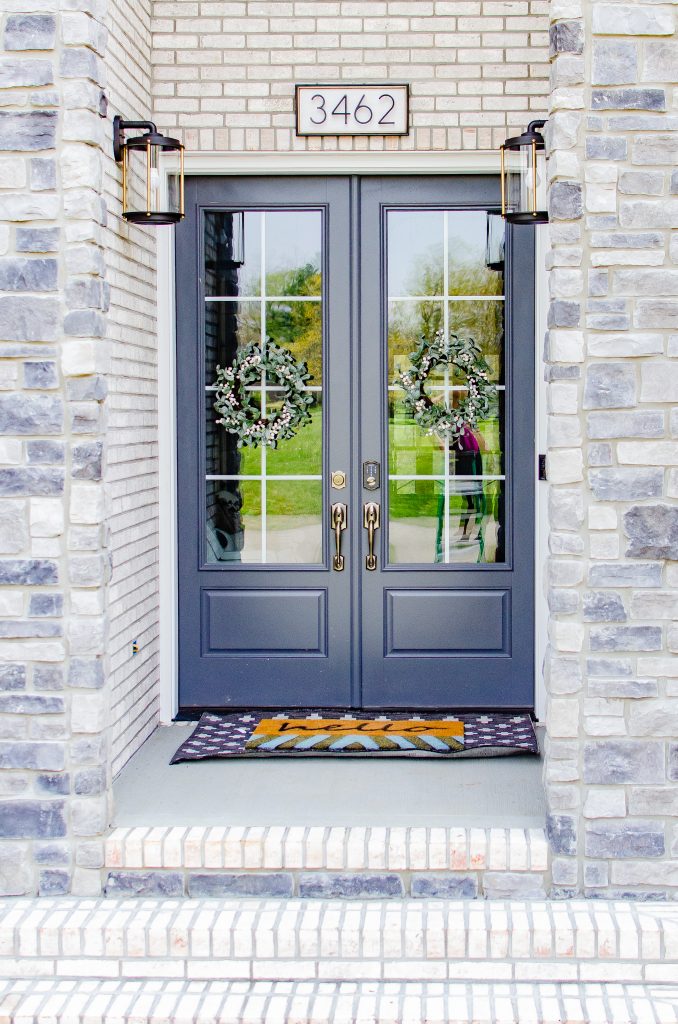
There was just ONE small problem with purchasing this particular doormat for my home. We have double french doors in our main entry and this tiny doormat was NOT going to suffice.
If you are new here, Hi! I’m Kera. I am a blogger, home stylist and mom of 4. I have a colorful, collected eclectic style with pops of modern vintage and cottage boho. If you enjoy my content I would love to connect with you on Instagram where I share my daily projects and home inspiration!
This post contains affiliate links for your convenience.
Shop My Fall Favorites
DIY Fall Doormat To The Rescue
If I was going to customize a rug in a size that worked for my porch I needed to get creative. Long skinny doormats cost a fortune and are WAY more than I want to spend on a simple DIY project.
Luckily, I was able to purchase two $7 doormats from a local craft store. If I laid them side by side and created my design over BOTH of them it would give me the look/size I wanted at 1/5 of the price. Follow along for my step by step instructions for creating this beautiful DIY Rainbow Fall Doormat!
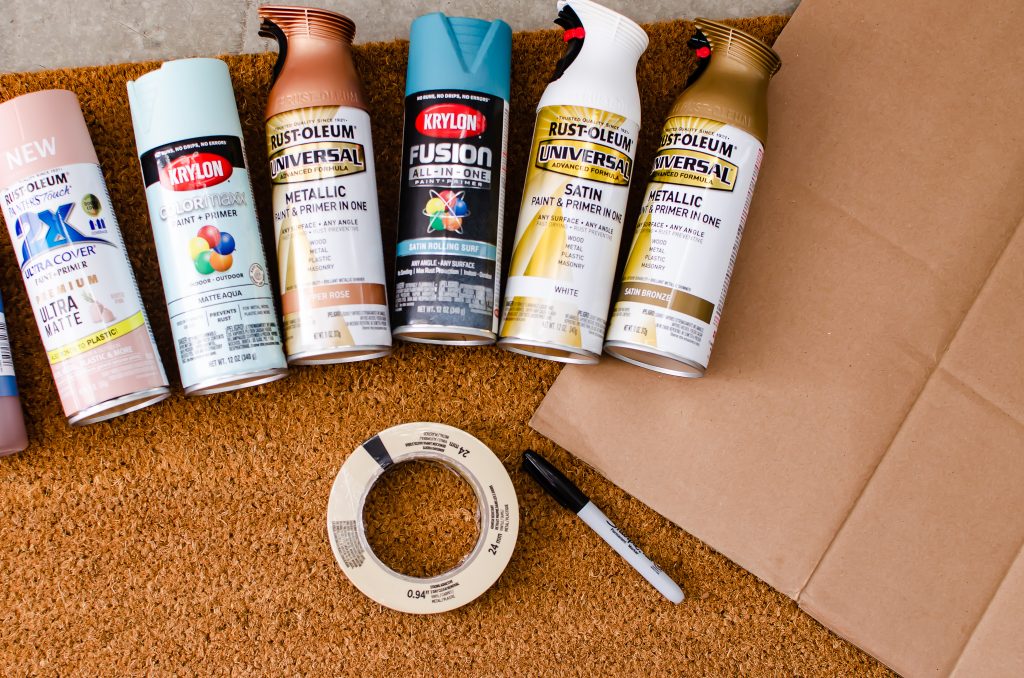
Doormat Supplies:
- Two Standard Coir Doormats (18″X30″)
- Spray Paint in various colors (light blue, peach, charcoal)
- A Cardboard Box
- Masking Tape
- Scissors
- Black Permanent Marker
- Small caps or round stickers (optional)
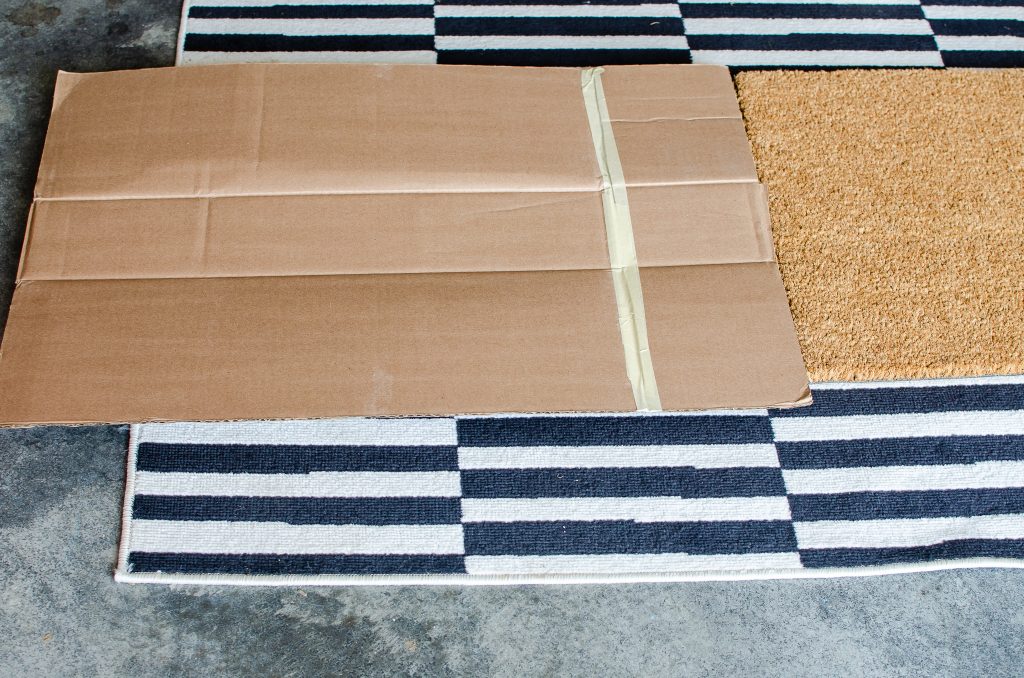
Step 1: Cut Cardboard Box To Fit
My box was long enough but not wide enough to cover my entire doormat. To make it work, I cut an extra piece off of another box and used masking tape to secure it together.
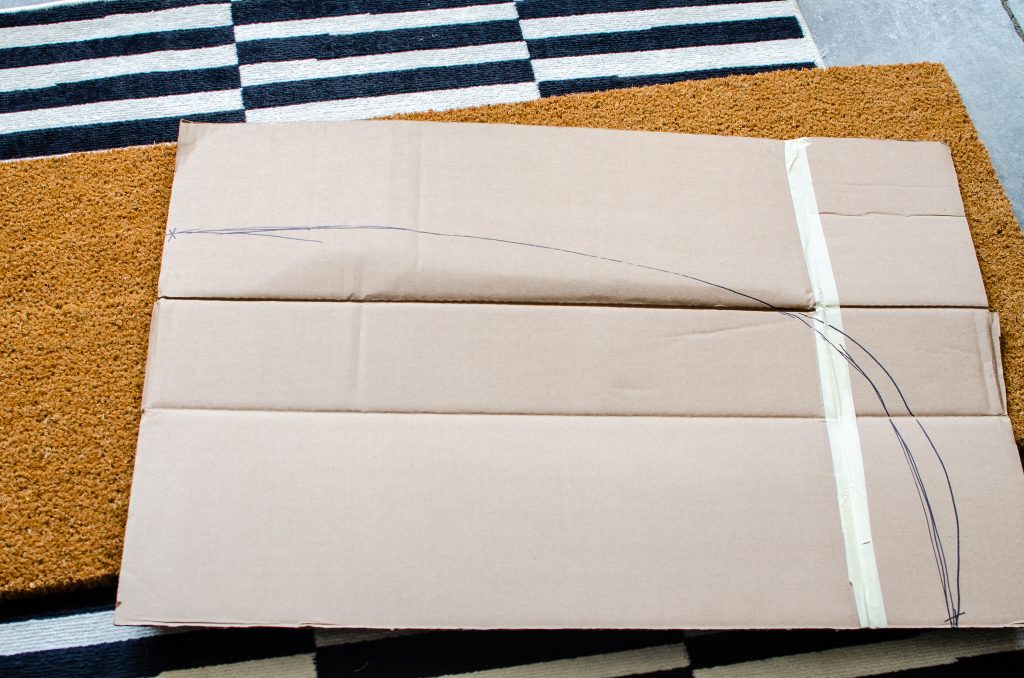
Step 2: Outline Your Template
I used a black permanent marker to outline the template of my rainbow. Don’t stress about this being perfect.
Step 3: Cut Your Template
Next, take a pair of scissors and cut the cardboard.
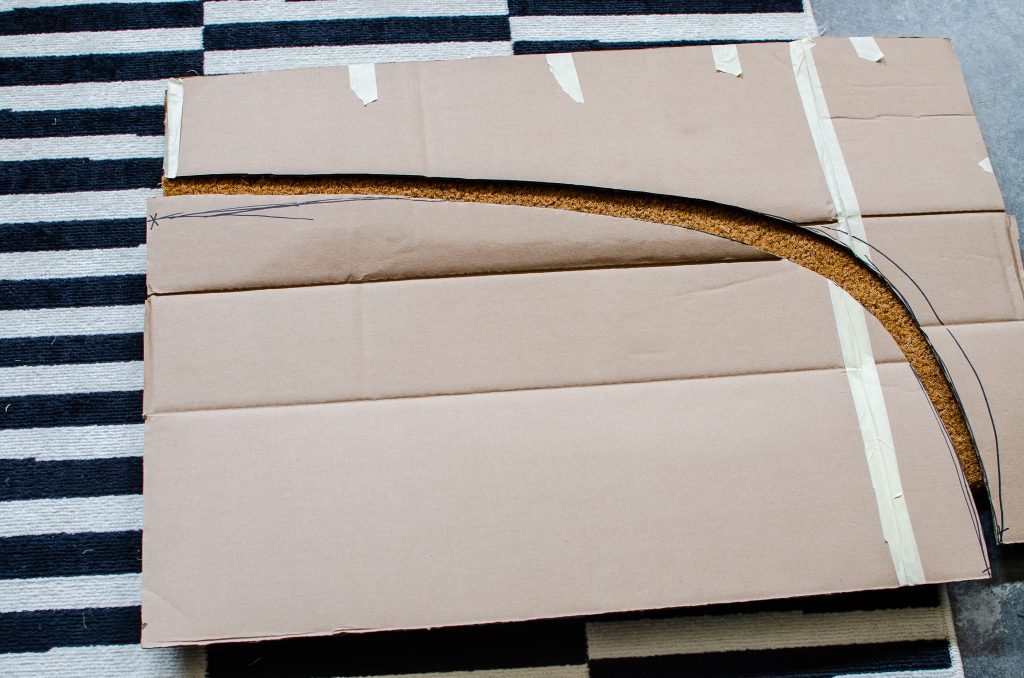
Step 4: Start Spraying
Lay your template on the doormat. Start on the outside and work your way in.
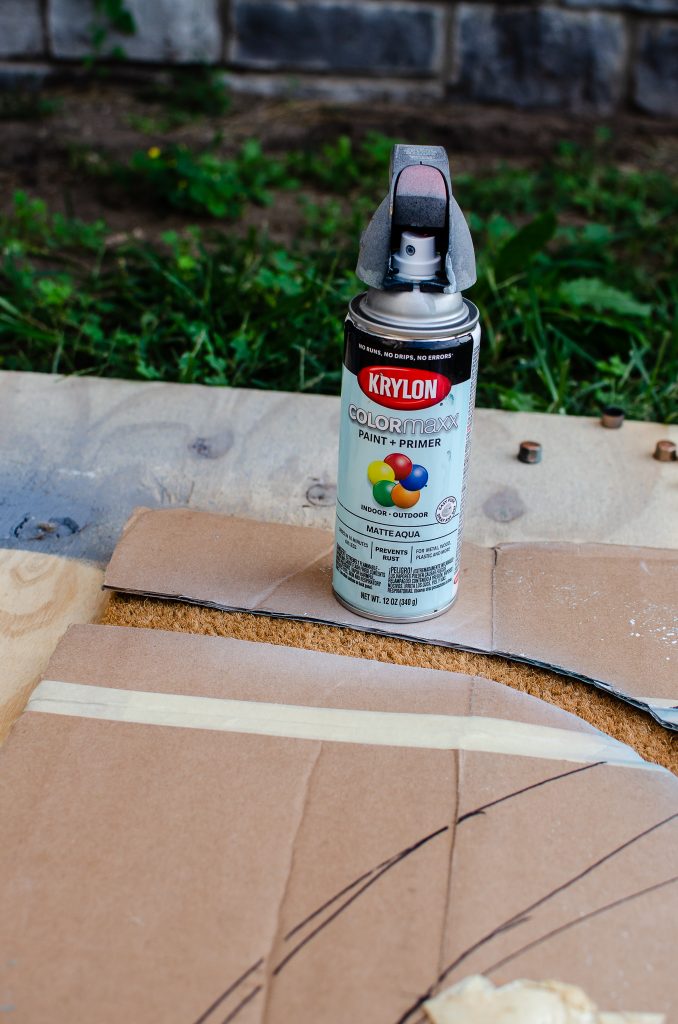
Step 5: (optional) Use small caps or stickers to add detail.
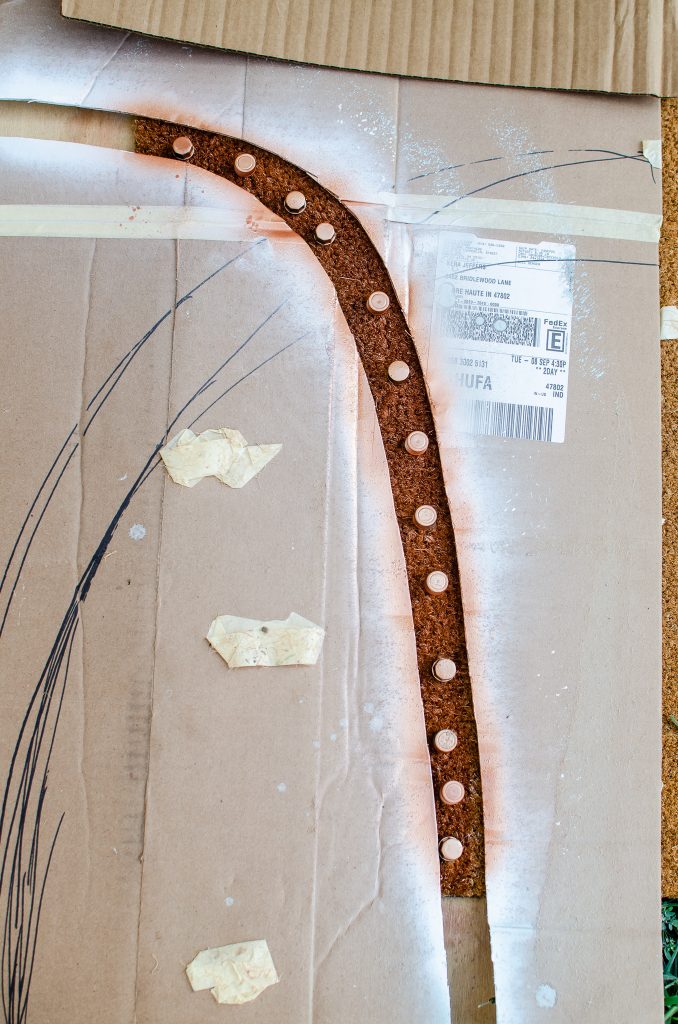
Step 6: Rinse and Repeat to Complete your Doormat for Fall
When one side is complete, flip the template over, and line it up using the lines of the first rug as a guide.
Spray the second rug.
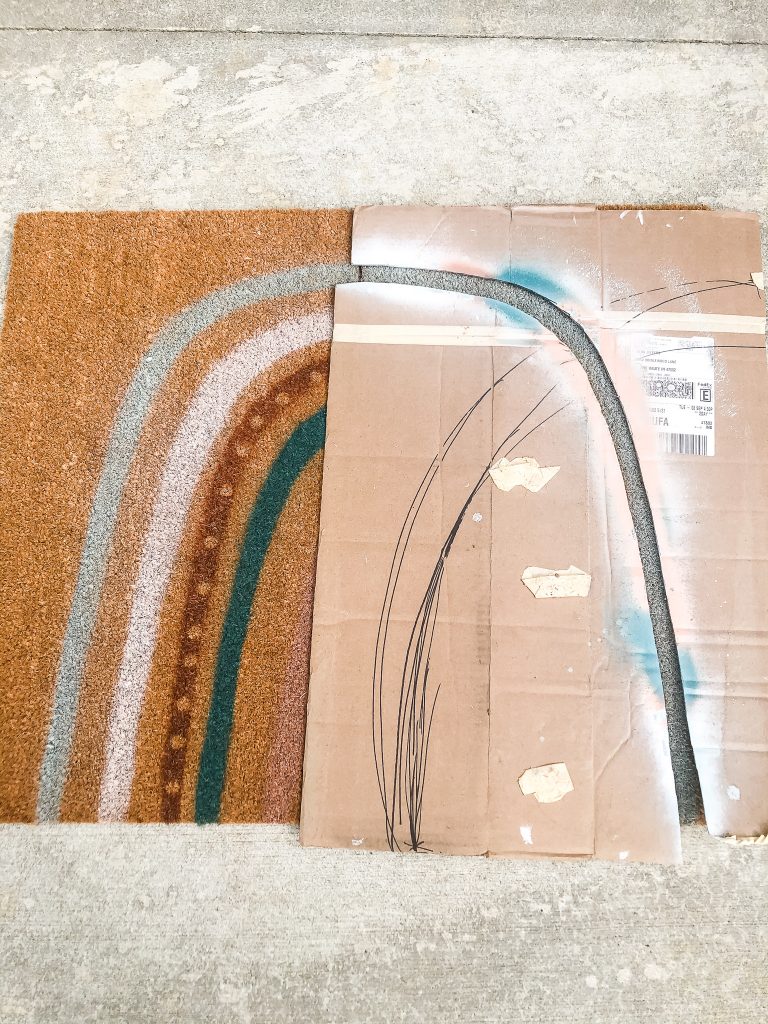
TADA!!
You Have a Rainbow Doormat For Fall!
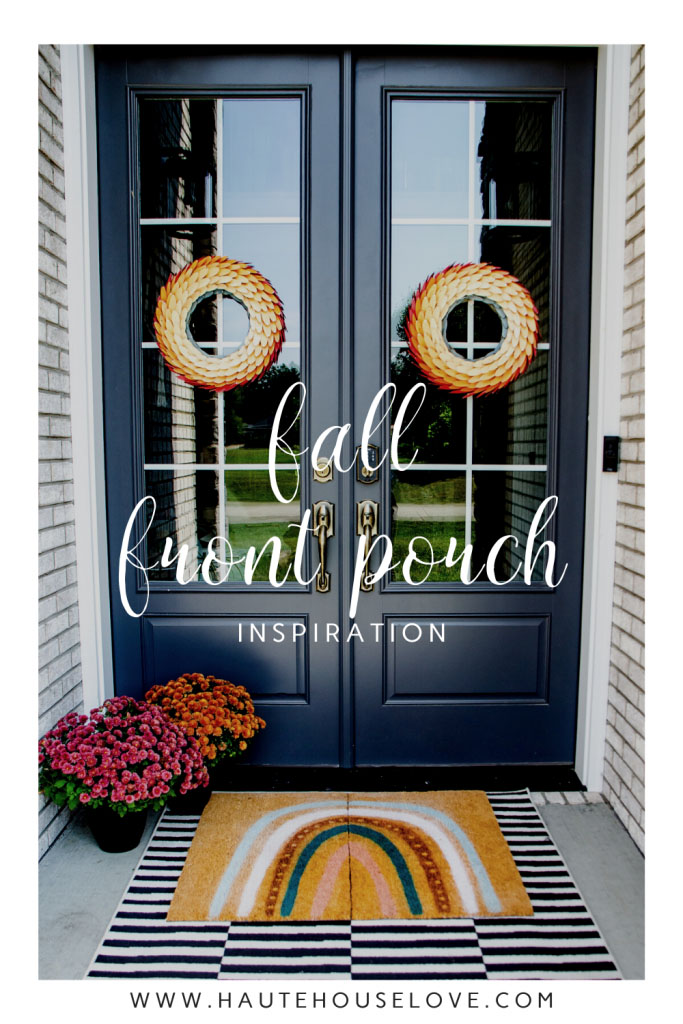
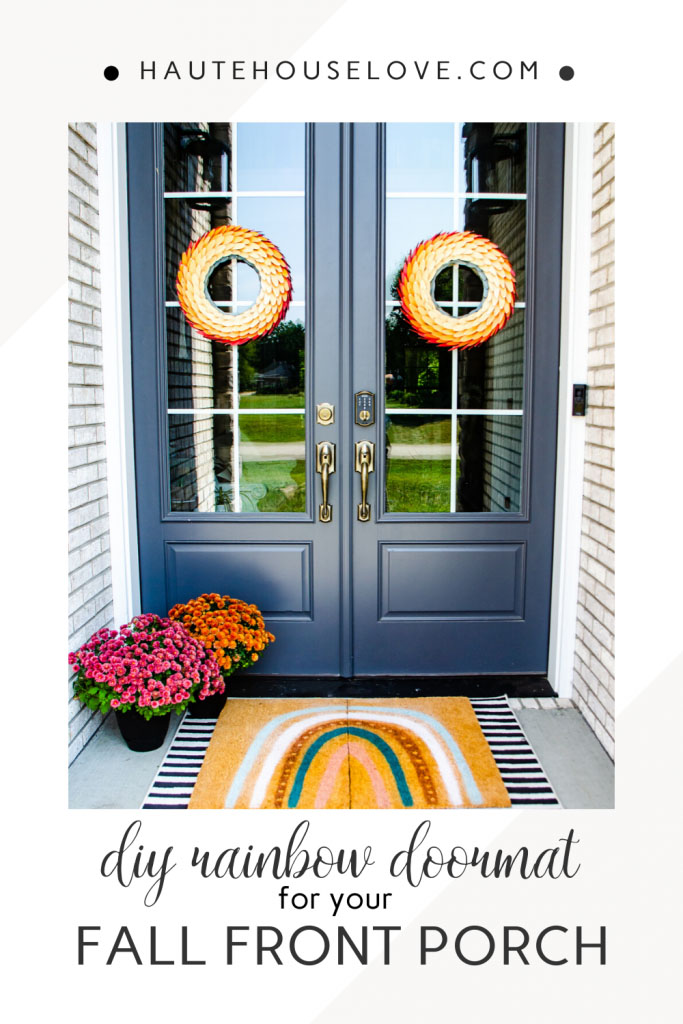
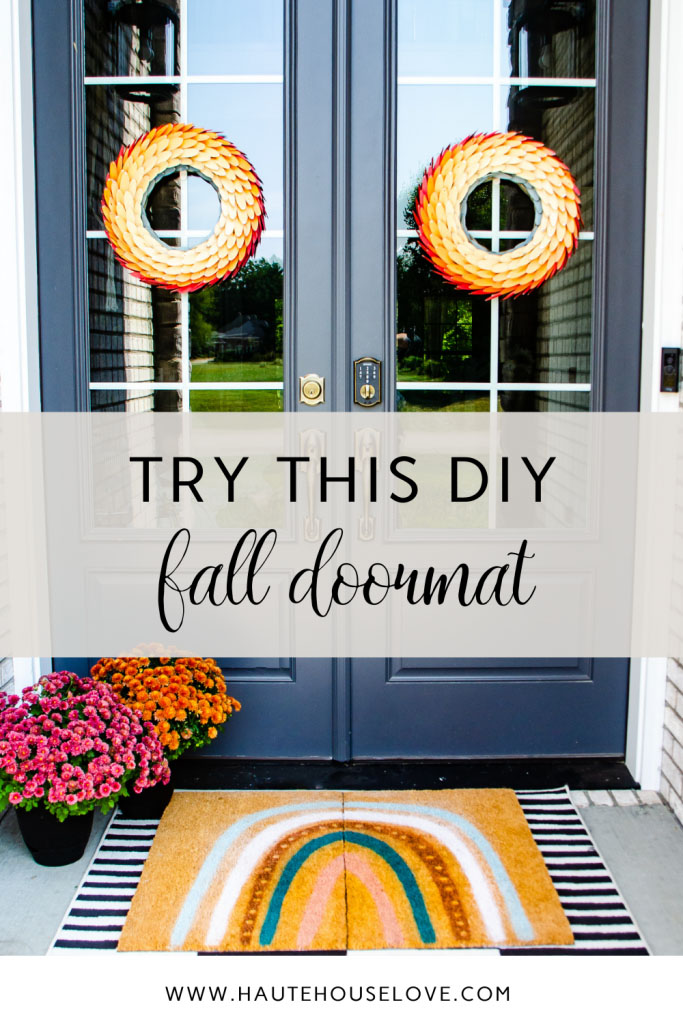
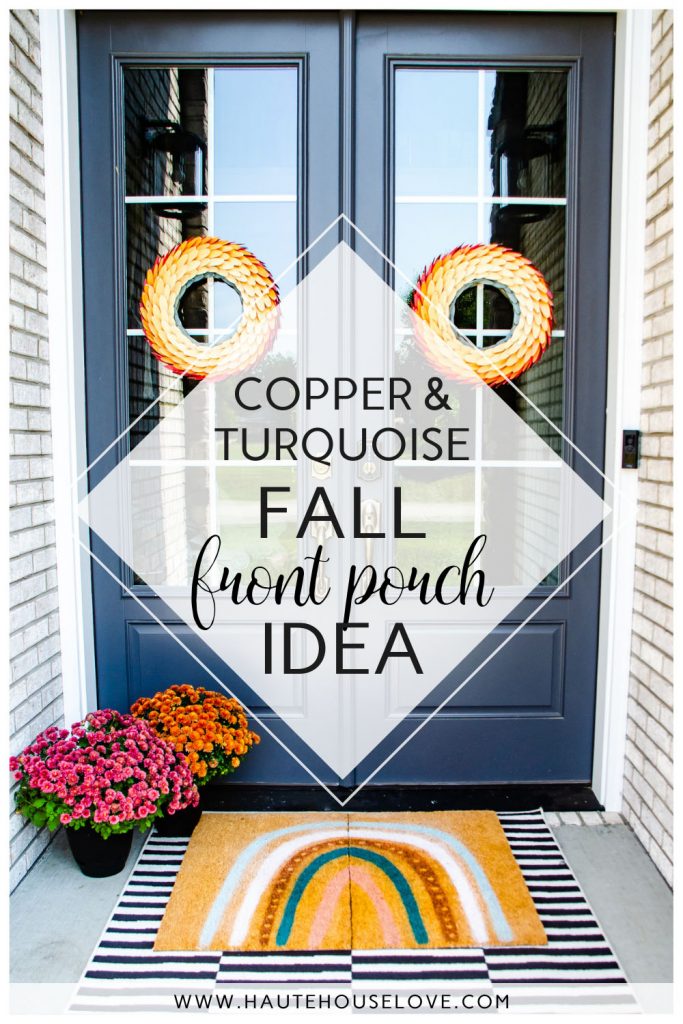
Didn’t this turn out so cute?!? I made mine to fit the colors of my FALL FRONT PORCH, but feel free to use whatever colors fit your home!
If you try this project I would love to see it! Take a photo and tag me on Instagram with #hautehouseprojects and I will share it with my followers!
Happy DIY Weekend, Friends!
Want more Home Inspiration? Check out these posts!


The Comments
Carol Karl
Great idea. Thanks for sharing.