If you love a good Ikea cabinet hack you wont want to miss this post!
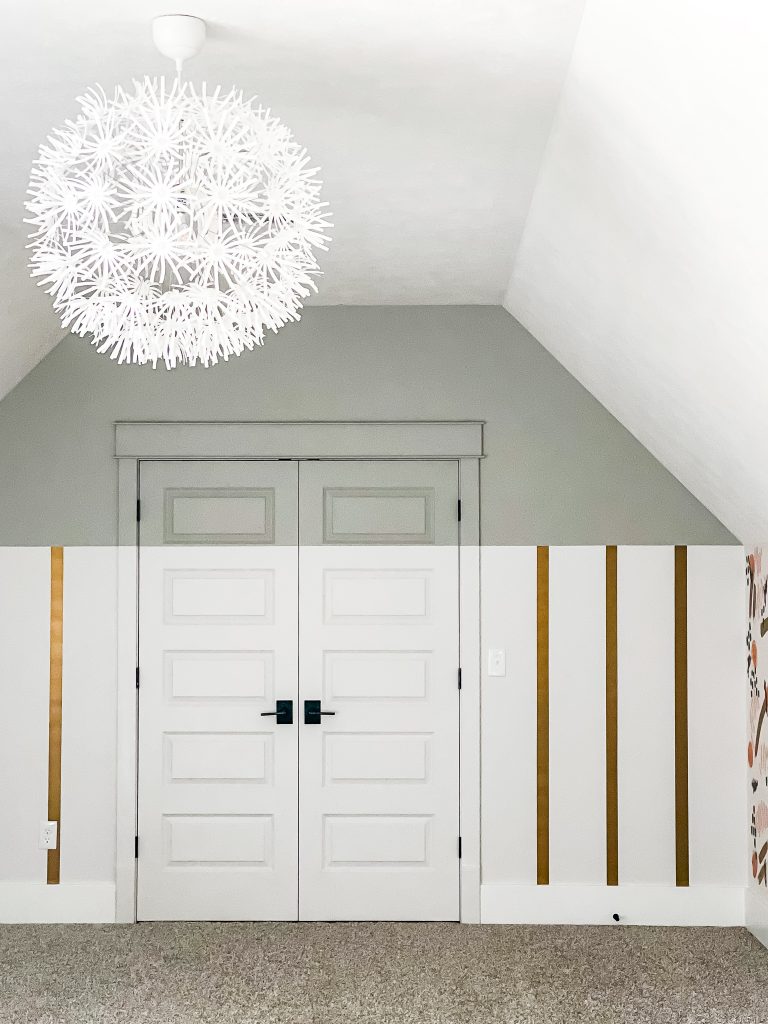
Earlier this year I gave our PLAYROOM A RE-DESIGN.
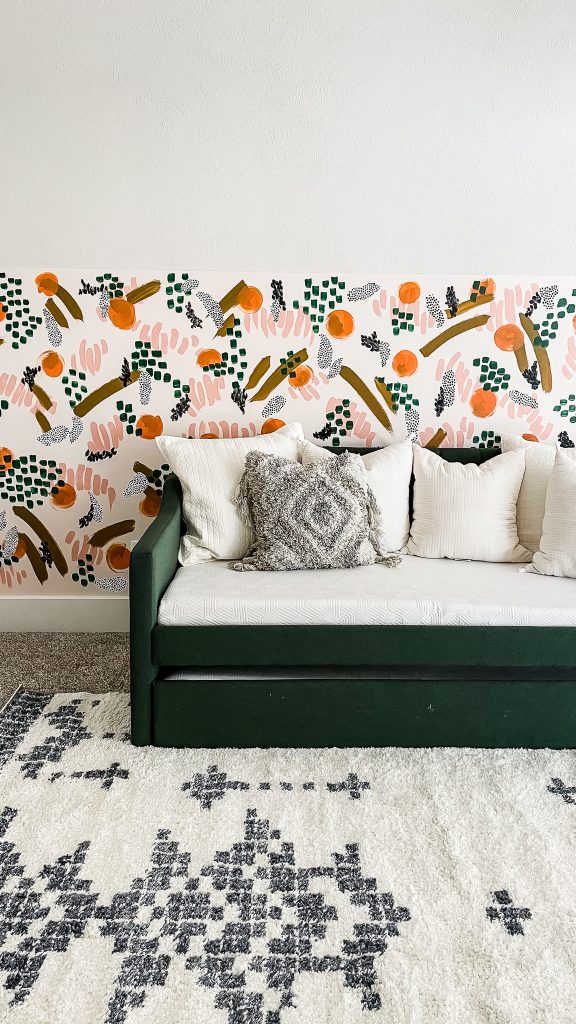
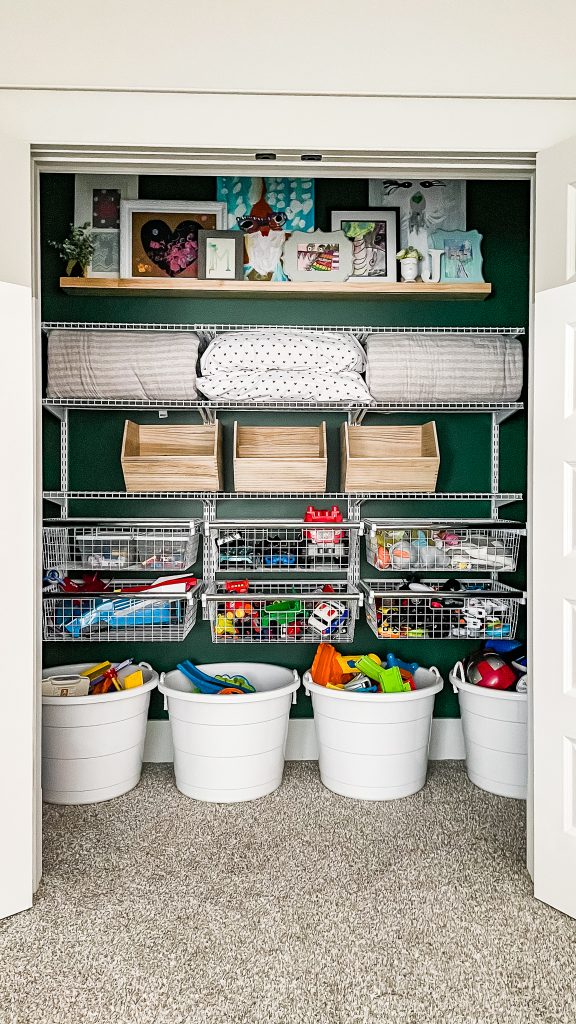
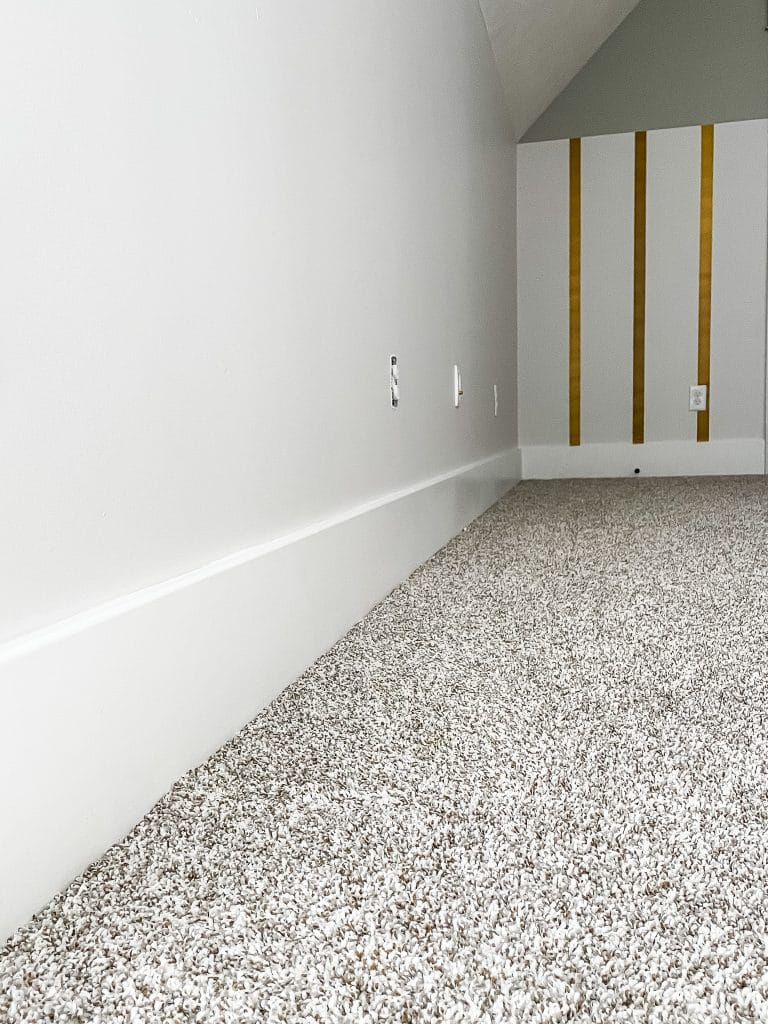
I COLOR BLOCKED the walls, doors and trim, HAND PAINTED A MURAL ACCENT WALL, and completely RE-ORGANIZED THE TOY CLOSET.
One of the final puzzle pieces was figuring out a storage cabinet that could double as an entertainment center of sort.
I was careful in my consideration of this piece, mostly because I have a 3-year-old with a track record for busting his face open on the corners of furniture.
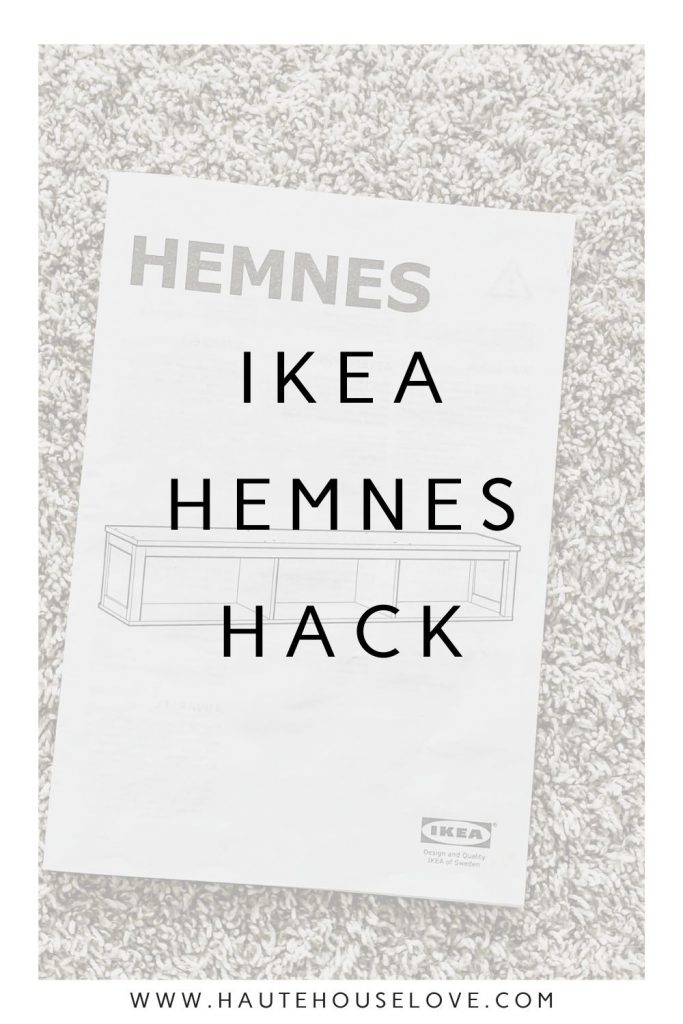
On an Ikea trip, I found a HEMNES piece that is intended to be a bridge between two entertainment center towers.
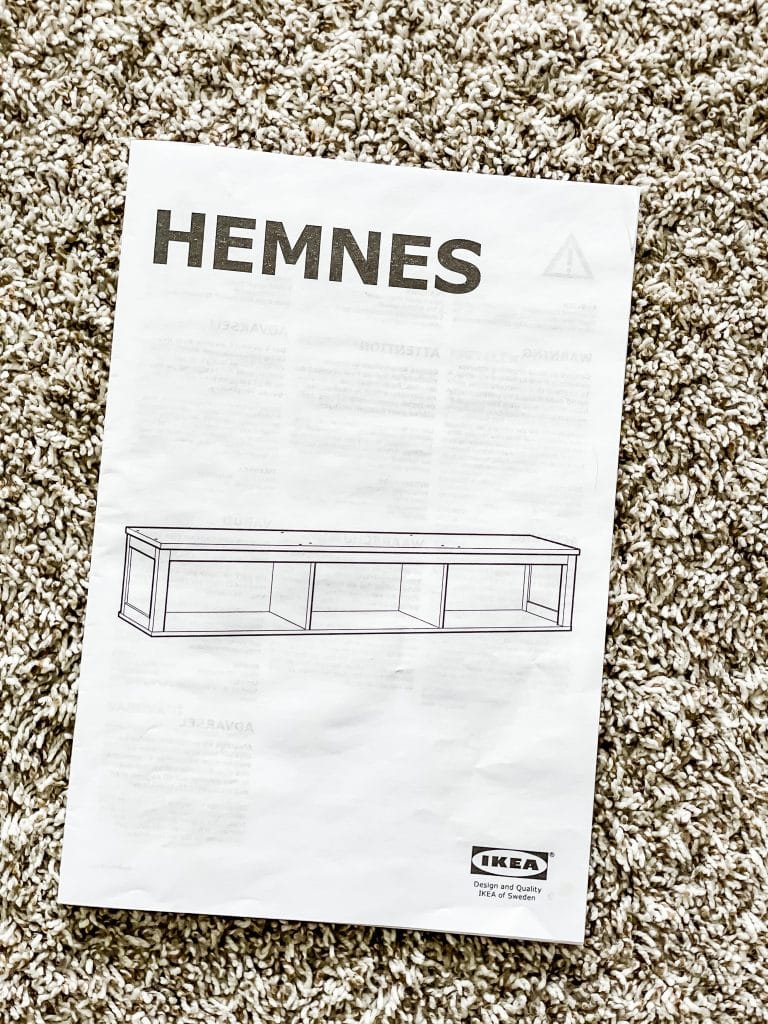
As my brain overflowed with ideas, I decided to purchase two with the intention of hacking them into a custom piece for our space.

Keep reading to see how I did it!!
[convertkit form=2042657]
this post contains affiliate links
Ikea cabinet hack Equipment and Materials
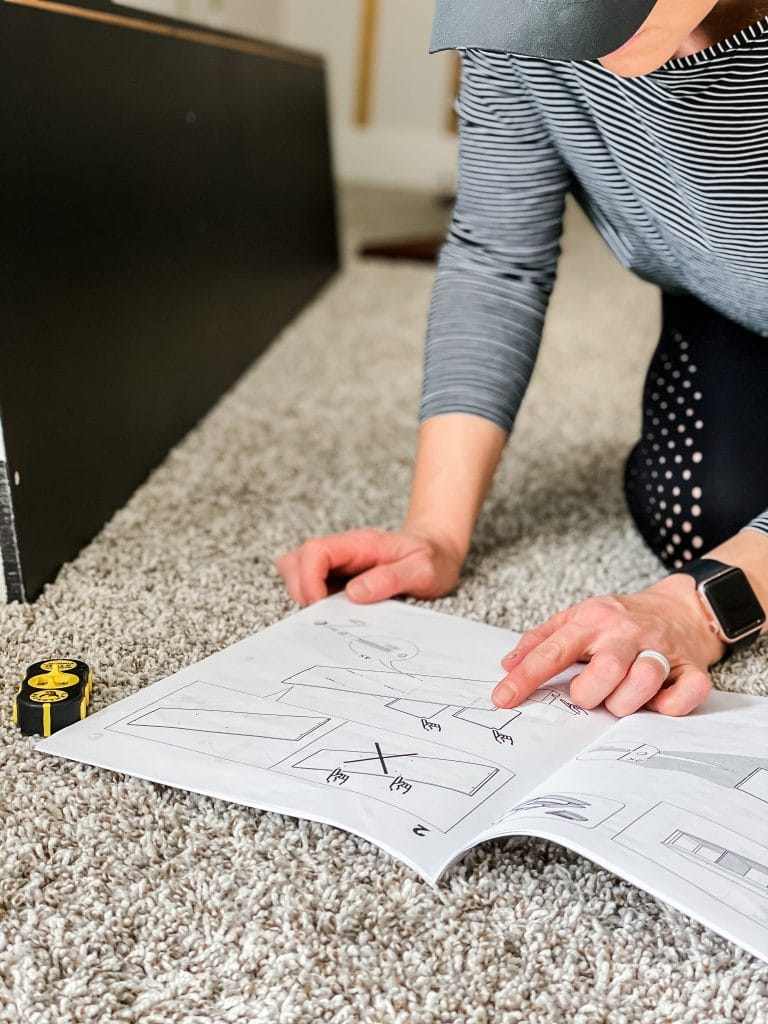
Before you start his DIY Ikea Cabinet faux furniture project, you will want to make sure that you have all of the right tools and materials on hand.
- IKEA Hemnes Entertainment Bridge (I used two)
- Dropcloth for Painting
- 220 Grit Sanding Block
- Zinsser Bullseye 1.2.3 Primer
- Latex Paint
- 4″ Foam Roller
- Furniture Legs
- Scrap Wood for Braces
- Screws
- Drill
- Measuring Tape
- Pencil
- Level
- Laser Level
- Putty
- 1×12 Pre-Primed Pine Board (one for each unit used)
- Leather Strapping
- Cabinet Hardware Jig
- Clamps
- Self Closing Cabinet Hinges

IKEA CABINET HACK
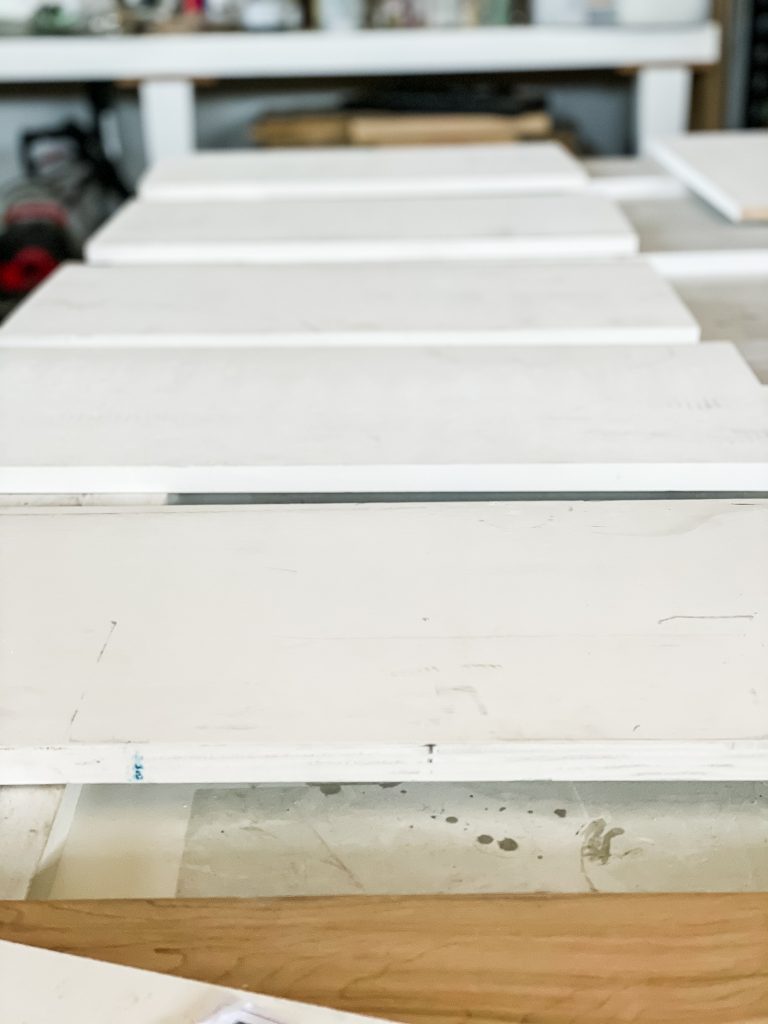
While this particular IKEA HEMNES unit comes in black (which was my color of choice) my local store only had white in stock.
So I decided to paint the unit first!
Luckily this particular piece is made of solid wood, so a light sanding and primer was all I needed to do to start.
Sand. Prime. Paint.
I’m used a 220 grit sanding block to rough up the pieces of wood a little bit before priming. After sanding, I wiped the surface down with a microfiber cloth to get rid of the dust.
For priming this piece, I am using the Zinsser Bullseye 1-2-3 Primer. I was able to use this specific primer on my Ikea furniture is because this piece is made of solid wood.
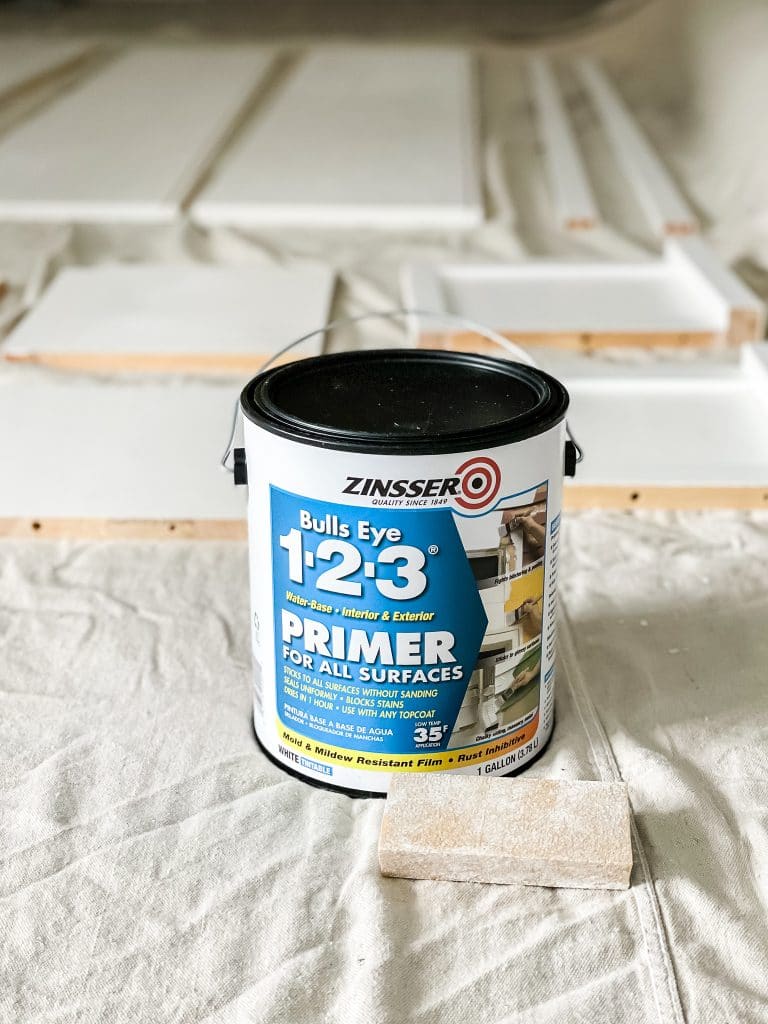
NOTE: If you are working with Ikea furniture that is made of laminate, you will want to get the ZINSSER BIN SHELLAC-BASED PRIMER, which will adhere to laminate surfaces. The BIN primer is more expensive but is necessary for working with laminate pieces.
I applied the primer to each piece of wood in a thin coat using a 4″ foam roller, followed by two coats of finish paint.
I used leftover wall paint for the top coat in Sherwin Williams Iron Ore.
THE IKEA CABINET HACK
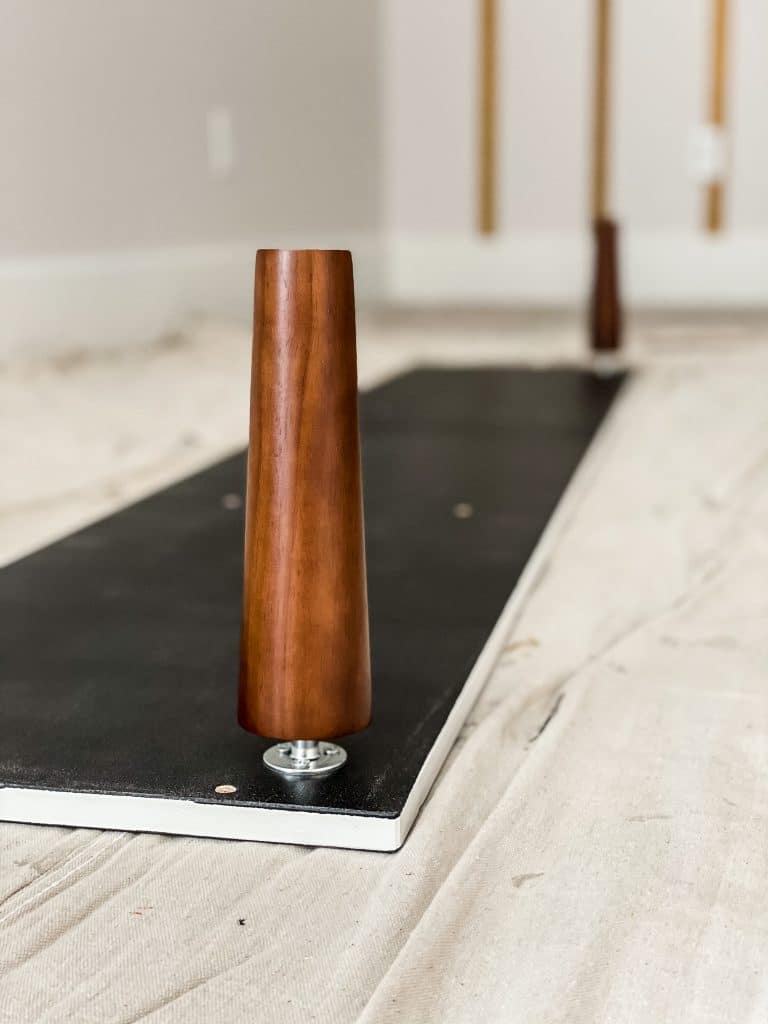
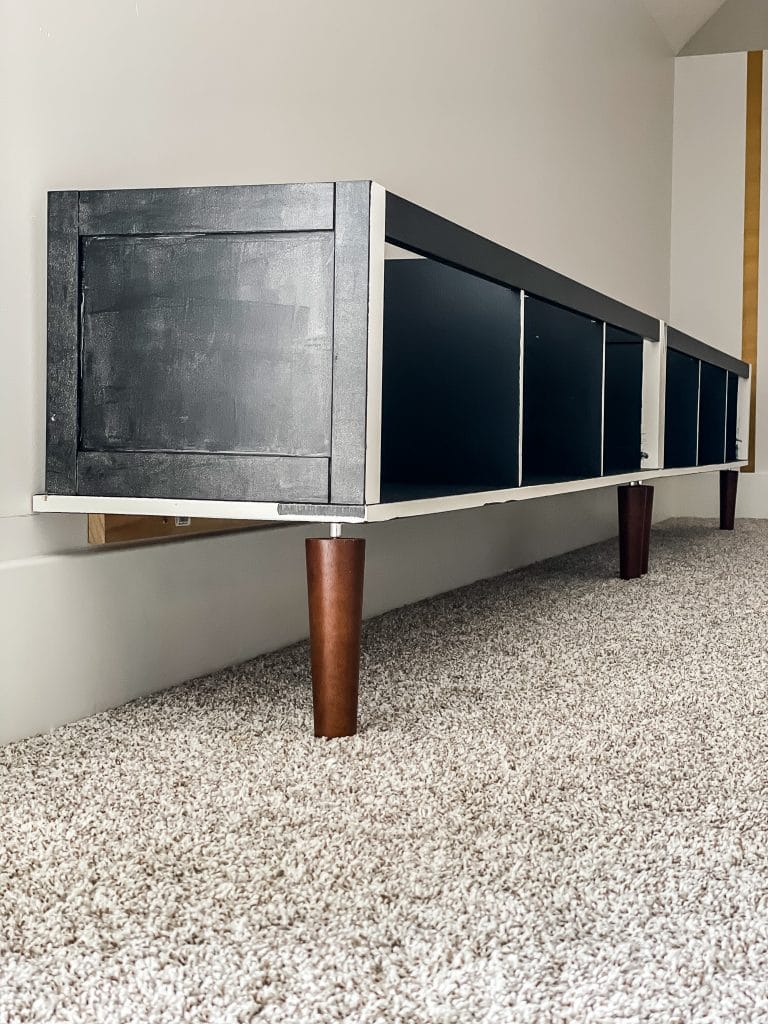
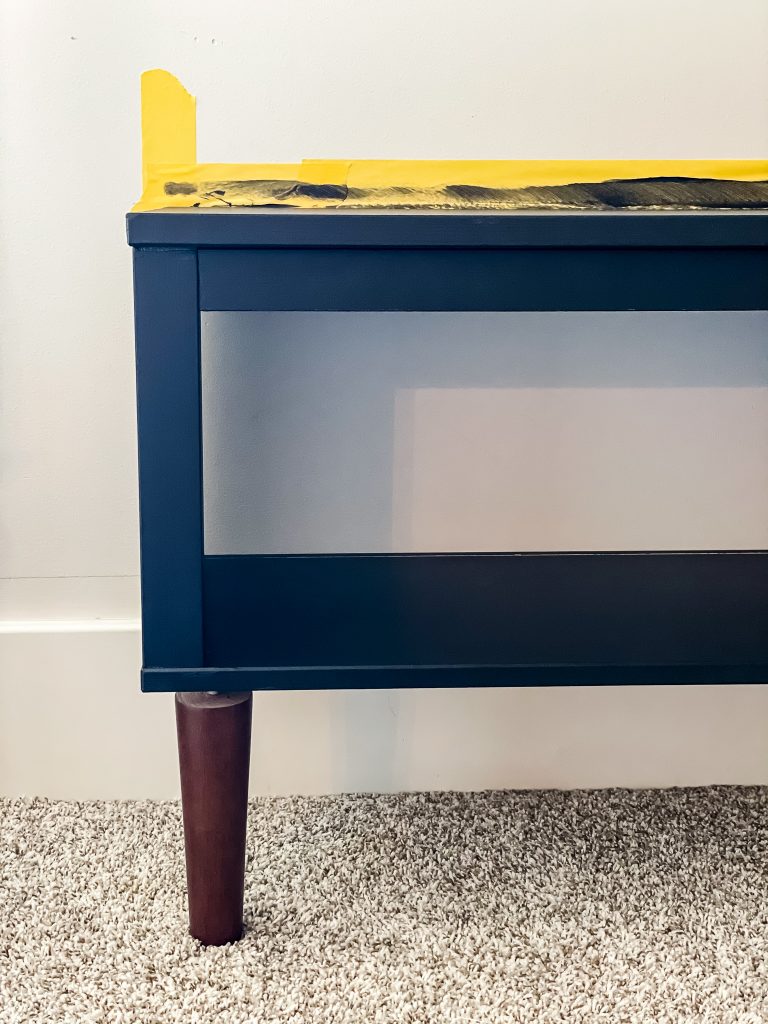
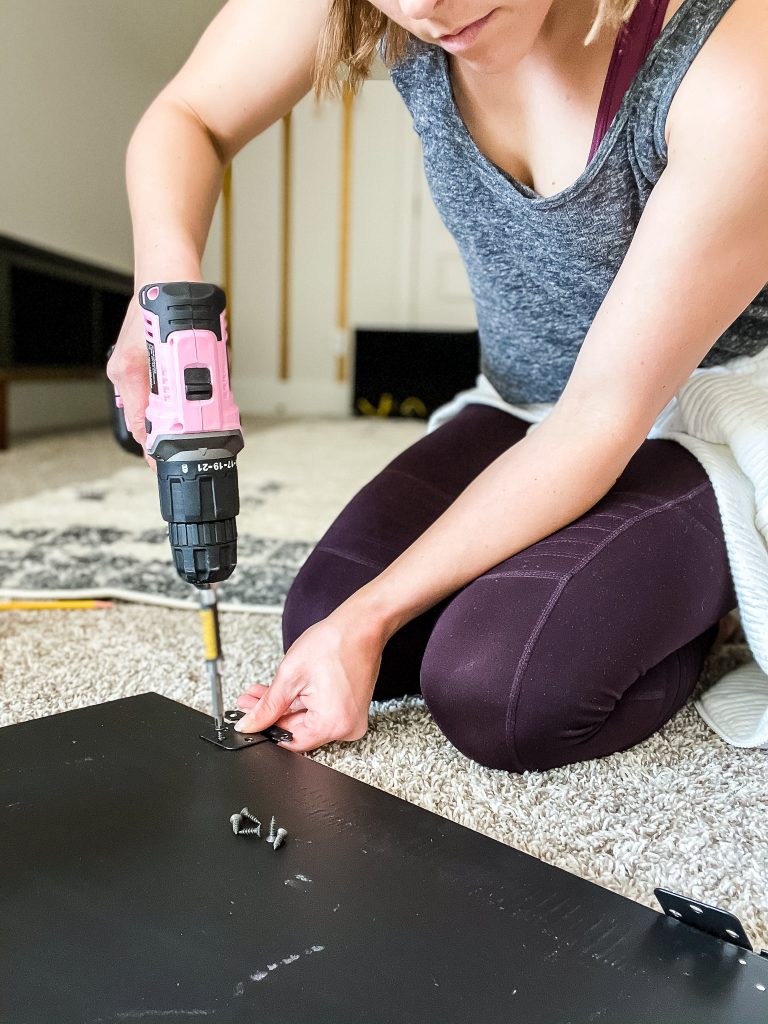
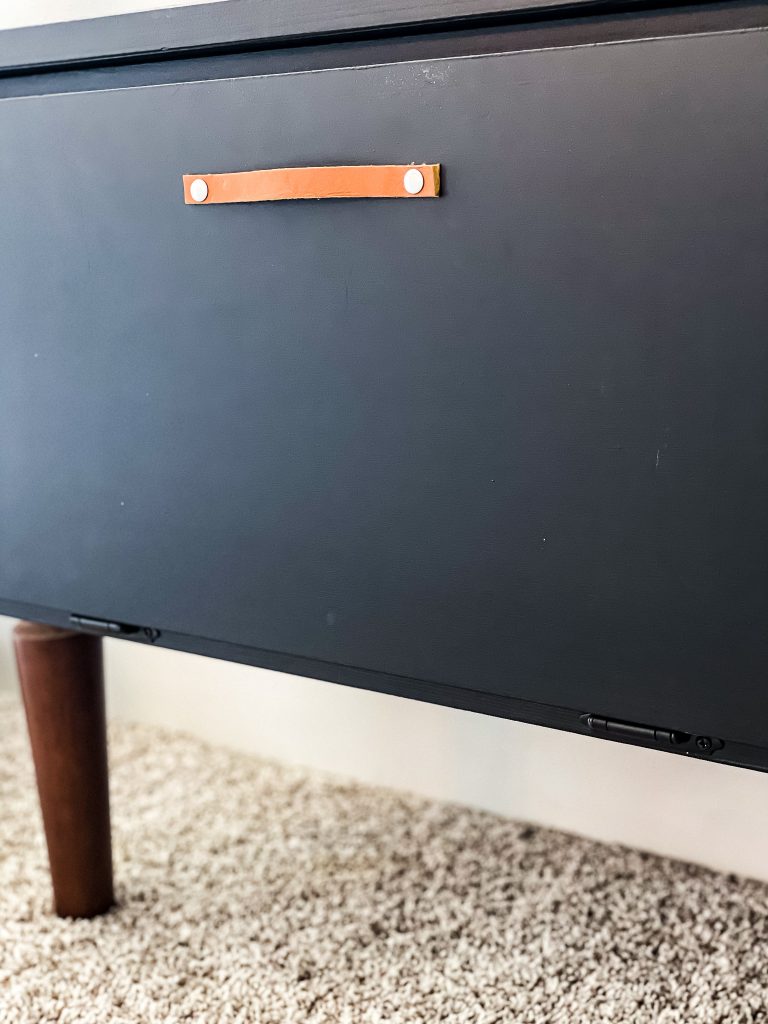
In order to turn this Ikea cabinet into a piece of faux furniture, I decided to add some legs to the piece. The original Ikea cabinet did not come with legs, so I grabbed THIS SET that I had success with in another area of my home.
My plan was to attach the back part of the piece to the wall so I only needed to add legs to the front. Since I had two of the IKEA pieces I attached four legs, two to the front corners of each cabinet base.
The legs are a simple install for any piece of furniture. Simply screw the mounting hardware to the bottom of the furniture piece and then twist on the legs.
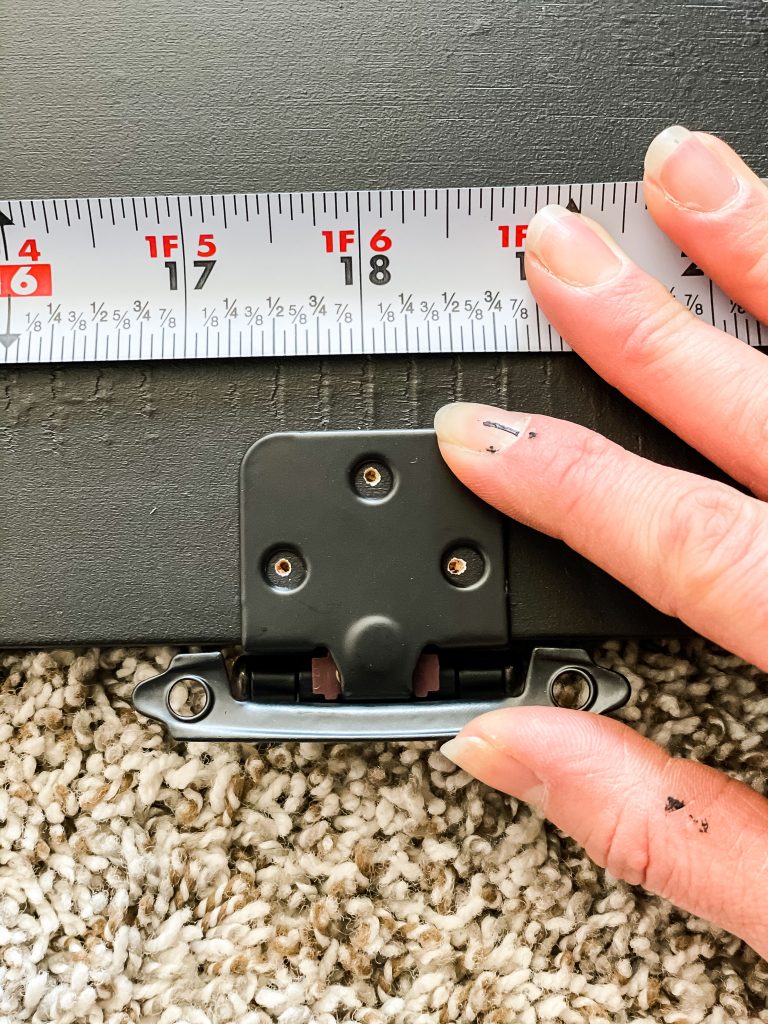
HOW TO INSTALL FURNITURE LEGS
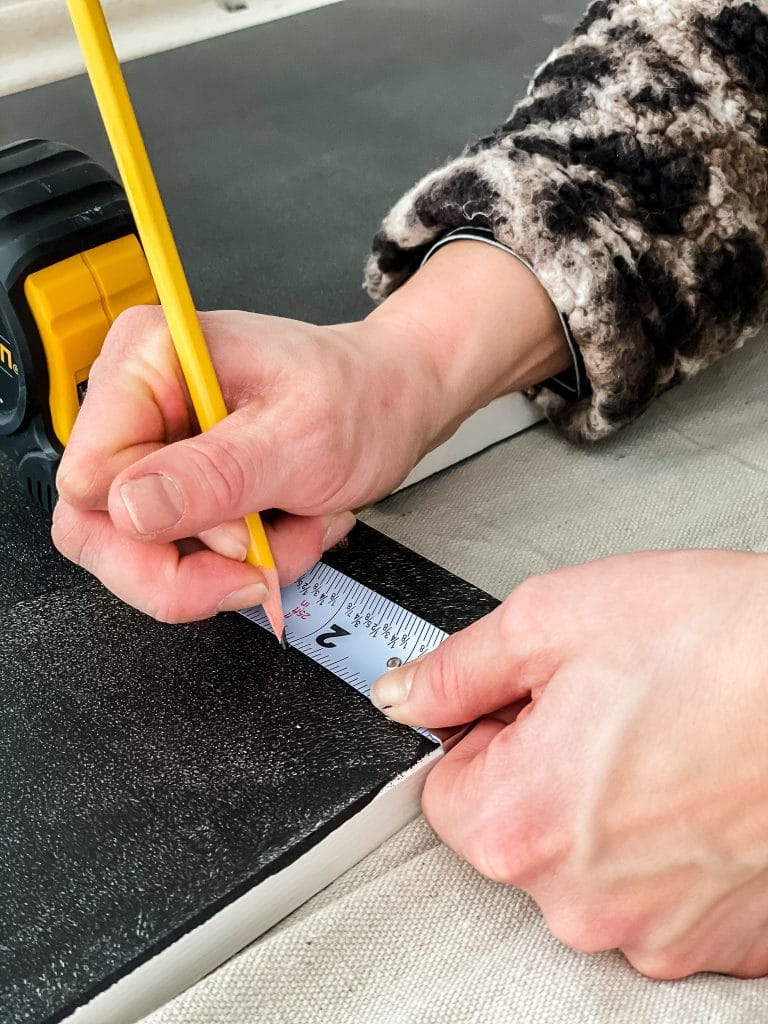
In order to figure out where to mount the legs, I measured 2 inches from the side and 2 inches from the front of the bottom corner.
I made a small pencil mark where the two measurements met and used the mark as the center point for the mounting plate.
The mounting plate comes with three screws. I drilled pilot holes first followed by the screws.
The legs then screwed right into the mounting plate.
MOUNT THE UNIT ON THE WALL

Let’s start the install! First up, find the center on your wall and mark with a pencil.
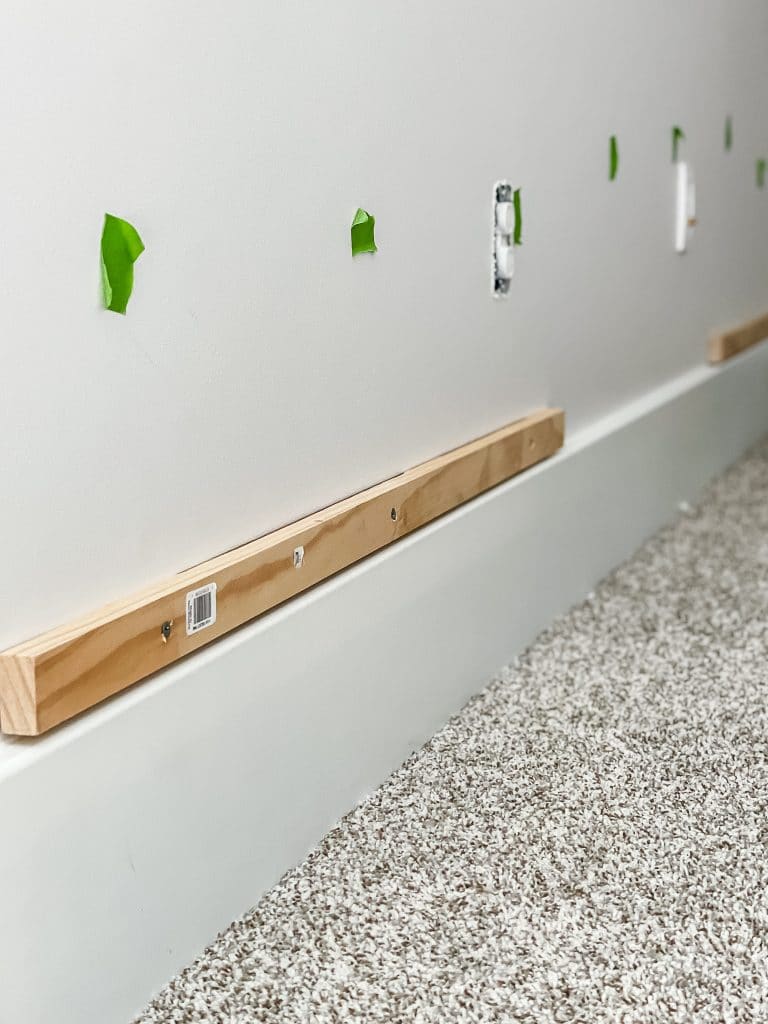
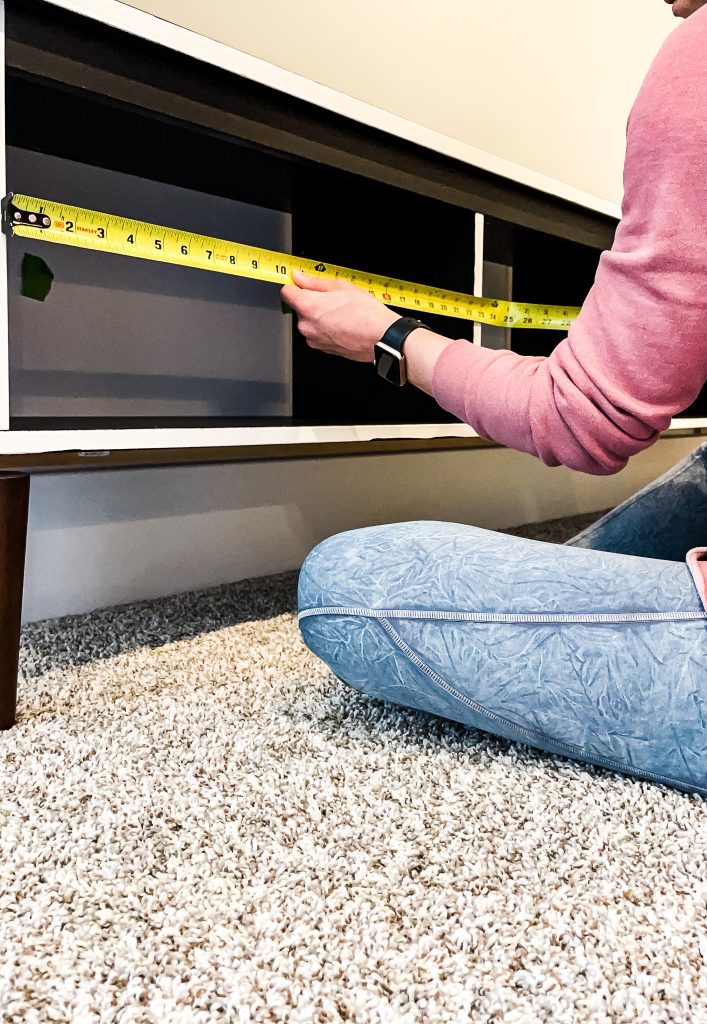
Next, dry fit the bottom piece to determine where to install the brace pieces.
The placement of the brace pieces will be different for everyone.
Since I used 8″ legs and I have 7.5″ baseboards I used a 1×2 for my brace piece. I wanted my brace pieces to screw into at least 3 studs so I cut them at 36″ in length.
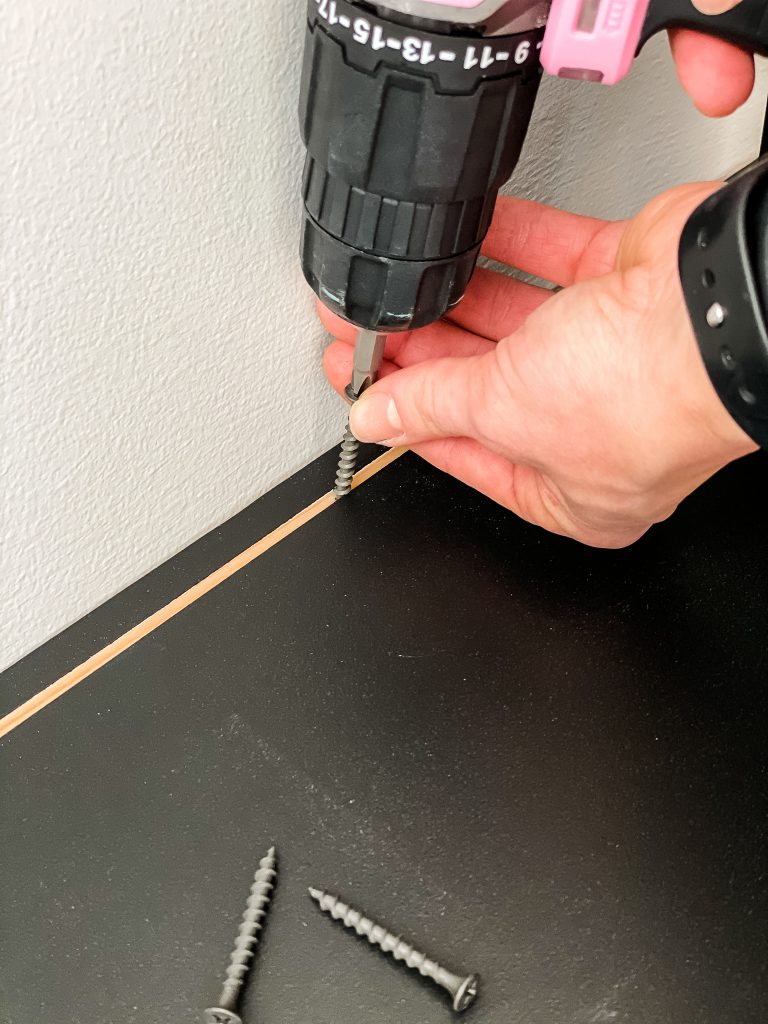
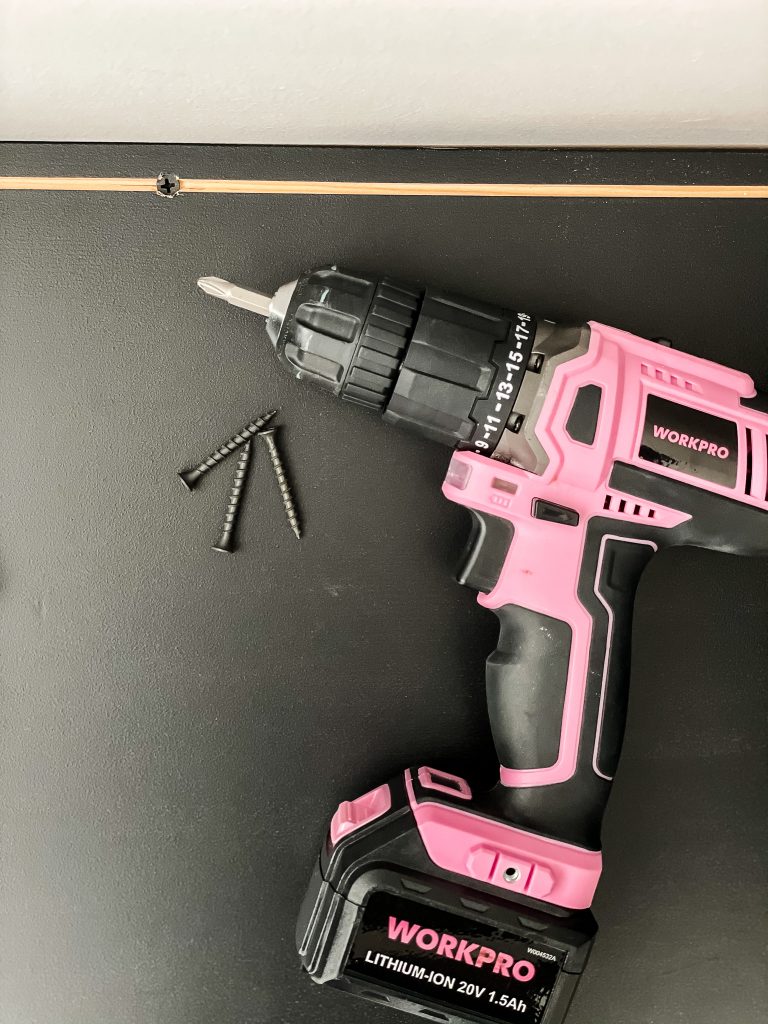
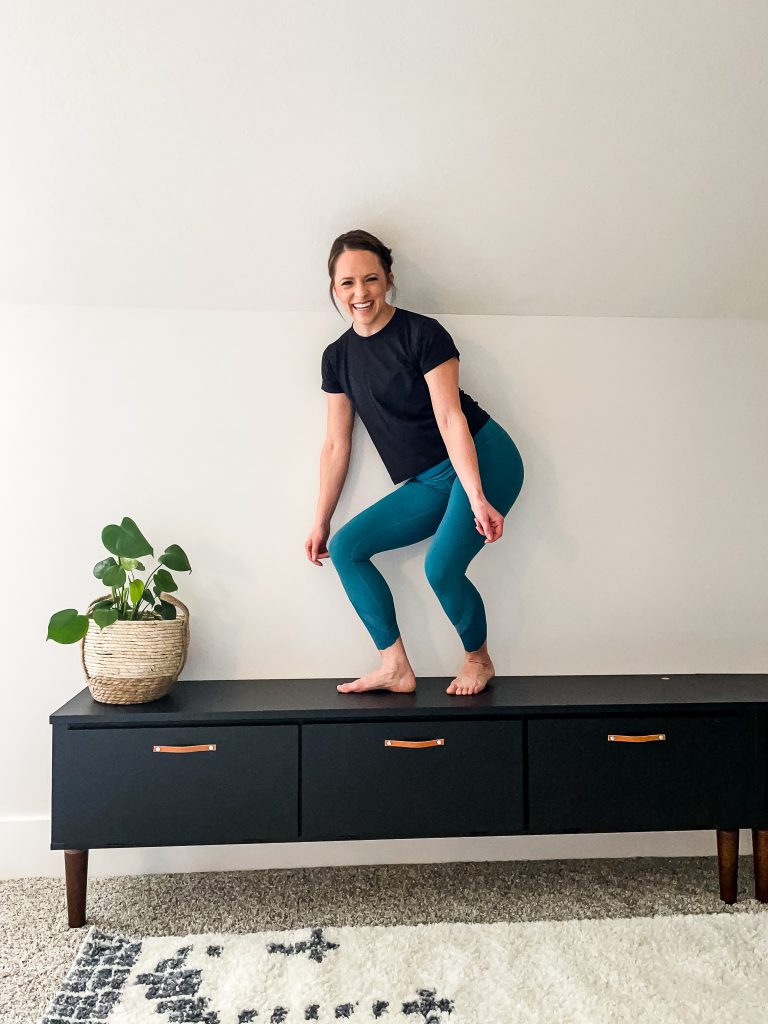
With the brace pieces installed place the floor of the piece into place and screw the back into the brace pieces to secure them to the wall.
This will give the piece a built I look as well as assure safety since it is now screwed into the wall.
ASSEMBLE THE REST OF THE PIECE
With the bottom securely in place, assemble the rest of the Ikea unit. I chose to leave the back piece off for easy access to electrical outlets.
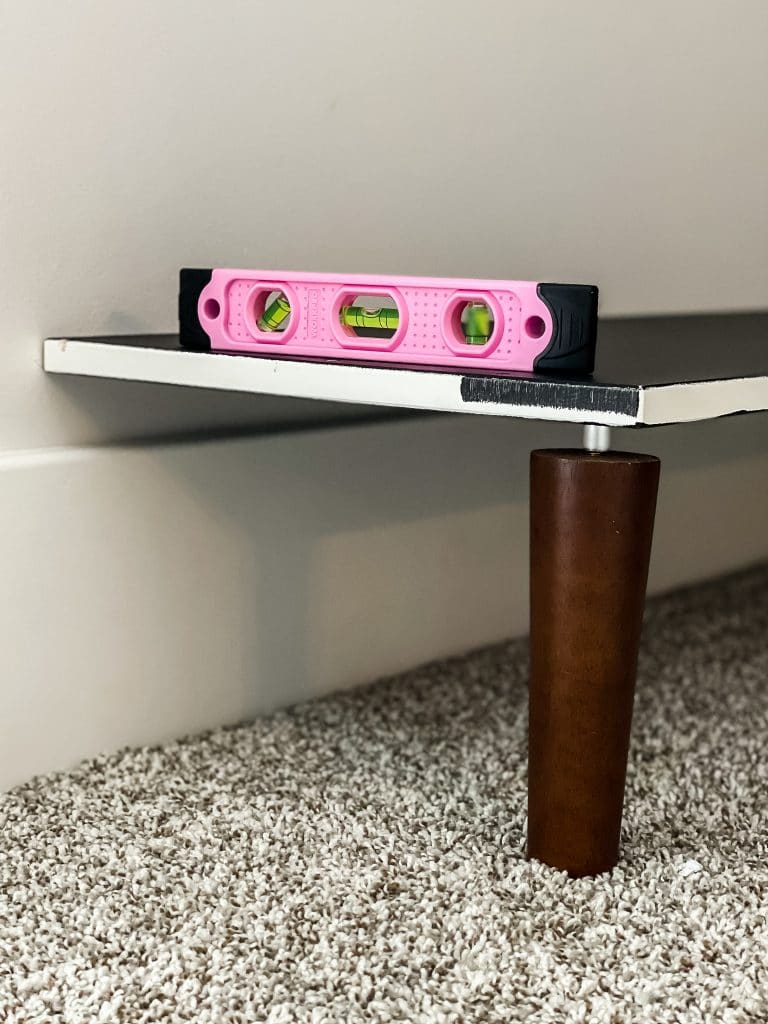
Once assembled check that the unit is level from side to side and front to back.
If there are any descrepencies simply adjust at the legs by screwing them in further or loosening them.
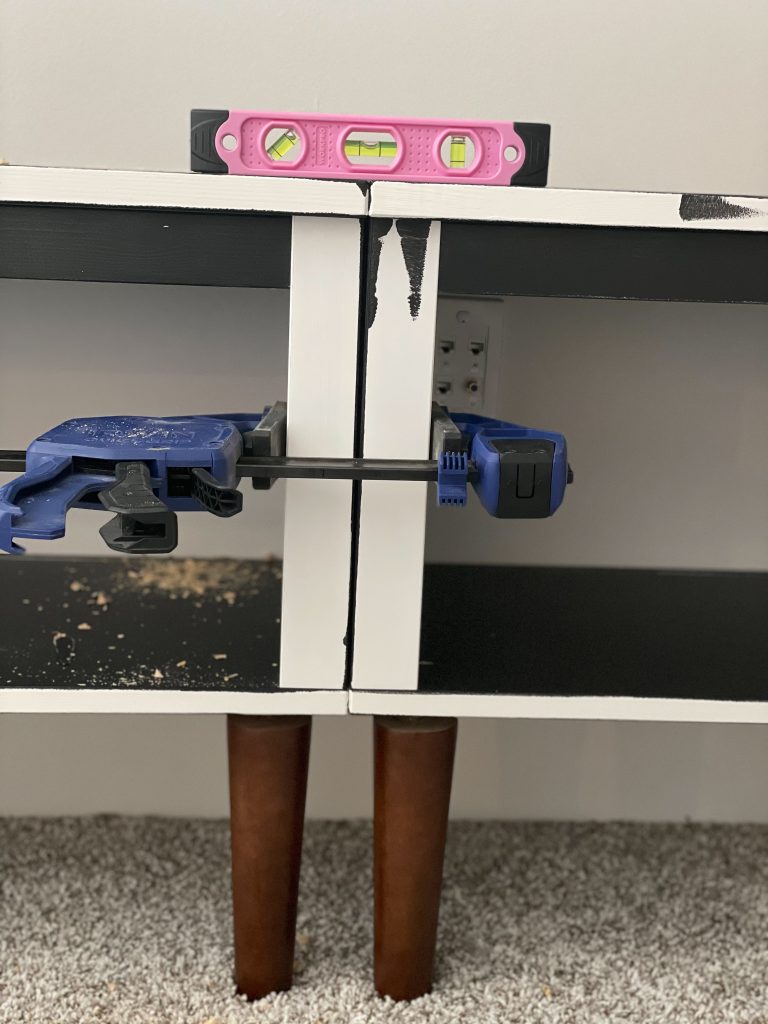
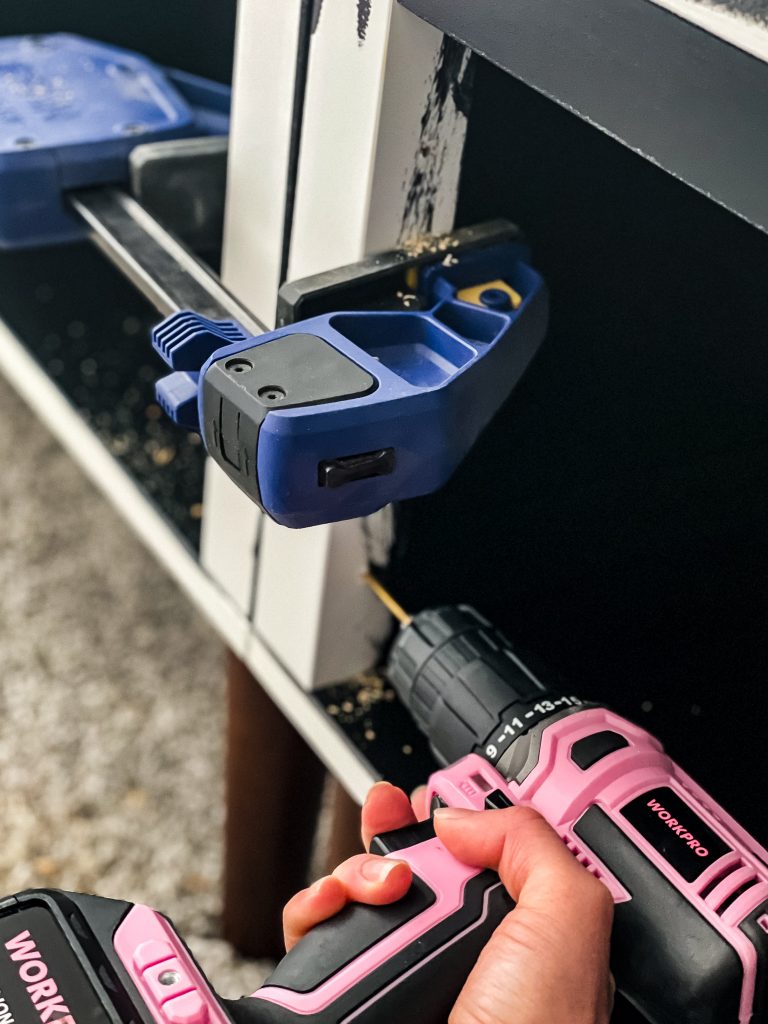
With everything level, I installed the top of the cabinet.
When screwing on the bolts, I chose to over-screw them. This allowed me to fill the indentions with putty so I could later paint over them for a seamless finish.
Before painting I added a few additional details.
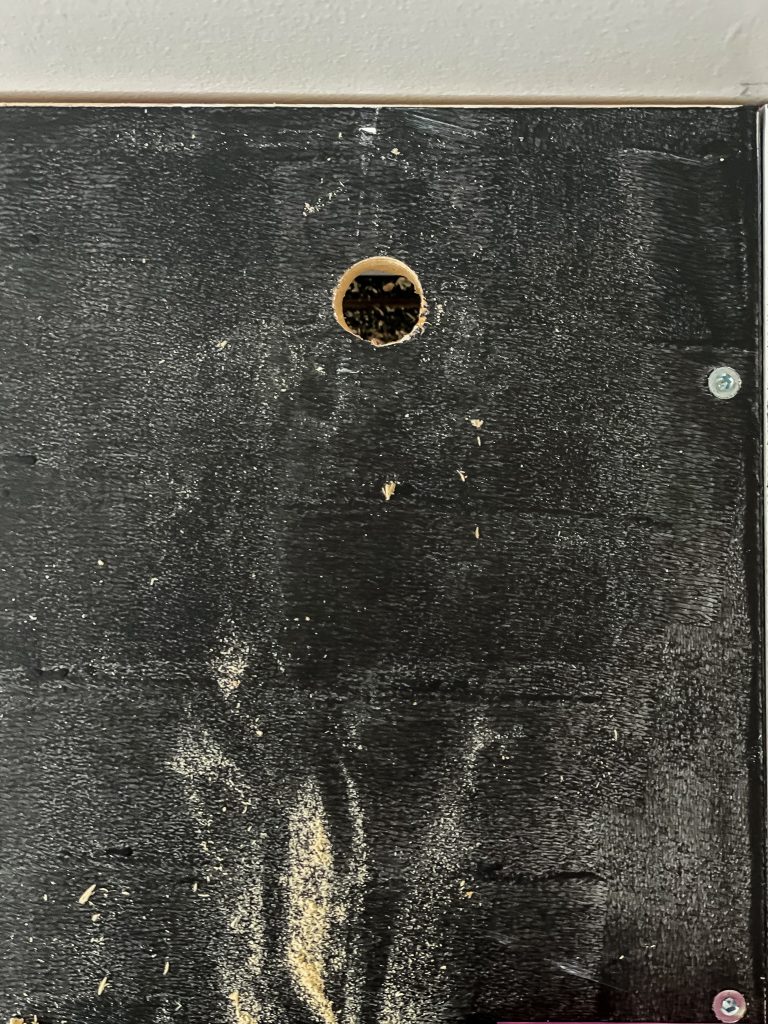
I drilled a 1″ hole in the top of the unit for TV cords to go through and screwed the two units together with 3″ wood screws.
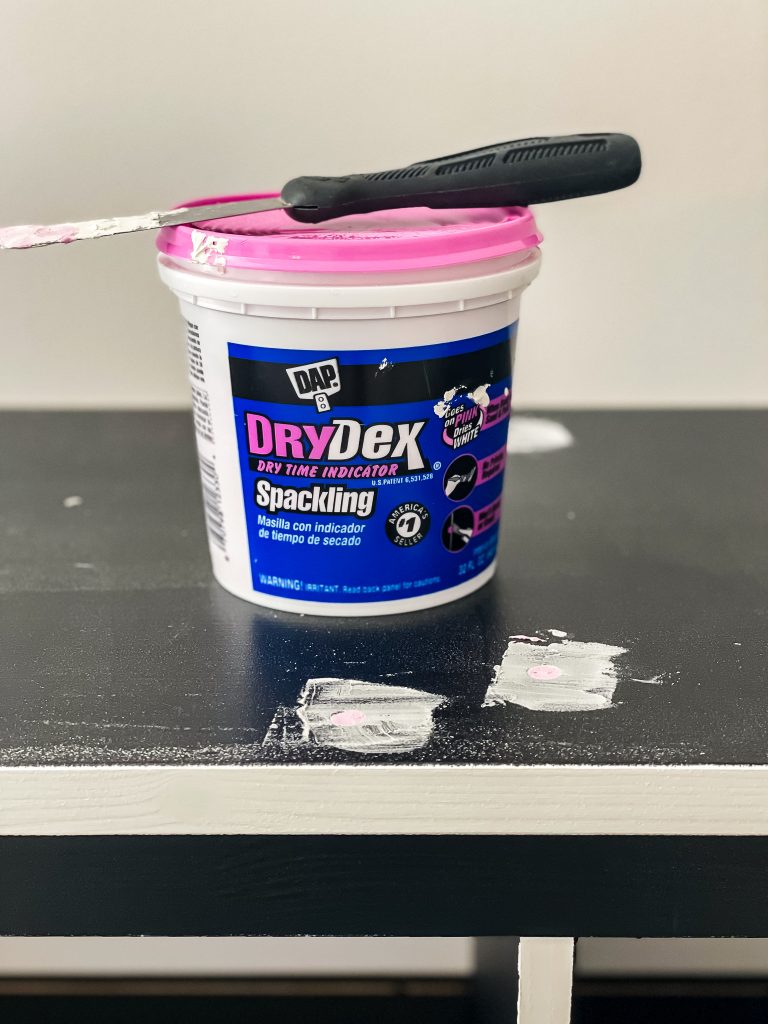
I then added putty/caulk over all of the seams and bolts so the pieces looked like one solid unit.
After a final coat of paint this part was complete.
HOW TO BUILD SIMPLE CABINET DOORS
As a finishing touch I decided to build simple doors to enclose the unit.
I purchased (2) 1×12 pre-primed pine board and used my miter saw to cut them down to 22.5″. This was just enough to cover the cabinet opening.
After a quick sand I painted the doors with two coats of black paint.
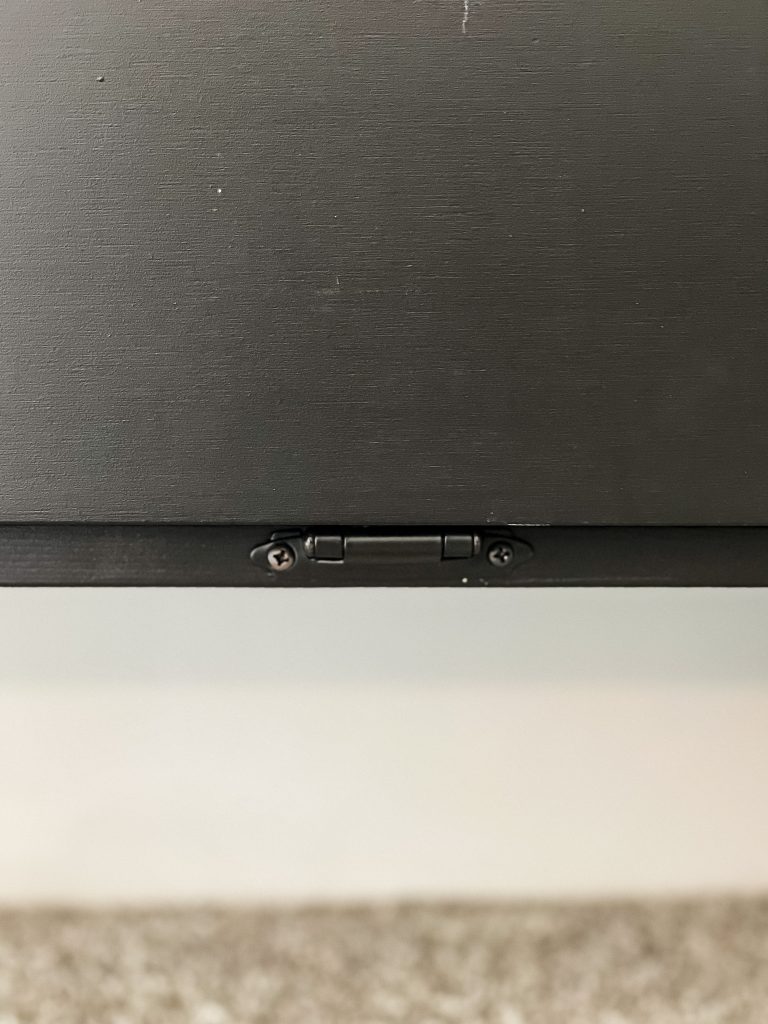
I chose to install my doors to the bottom so they would open from the top.
I purchased AUTOMATIC CLOSING HINGES to help keep the doors closed.
HOW TO MAKE LEATHER CABINET PULLS
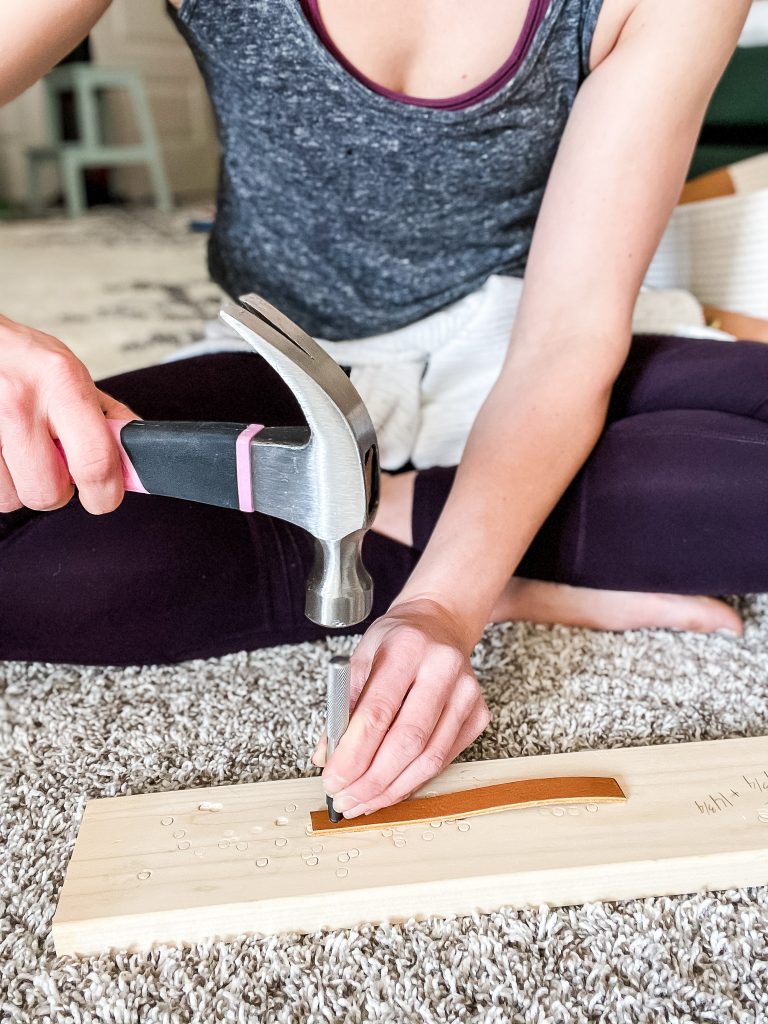
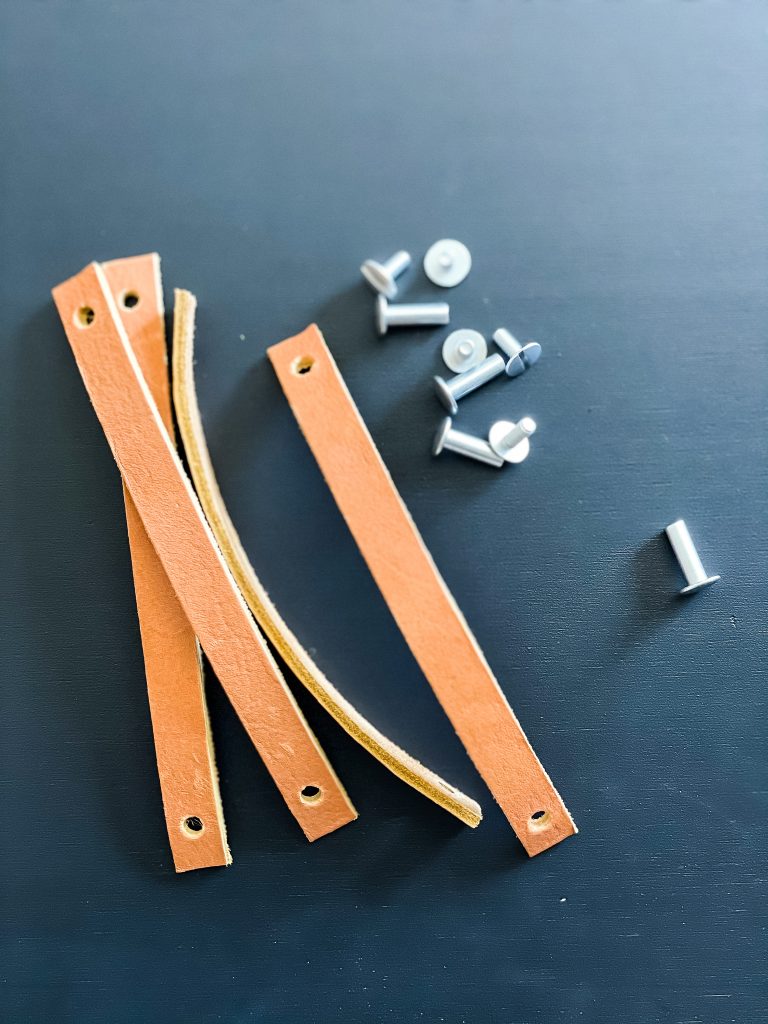
Instead of purchasing door pulls I chose to make a simple leather strap.
I cut down 6-inch pieces of leather and used a leather hole punch to make the holes in the straps.
SEE MY LEATHER DRAWER PULL TUTORIAL HERE
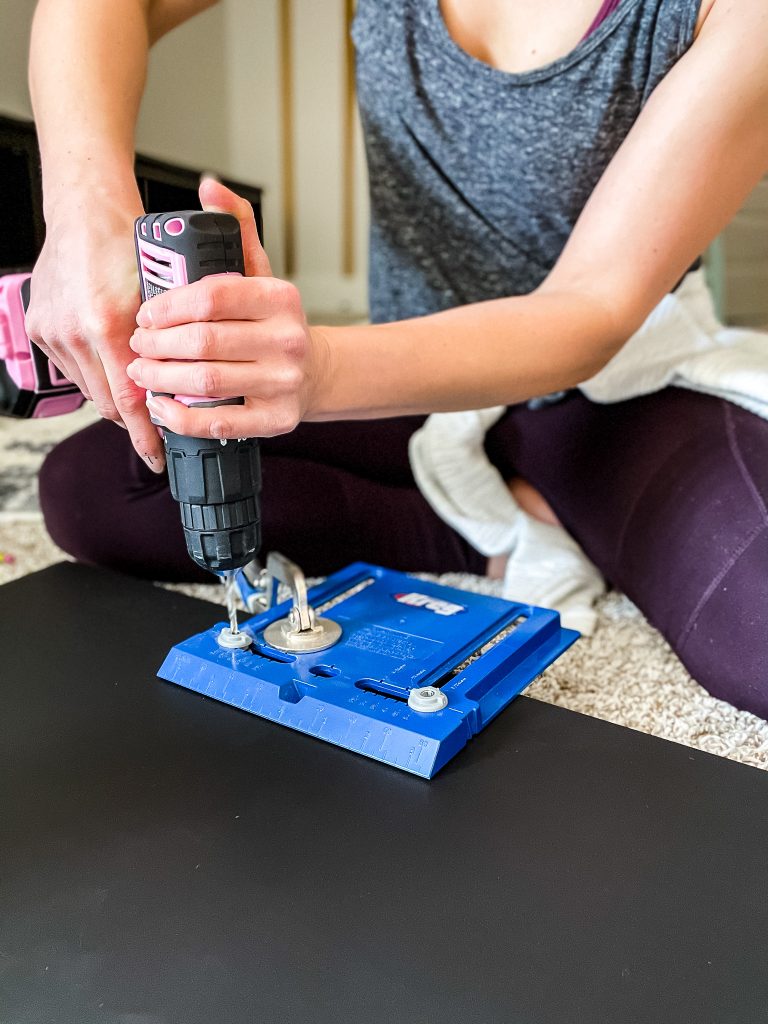
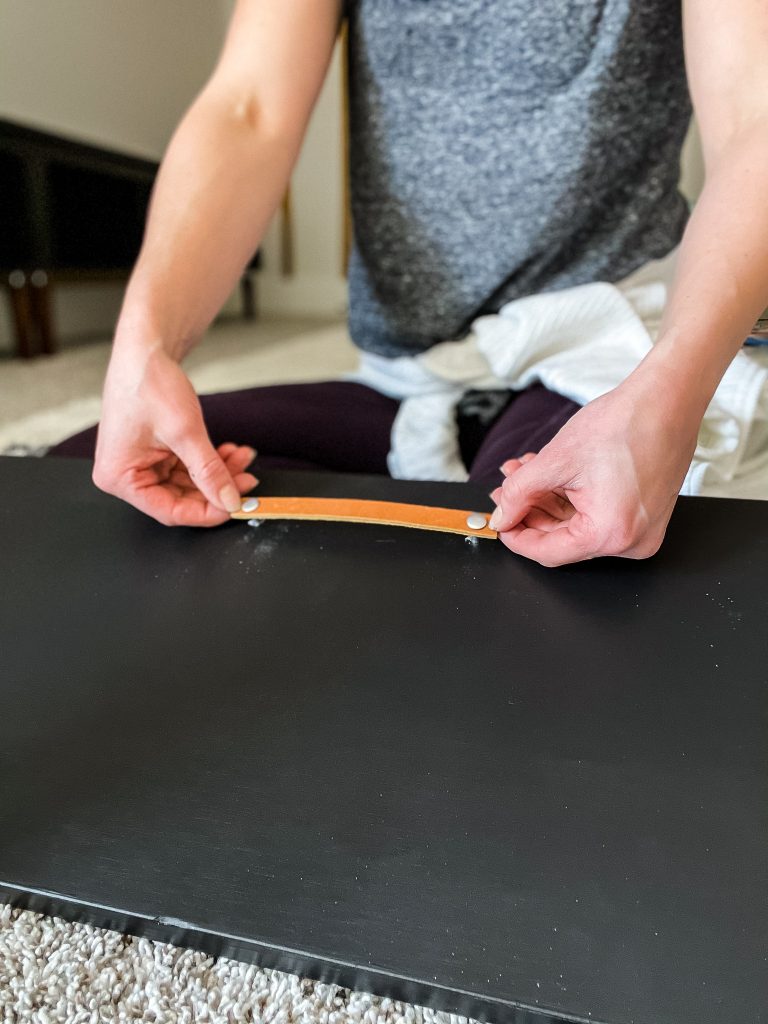
I then used a cabinet hardware jig to attach the pulls.
Now that the pulls and hinges are added to the doors, it’s time to attach them to the cabinet!
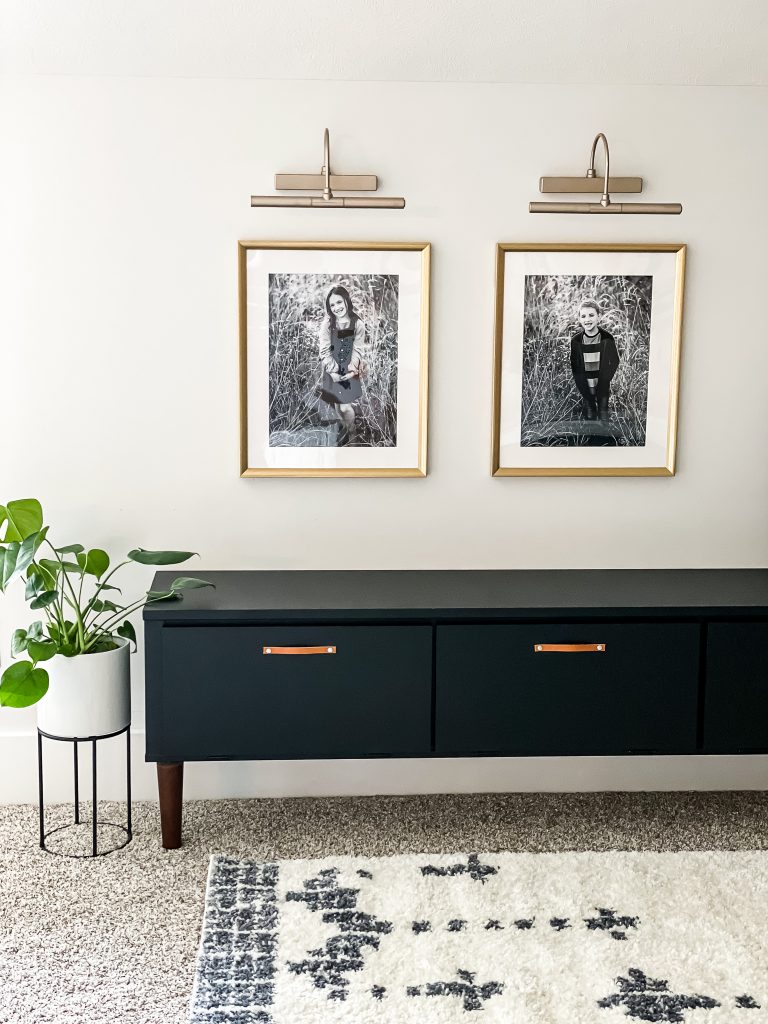
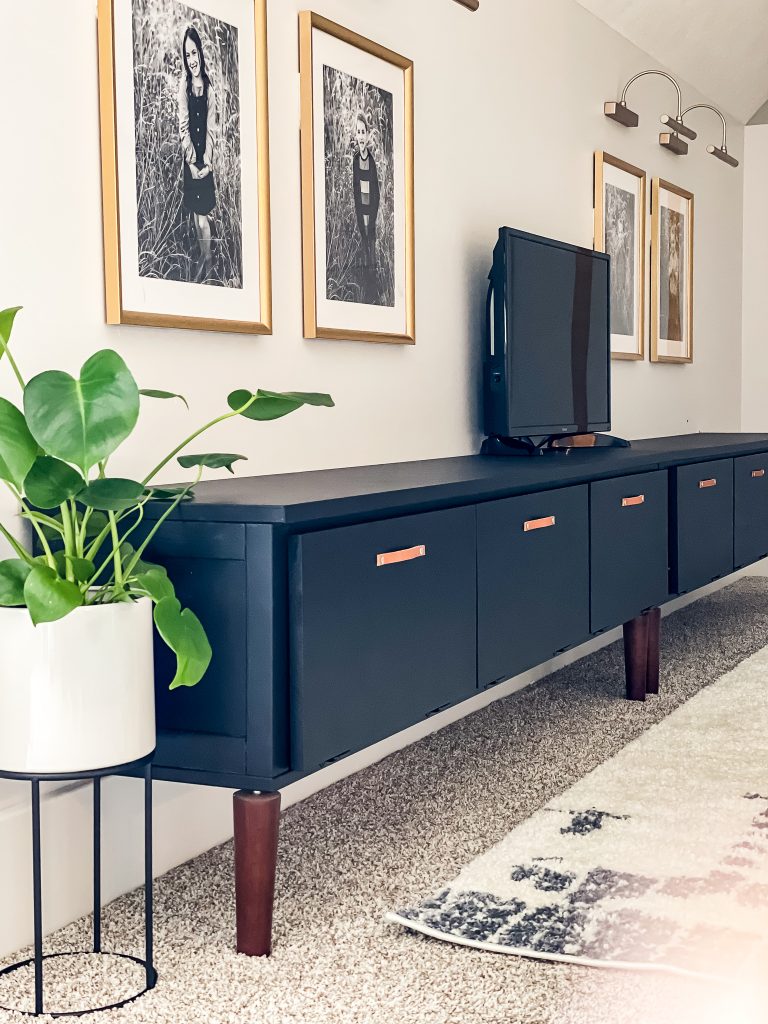
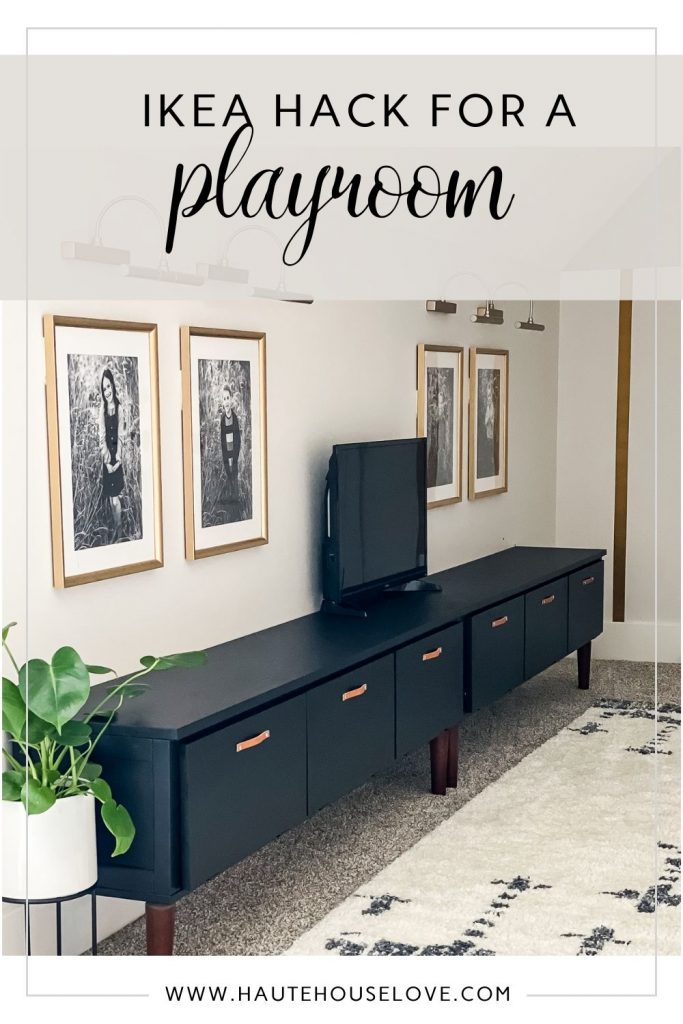
THE FINISHED IKEA CABINET HACK
FINISHING TOUCHES
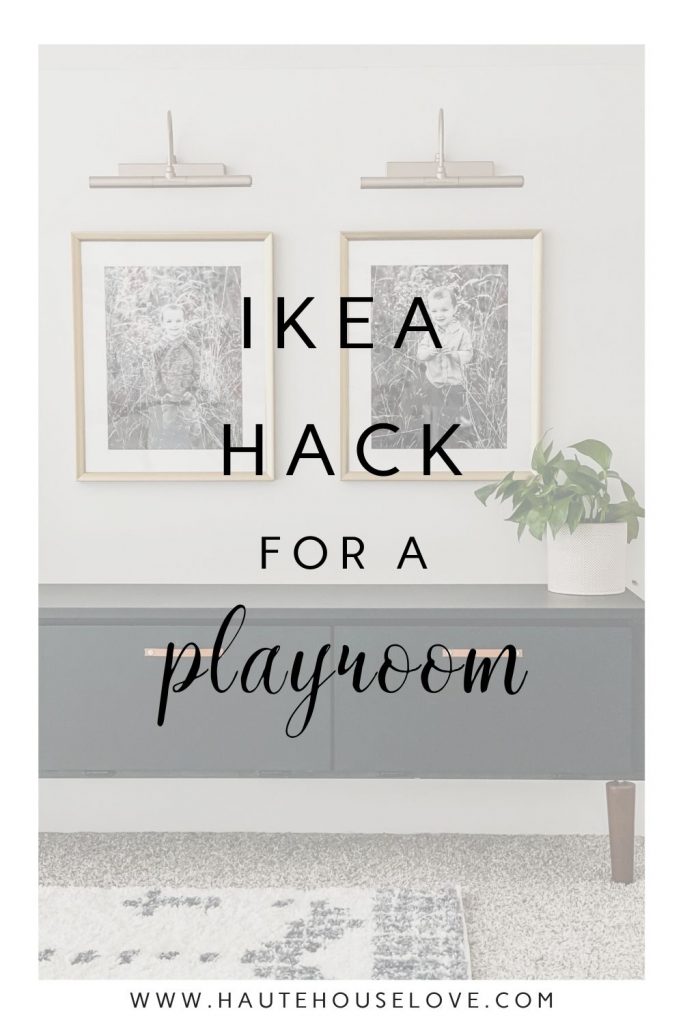
This project took a few days to complete and is the perfect addition to our playroom.
As a finishing touch I printed a photo of each of my kiddos and framed them in a 16×20 frame. I then installed these BATTERY OPERATED PICTURE LIGHTS over the top of each photo.
Each picture light took only 5 minutes to install because the back plate has a built in level. It doesn’t get much easier than that!
If you enjoy my content and want to see more make sure to follow me on INSTAGRAM and subscribe to my blog below!
[convertkit form=2042657]
SHOP MY PLAYROOM
The Comments
Jennifer Dynys
This is such a great hack! I am sharing this on my blog round-up tomorrow! Also, I voted for you at Jeffery Court!!!