our beautiful living room makeover with rigid core flooring
What made the biggest difference in our living room makeover? Our choice to use Dura Decor rigid core luxury vinyl plank flooring! Read on for all of the details about the design process, install and most of all the REVEAL of our new space!
This was our living room when we moved into our new home in August 2022.
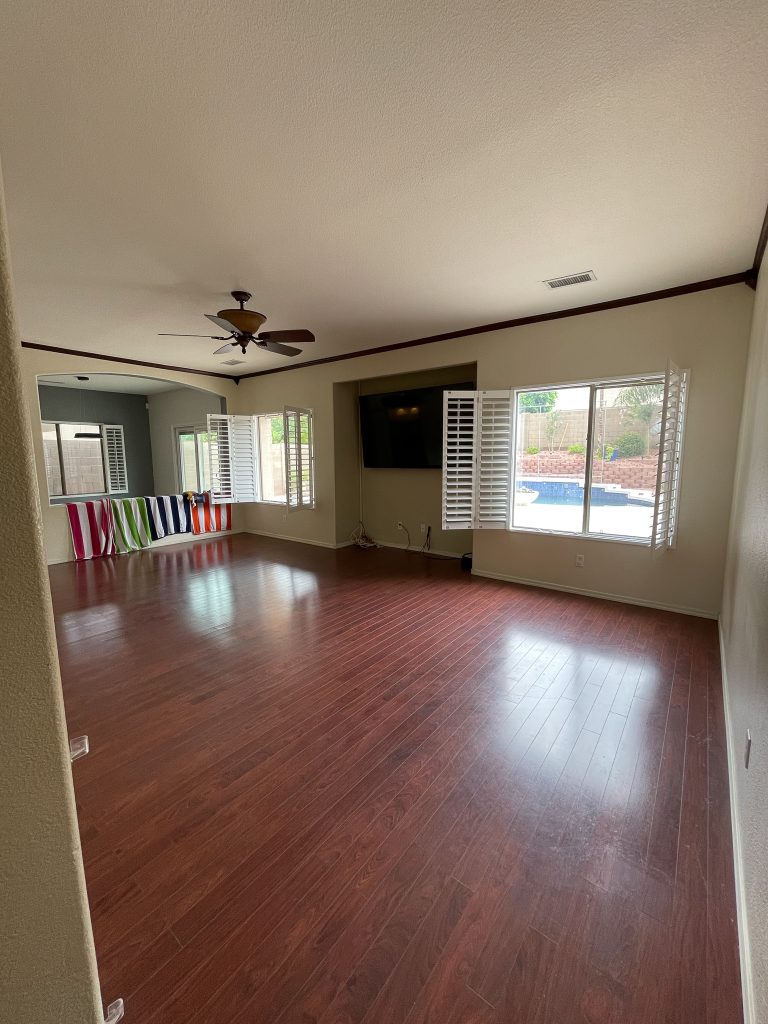
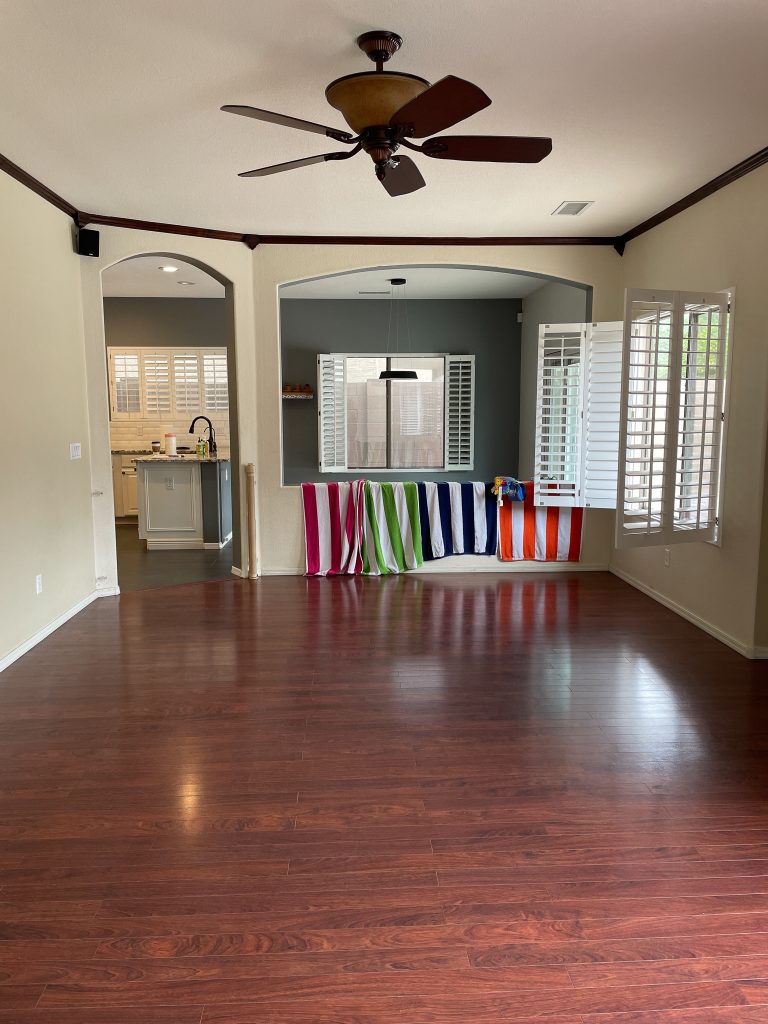
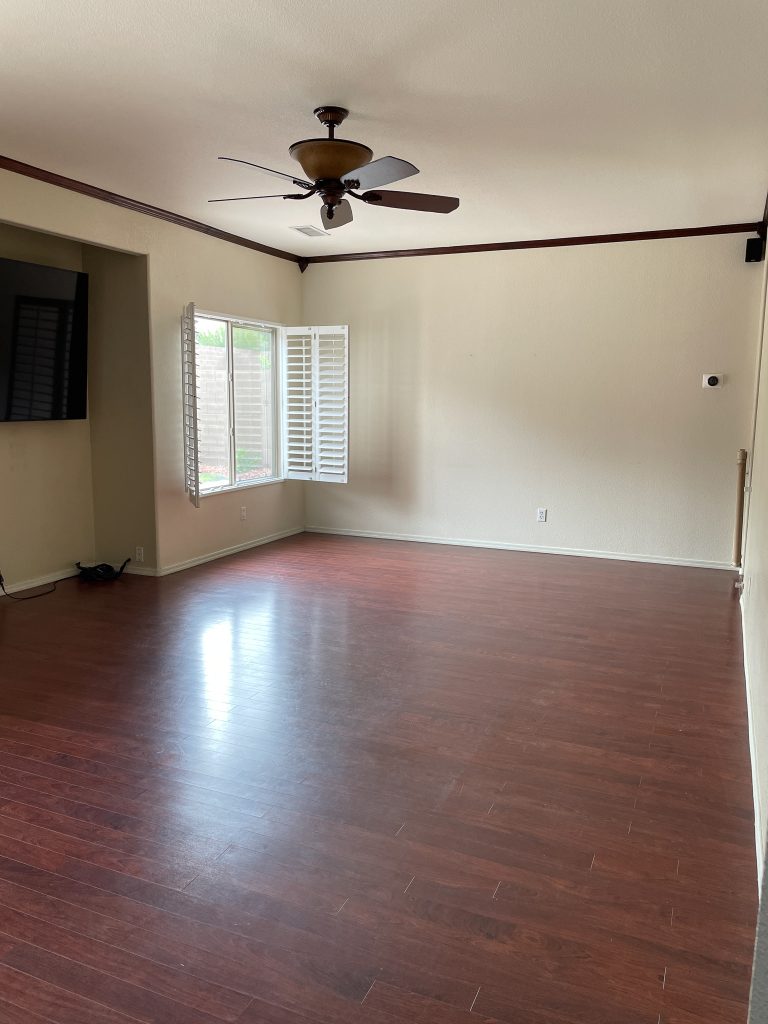
And I mean, really, the whole place is in desperate need of cosmetic updating.
Paint and lighting were an easy swap with my DIY expertise, but it was the floors that bothered me the most.
Taking on a project that I have never done before was intimidating at first.
But with the help of YOUTUBE, and a little encouragement from my DIY buddies, I was able to begin the process of transforming our home with DURA DECOR‘s brand new line of rigid core luxury vinyl plank flooring.
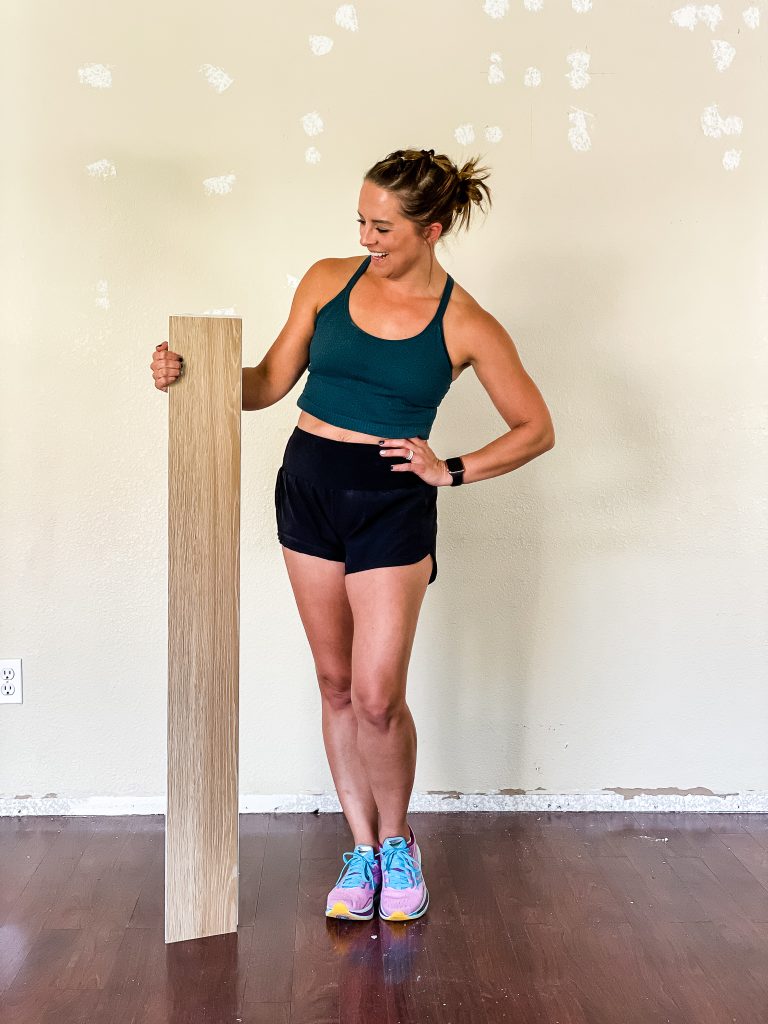
This post is sponsored by DURA DECOR and contains affiliated links.
I received my DuraDecor and accessories free of charge to facilitate my review. All opinions are my own.
WHY DURA DECOR FLOORING?
As a certified interior designer I’ve had a good run around the block with helping clients choose flooring for their homes.
There are multiple things to consider, but here are the reasons WHY I lean heavily toward rigid core floors for my clients and why I ultimately chose them for my own home.
- It has the best overall value for the money. Its scratch and stain resistance makes it tough against kids, pets and everyday life and has a very economical price point. It’s also waterproof and perfect for wet or high traffic areas of the home.
- It’s easily accessible. DURA DECOR flooring can be shipped quickly from your local Home Depot
- It’s easy to install AND maintain. With this being my first go-round EVER installing floors, there was definitely a learning curve, but rooms I have installed since have been much easier. PLUS after living with them for a few weeks, I’ve noticed how crazy easy they are to clean!
HOW TO CHOOSE RIGID CORE FLOORING FOR YOUR HOME
When you have a lot of flooring samples and you are trying to narrow it down to just one, the decision can be VERY overwhelming.
Here are three things to consider to help you make the best choice for your home!
1 – How much visual texture/variance do you want the floors to have?
Do you want to see and feel a lot of the wood grain? Or would you prefer a smoother look/finish?
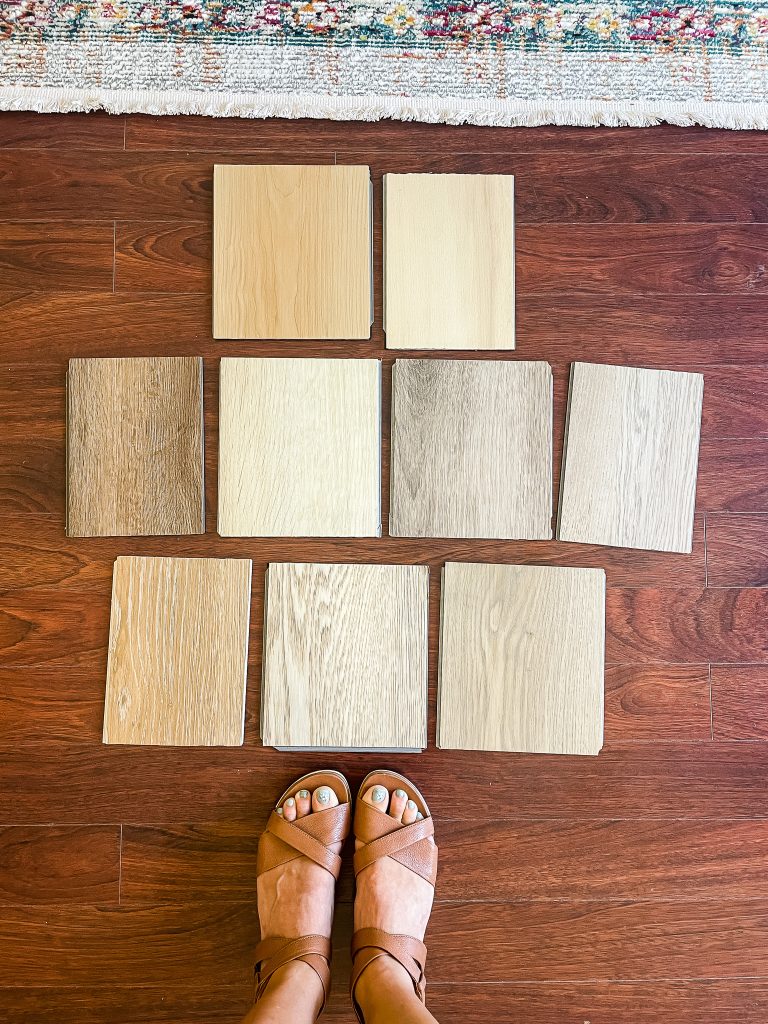
I laid out my flooring samples based on low, medium and high variance and quickly decided that I liked a LOT of texture. So for me, the high variance options were top on my list.
2 – How dark or light do you want your floors to be?
Place your samples in rows of dark to medium to light. Evaluate what will work best in your home for the vibe you are going for.
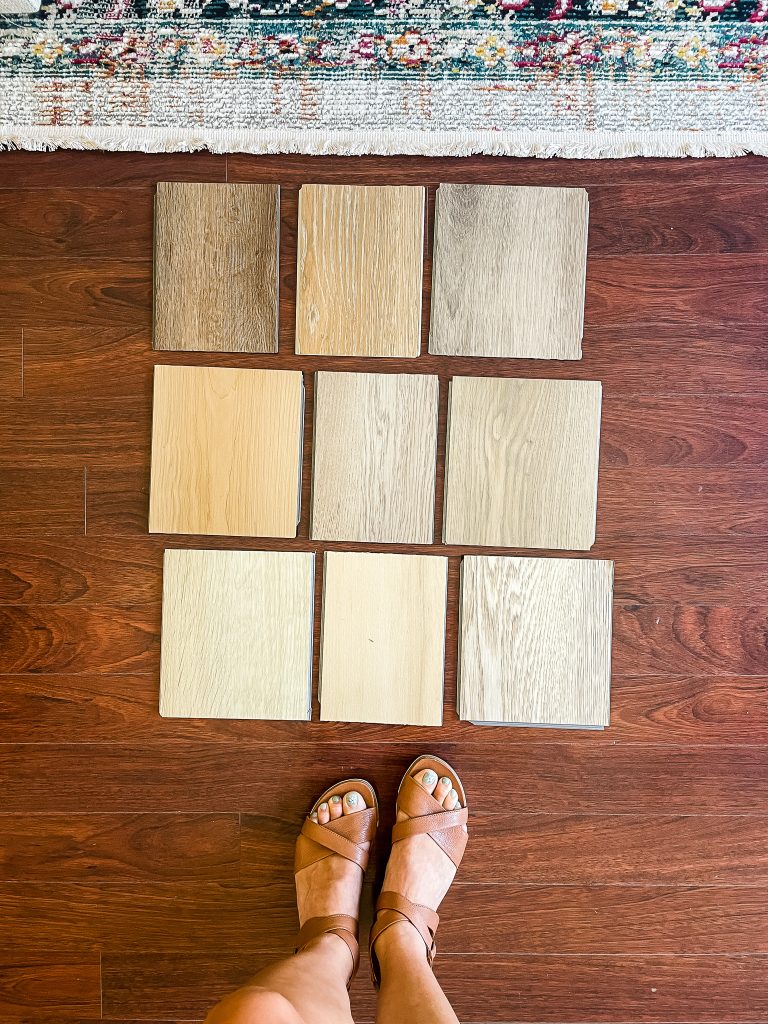
In our previous two homes we went with super dark floors. I still wanted something with richness and depth for this home but with a different feel. I was surprised when laying out my samples from dark to light, that I was still drawn to the darker options, just not SUPER dark.
3 – How warm or cool do you want your floors to be?
Do you want the floors to pull more brown/beiges or grays/blues?
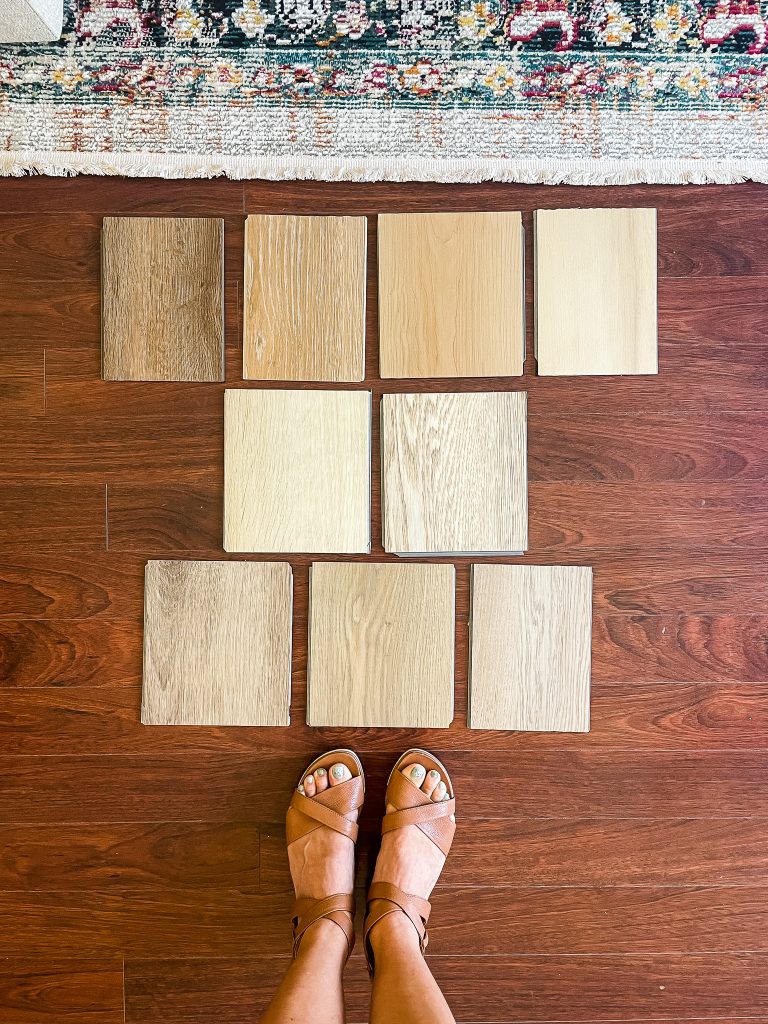
In general, a home will tend to lean heavier in either warm or cool colors. I knew for this home I wanted more warm tones but also didn’t want to rule out cool grays and blues as potential wall colors.
When I laid out my samples in warm/neutral/cool rows, I leaned heavily toward the warm tones, but was definitely drawn to one that had a hint of gray, so that I could still use a good variety of wall color.
The color I ended up choosing?
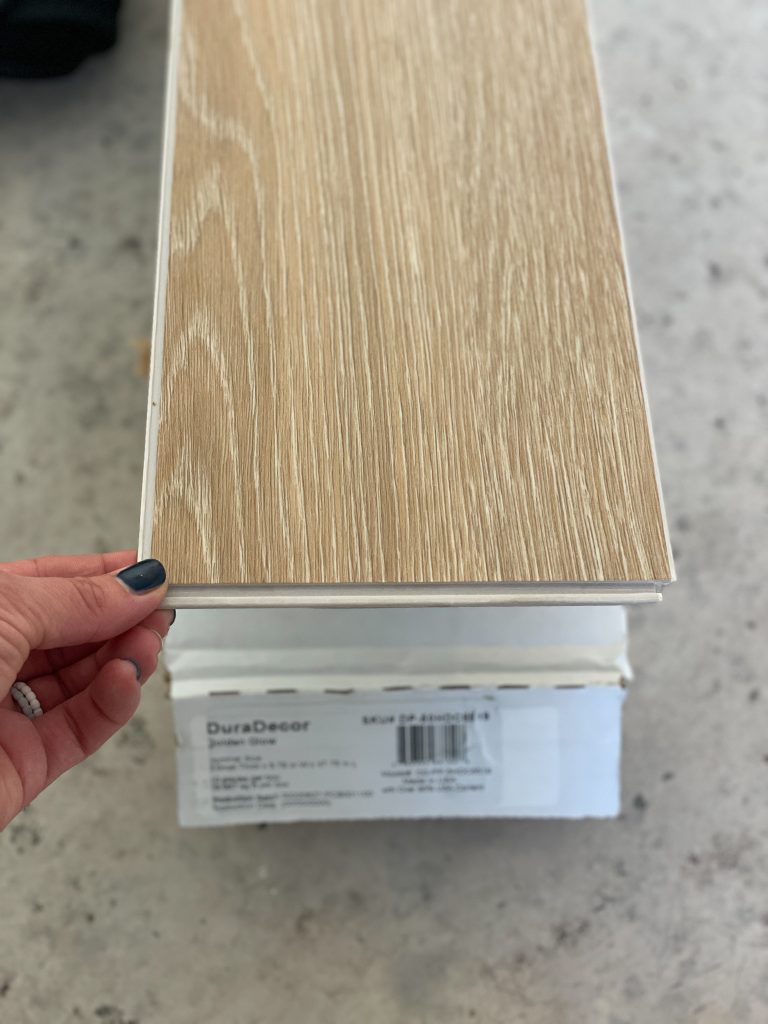
OUR LIVING ROOM MAKEOVER
Since we sold our home in Indiana fully furnished (you can read our moving story here), this room was literally a blank slate!! I did purchase a sofa and a rug for this space immediately upon moving in, but everything else was up for debate!
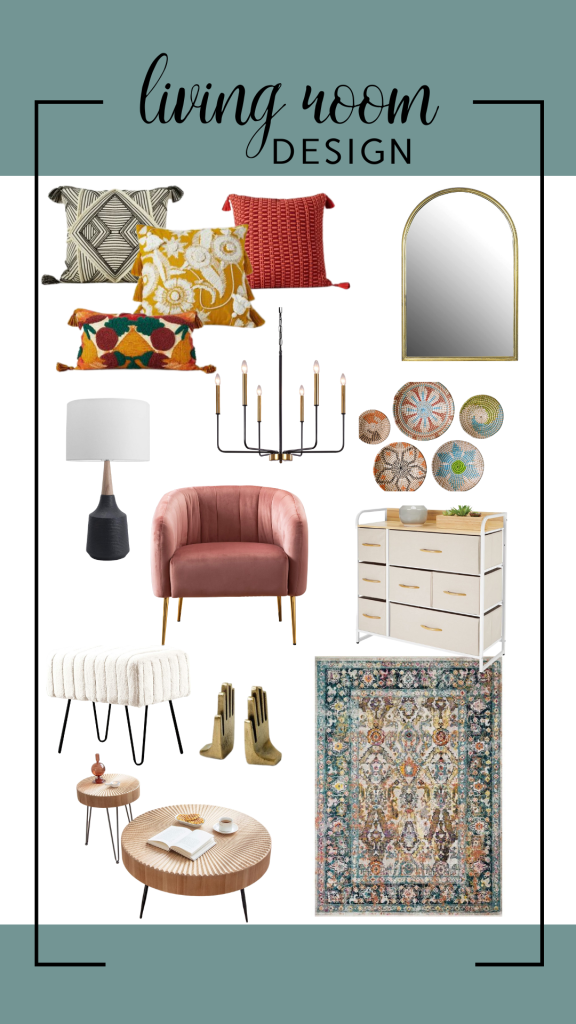
Now that the choice had been made for the floors it allowed my brain to fully open up and create an initial vision for this space. I wanted soft walls, and pops of color everywhere. Rich jewel tones and southwest boho vibes to give strong contrast to the newly chosen floors.
Here is the mood board that I came up with for the space.
The rigid core flooring install
I had a lot of nervous energy when it came time finally installing the floors. There was a fine balance between being excited to learn something new, yet fear that I was going to somehow royally mess up.
Like with any new skill that I’ve attempted in DIY, YOUTUBE became my best friend. In a weird way, it gave me the confidence that I could really do this!
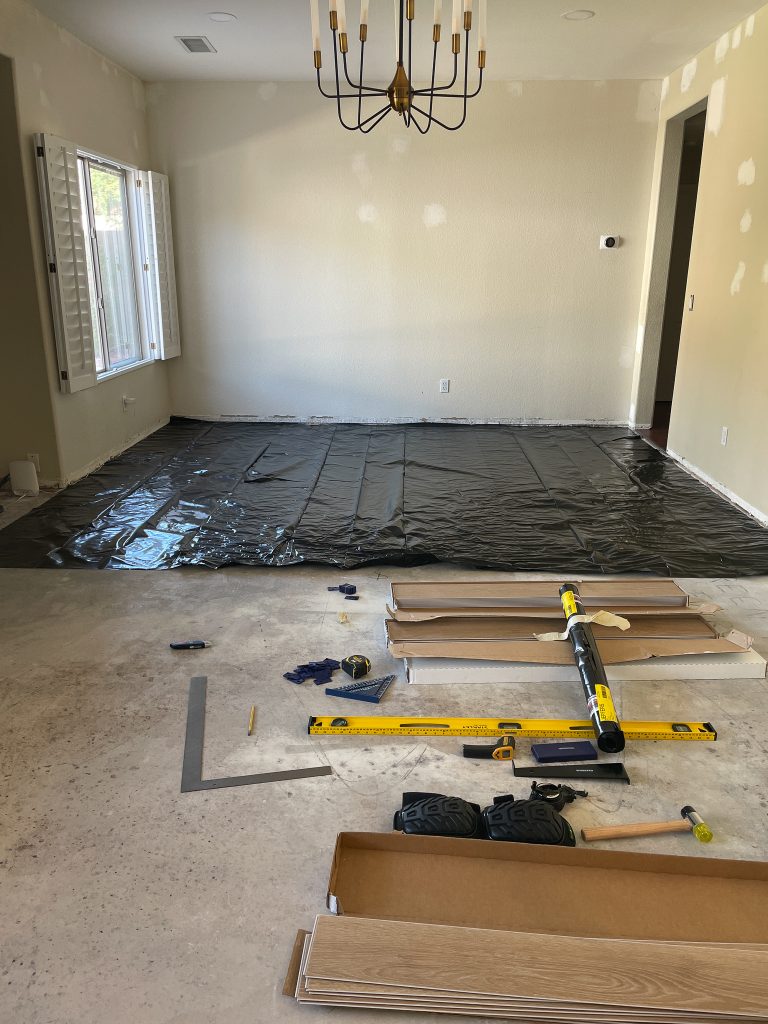
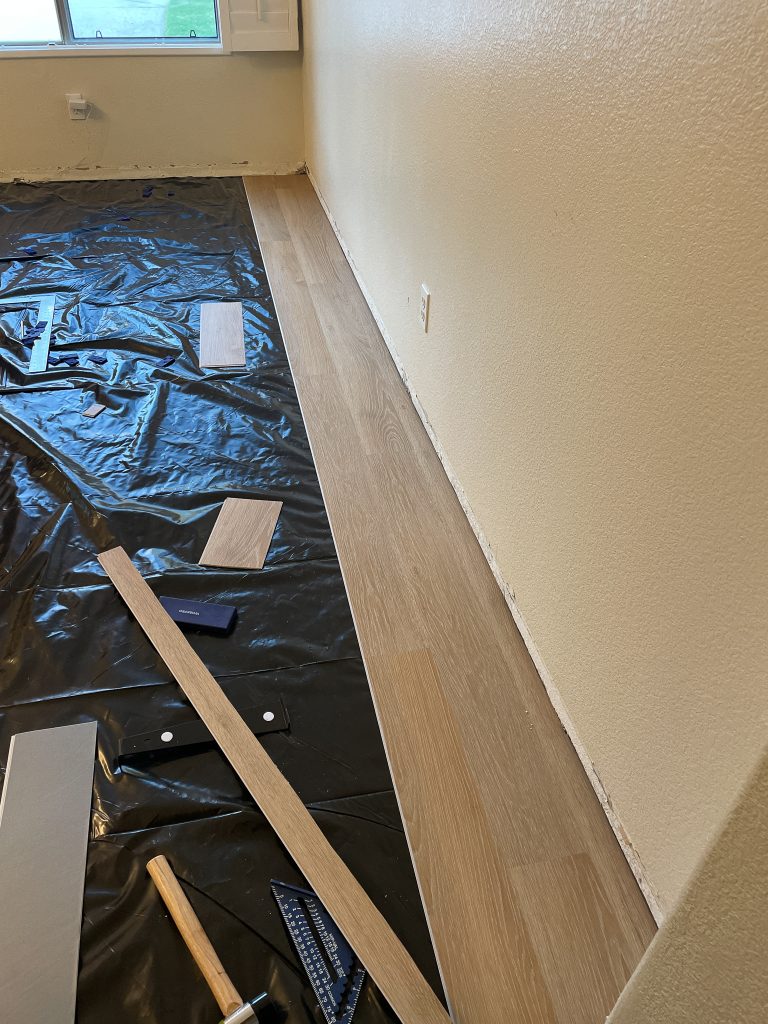
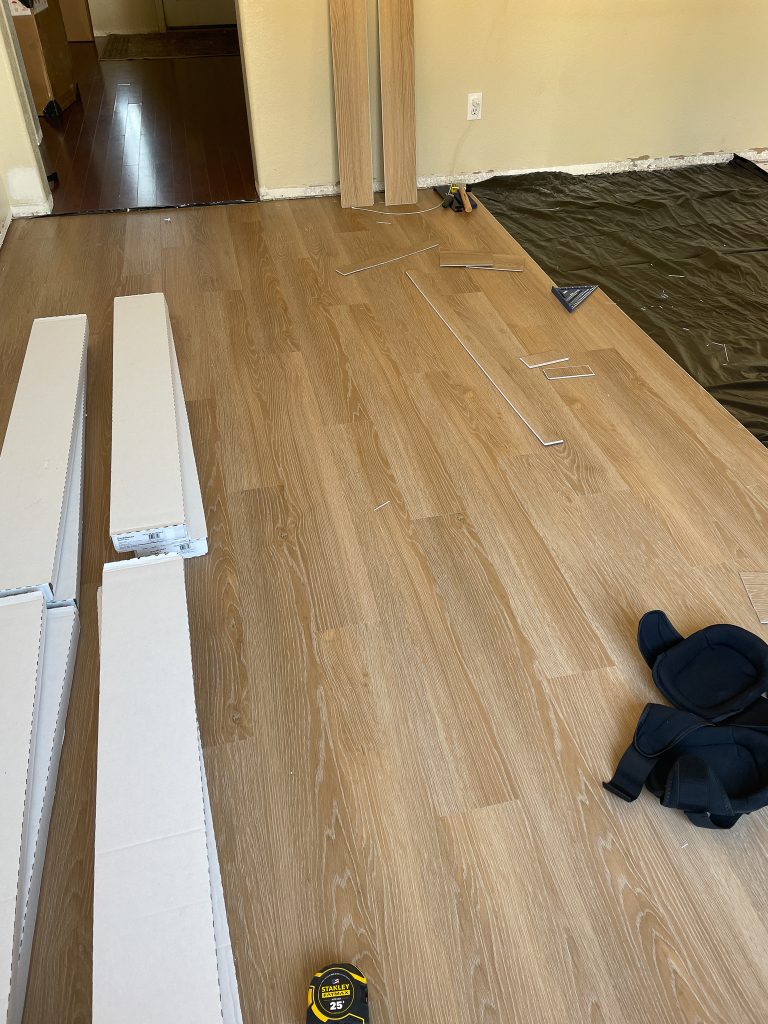
At first there was a lot of measuring. Like a LOT. At one early point, when my brain hurt from the math I called upstairs to my husband, who was working in his office, and asked him do do the dividing for me. (At least he’s useful for SOMEthing when it comes to my projects, right?!?)
All joking aside, it honestly took me a VERY long time to get my first boards down. Between measuring, cutting, breaking boards and cutting again. It took me a good 2-3 hours to simply lay my first three rows.
It’s called THE LEARNING CURVE and I was in it deep.
About 5-6 rows in I found my rhythm and the install started to go much smoother. By day 2 I was rocking and rolling.
It was dinner time on a Saturday evening when I laid the last board. I was home alone because my husband had taken the kids out for some fun, to give me a quiet house to work.
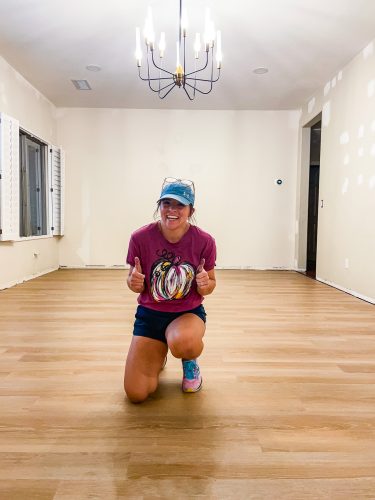
I celebrated by texting thumbs up photos before bringing the couch back into the room and passing out from exhaustion. It definitely took me a good 2-3 days to recover from this one room.
But the pride outweighed the pain, for sure!
Now I just have another 2600 square feet to go!!
THE living room REVEAL with dura decor flooring
Over the next two weeks I was able to finalize a paint color, reinstall baseboards, and paint walls. Furniture and accessories arrived in groves. Slowly but surely the room came together.
AND IM OBSESSED!
It’s the one room in our new home that FINALLY feels like us. It feels like home.
And the floors?? They MADE this transformation!
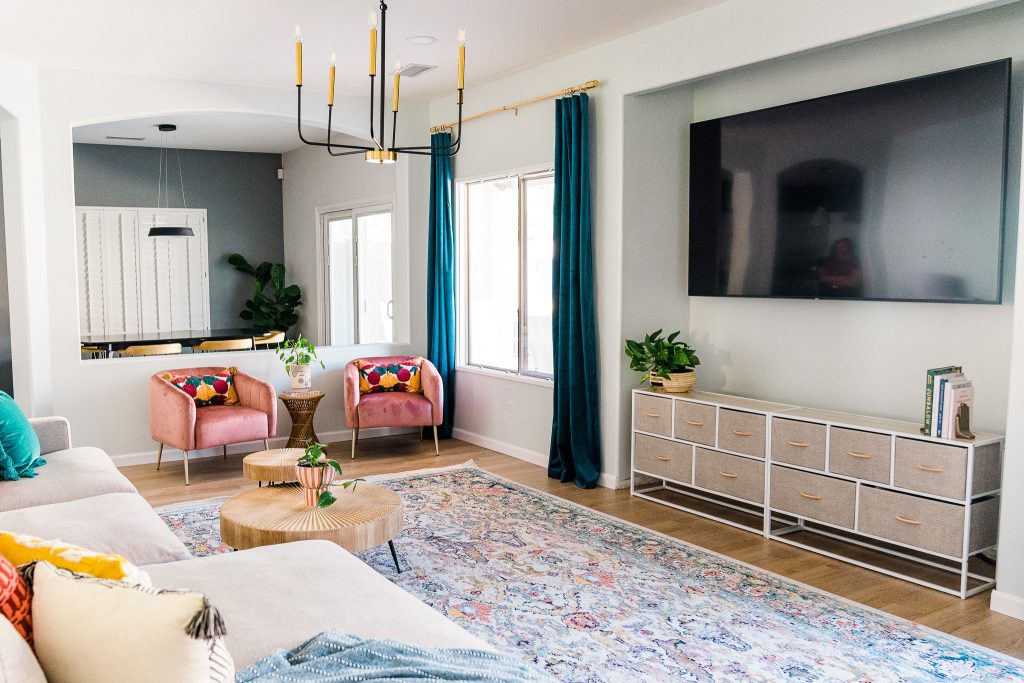
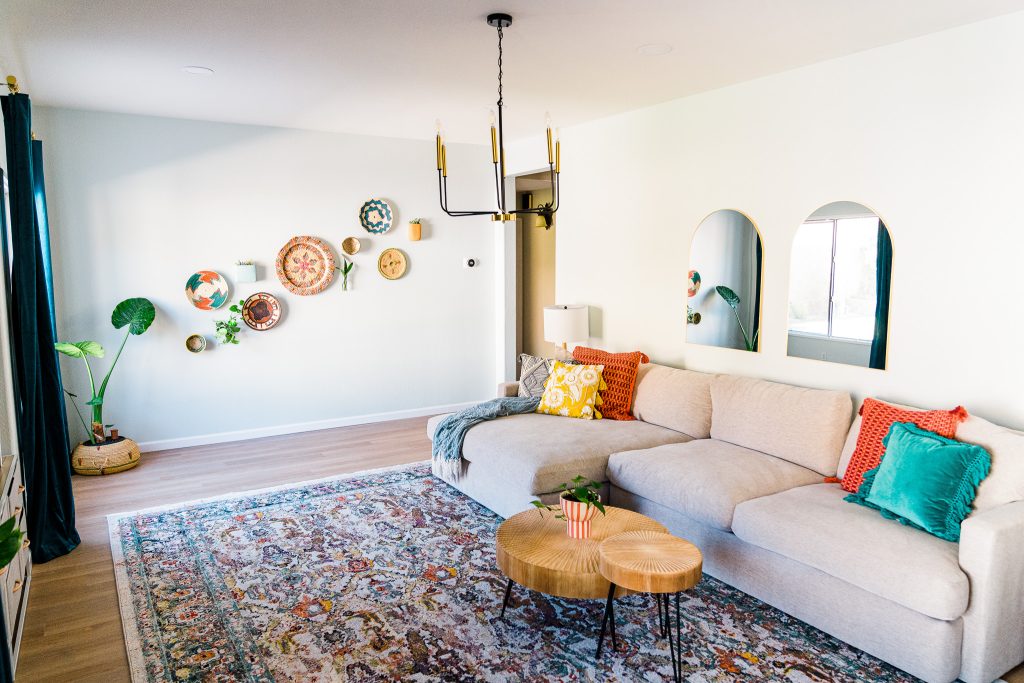
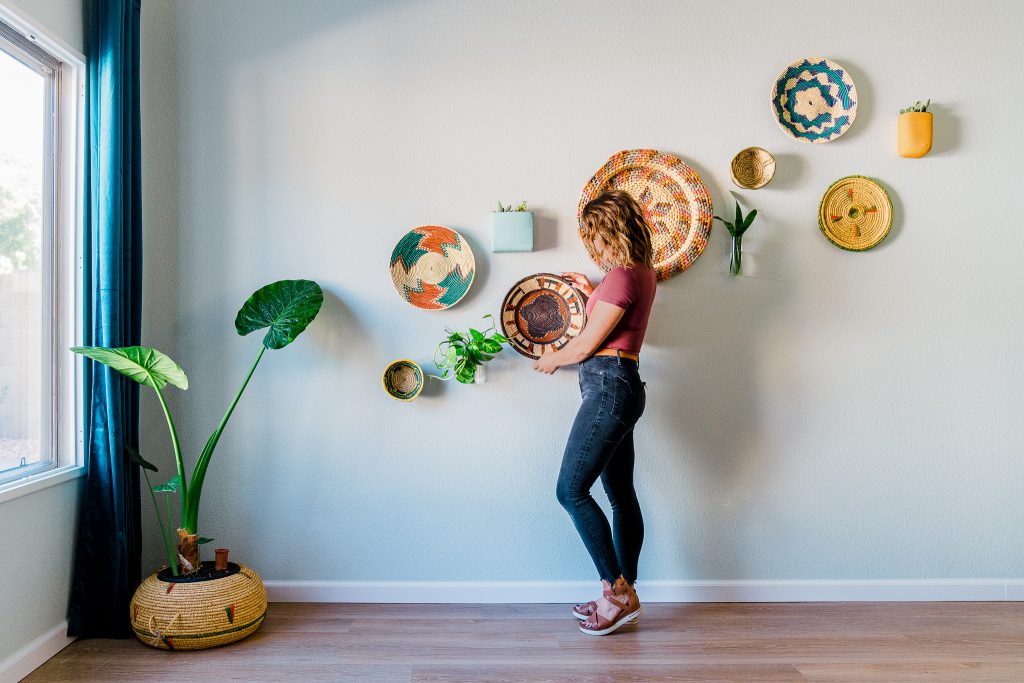
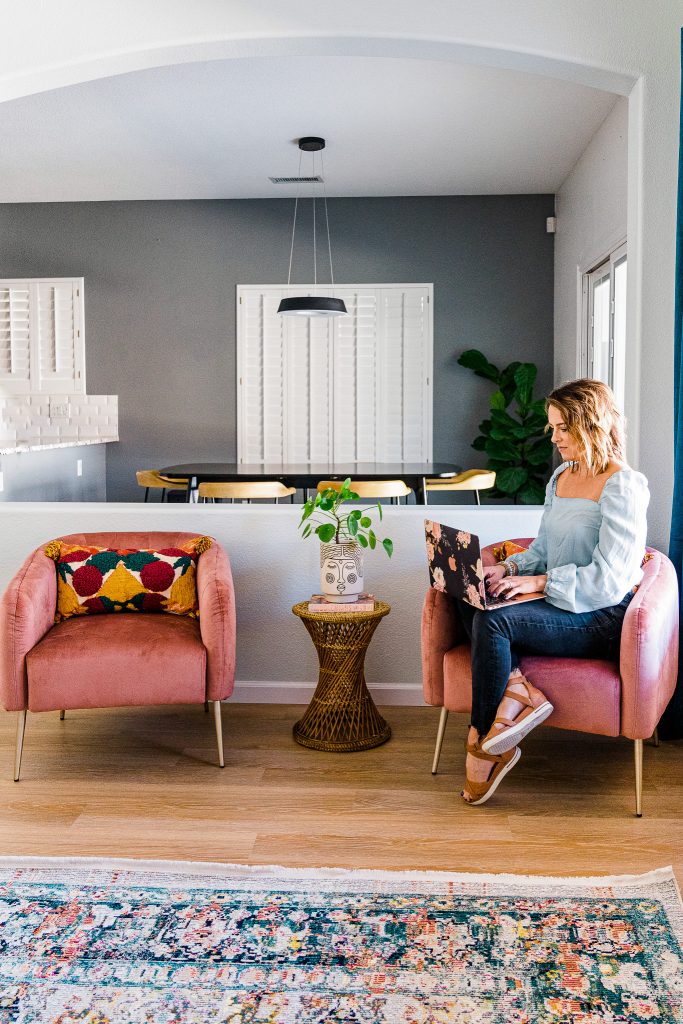
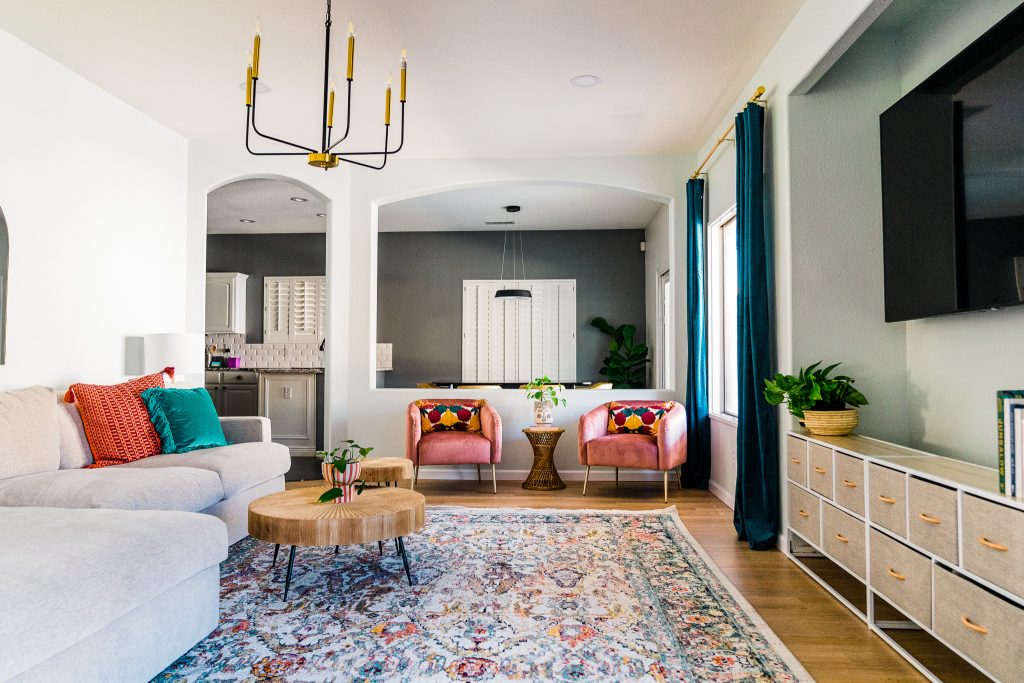
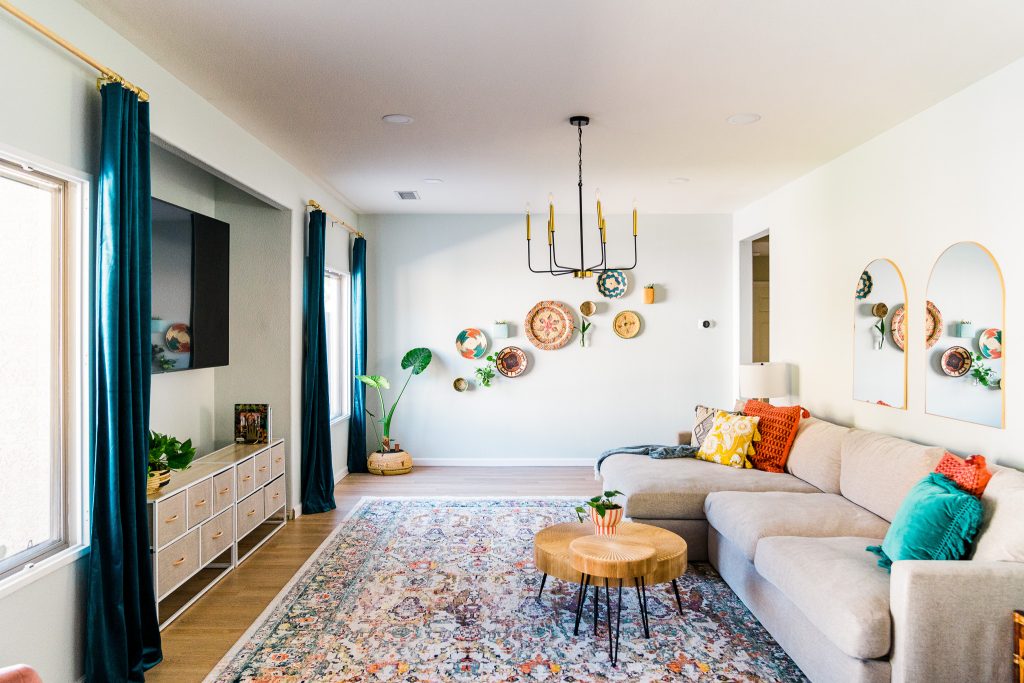
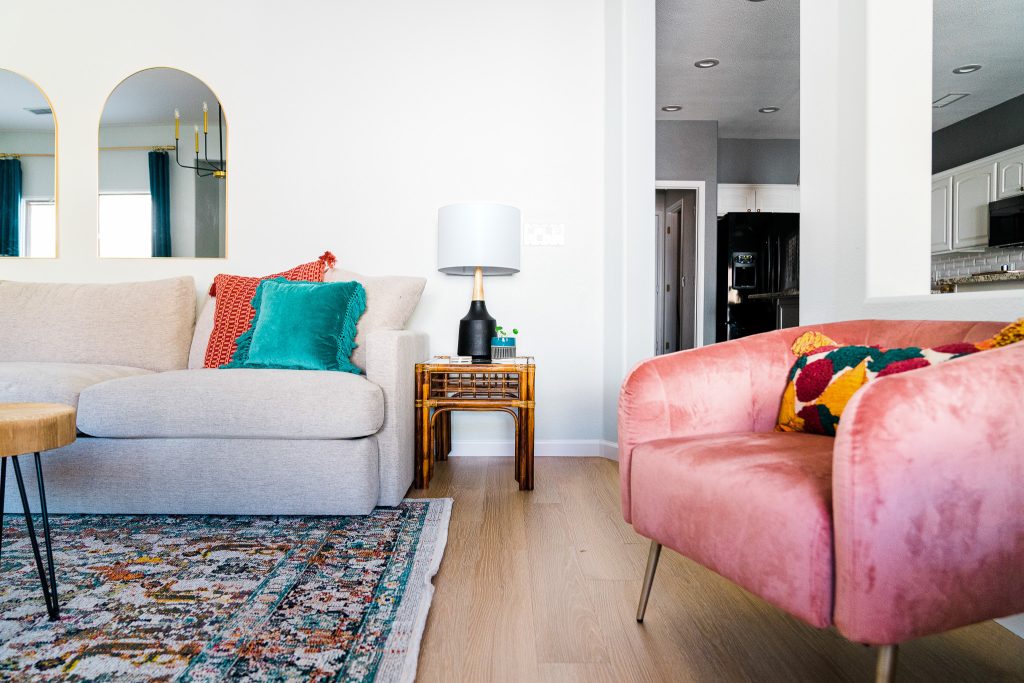
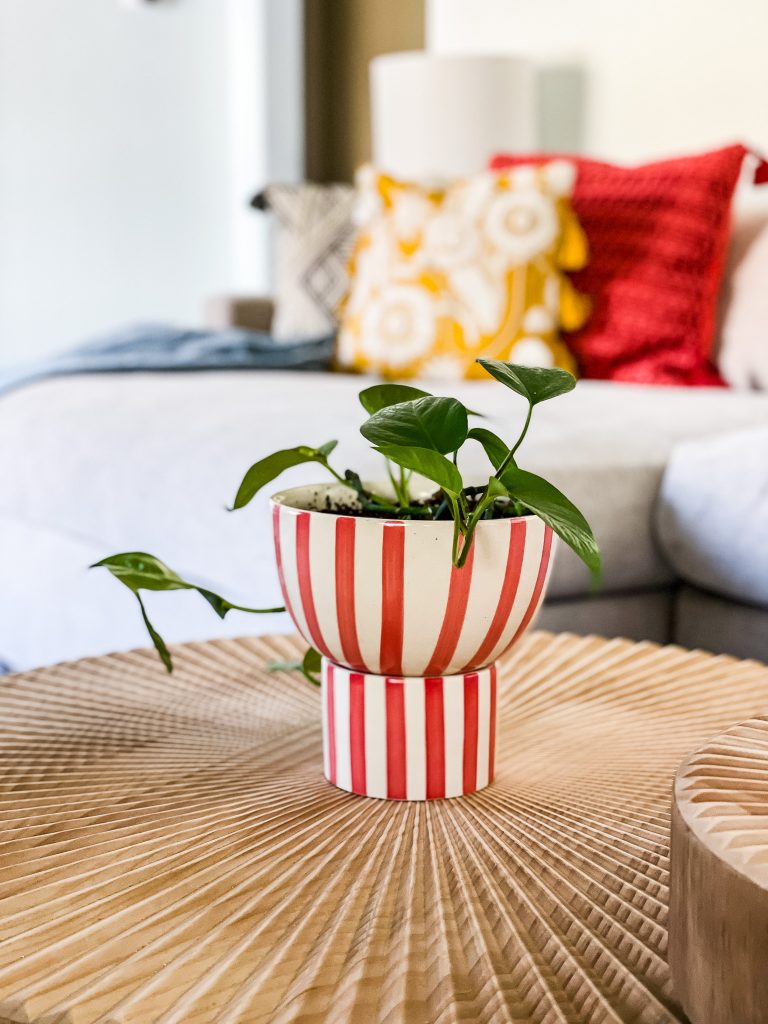
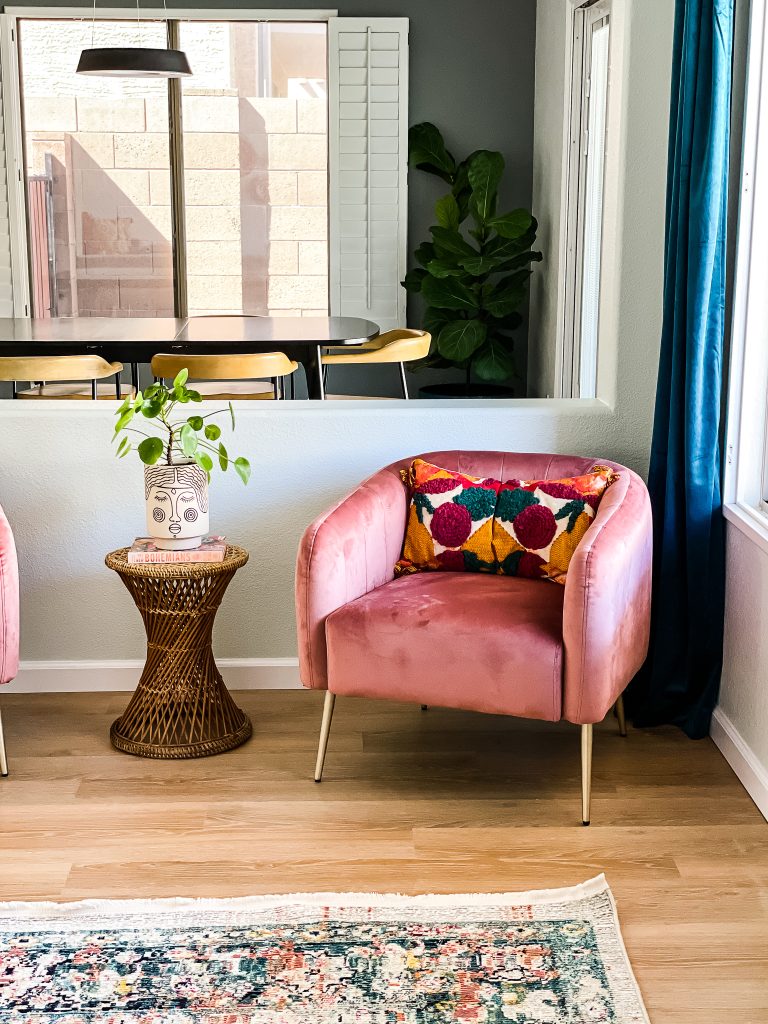
I’d love to know what questions you have or leave you some encouragement when it comes to installing Dura Decor Rigid Core luxury vinyl flooring in your home. Leave a comment below and let’s chat!


The Comments
Missi Griffin
Absolutely Beautiful! We also chose rigid core flooring in our remodel. My husband installed ours and yes it’s time consuming but so worth the results, Very happy with them
Nathalie
Looks fantastic. Where is that rug from?
diane
Thank you for sharing your lovely accomplishment!!!! Totally in awe that you could decide, buy and execute a skill that I thought only professional floor experts could handle.
I believe I paid about 7000 for a large living room wood floor. Congratulations.
Lori Larmore
I love it! Where can I purchase the teal curtains?
Tammy
It turned out beautiful, Kera.
Paula S
I’m considering this exact same flooring! I’m curious if you had any problems with chipping, peeling or breaking during install, or afterwards. How are they holding up so far? Would you choose them again?