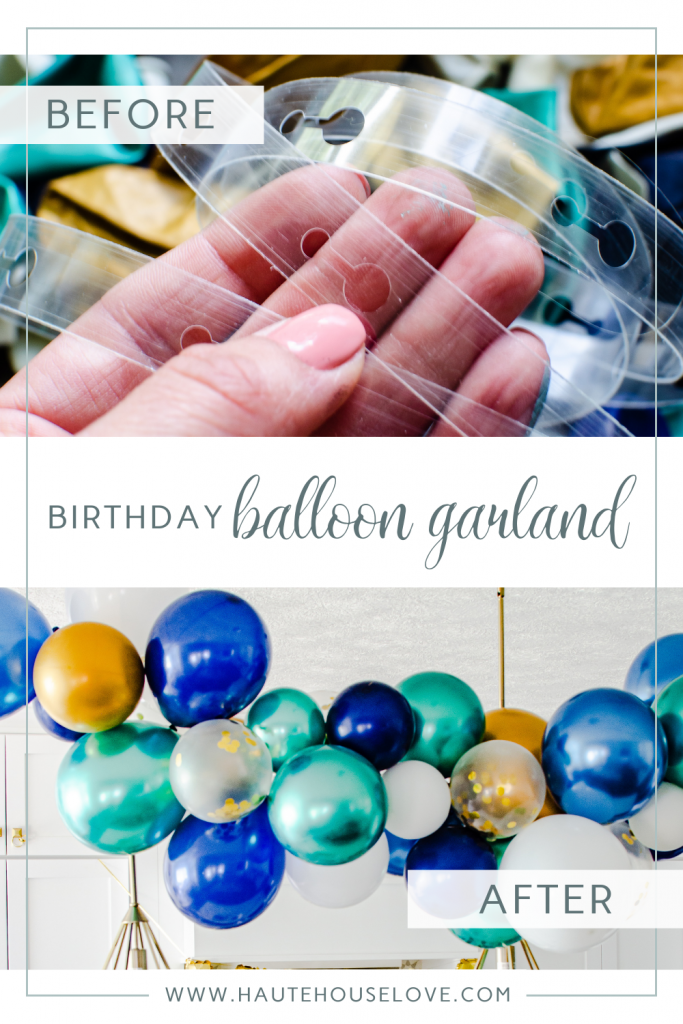
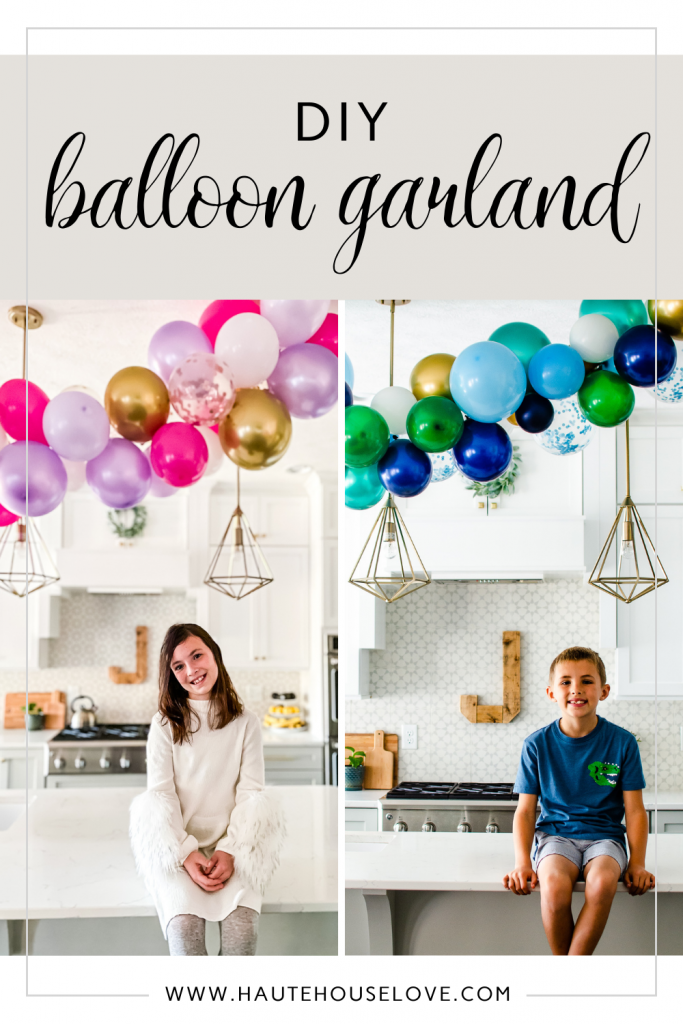
I have officially given up on being a Pinterest-worthy birthday mom. Don’t get me wrong, I definitely went all out with my first two kiddos. I created elaborate themes and DIY projects that took weeks to pull together. By the time kid #3 and then #4 came along, however, I suddenly felt the realness of birthday burnout. Because of this, the DIY balloon garland tradition was born. Today I’m going to share with you how to make a balloon garland.
Simplicity became my new go-to and I decided to focus my efforts on the simple things that my KIDS really loved: presents, cake, and BALLOONS!

Hi Im Kera! Im an interior designer, content creator, and DIY Blogger. If you enjoy my content I would love to connect with you over on Instagram where I share easy woodworking projects, home inspiration, and real-time DIY.
This simple easy balloon garland tradition started when my youngest turned 1. I came up with a seamless way to create this decoration in under an hour. Because let’s be honest, I have four kids whose birthdays are all within three months of one another. There has definitely been a time or two where the day has crept up and the birthday planning suddenly becomes more of a birthday scramble.
This post contains affiliate links. Purchasing through these links gives me a small commission at no extra cost to you. Thank you for supporting Haute House Love. You can read my full disclosure policy here.
How many balloons do you need?
A SUPPLY LIST:
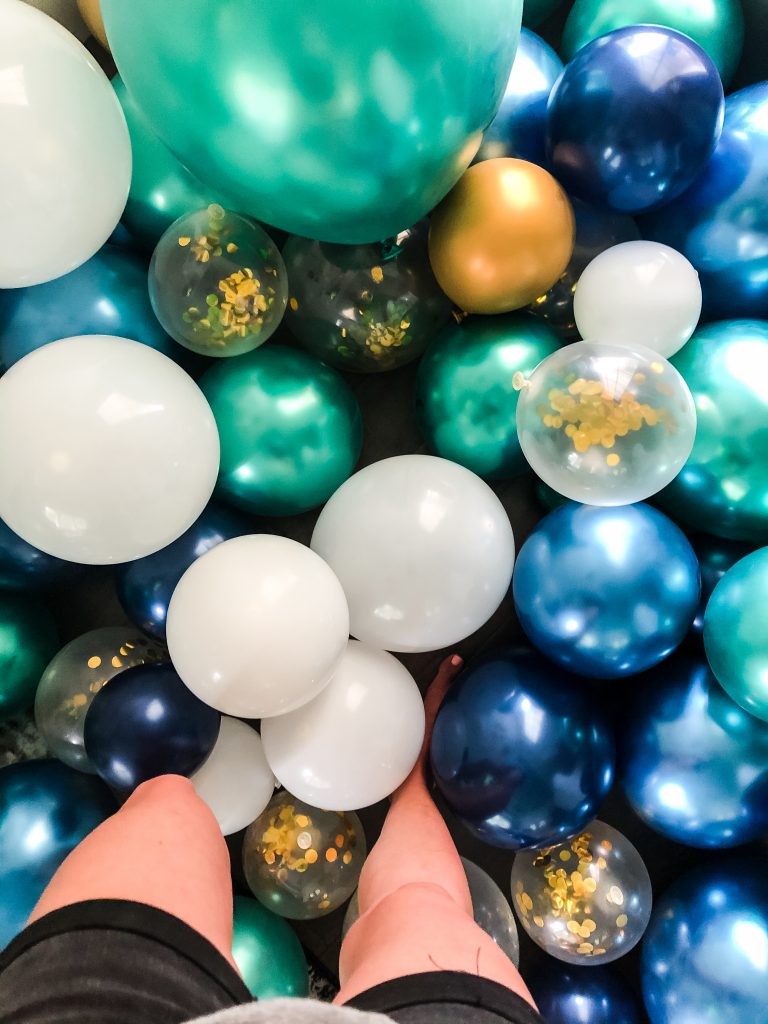
- BALLOONS (12in, 10in & 5in in a variety of colors)
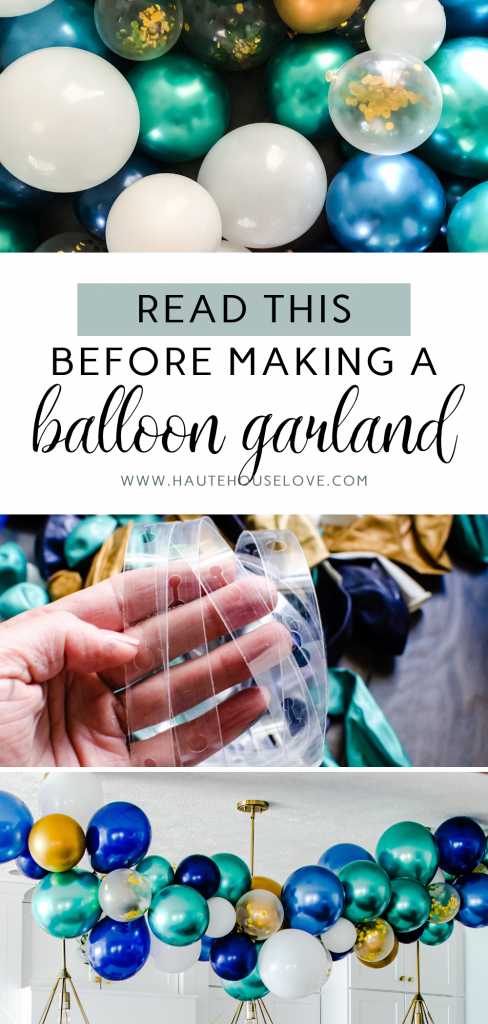
- PLASTIC STRIP – COMES WITH BALLOON GARLAND KITS OR PURCHASE SEPARATELY IF YOU ALREADY HAVE BALLOONS
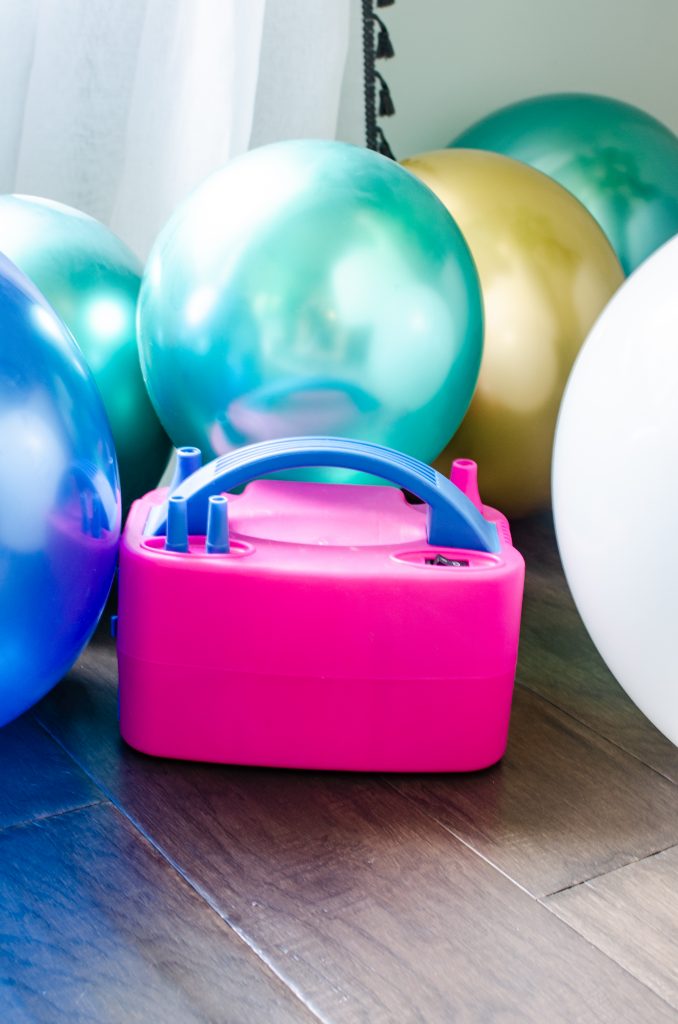
- AIR PUMP – TO MAKE THE PROCESS GO SUPER FAST!
- TACKS/ZIP TIES – TO SECURE THE GARLAND TO THE WALL OR CEILING
Balloon Garland supplies can also be purchased in kits.
Click HERE to shop a variety of my favorite kits.
how do you make a DIY balloon garland?
HERE’S THE STEP BY STEP PROCESS!
Step 1:
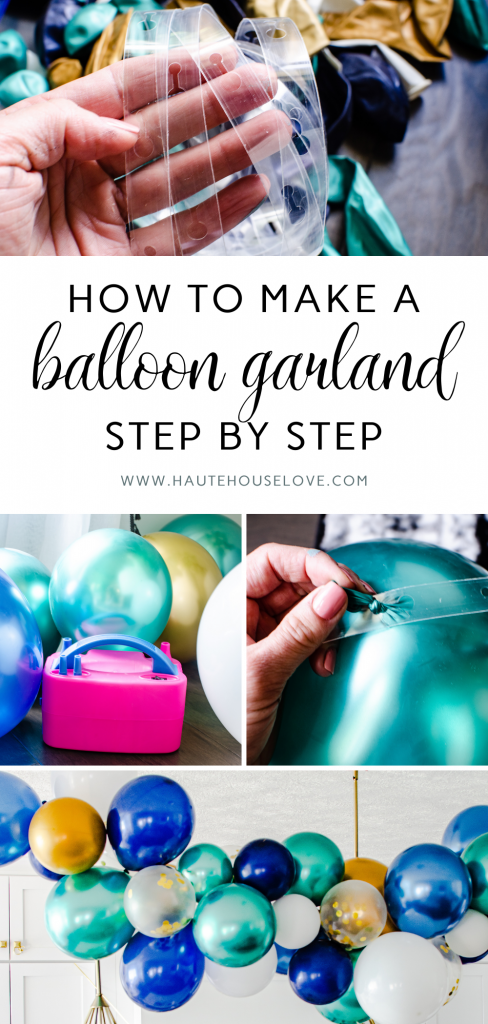
Making a balloon garland starts with AIR! Plug in that pump and blow up all of the balloons. (A pump isn’t required but it will save you SO much time and only costs around $20. It’s well worth it for the time and oxygen saved.
Step 2:
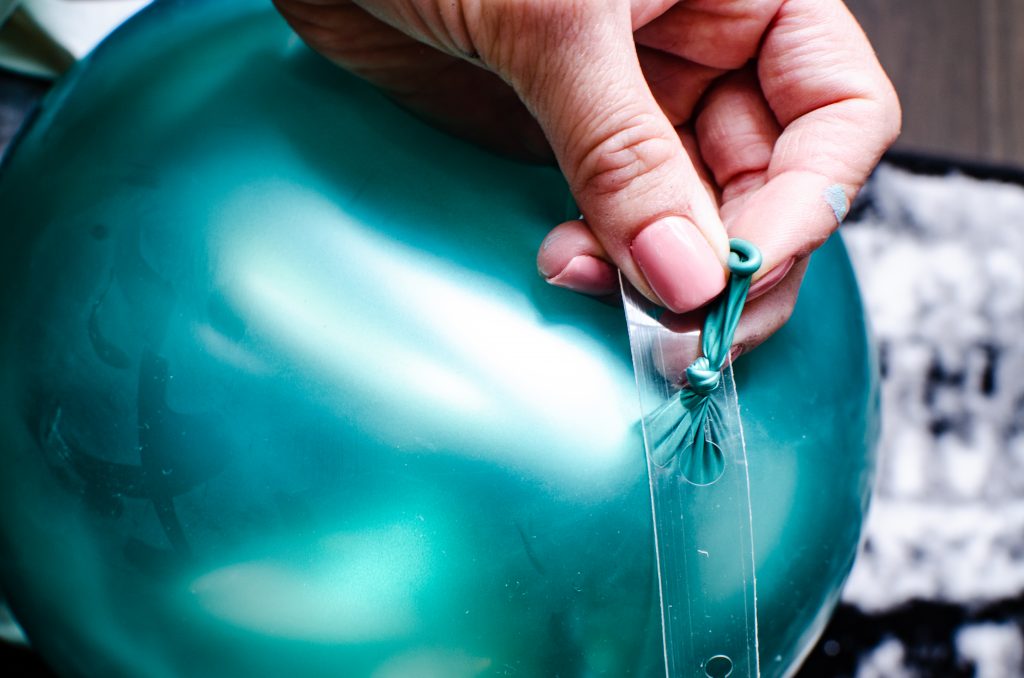
The next step in this balloon garland tutorial is to grab the plastic strip and add the first balloon. (I will typically start on the 4th or 5th hole so there is an extra strip to hang from when finished.) Pull the knot through the large hole then slide it over to the small hole to secure it.
Step 3:
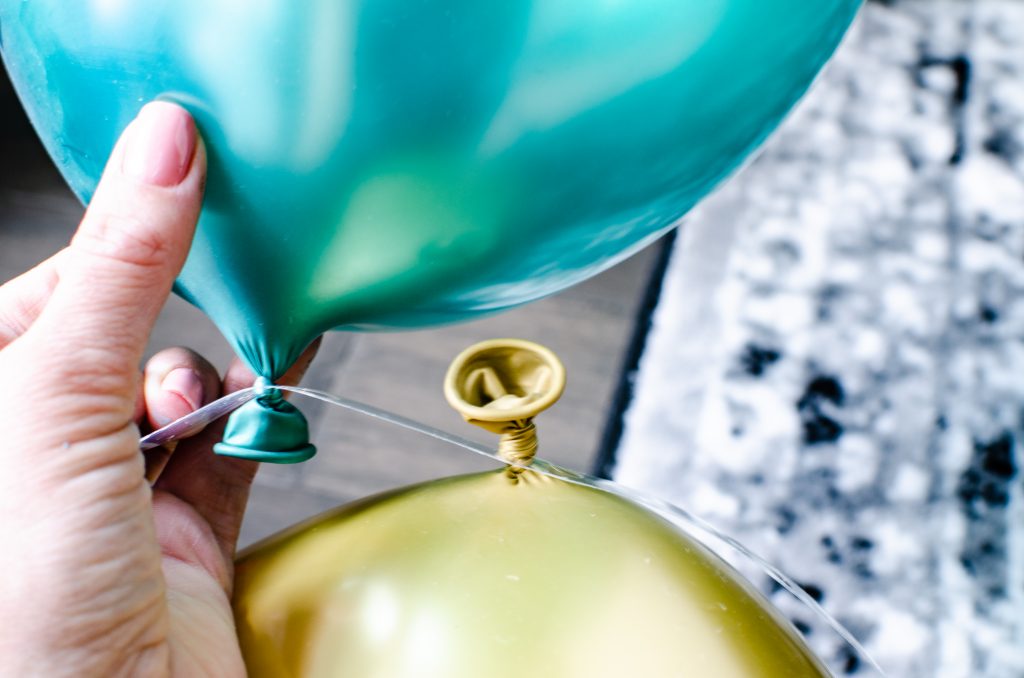
Add the second balloon from the opposite side of the strip. This will avoid crowding and allow you to add one to every hole.
Step 4:
Continue to add balloons until you reach your desired length. Make sure to mix sizes and colors at random.
Step 5:
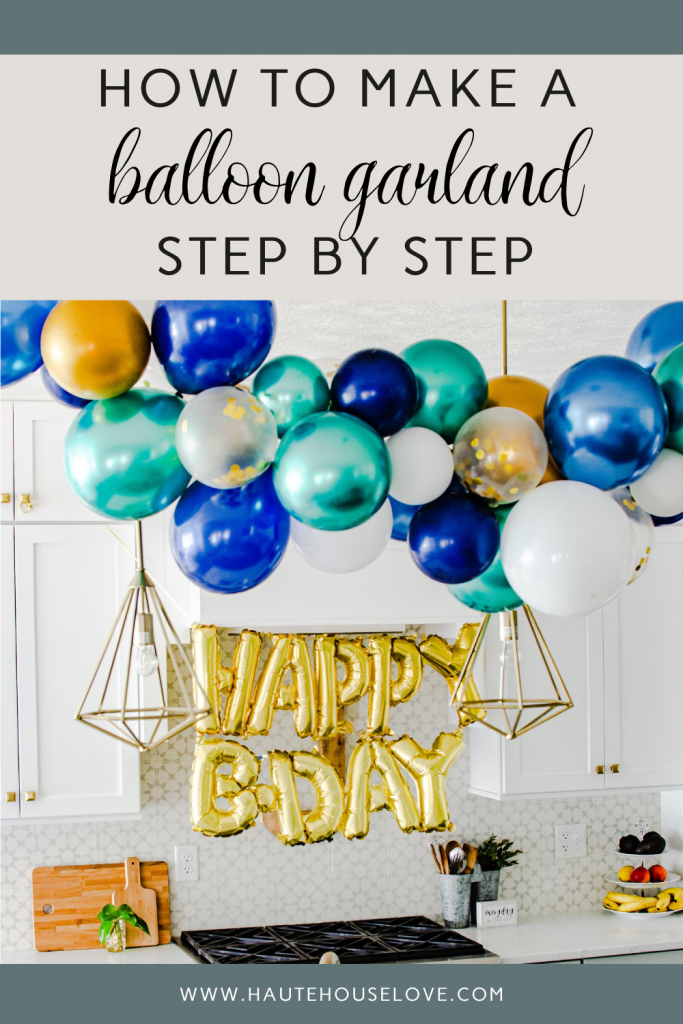
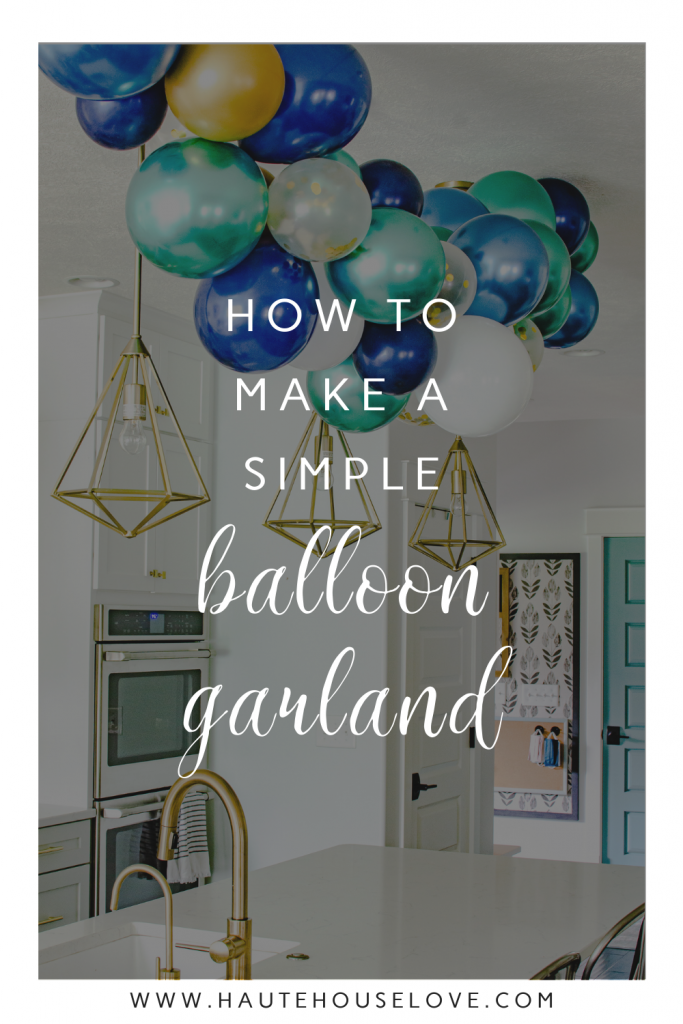
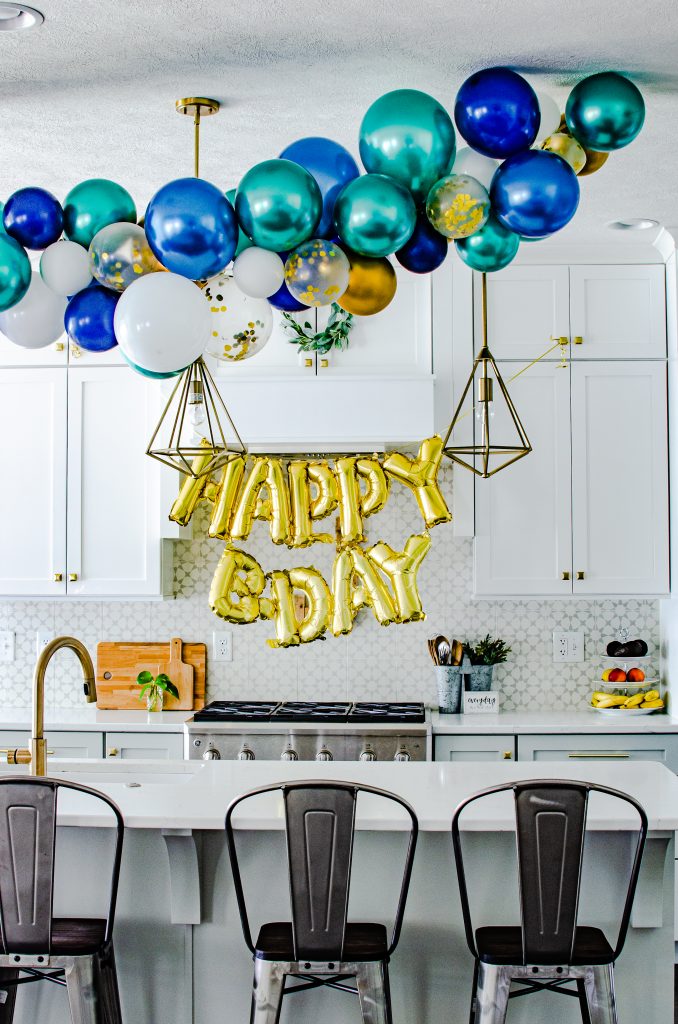
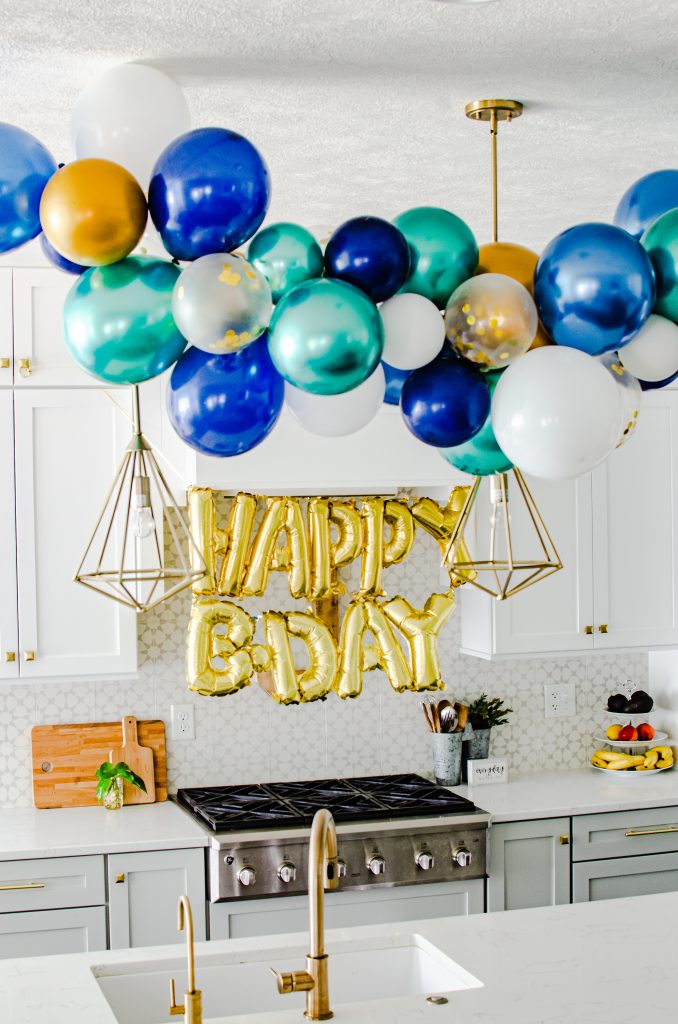
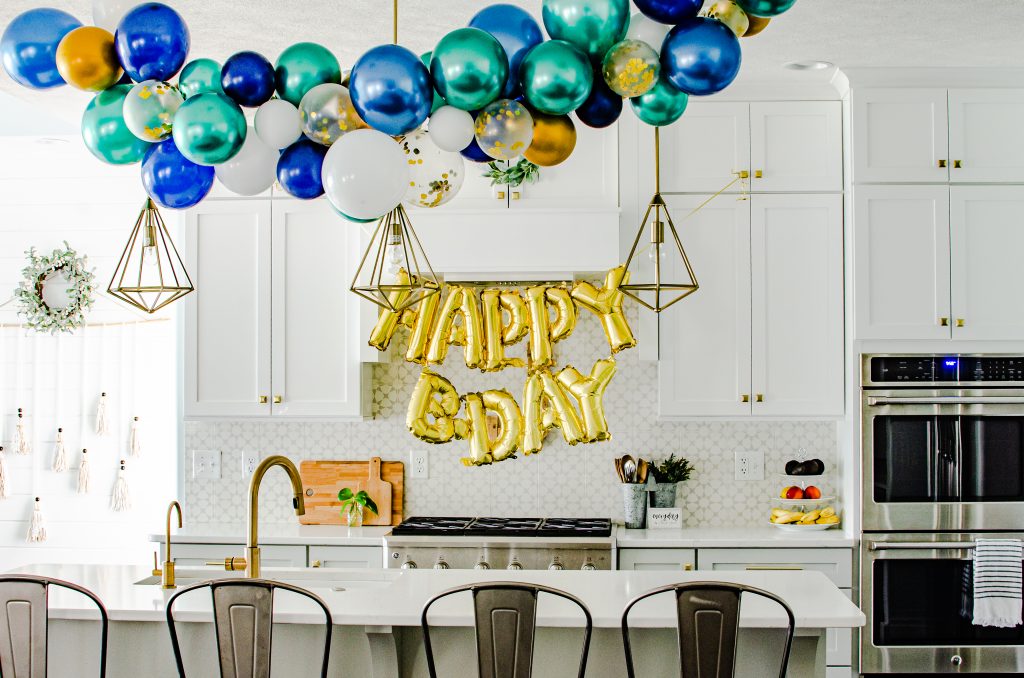
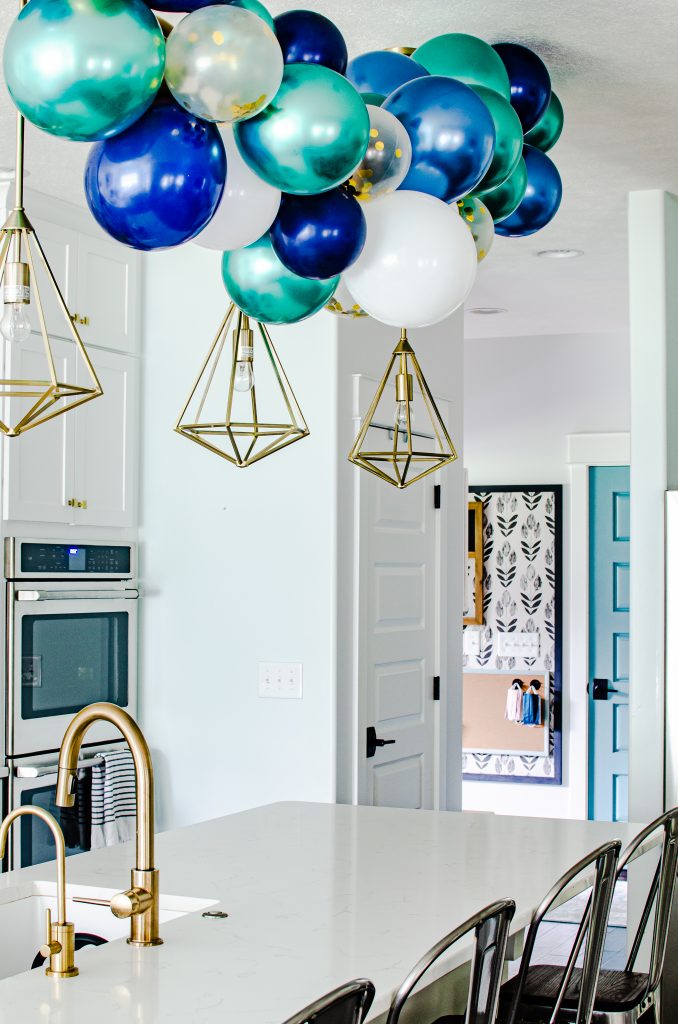
The last step for making balloon garland is hanging it. I love to hang ours from the ceiling above our kitchen island. I’ll cut the plastic strip with about 4-5 open holes at the end then use a few tacks to secure it to the ceiling.
SHOP BALLOON GARLAND KITS
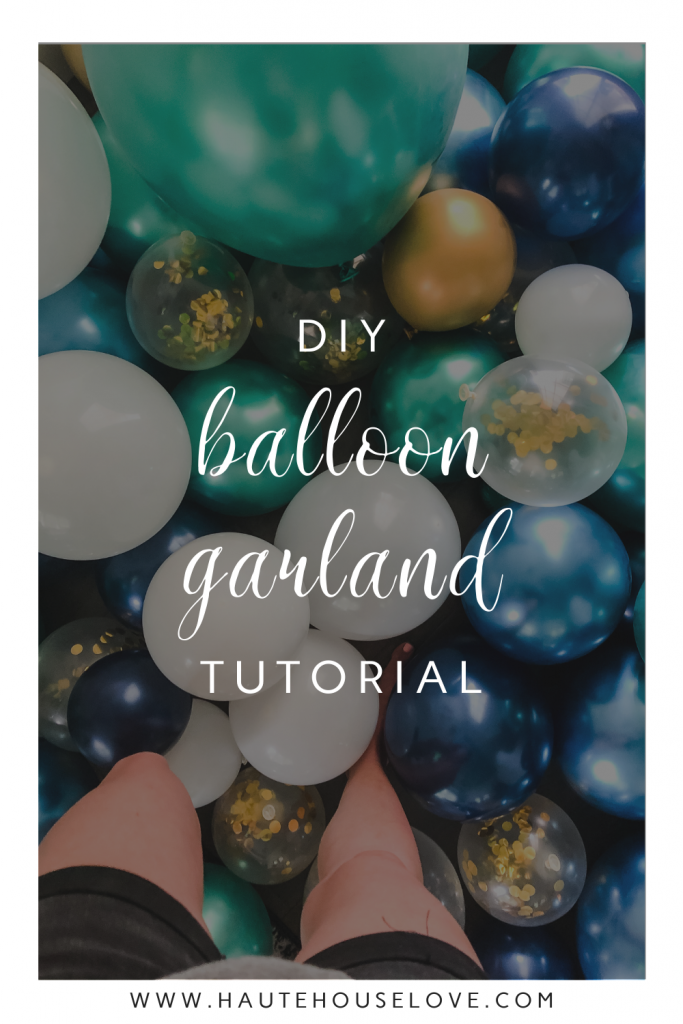
Simple DIY Balloon Garland Complete!
The only other thing I typically add is a happy birthday banner and a large mylar balloon exclusively picked out for the birthday kiddo. I usually run to the party store to grab that.
Pizza and store-bought cupcakes, and we are ready for a simple birthday party that my kids love!!
If you decide to attempt this simple birthday decoration I would LOVE for you to tag me on Instagram! I love seeing when my followers are inspired by one of my projects!
Frequently asked questions
HOW LONG DOES IT TAKE TO MAKE A BALLOON arch?
It typically takes about an hour to make one eight-foot balloon garland. The biggest time/energy saver is using a balloon pump to blow up the balloons. I will never make a balloon garland without a pump!
How much does it cost to make your own balloon garland?
DIY balloon garland kits cost around $15-$25 plus the initial cost of the balloon pump, which is about $25. DIY balloon garland kits are great because they come with everything you need to make a full DIY balloon garland in one kit. There are a variety of color schemes and themes to choose from, and they often come with extra decorations for the balloon garlands as well. You can then choose to make it as simple or complex as you choose.
Can I make a balloon garland IN ADVANCE?
YES! But one of my key balloon garland tips is to use a balloon pump to blow up the balloons! I have had a lot of luck making balloon garlands one to three days in advance, as long as I use a balloon pump to blow up the balloons. My theory is that the pump keeps only dry air entering the balloon (instead of wet air from human breath) keeping the integrity of the balloon in tact.
Often the balloons will stay put for several days but occasionally there will be a few balloons that shrink faster than others. The further in advance you make the garland, the more likely you’ll need to replace a few of the balloons come party day.
How long does a balloon garland last?
I have kept balloon garlands up over our kitchen island for WEEKS! Not because I needed to but just because I didn’t get up on the island to take them down. After a few days there will be some balloons that start to deflate, but you will be surprised at how long it stays looking good! We have two boys with birthdays in the same week and I have definitely kept the same garland up for “birthday week” multiple times!
Again, the best of all my balloon garland tips is using a pump to make the balloons last longer!
Do you need different sized balloons for a DIY balloon garland?
YES! I recommend 5″, 9″ and 12″ balloons in at least 3 colors each.
how do you fill in gaps in a balloon garland?
Use smaller balloons to fill in gaps in a DIY balloon garland. Stick them in an empty hole of the plastic balloon garland strip, or the kits often come with double sided glue dots that you can stick on one balloon and attach to another.
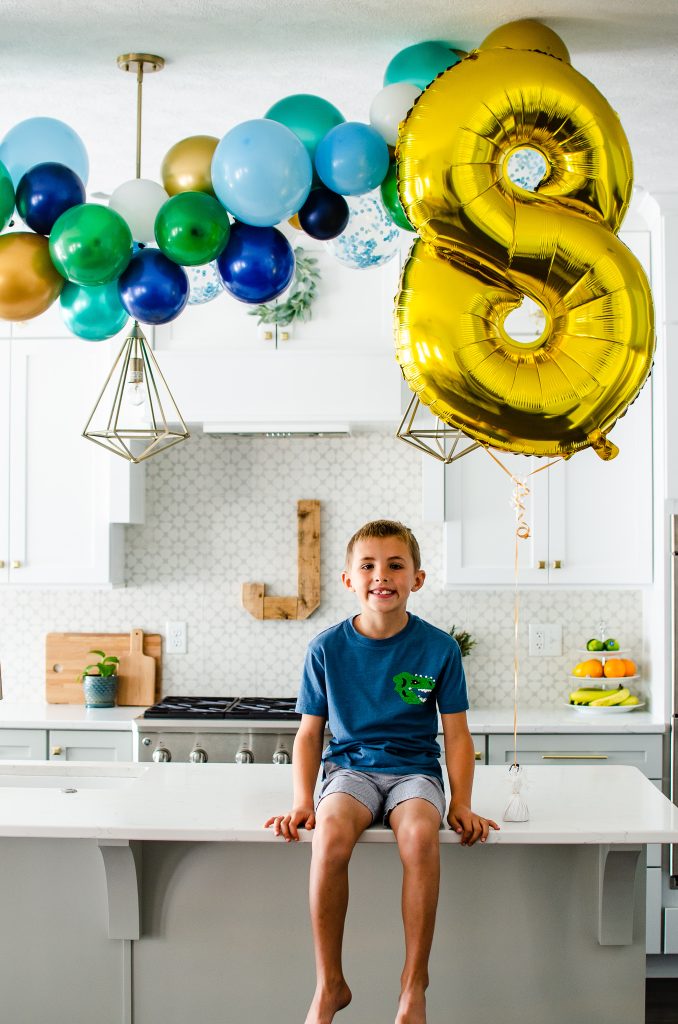
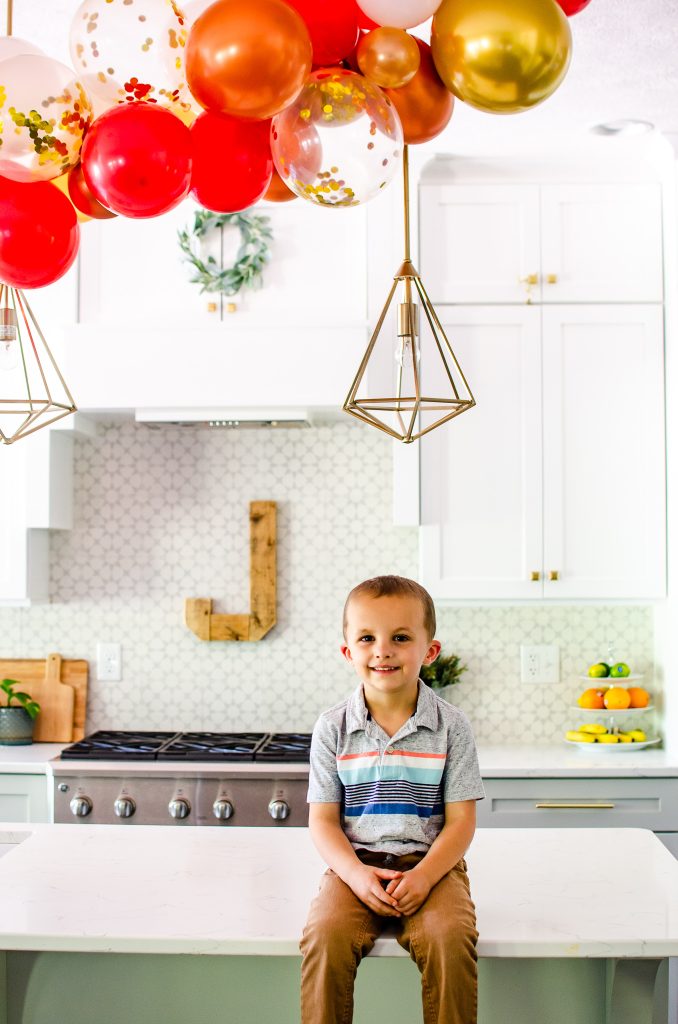
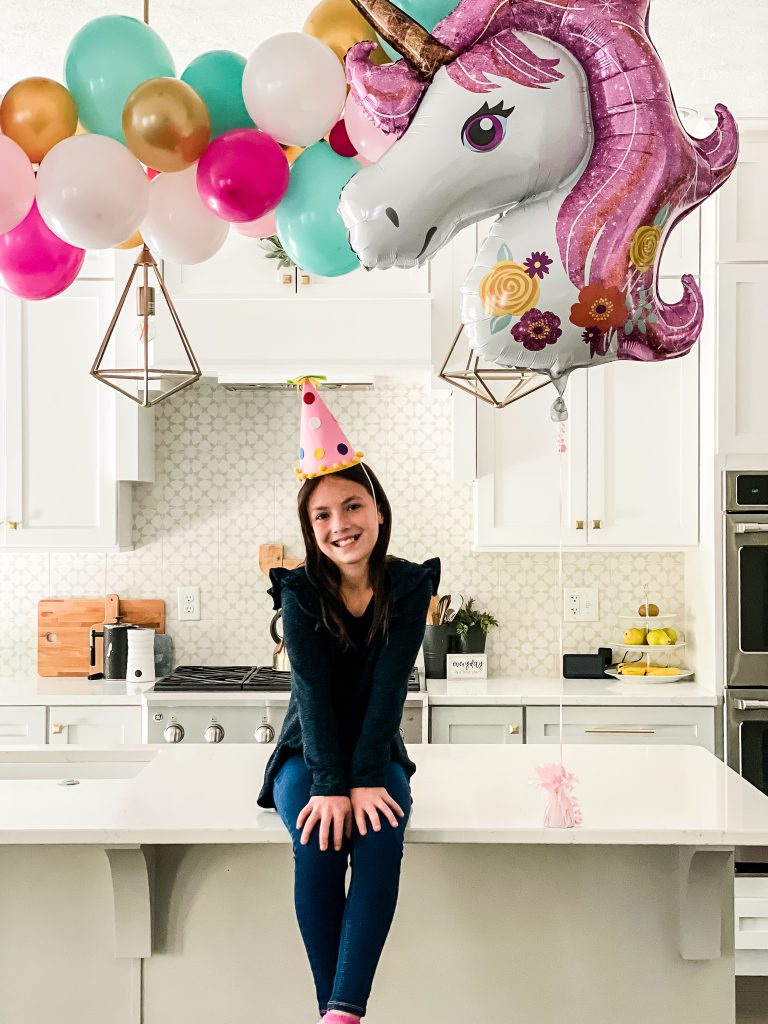
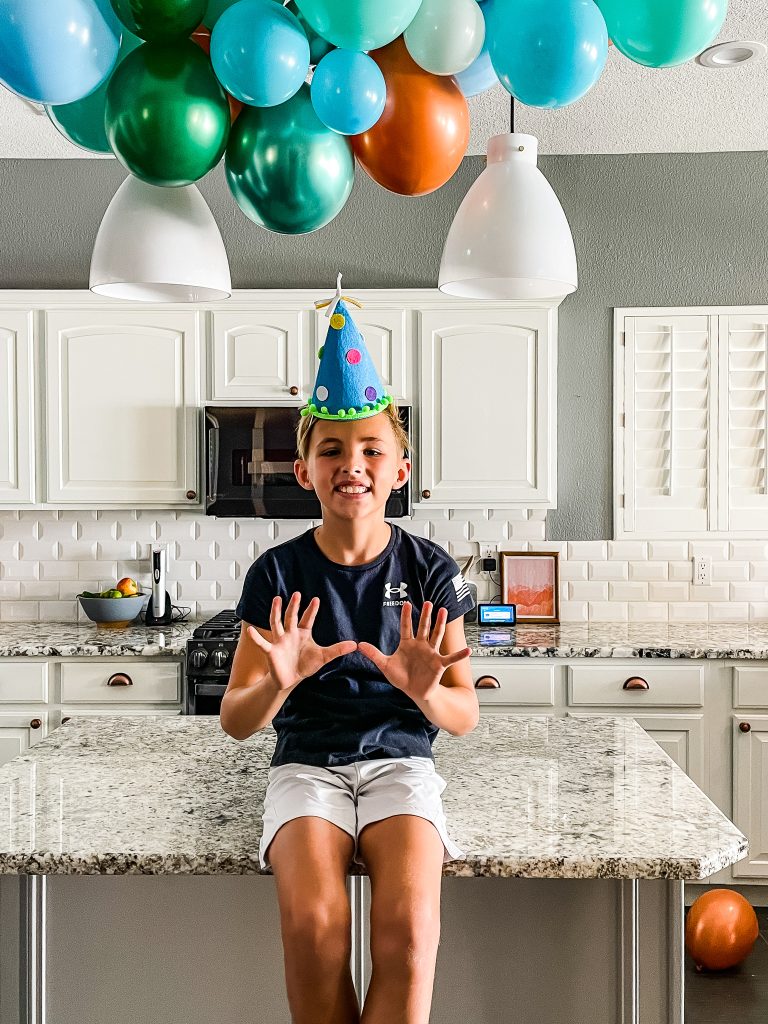
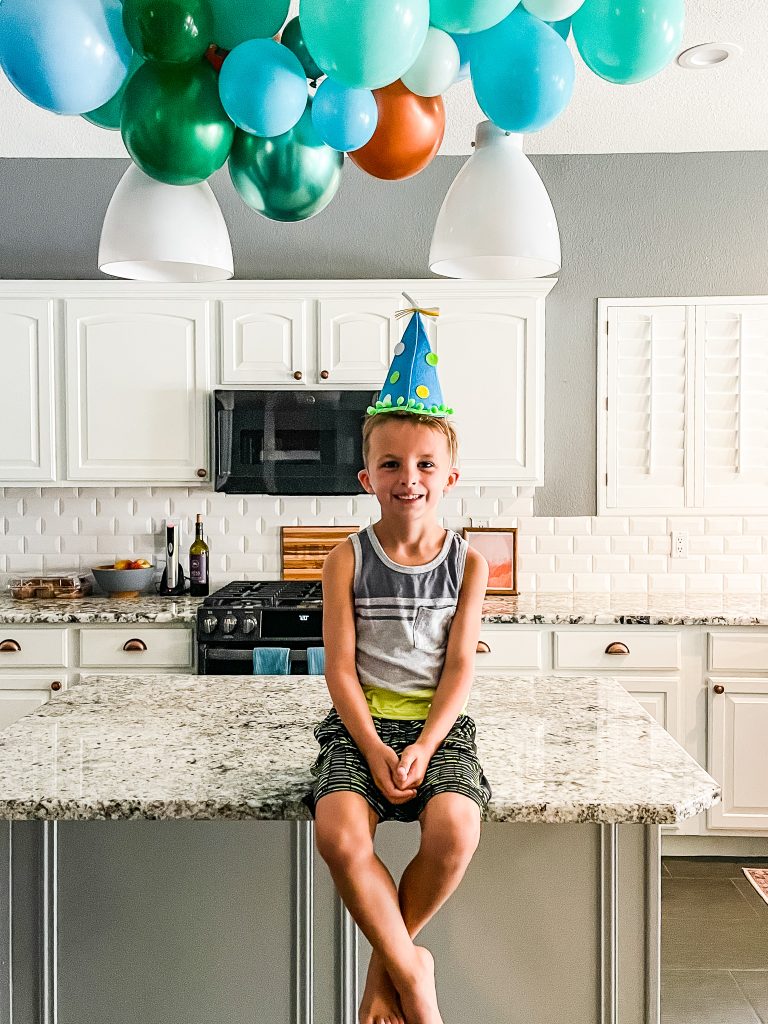
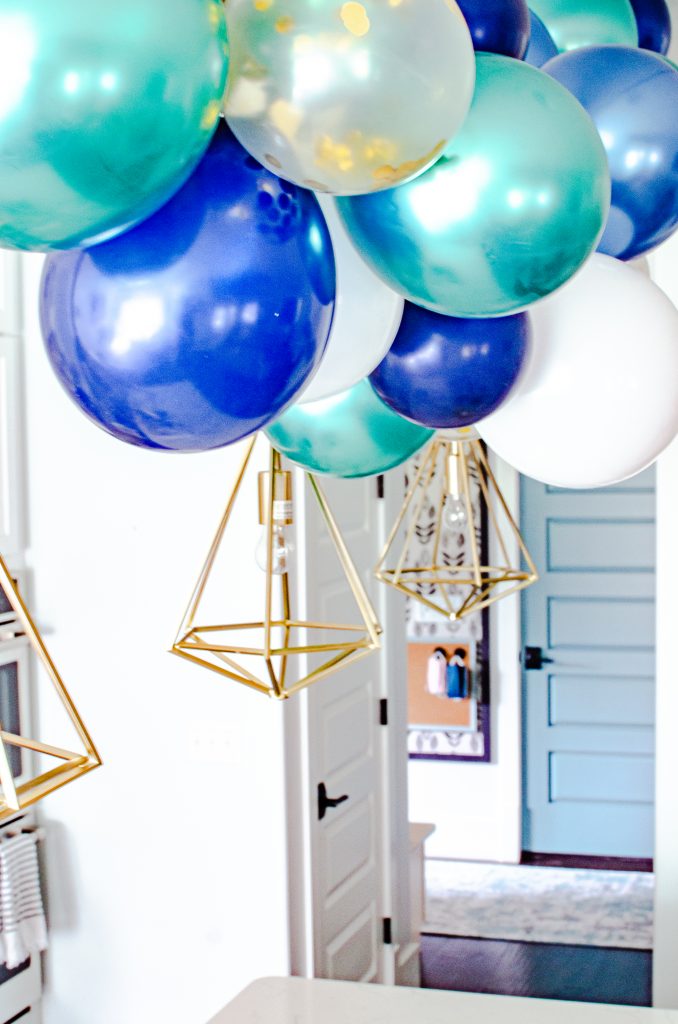
birthday balloon garlands over the years

Want to see more of my kid/family content? Check out these popular posts.
The Ultimate Command Center Guide
8 Organization Secrets For Easy School Mornings
25 Educational Game Ideas For A Home School Room
Share on pinterest!

The Comments
Linda Johnston
balloons make everything more festive!
Gene
Thank you, I have a 75th birthday coming up and I think this looks very nice, and far more affordable than purchasing it complete. Question where do you find the plastic tape?
Kera Jeffers
GeneHappy Upcoming Birthday! If you purchase a kit (several options listed in the post) it comes with the plastic piece!
Lisa
HI,
Where do you purchase the strips? Or do you make them somehow?
Kera Jeffers
LisaThey can be purchased with the balloon kits or individually! All options are linked in the post!
Freya
LOVE balloon garlands! Do you have any issues with the balloons losing their shine? If so, can u offer solutions?
Amanda
Thank you for the tips! Do you have any for placing one up a spiral staircase?
Judith Peake
Like your style. Very user friendly tutorial. Thanks for sharing!!
Sara
How soon do you blow the balloons up? I’ve purchased the kit! I want to do it early so I’m not doing it last minute but I also want to make sure I don’t do it too early and have dead balloons haha
Kera Jeffers
SaraHi Sara! I have done it up to a week ahead of time!
Nina Clingerman
Love the Garland…I assume the pics with white counters & grey & white back splash are from the Terre Haute House, the subway tile is your Arizona home the countertops was already there, correct.? I have a question for you have you ever redone original Formica countertop in epoxy finish? We are retired, my kitchen cabinets are white, thinking about redoing grey countertops, I love diy project I can do myself. Already done the floors & stenciled . I have Mackenzie Child accs. So I want white on white. Do you know of a product without tearing out countertops?