Have you ever wondered how to paint a room like a professional without paying the professional price?
Keep reading, I have 5 amazing tips that you NEED to know!
PLUS, read further where I’m answering my most frequently asked questions about painting.
Don’t forget to PIN HOW to PAINT LIKE a pro for later!
HOW DID I LEARN ALL OF THESE PAINTING TRICKS, YOU ASK?
My dad is a professional house painter and taught me all of the tricks at a very young age!
Over the years painting has become a kind of therapy to me. It’s a mindless project that I have learned to love because I know how to do it right!
I hope my tips will help you learn to love painting too!
If you enjoy my content make sure to subscribe to my blog and follow me over on Instagram where I share my day to day projects!
this post contains affiliate links
5 Must Know Painting Tips
Tip #1 Choose Quality Paint!
Paint quality is important!! Like, SUPER important when it comes to having professionally finished walls. Quality paint goes on smoother (less stress) , covers better (less coats) and is an overall time saver. Yes, the price is higher BUT it’s worth the splurge when you consider how long paint will last in a space. Typically years, right??
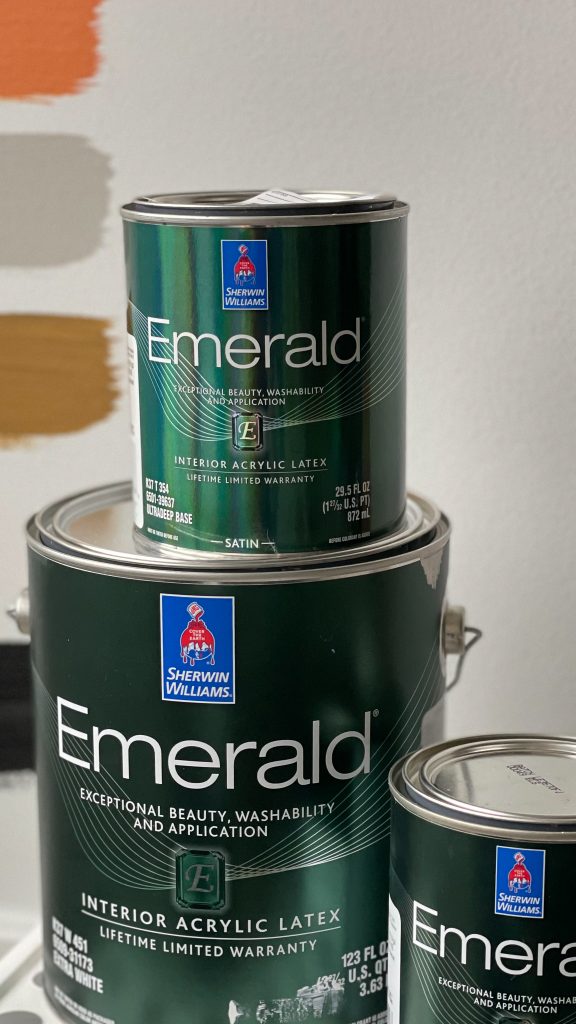
My absolute favorite paint for interior walls is the Sherwin-Williams Emerald Line in a Satin Finish.
TIP #2 Use quality Tools
Using the right tools are key when it comes to having a professionally painted room. Typically you need a brush and a roller when it comes to painting interior walls.
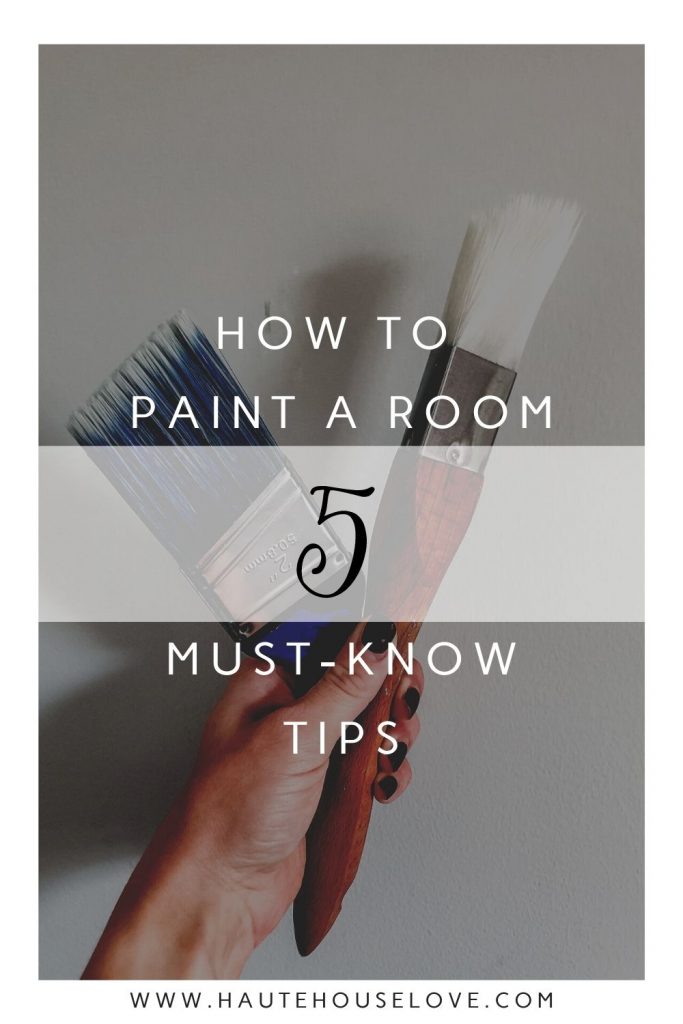
For cutting in, I highly recommend a 2″ short-handle, angled ergonomic brush. The end is flexible resulting in a more comfortable grip than a long handled brush. It also allows more control of your paint because you have to hold the brush so close to the bristles.
A secondary favorite for cutting in is a triangular top Zibra brush. The compacted bristles are great for tight corners and thick trim pieces because of the tight, dense shape. I also love that I can run it right down a corner and get both sides of the wall in one quick sweep.
For rolling, I recommend the best cover that you can afford. When used and cared for properly they can last a long time and give you superior results over and over. Not to mention, high quality rollers will also keep their shape longer and be less likely to leave lint in your paint or on your walls.
Note: When selecting a roller cover make sure to read the packaging and select a nap (thickness) that is appropriate for the texture of your walls.
TIP #3 Use Painters Tape the right way
Painters tape is a great tool to utilize for perfectly crisp cut lines. But, there’s a secret to using it the right way.
The “Paint Over” Method.
With this technique you need not only the new paint but you also need the paint you are covering with the tape.
Why? Let’s use baseboards as an example.
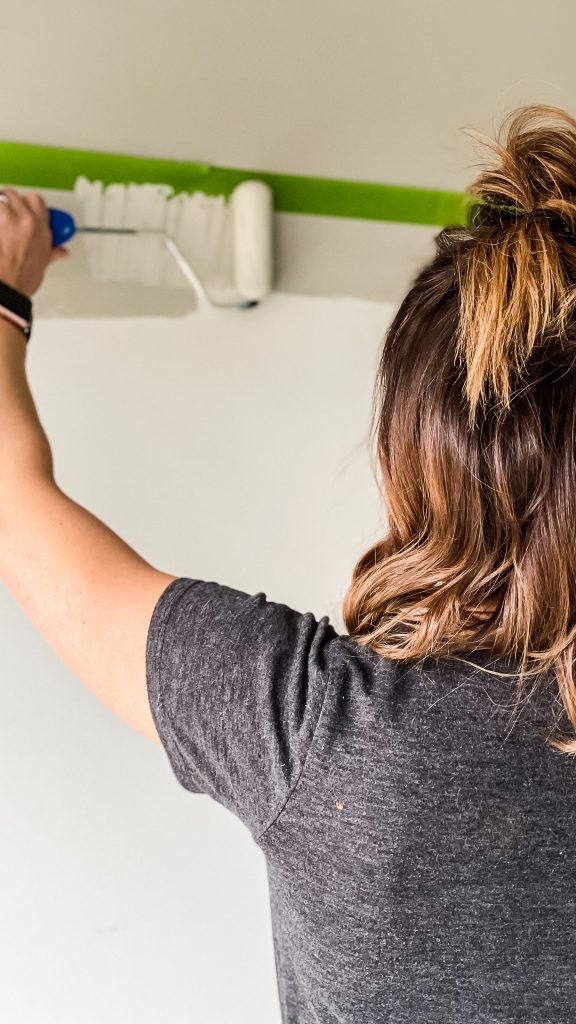
Say I want a perfectly straight cut line on my baseboards. I will start by laying tape at the corner where the baseboard meets the walls. Press the tape down firmly to assure full coverage. Before you start with the wall paint take a small brush and PAINT OVER the tape edge with the baseboard paint. This will create a “seal” when the paint dries and assure that any drips that may happen will be in the baseboard color. Once that layer has dried move on with your normal cutting in!
When you pull the tape up, perfect cut lines!
This method works great on ceilings, window/door trim, color blocking as well as corners where you may want to change colors. Use it!
Tip #4 Cut In FIRST
I can’t emphasize enough the importance of doing all of your cutting in/edging before you ever touch a roller. Cutting in is the process of hand painting around the edges of the room with a paint brush, where a roller can’t reach.
Unfortunately, cutting in typically means brush strokes.
So, if the goal is to achieve a professional- looking paint job, it is important have the least amount of brush strokes as possible.
For this reason, I always cut in twice (two coats of paint) before rolling anything. This way the brush strokes from cutting in are layered underneath the rolled paint.
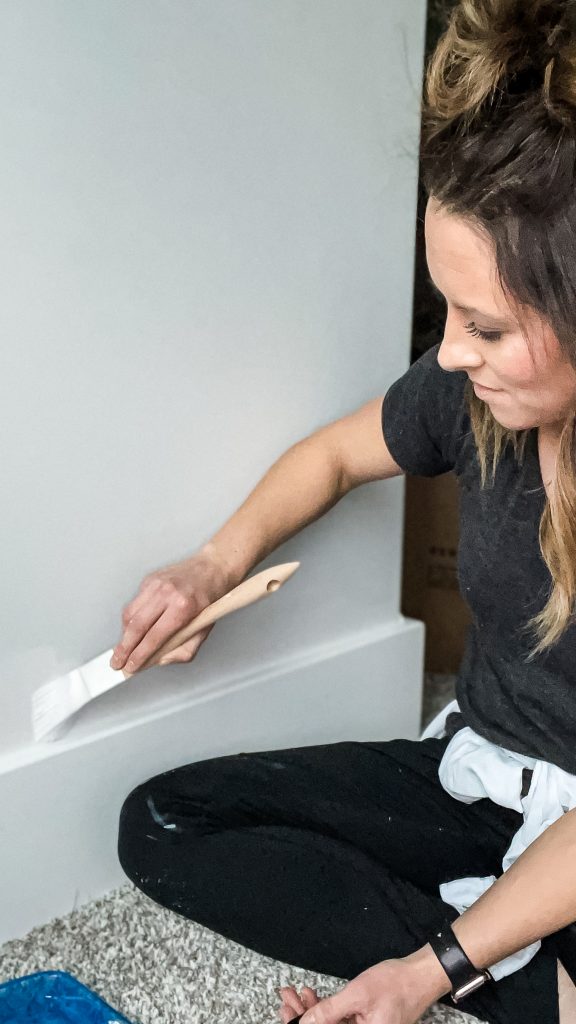
TIP #5 Roll Last
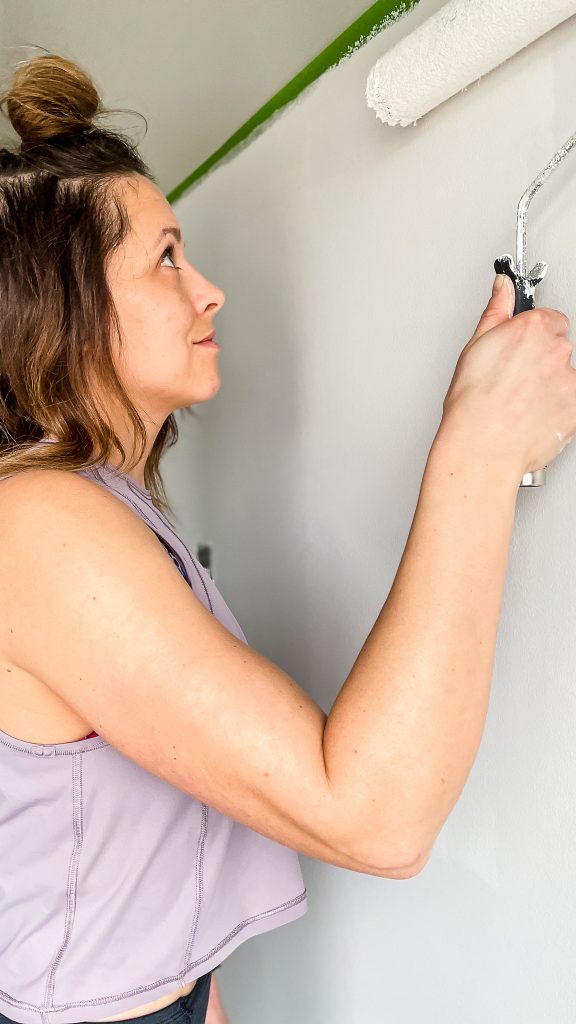
Once you have cut in twice and allowed it to dry, its time to start rolling!
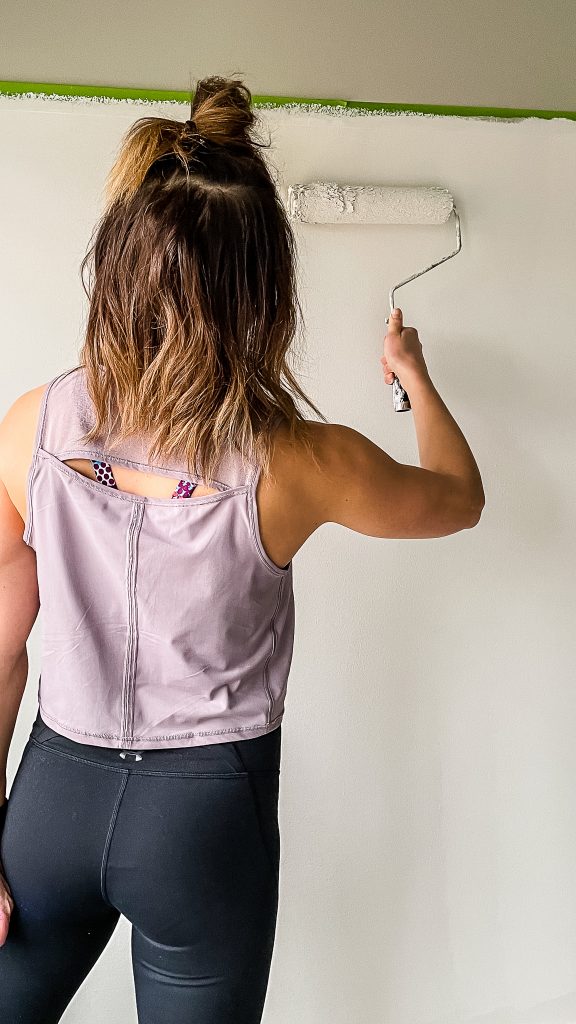
I always like to attach an extender pole to my roller and use light pressure. For a professional finish you will want to use the full vertical length of the wall. Start in the middle of the wall then go all the way up and all the way down the wall in a “V” like motion. This keeps rolling consistent and allows for the smoothest finish.
Always do two coats.
IF YOU ARE A VISUAL LEARNER…
All of my painting tips can be found HERE.

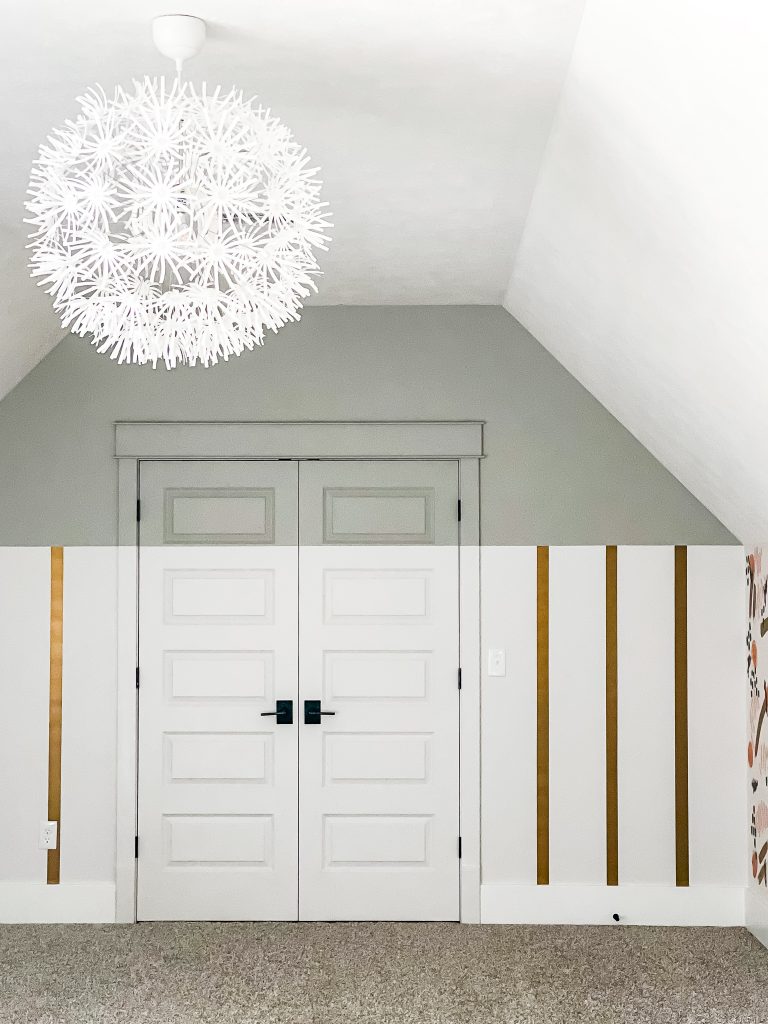
The Playroom is the most recently painted room in my home. It is currently still a work in progress but you can head to this post to see the DESIGN BOARD.
HOW TO PAINT Q&A
A few weeks ago I asked my followers for any and ALL painting questions. Here are the answers! If you have a question that is not covered below please leave it in the comments and I will add them when I update this post!
Q: What is primer and when do I need to use it?
A: Primer is essentially a prep coat of paint used before painting. It helps the paint stick better to a multitude of surfaces and increases the longevity of the finished paint. Primer also fills in porous surfaces, like plain drywall, wood, or concrete. Filling in the pores of these materials not only preps the surface for paint but results in less used topcoat paint, which is WAY more expensive than the primer.
Q: How do you paint a straight line?
A: I’m fortunate to have a very steady hand when it comes to painting, however, I know not everyone is that lucky. For that reason I highly recommend the use of Frog Tape painters tape. Frog Tape has paint block technology and is the best painters tape on the market. Even so, I am definitely accustomed to user error and also suggest taking the extra step and using the “Paint Over” Method. (See Tip #3 above)
Q: How to clean up oil based paint
A: Oil based paint (and stains) are a beast to clean up. You know how oil and water don’t mix? That definitely comes into play here. Because of this the best way to clean up oil paint is to use paint thinner or mineral spirits. Both found at your local hardware store.
Q: What is the best order to paint in? Trim first or Walls?
A: Here is my personal choice for how I paint a room. I always start with prep work. Filling holes, sanding, wiping down baseboards/trim then caulk if needed. If the ceiling needs to be painted I would do that first. Followed by baseboards/trim then walls last.
Q: Can you paint in one coat?
A: While most high end brands of paint will have a line of paint that claims to have “one coat coverage,” I always suggest two coats. Even for the best of painters its hard to get every square inch of wall on the first go round.
Q: How much paint do you get on your roller?
A: I generally start with my roller fully saturated then roll it back and forth on the paint tray to remove excess. I’ll start rolling on the wall when I can lift the roller off of the paint tray and no paint is dripping off of the roller.
Q: What sheen do I use?
A: I generally use flat paint for ceilings. Eggshell or Satin for walls, and semi-gloss for trim and cabinets. The more sheen it has the easier the dry paint is to clean.
Q: What type of paint roller do I use?
A: I highly recommend buying the best paint rollers you can afford. High quality rollers hold their shape for multiple uses and are less likely to leave lint on the walls.
When it comes to the nap of the roller you need to consider the texture of the surface that you are painting. On the roller packaging it will state what kind of texture a particular roller will cover. The shorter the nap, the smoother the surface.
Q: What do you do about paint runs/drips?
A: If I catch then right away I will simply brush/roll over them or wipe with a damp cloth. If the paint has already started to set I will wait until it has dried completely then use a sanding block to sand until smooth, then repaint.
Q: What is the best temperature for painting?
A: I always refer to the directions on the back of the can of paint. They will give clear guidelines on the lowest and highest temperature to use and store the paint.
Q: What are your best tips for painting trim?
A: Patience. Seriously. Trim is definitely one of the most time consuming things to paint in the home. I would first suggest taping off the floors to keep them protected. If you are going from wood trim to painted trim there will need to be a light sanding process first to rough up the varnish coat. Next, wipe the sanding dust off with a damp cloth and allow to dry. Two coats of primer will likely be needed followed by 2-3 coats of trim paint.
If the trim is already painted you can simply wipe down the trim and start painting. It may only take 2 coats if the color isn’t changing but sometimes 3 is needed. Use your best judgement.
Trim is generally painted in a gloss finish.
Q: What is the best method for cutting in corners?
A: When it comes to corners my favorite brush to use is a Triangular Zibra brush (pictured below). It’s a wider brush that covers more area in one stroke. It’s great for getting into tight corners and is a huge time saver when it comes to painting doors and trim!
Q: Do I have to prime if wood is “pre-primed”?
A: No! This is one of my favorite things about buying pre-primed wood. So many prep steps are already done for you! Simply install then patch and paint your color of choice. Easy Peasy!
Q: How do you paint a door without it looking streaky.
A: I suggest first using a brush and cutting in twice around any decorative portions of the door. This includes any curves or indentions as well as the handle and hardware. Once that dries I suggest rolling the rest. I prefer to use a dense foam roller for doors since they are generally smooth in texture. Start by gently rolling over the areas you cut in, followed by any prices that stretch horizontally from one side of the door to the other, followed by the vertical pieces. Use the same rolling method as mentioned in Tip#5. Fill in the center rectangles last.
Thats it for now!!
I hope you have learned a few tid bits about painting that you never knew before! Please let me know in the comments if you have other questions to add to this post and don’t forget to PIN this info for later!!
Airbnb Arizona arizona rentals basement bar design blog hop Budget Friendly christmas gifts crafts decor DIY diy projects easy diy FAQs fashion favorite things fitness Friday Faves gardening Gift Guide home decor home decor ideas home design home improvement home organization How To Jeffrey court kitchen design living room modern boho most requested links Organization organization ideas paint Paint Colors peel and stick wallpaper Random Thoughts recipes scottsdale arizona Sherwin Williams the weekender this week's content this week's FAQs travel vacation rental wallpaper




The Comments
Kathi Lucas
Great tips. I sure wish the ‘professional’ painters who just painted most of my upstairs had followed some of your tips. Instead their painting is Ames’s!
Gabriel DeMelo
I have been in the painting industry for years and can say that these tips are crucial for businesses and DIY painters alike. I especially appreciate your emphasis on using frog tape. Plenty of times I have seen “experts” paint homes without tape and they always come out botched. Thanks for the information!