Friends don’t let friends pay $5-$10 a pop for leather drawer pulls. They teach you how to DIY them instead!!
As a designer and busy mom of 4, I’m always looking for ways to create projects that are high impact but doable for a crowd. This quick and easy one-hour DIY is no exception.
Over the past few months, I’ve been slowly working on my oldest son’s bedroom. He recently regained his own sanctuary after sharing with his 4-year-old brother for the past year until the youngest was out of the baby phase and ready to be a roommate.
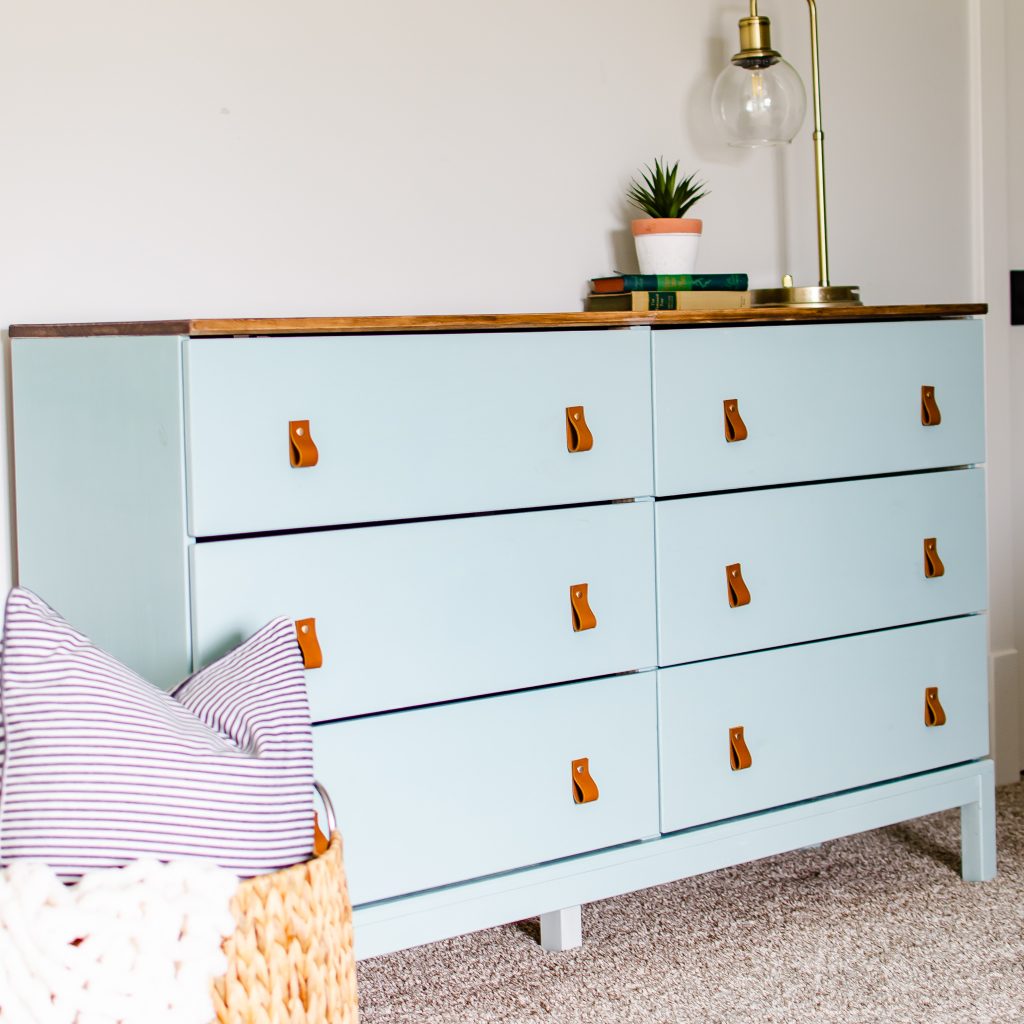
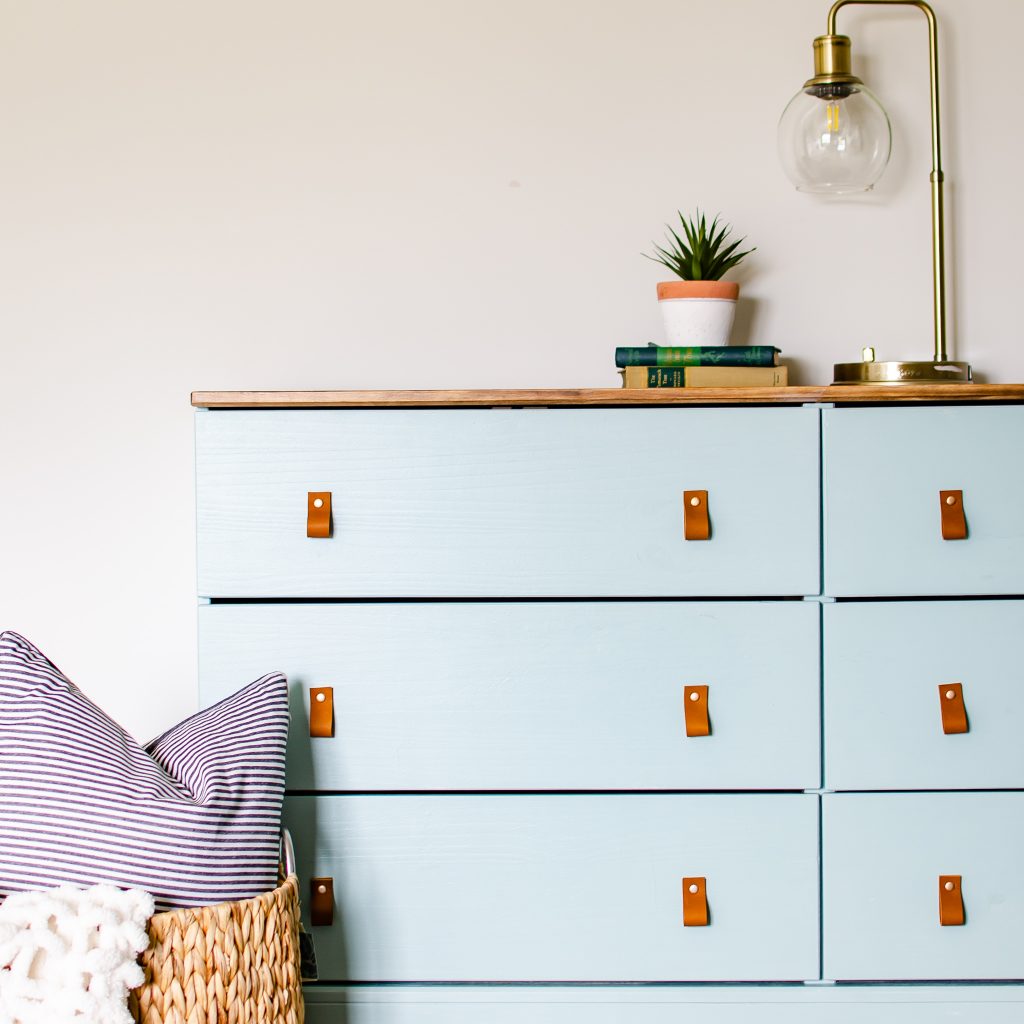
One of the elements included dressing up an Ikea Tarva dresser, in which I ended up staining the top, painting the body, and adding peel and stick wallpaper to the drawer bottoms.
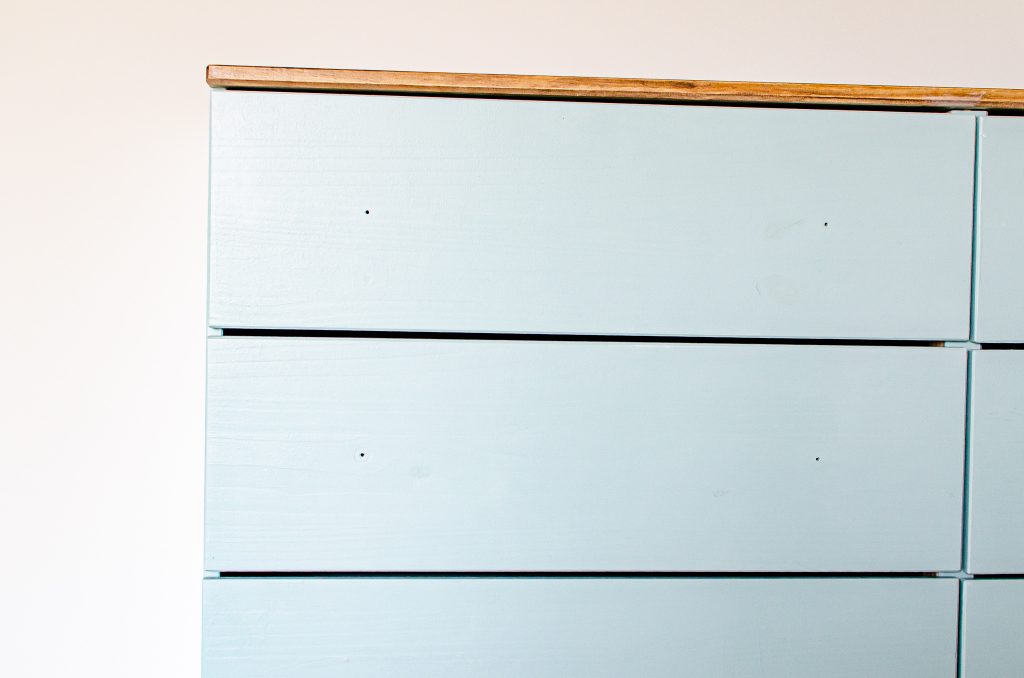
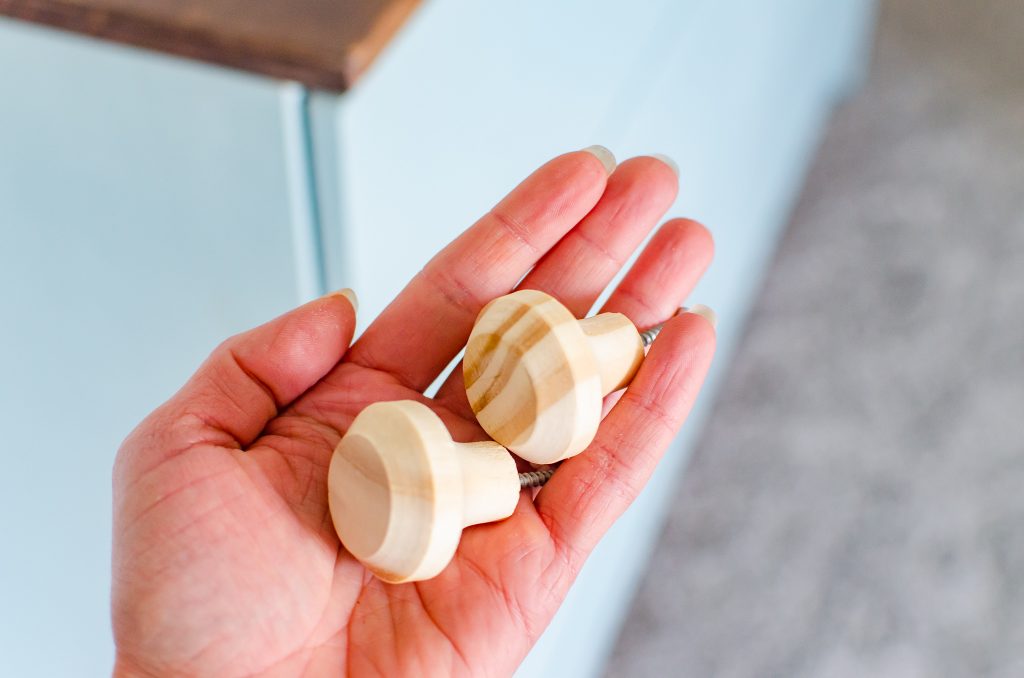
The final touch was the decision for drawer pulls. I knew I didn’t want to use the plain wood pulls that the dresser came with and when I researched pricing on leather pulls I was shocked at the cost! $5 (per pull) was the minimum price I could find anywhere and after a little research, I discovered that there was an extremely cost-effective way to make them myself!
(This post contains affiliate links. Purchasing through these links may give me a small commission at no extra cost to you. Thank you for supporting Haute House Love!)
Let’s chat supplies:
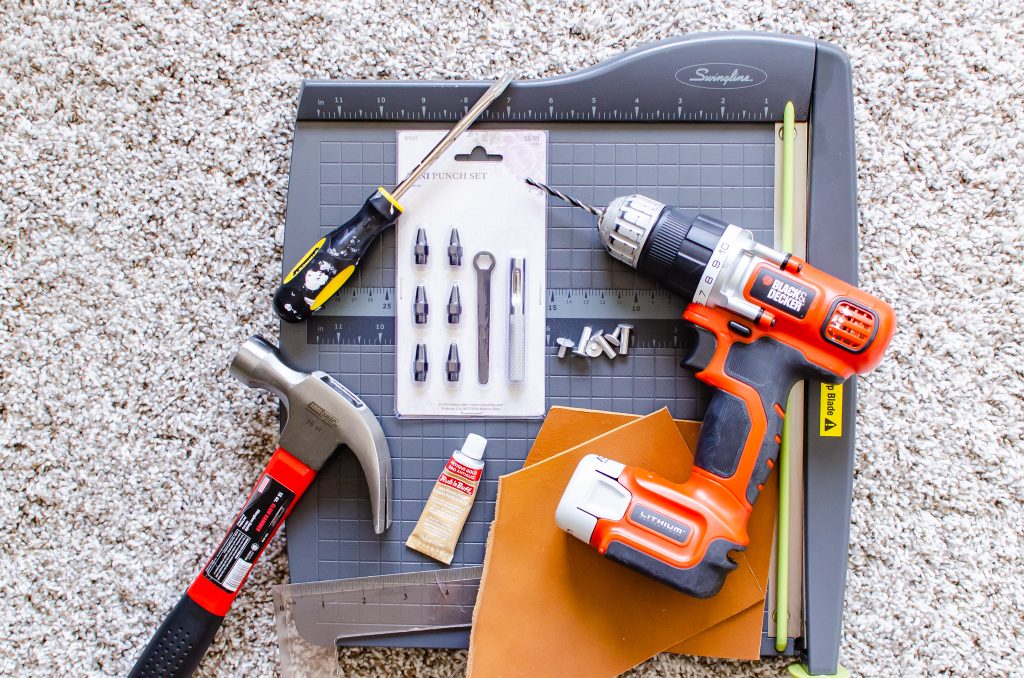
Scrap Leather (I found a huge bag of mixed scraps for $6 on sale at Hobby Lobby but you can also snag some here.)
Ruler + Pencil
Hardware (5/8in screw posts with screws)
A scrap piece of wood (for punching holes into the leather)
Rub ‘n Buff (optional)
Drill
Flat Head Screwdriver
Hammer
I chose to start by applying a little Rub ‘n Buff to my screw posts. Rub ‘ Buff is a metallic wax coating that is typically used to revive old metal but in my case, I used it to change the color of my metal posts from silver to gold. Rub ‘n Buff comes in several finishes and can be found at your local craft store. I typically take a tiny dab and rub it on with a paper towel, let it sit for 3-4 minutes then buff it with the same towel until it shines. This process may need to be repeated depending on the coverage and depth of color you desire.
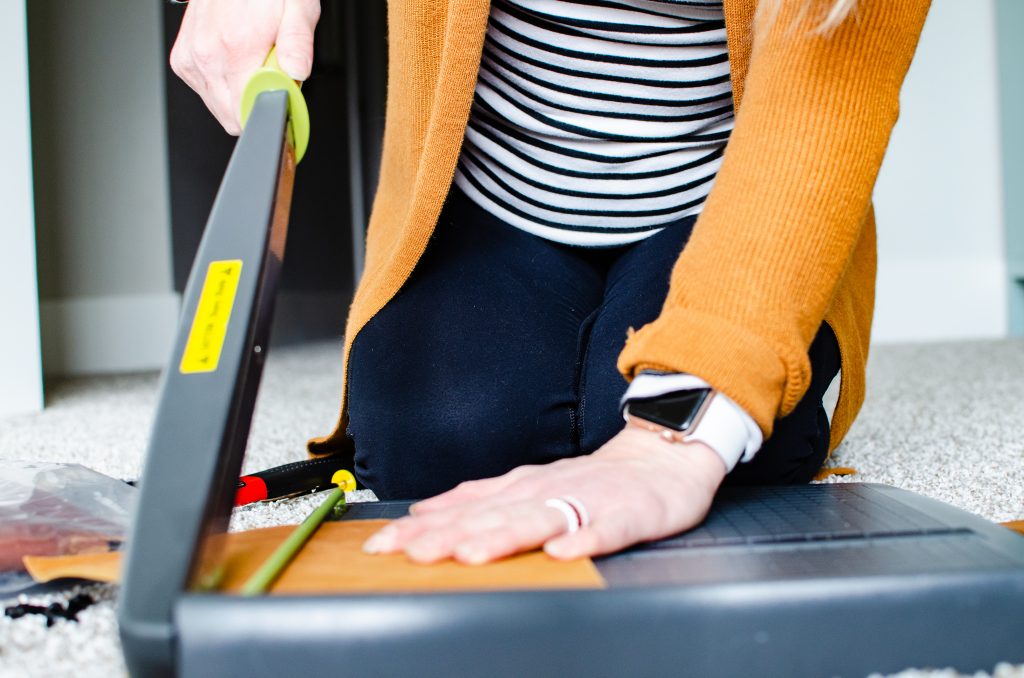
Next up I cut my leather pieces that were going to be used as the actual drawer pull. I decided on a 5” length and 1” width and proceeded to measure and mark the reverse side of the leather with a pencil. When I was finished marking I slid the leather through my paper cutter to make my cuts. I found that a paper cutter made a much more refined cut than scissors so I HIGHLY recommend going this route for the leather strips.
Once my leather strips were cut it was time to hole punch. I evaluated the attachment pieces in my kit and went with a size that closely resembled the width of my hardware. I then folded a leather strip in half, made a pencil marking ½ inch down from the top of the strip, and punched my hole with the punching piece and a hammer.
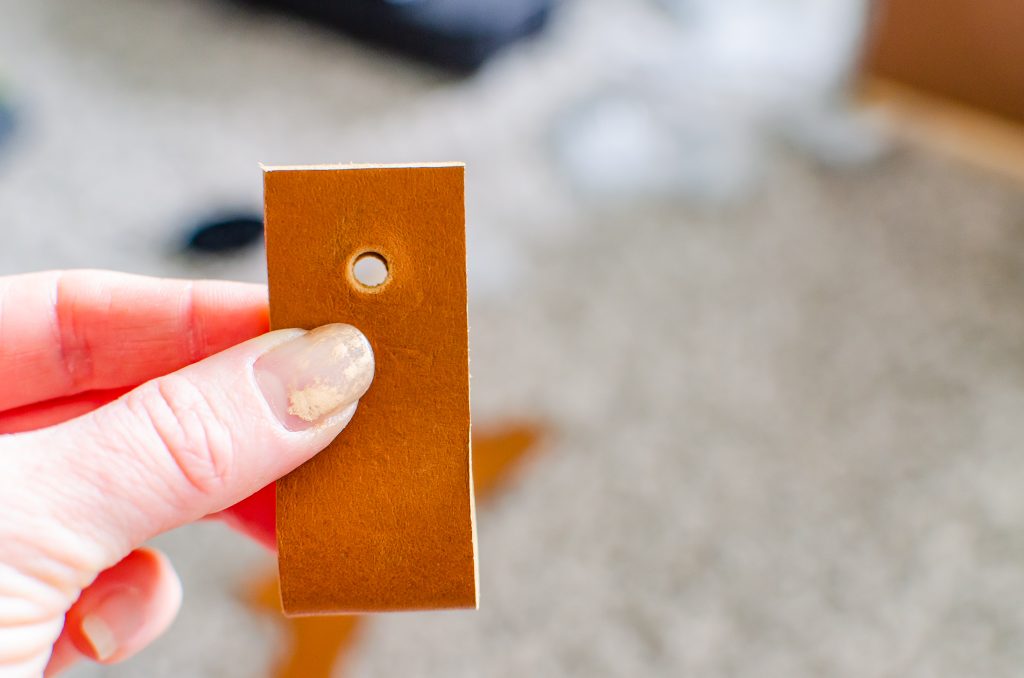
When the holes were made on all of my strips it was time to attach them to the drawers! I found that the pre-drilled holes were slightly smaller than the width of my hardware so I used an 11/64 drill bit to widen the holes every so slightly. (Make sure to choose a drill bit that is essentially the same sized as your hardware for a perfect fit.)
With the leather strap folded in half, push the screw post through the holes and then insert it into the drawer hole. Secure with the screw piece on the back.
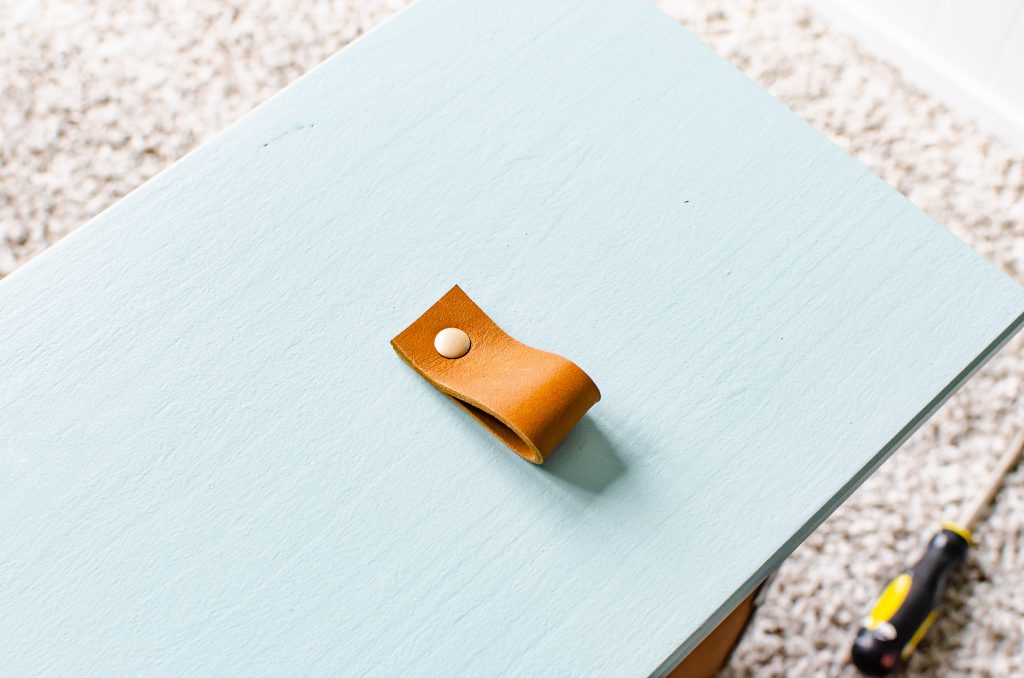
This easy dresser hack took less than an hour to complete and as you can see the results (and the price) are fantastic!! My big dude is a fan as well.
(Pictures are wonderful but if you are a hands-on visual learner like me I have a video tutorial saved in a highlight on my Instagram page. It’s in the bubble marked “Leather Drawer Pulls” and I would love for you to check it out!)

The Comments
Business Ideas UK
Great article 🙂