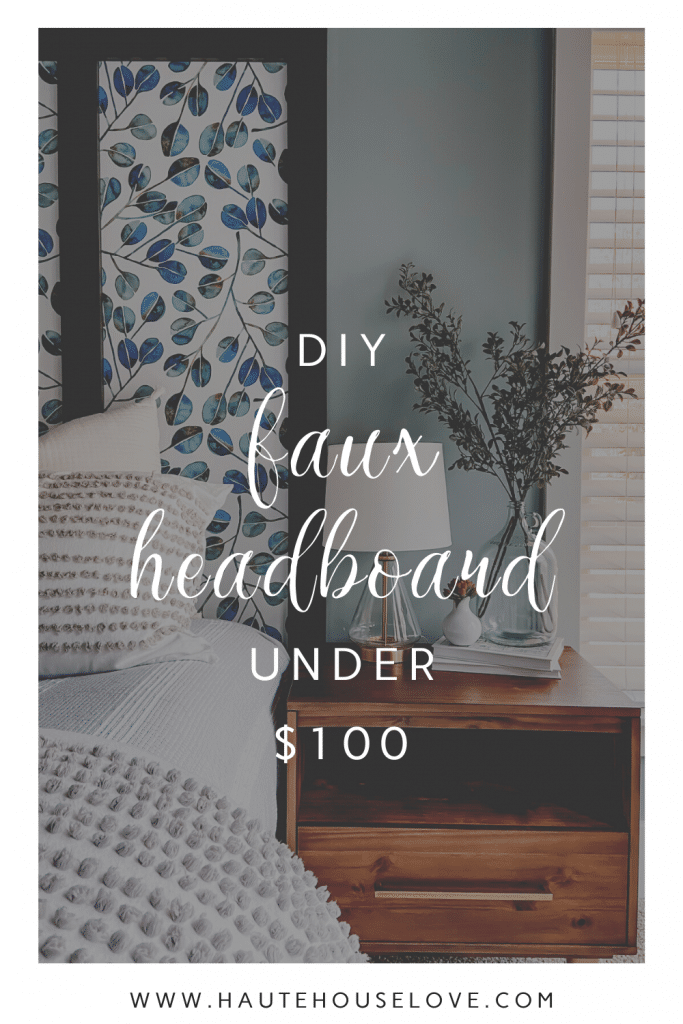
Try this high impact, budget friendly bedroom idea from Haute House Love. Learn how to build a faux headboard with ease using minimal materials and spending only $100.
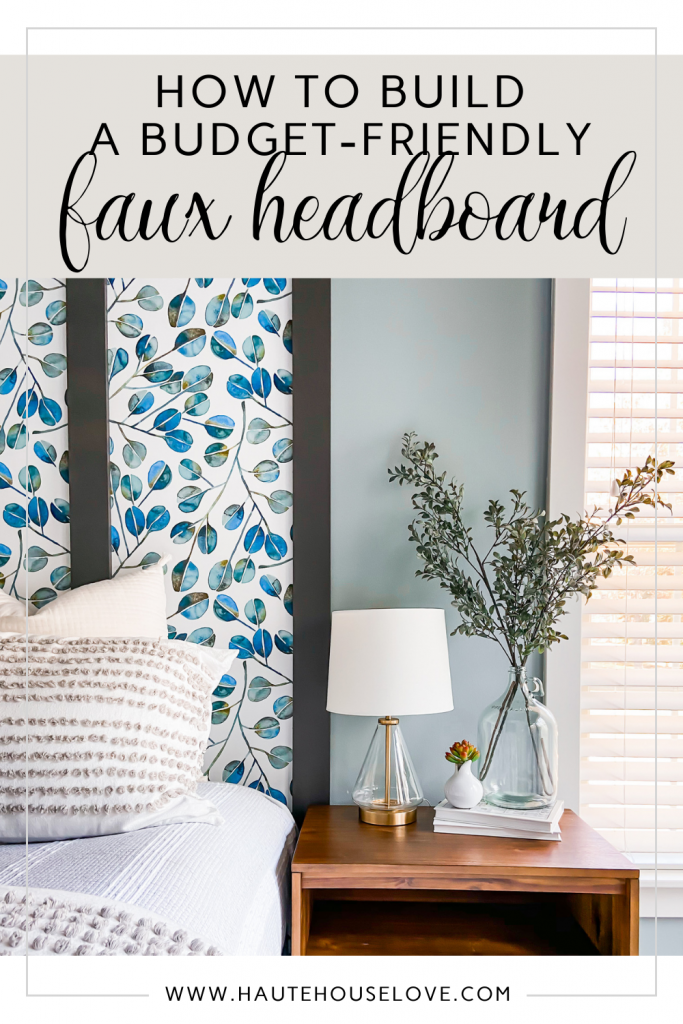
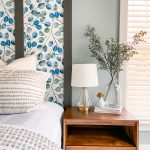
This past fall I took my master bedroom from drab to fab. Along the way I used peel and stick wallpaper and 1x4s to create an easy faux headboard in a board and batten style that makes a huge statement! It was a super easy project that took about 6 hours to complete from start to finish.
[convertkit form=2042657]
How To Build A Faux Headboard
Wallpapered Faux Headboard
Equipment
- miter saw
- brad nailer
- level
- laser level
- paint shield
- utility knife
- measuring tape
Materials
- 2 rolls peel & stick wallpaper any color
- 6 boards 1×4 pine use pre primed to save a step
- paint any color
- 1 tube caulk paintable
NOTE: Since this is a customizable headboard, the math will be different for each project. I’m sharing the dimensions I used but make sure to adjust sizing for your individual needs.
Gather your Equipment and Materials
Before you jump into your custom wallpapered faux headboard project, you will want to make sure that you have all of the right tools and materials on hand. The basic equipment that you will want to have on hand is a miter saw, brad nailer, level, laser level, paint shield, utility knife, and measuring tape.
For your materials, you will want to start out with your choice of peel and stick wallpaper. I chose a wallpaper that has my favorite color of choice, as well as elements of the ceiling color and wall color that we already had in our bedroom. This custom headboard will be the main focal point for the wall behind our bed, so I wanted a design that really stood out and complemented the other elements of our room. Depending on the size of your space, you will want to get at least 2 rolls of wallpaper.
You will also want to make sure to pick out some lumber to frame your wallpaper. I bought 1×4 lumber that was pre-primed since I knew that I was going to paint them the same color as the ceiling (and this saves me a step of needing to prime them myself!).
I would recommend that you get at least 6 pieces of lumber for this project. If you are planning to paint your lumber, make sure that you have your paint color of choice and also have a tube of paintable caulk, as well.
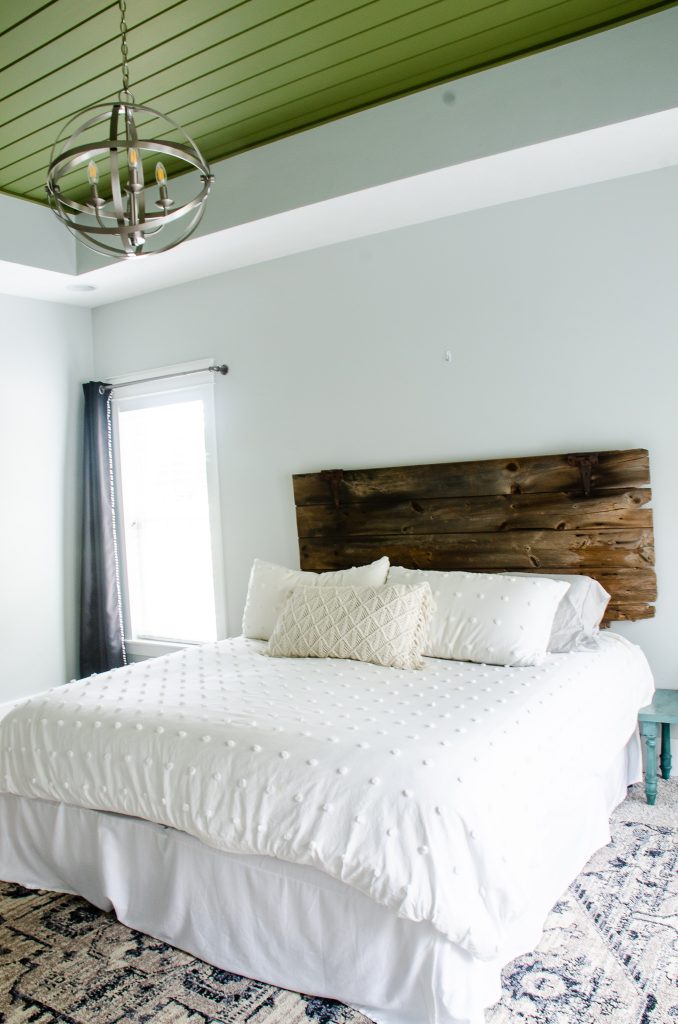
BEFORE
OUR BEDROOM WAS IN DESPERATE NEED OF A MAKEOVER
(SEE THE FULL MASTER BEDROOM AFTER HERE)
Step 1: Figure out your custom measurements
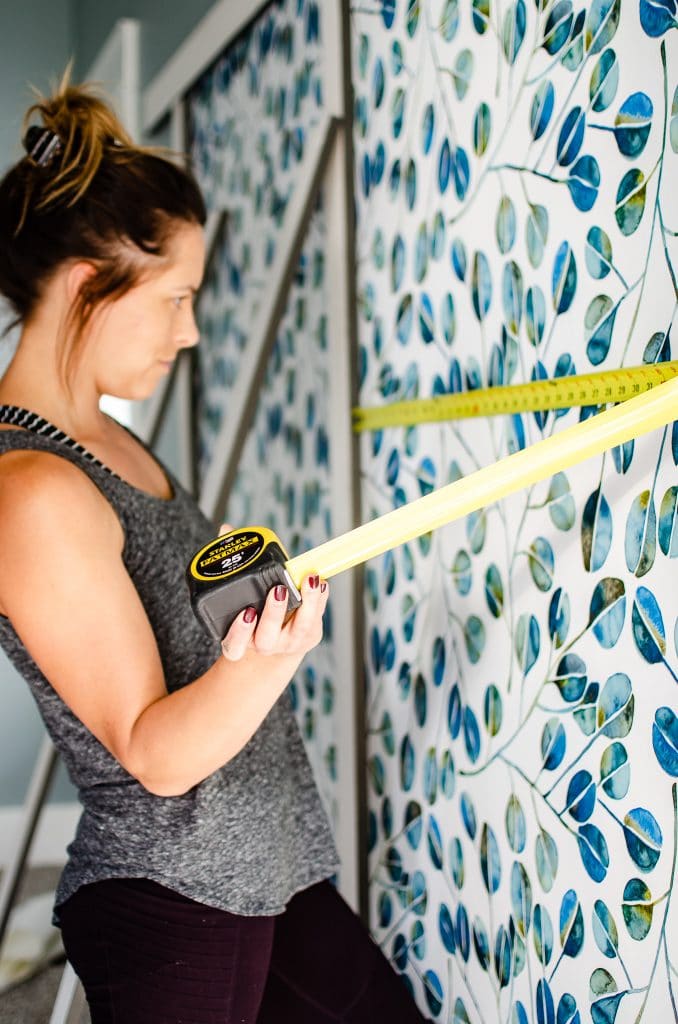
It’s time to measure out your space and decide on the size of your custom headboard! Your first step will be to measure out the width and height of your desired headboard.
Measurement #1: WIDTH
Measure the width of your bed frame, then add 8 inches. This way the final headboard will be slightly wider than the bed.
I have a king size bedframe so my bedframe width is 76″.
76″ + 8″ = 84″ (this is your custom width)
Measurement #2: HEIGHT
I recommend going approximately 2/3 of the way up the wall to achieve a balanced look. If you have 9 ft ceilings, measure 78″ from the floor. If you have 8 ft ceilings, measure 66″ from the floor. Then subtract the height of your baseboards.
I have 9 ft ceilings in my bedroom, so I measured 78″ from the floor.
My baseboards are 8″ tall.
78″- 8″ = 70″ (this is your custom height)
Step 2: Cut 1×4 boards to size
Before you begin the installation, you will want to trim down your lumber to the exact sizes that you need to frame your headboard.
Start by cutting 1 of the 1×4 pieces of lumber for the top of your headboard frame (this is the WIDTH measurement that you just did in the previous step).
The next 5 pieces of 1×4 lumber will need to be cut to your HEIGHT measurement. These pieces will run from the top of your headboard frame to your baseboards on your wall.
Step 3: Paint the thin edges of the boards
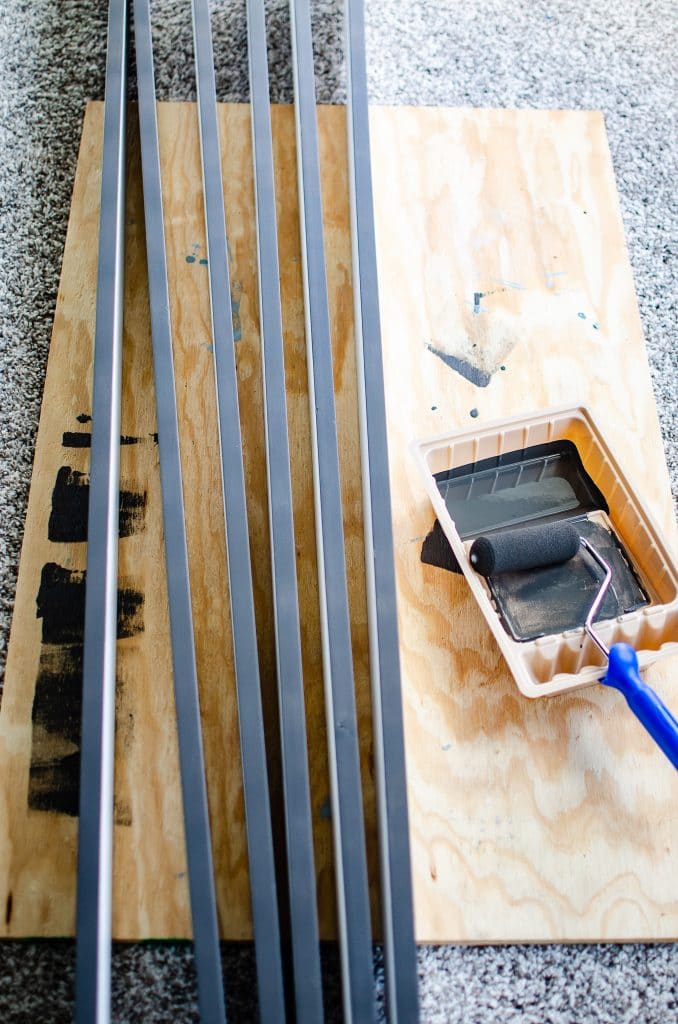
I’m all about being efficient with my time so I worked back and forth between steps 3 and 4. I chose to paint the edges of my boards first to make the whole install/finishing process go a bit faster. While one side was drying, I moved on to step 4.
Using your paint color of choice, paint around the edges of your lumber and allow to dry before you install. I like to stand my boards on their sides and paint all of the boards at one time and then give them time to dry. Once they are dry, I flip the boards over and run my paint roller along the next side and give that time to dry.
Step 4: Install the wallpaper
Are you more of a visual person? You can watch my wallpaper install tips HERE.
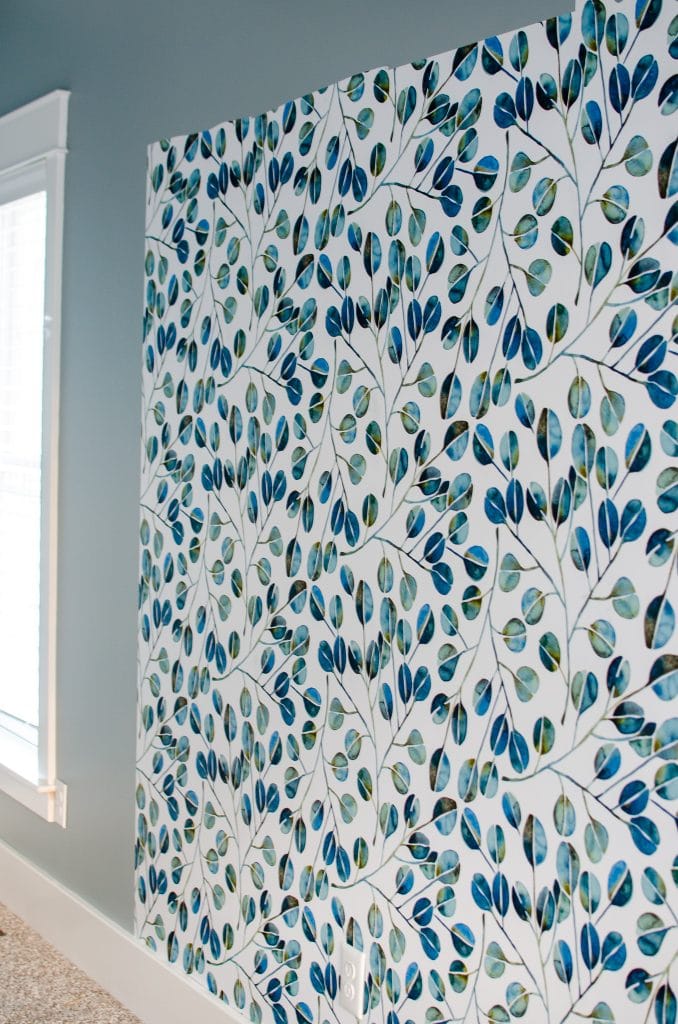
When installing wallpaper (of any kind) it’s important to start in the middle of your space and work your way out. In order to find the middle of the headboard, place the bed frame in front of the wall and then measure to find the center. Use a pencil to mark the center point on the wall.
Once the center measurement has been found, triple-check your height measurement and make a pencil mark one inch below your desired height. This will assure that your top board covers the wallpaper line, without having to do any trimming of the wallpaper.
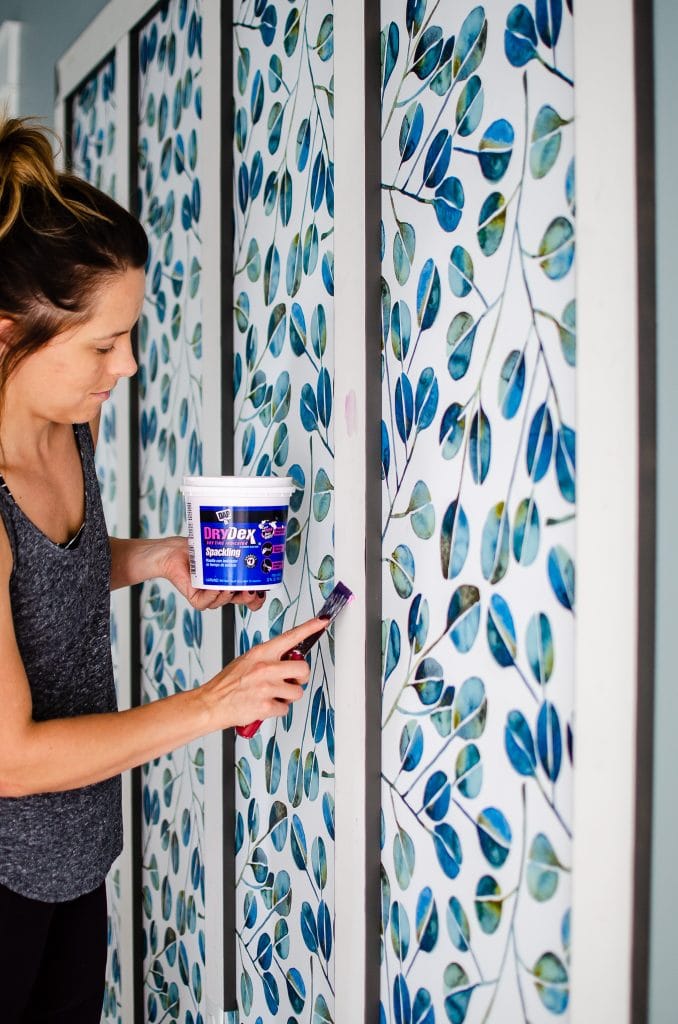
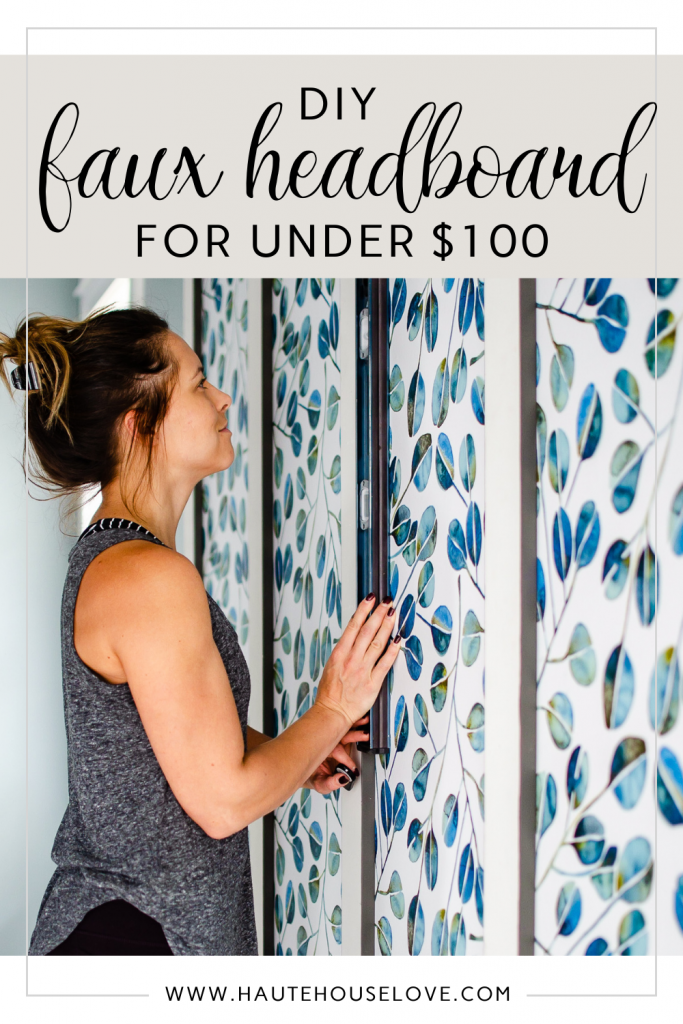
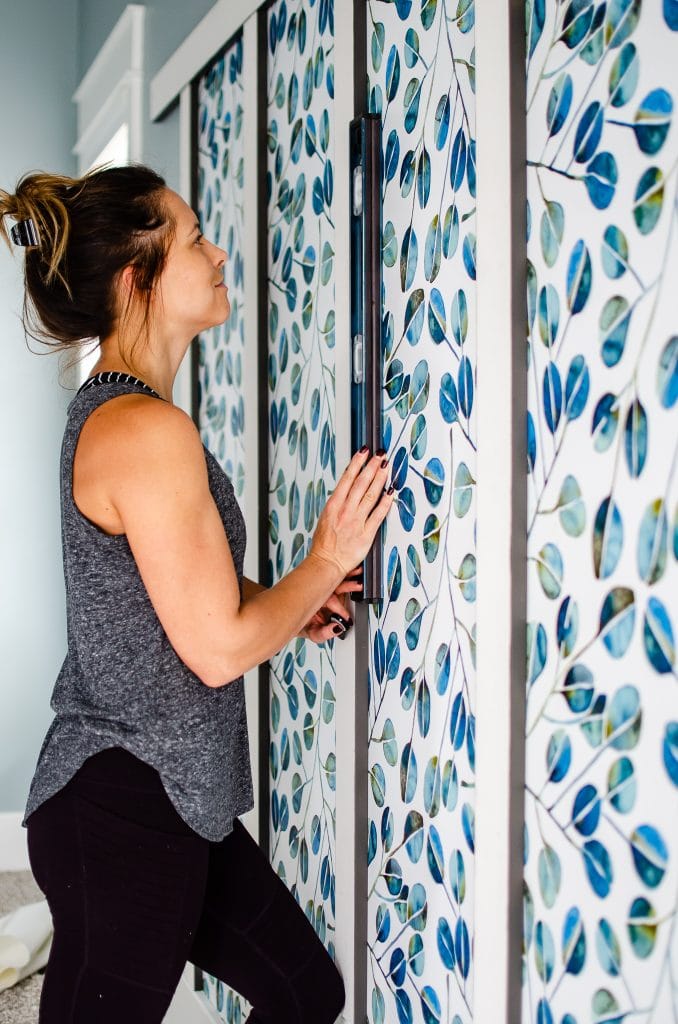
Next, take a laser level and use it to mark the center line. Start the wallpaper install at the top and work down towards the baseboard. Use the laser level line as a guide. Make sure to smooth out bubbles along the way. I like to use a large paint shield to help with the smoothing process.
When all sheets have been hung, use the paint shield to press the paper into the wall at the top of the baseboard. Then run a utility knife over the top of the paint shield for a perfectly straight cut line!
Step 5: Install the boards
Now it’s time to install the boards to create the frame of the headboard! The first thing that you will want to do is locate the studs in your wall – it will be important for any pieces of your frame to be anchored into the studs wherever possible.
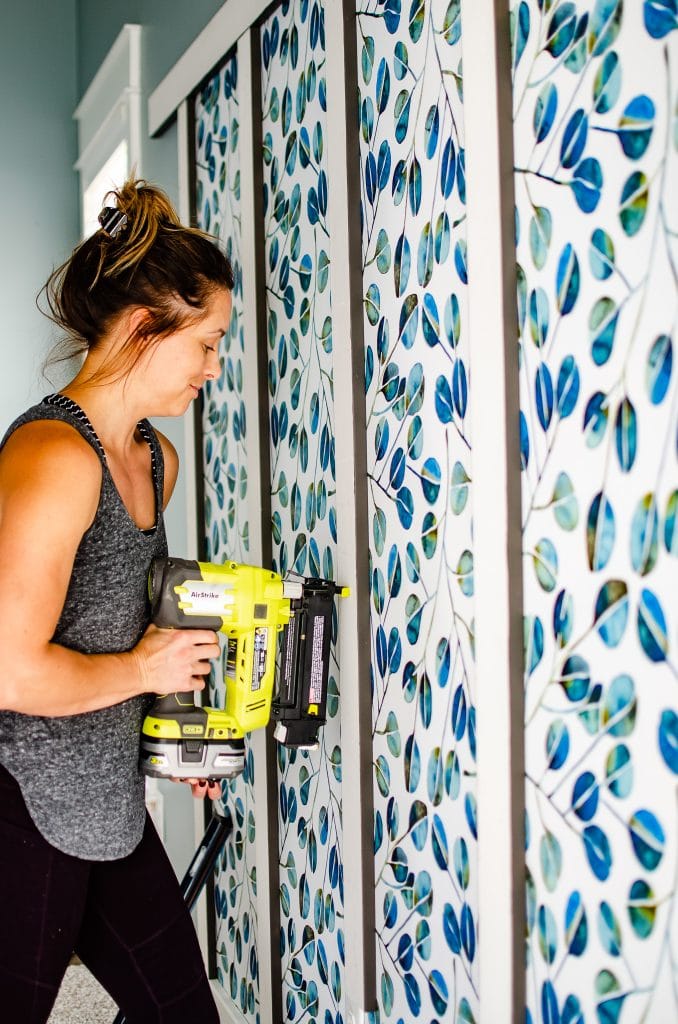
For my frame, I started by placing one of the outside vertical edge pieces first. I placed the board so that it overlapped the edge of the wallpaper, ensuring that I had full coverage of the wallpaper behind the frame, but no excess that needs to be trimmed away. Using your brad nailer, attach the piece of lumber to the wall with at least two nails at the bottom and another two at the top, with a few single nails running along the middle of the board. Repeat this process on the other side of the frame.
After the two outside pieces of the frame for your headboard are in place, you can add the other three boards to the interior of your headboard frame. You will want to use a measuring tape to measure the width between your two outside frame pieces and locate the center point for the installation of your middle piece. After you install the center piece for the frame, you now have two separate sections. Your final two boards will be installed vertically in the middle of each of those two sections. Make sure that you continue to measure the width of each section to find the center point and install your boards so they are evenly spaced. Your end result should have four equal sections of wallpaper inside of your wood frame in a board and batten style.
The last piece of your frame will be the top edge. Before nailing the top piece to the wall, you can rest it along the top edge of your frame and check for any excess wallpaper that will need to be trimmed before you install. Once your wallpaper is trimmed, you will want to secure the top piece of the frame into the studs of your wall first, then nail down the outside edges of your frame and fill in along the middle.
Step 6: PREP & PAINT THE FRAME
Once your frame is installed on the wall, you will want to prep the frame for painting. Using wood filler, cover up any nails and holes created during installation. Sand away any excess filler so that you have a smooth surface.
Next you will want to place painter’s tape around the outside of the frame, just slightly under the frame wherever possible. Once your painter’s tape is on the wall, you will want to caulk around the outside edges of your frame. Once the wood filler and caulk is dry, you are ready to paint!
Using a small paint roller, go over the front surface of your entire frame with two coats of paint to ensure an even look.
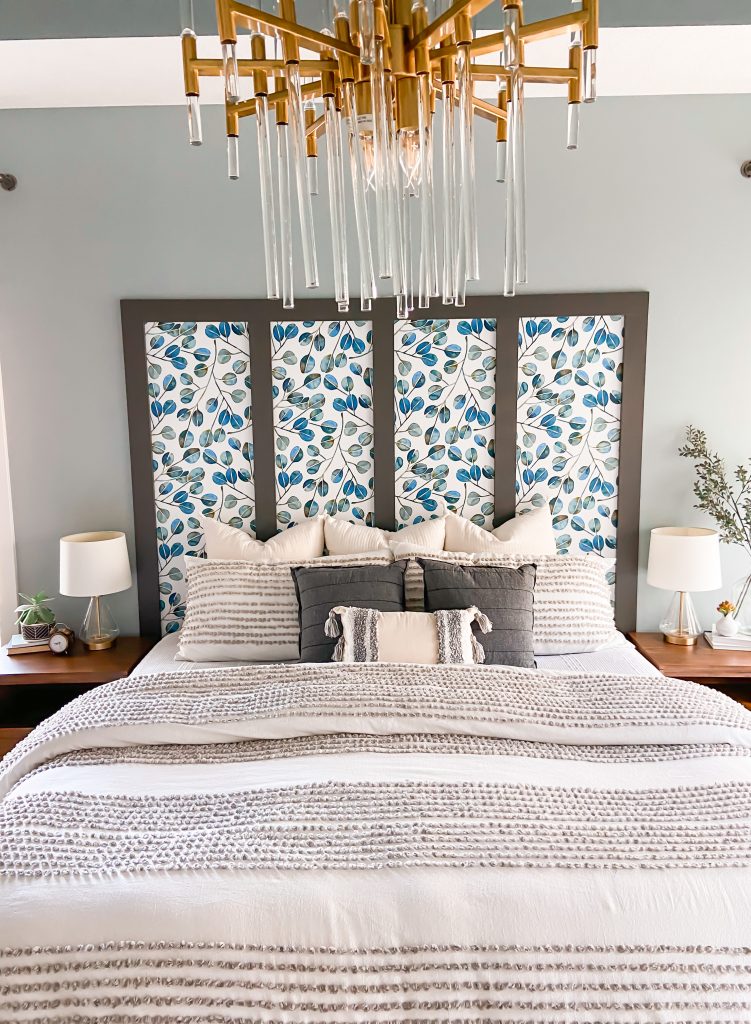
This headboard turned out so beautifully and we still love it 6 months later! If you are in need of a headboard makeover on a budget consider trying this and make sure to send me a photo if you do!!
If you enjoy my content and want to see more make sure to follow me on INSTAGRAM and subscribe to my blog below!
[convertkit form=2042657]
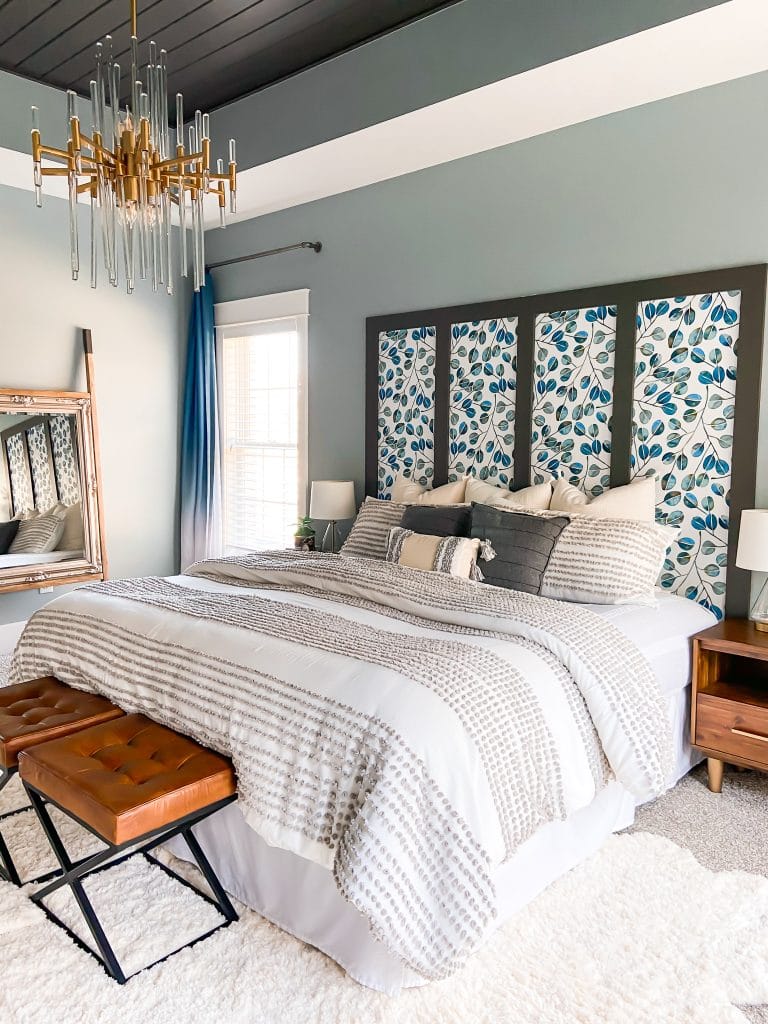
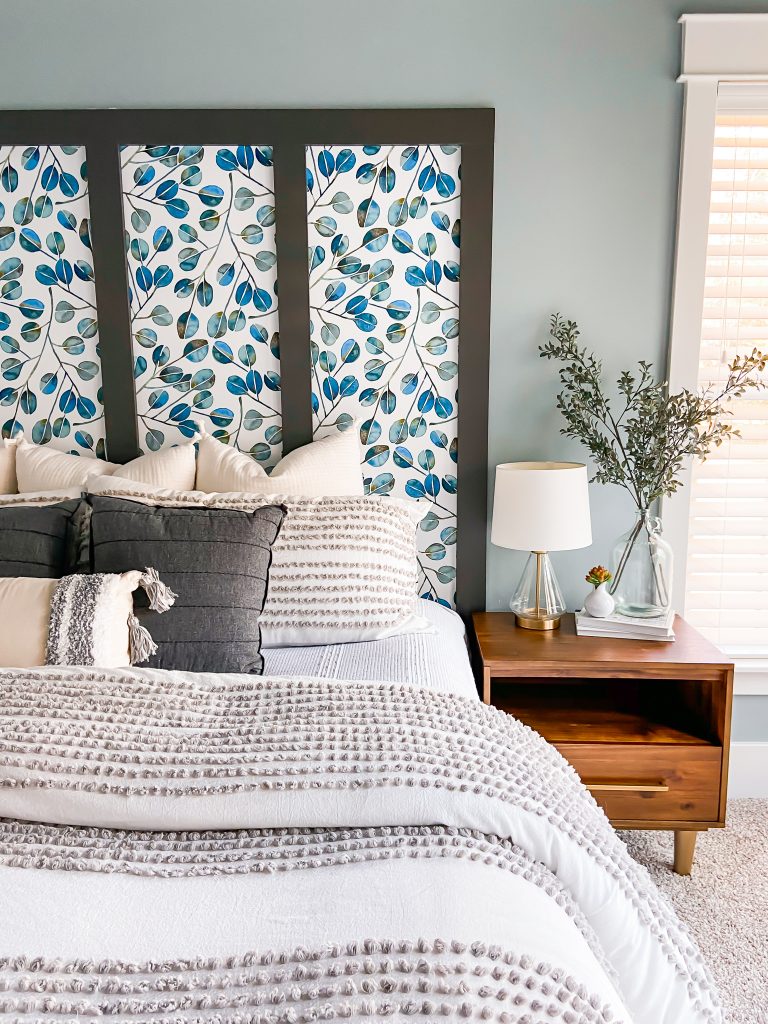
shop my master bedroom
Airbnb Arizona arizona rentals basement bar design blog hop Budget Friendly christmas gifts crafts decor DIY diy projects easy diy FAQs fashion favorite things fitness Friday Faves gardening Gift Guide home decor home decor ideas home design home improvement home organization How To Jeffrey court kitchen design living room modern boho most requested links Organization organization ideas paint Paint Colors peel and stick wallpaper Random Thoughts recipes scottsdale arizona Sherwin Williams the weekender this week's content this week's FAQs travel vacation rental wallpaper


The Comments
Wendy Miller
I just love that wallpaper – where did you get it – do you have a link to it?
Thanks!
Wendy Miller
Wendy MillerNm, I found it on your favorites! Love it.
Jenny Bellamy
How original! I love what you’ve done, thanks for sharing. X