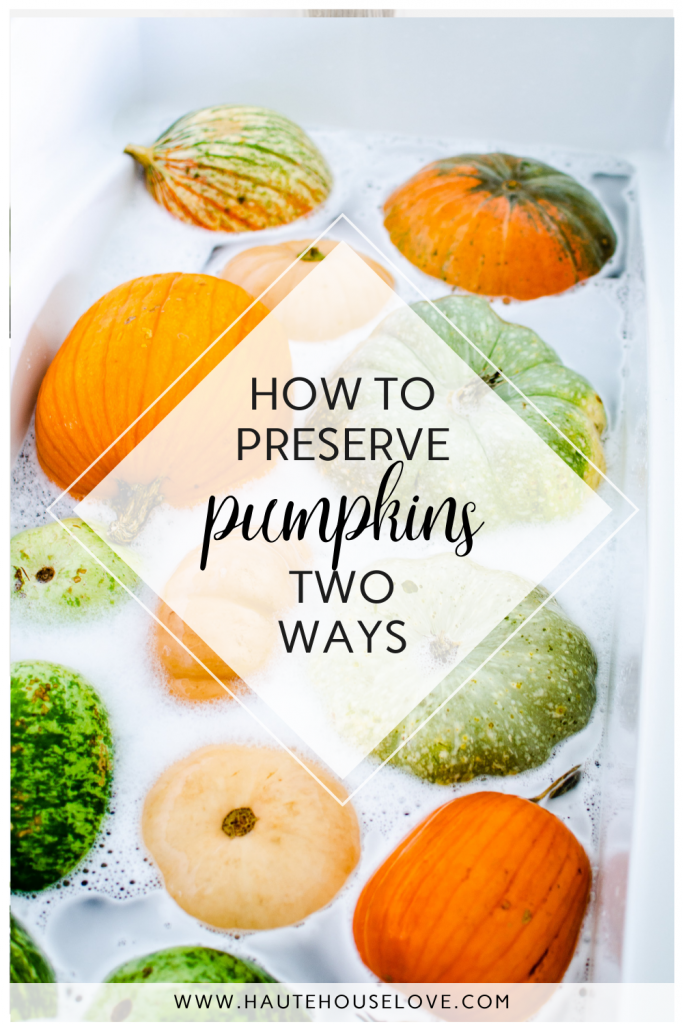
If you are wondering how to make your painted fall pumpkins last longer you have come to the right place!
Can I let you in on a little secret?
It’s SO easy!
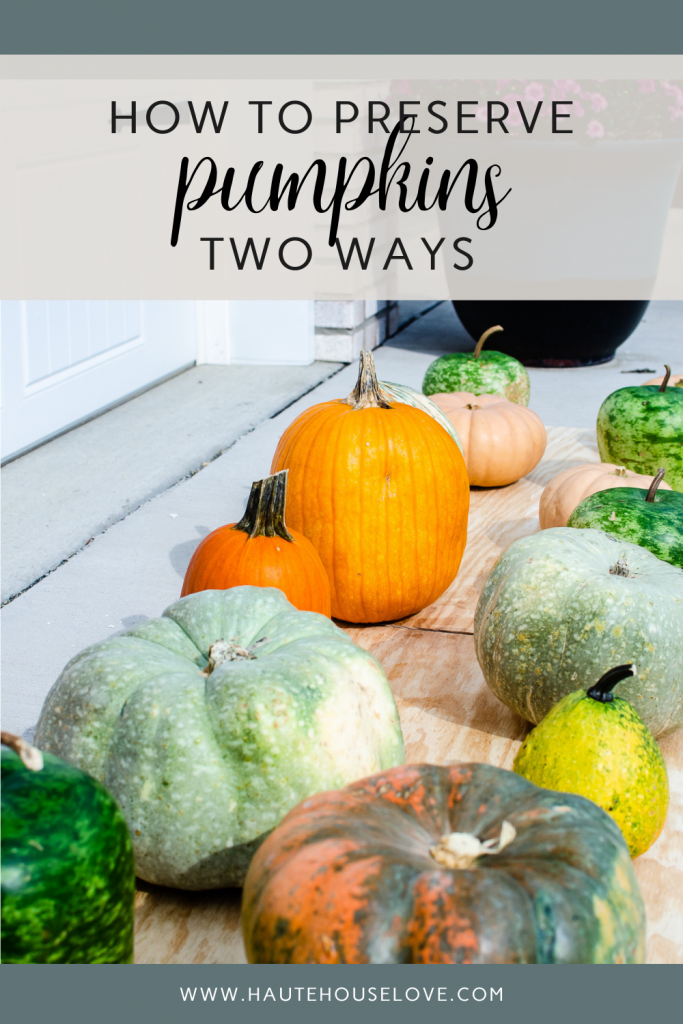
I have recently learned two amazing ways to preserve this fall staple and keep them looking great far past Halloween!
Moreover, doing these steps together will keep hungry critters away too. BONUS!
These methods are quick and use items you likely already have around the house.
Also in this post. A painted pumpkin idea that you can do two ways!
Be sure to read to the end.
This post contains affiliate links.
The Bleach Soak Method
To Make Painted Pumpkins Last Longer
I used to think that simply washing a pumpkin was enough to make it last longer. For maximum preservation you need to go one step further.
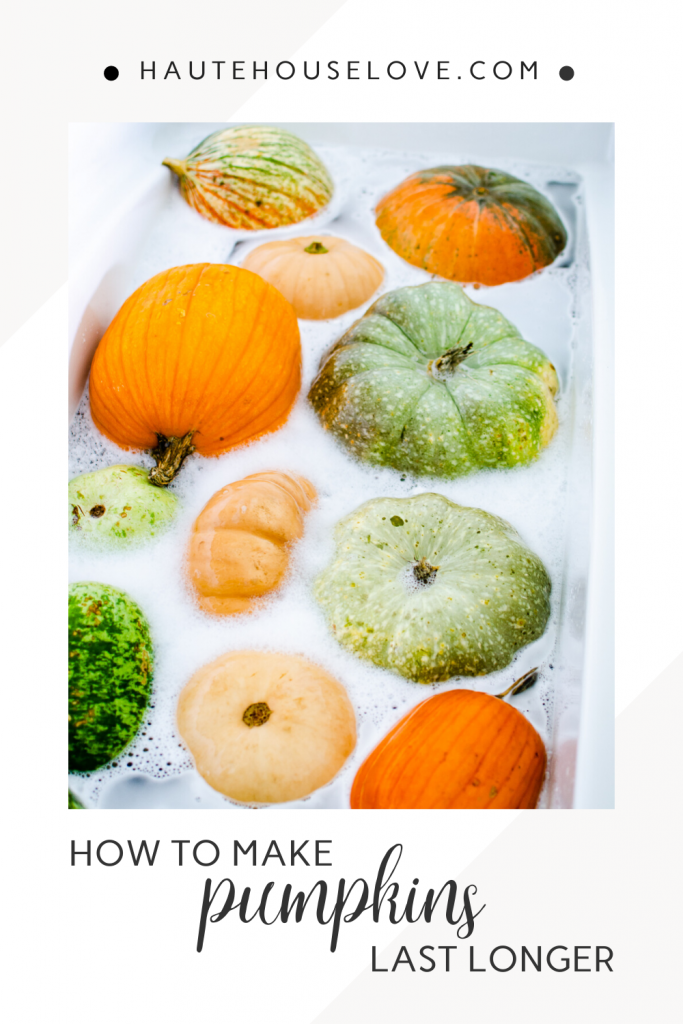
It’s easiest to use a bathtub. Alternatively, use your kitchen sink!
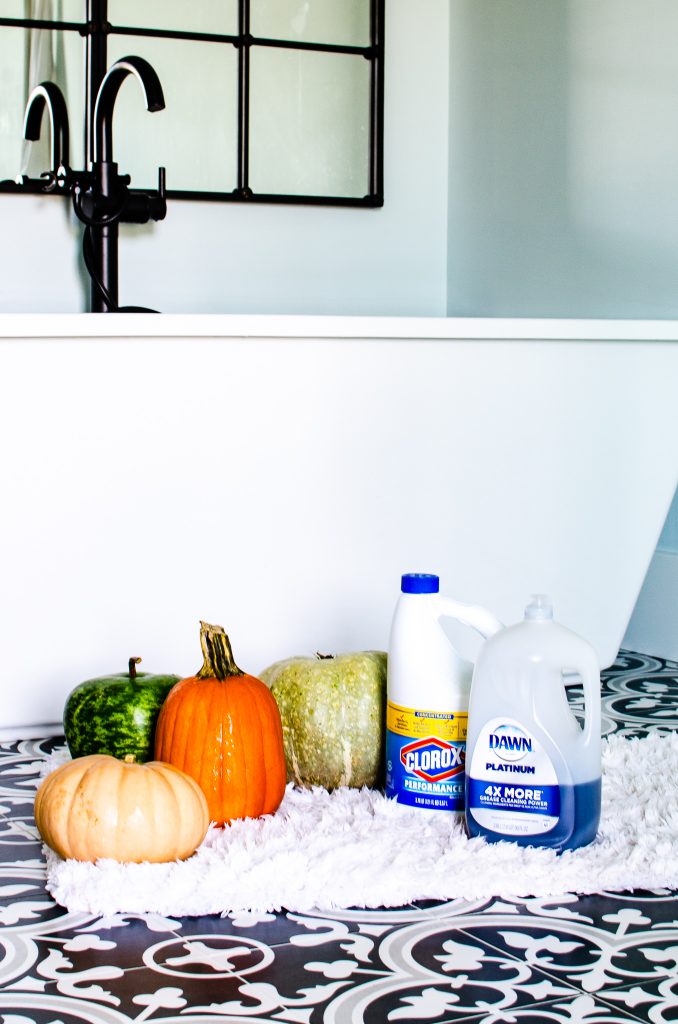
Fill your vessel with warm water and add 1 TBSP of bleach and a squirt of Dawn dish soap per gallon of water.
Set a timer for 30 minutes while the pumpkins sit in their warm bubble bath.
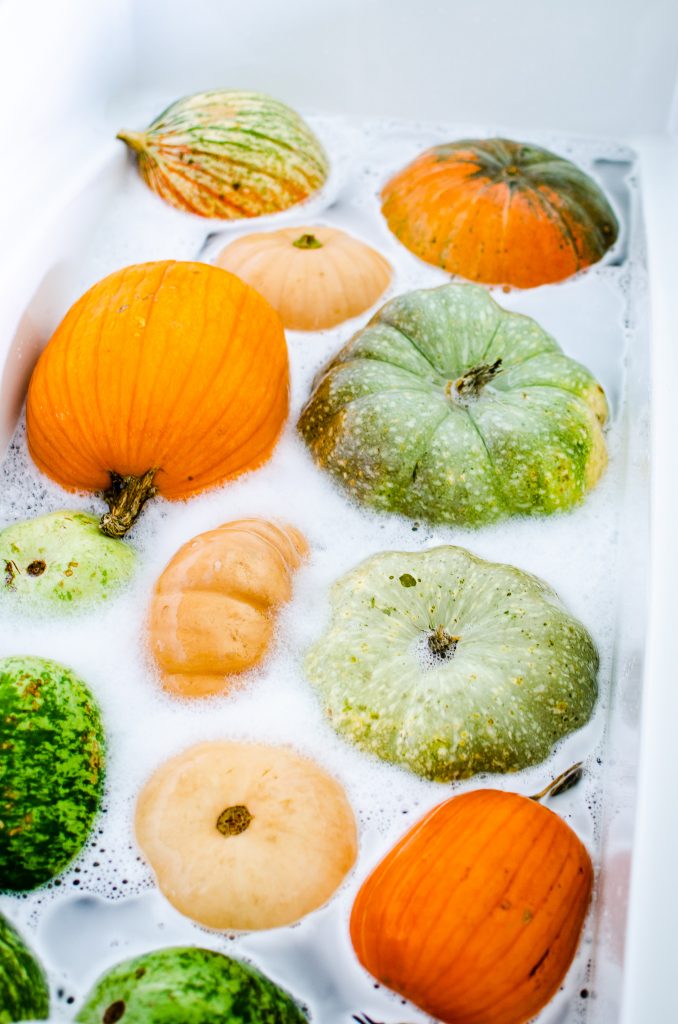
When the timer goes off rinse the access suds off of your pumpkins and lay them on an old towel to dry.
This step alone will keep your pumpkins from rotting for WEEKS!
If you want to go a step further add on method #2.
The Sealant Method
To Make Painted Pumpkins Last Longer
I love the look of piled up pumpkins on my fall front porch.
However, I happen to live in a rural neighborhood where squirrels and raccoons like to enjoy my pumpkins as a midnight snack.
If you also incur this common problem consider the sealer method!
And yes, I mean the sealer that I use to finish off a DIY project.
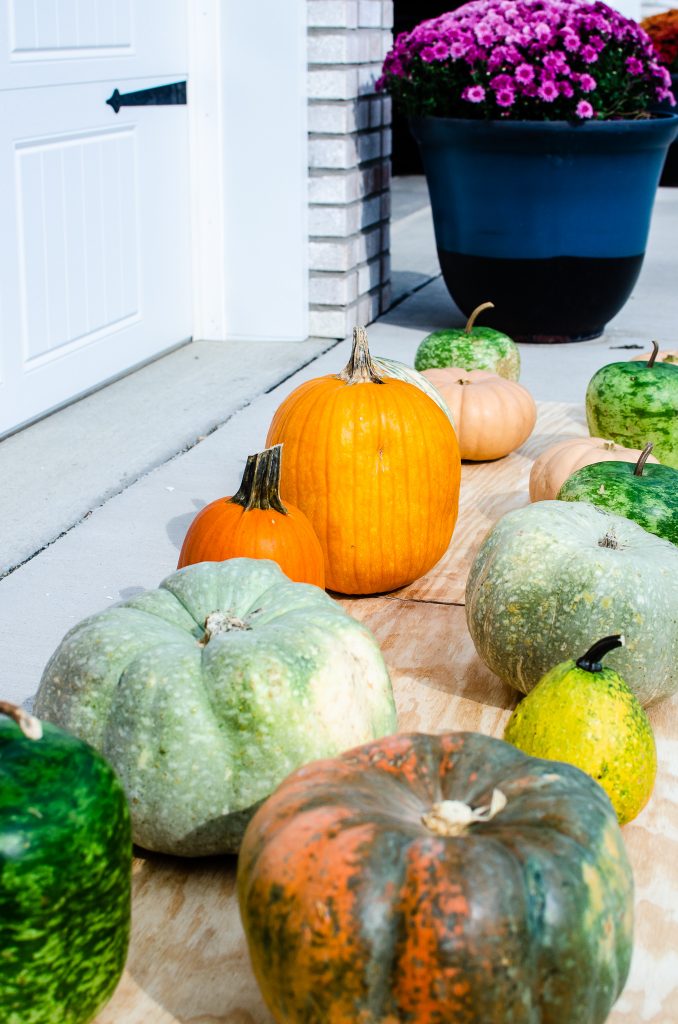
Take your clean, dry pumpkins outside and line them up on an old piece of plywood [or cardboard].
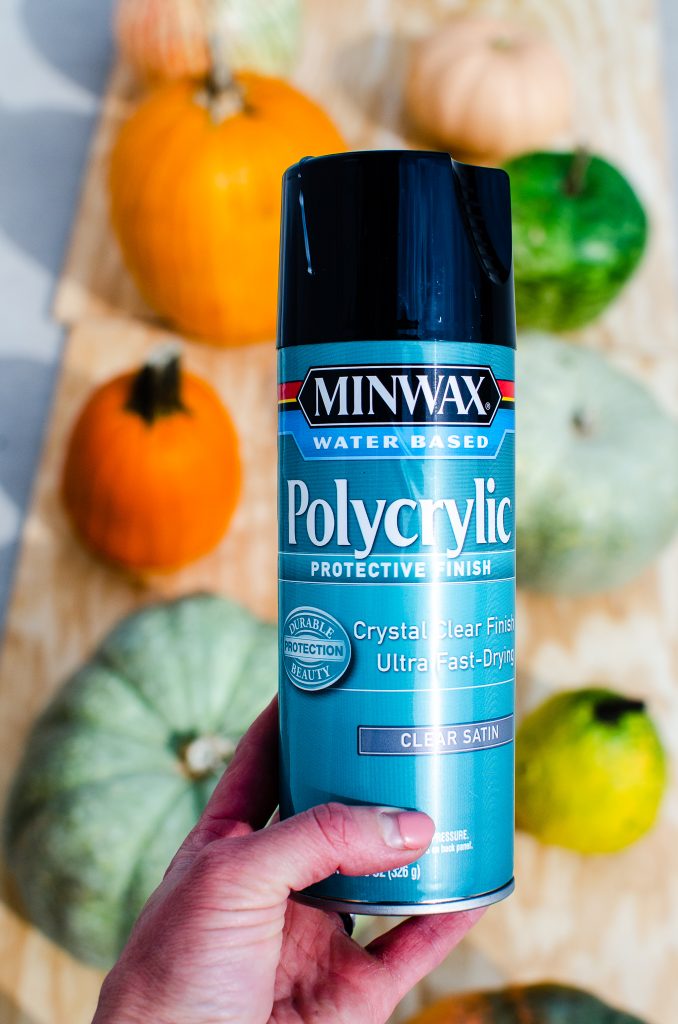
Grab a can of spray polycrylic and a comfort grip for ease of use. I think the clear satin finish is the perfect sheen!

Spray the pumpkins on one side. Allow to dry, then flip over to the other side. Do two coats for the best protection.
Bonus: A Painted Pumpkin DIY Tip
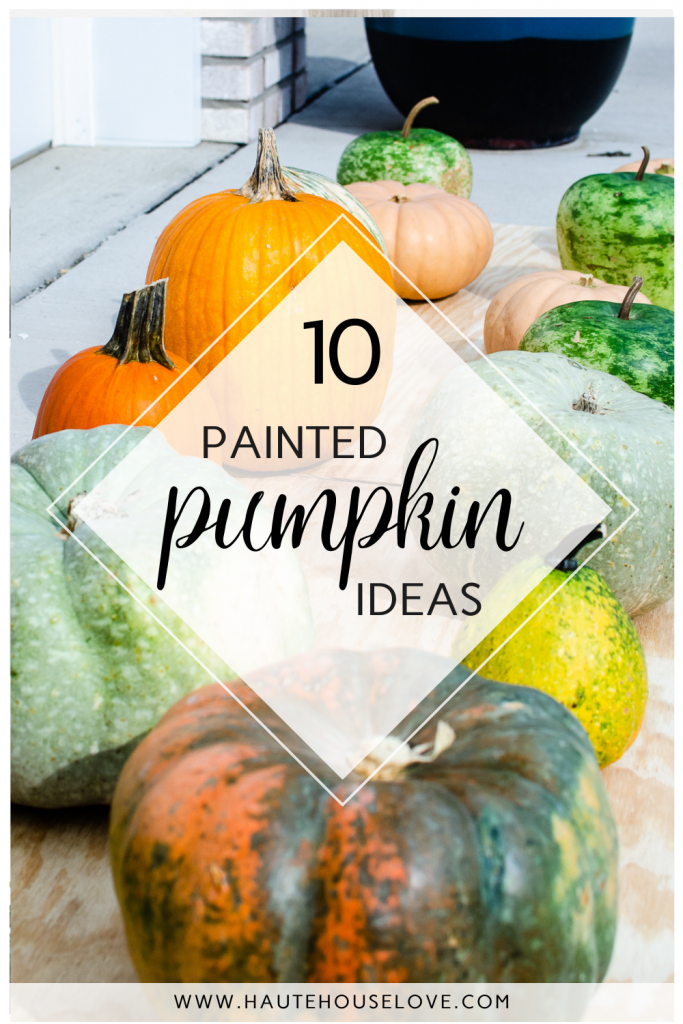
I consider myself to be an avid DIY’er. I also love the look of painted pumpkins
If you are considering painting pumpkins this fall be sure to save step #2 for post-paint.
I may or may not have learned this the hard way.
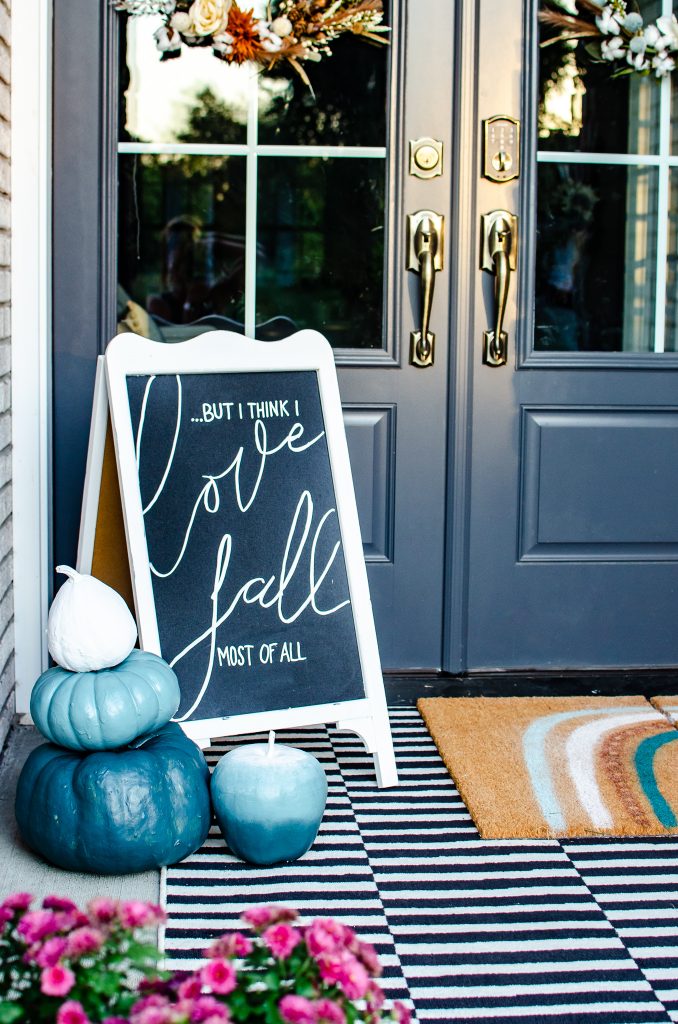
Painted Pumpkin Idea: The Ombre Look
Earlier this spring I took on the title of houseplant mom and I enjoyed ombre painting a few terracotta planters. I decided to take that same concept and turn it into a fun pumpkin display for my front porch.
Start by dropping pumpkins in the tub for the bleach soak method listed above.
Next take a sharpie marker and designate a color(s) for each pumpkin.
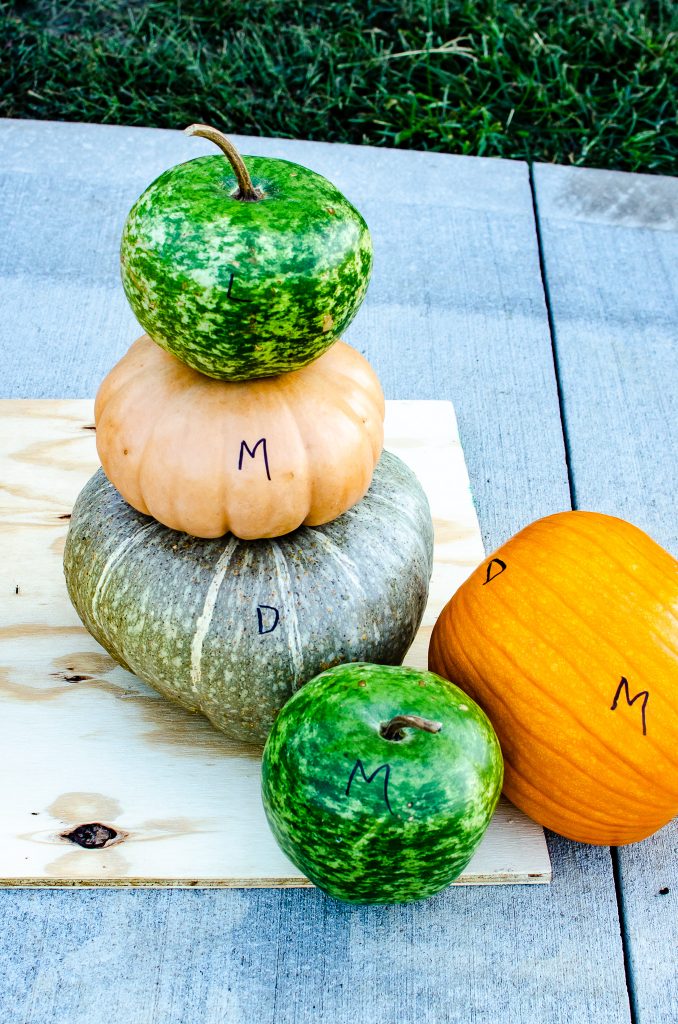
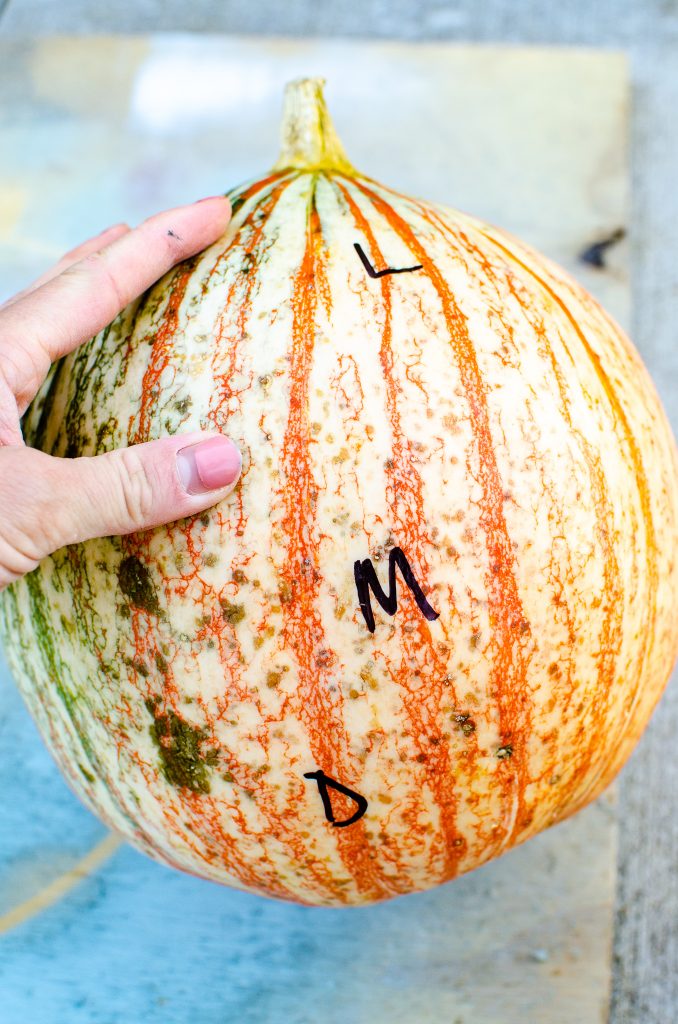
Since some of my pumpkins were stackers I chose to do this two ways. The stacked pumpkins were labeled with individual colors and the stand alone pumpkins were labeled with all three colors.
This may be confusing in writing. But stick with me. It will make sense in a minute.
Promise.
Materials for Ombre Painted Pumpkins
- Foam Paint Brushes.
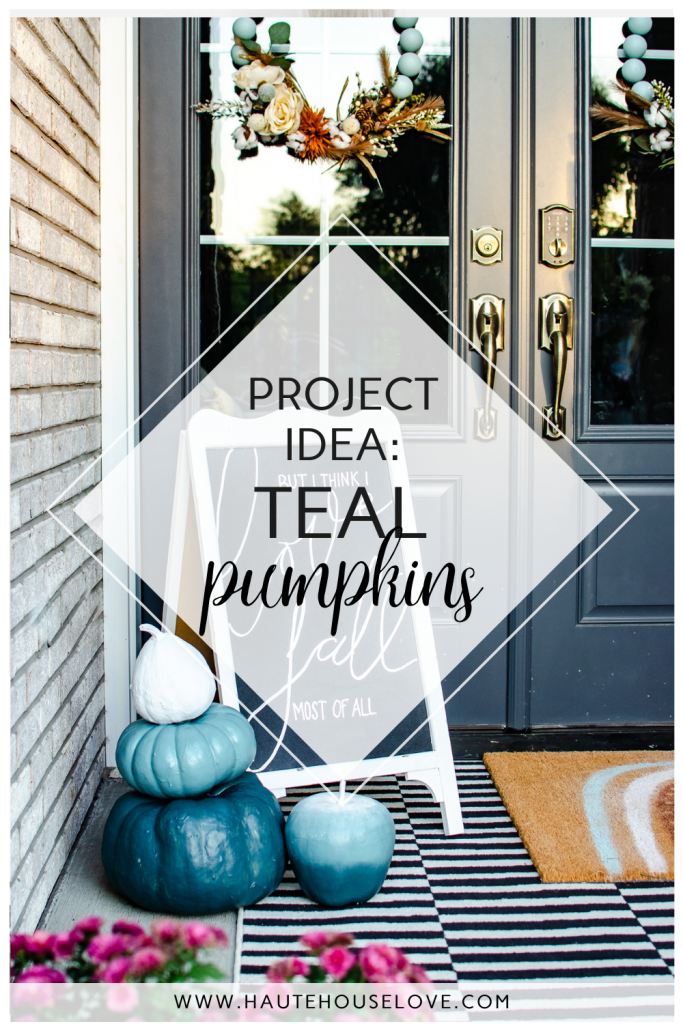
- Stiff Bristle Brushes
- Acrylic or leftover latex paint. (I chose teal as a supporter of the Teal Pumpkin Project)
- Spray Sealant

For Stacked Pumpkins
Paint pumpkins individual colors (Dark color on bottom pumpkin. Medium color on middle pumpkin, Light color on top pumpkin.)
Allow to dry and apply spray sealant to preserve.
For individual pumpkins with three colors:
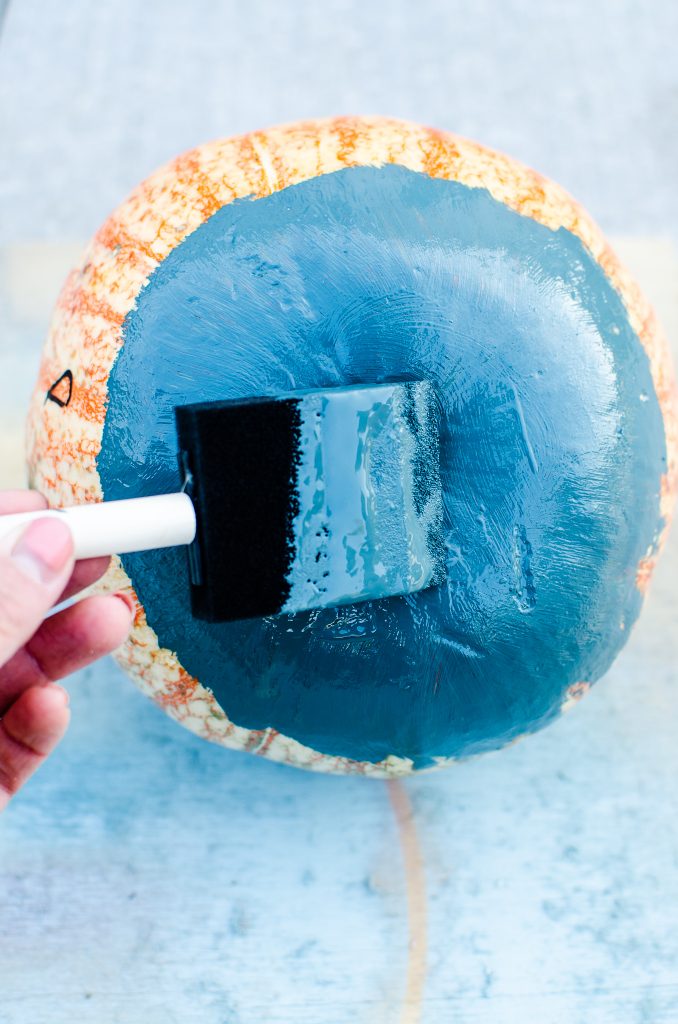
Step 1:
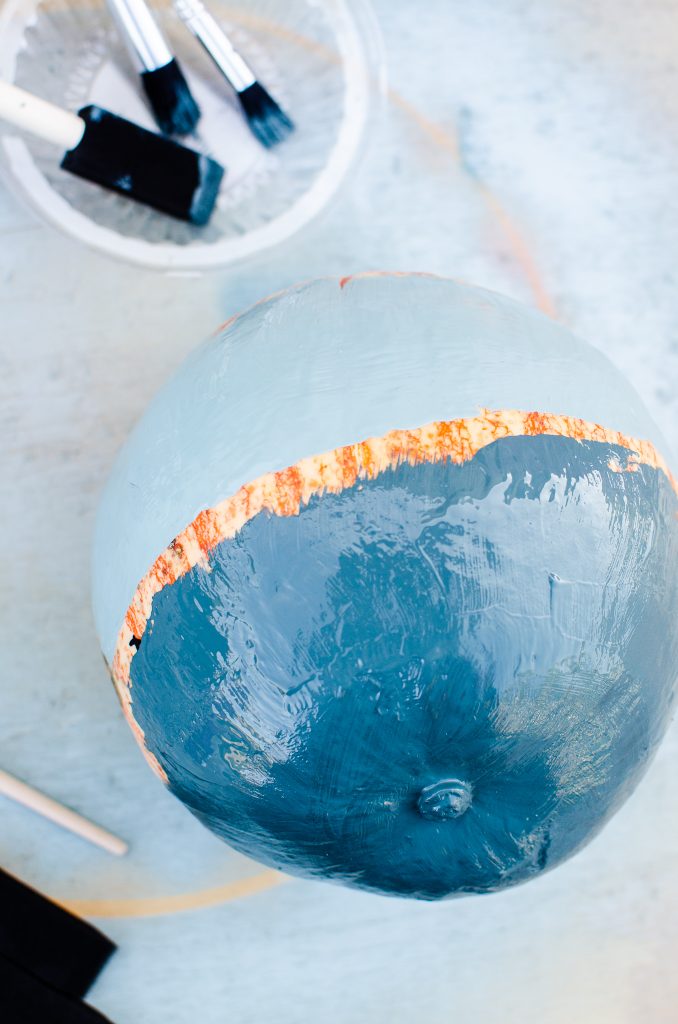
Start with the darkest color and paint the bottom of the pumpkin about 1/3 of the way up. I like to use THESE foam brushes.
Step 2:
While the bottom color is still wet, add the medium color to the middle portion of the pumpkin.
NOTE: You will need to work in sections. Paint one half. Allow to dry. Then paint the other half.
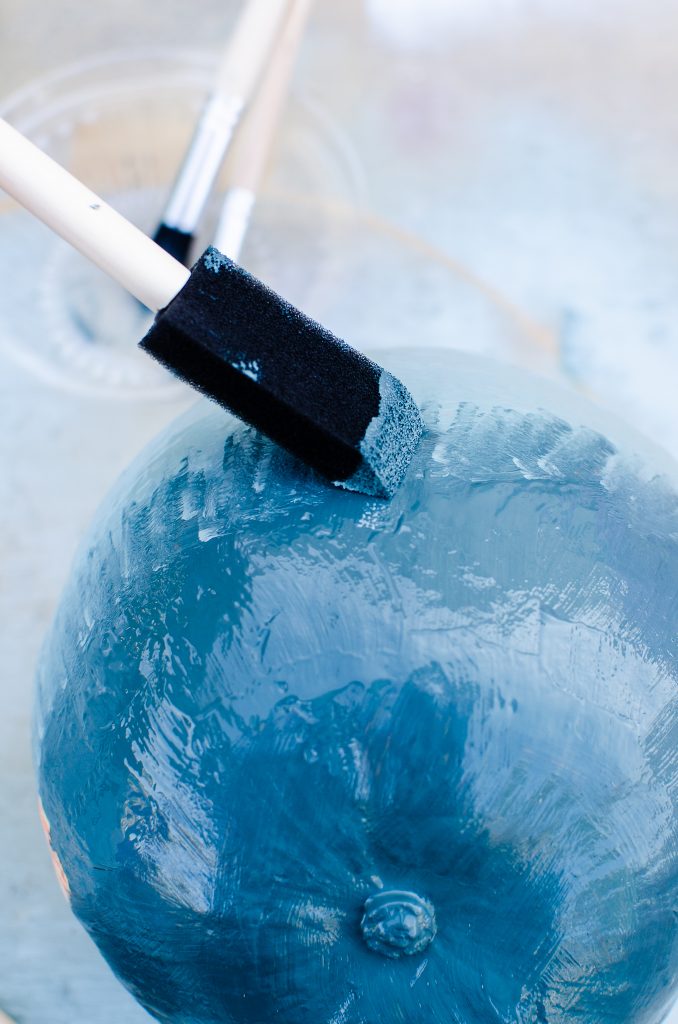
Step 3:
Take a smaller foam brush and lightly tap the area between colors to bring them together.
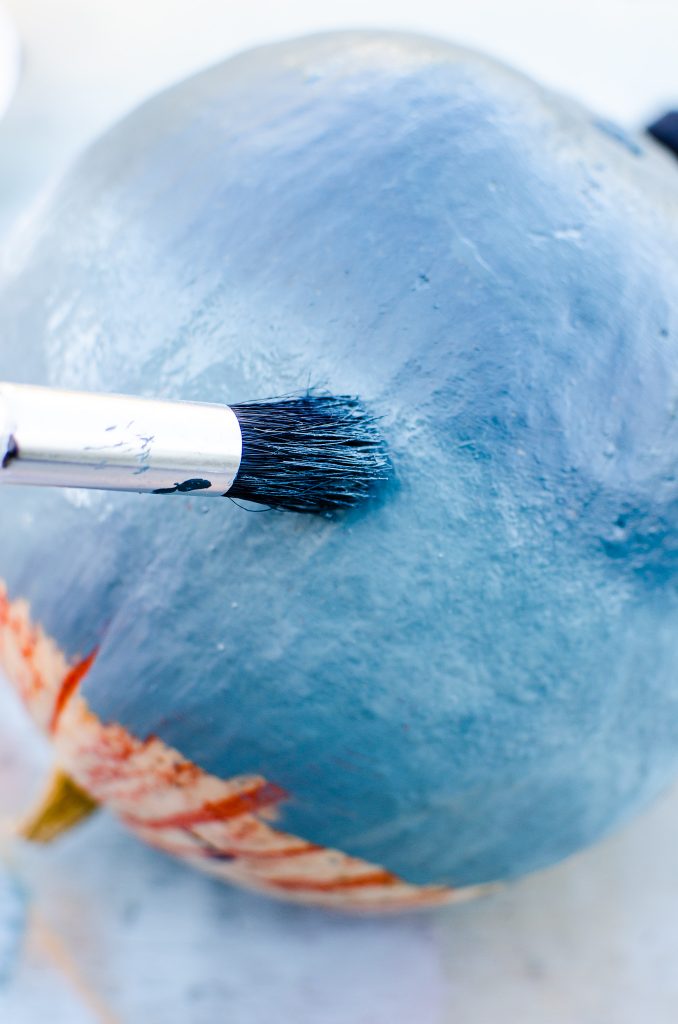
Step 4:
Finally, use a stiff bristle brush and gently tap the meeting line to buff the colors together.
Step 5: Repeat steps for each color added.
Step 6: Finish the pumpkins using the sealer method listed above.
Check out my blogging friends around the internet for 9 more No-Carve Pumpkin Ideas!

I love this modern spin on pumpkin painting from Kourtni at House On Longwood Lane
Copper is one of my favorite colors for fall this year! Here is a tutorial for easy copper painted pumpkins from Cindy at DIY Beautify
On a budget this fall? Try this dollar store pumpkin hack from Brooke at 1820 Farmhouse
See how Misty at Back Porch Bliss transforms these faux pumpkins with chalk paint!
If you are into shabby chic you will go nuts for this DIY pumpkin tutorial from Renee at Faux Your Eyes Only
Im obsessed with these pastel painted pumpkins from Emma and Elsie at A Beautiful Mess
My kids would go nuts for these glow in the dark pumpkins from Brit & Co.
Use the ombre technique but in candy corn form!! How fun are these pumpkins from A Thrifty Mom?!?
Have you ever thought to add baking powder to painted pumpkins? Well Kristi and Kelli at Lolly Jane did and they turned out amazing!
Need more Home Inspiration? Check out these recent posts!
- What Is Elevated Casual HOME™️ Design?
- How to Paint Bathroom Floor Tile
- THE HAUTE NOTE: WORTH THE HYPE? – home edition
- THE HAUTE NOTE: KITCHEN FLOOR REVEAL
- The Haute Note: Destroying my kitchen

The Comments
Carol Karl
I love all your pumpkins. These are great tips. Thanks for sharing.
Jennifer Williams
I love your ombré pumpkins! And I’m definitely going to try the spray method. I want to do some pumpkin stacks!
Marie
Love those teal pumpkins. And ombre?? So cute!
Kimberly Snyder
Thanks for sharing the sealer idea! And all the ideas! So creative!
Kim Waldorf
I love the washing tips, Kera! I have never soaked my pumpkins. Also, your painted pumpkins look great!
Lori Nell
Great post, Kera. And I loved the gorgeous teal pumpkins!
Misty
Thank you for the share, Kera!!! Great post. Love the ombre pumpkins.
Cindy Chandler
Can I ask a stupid question? If you are going to carve the pumpkins, do you do the bleach soak before or after carving or does it work on carved pumpkins?
Kera Jeffers
Cindy ChandlerHi Cindy. I did not carve these pumpkins.