When I first became a DIY’er I fell in love with rehabbing old furniture. It’s still a hobby I enjoy today and one you will find me doing often on my Instagram account.
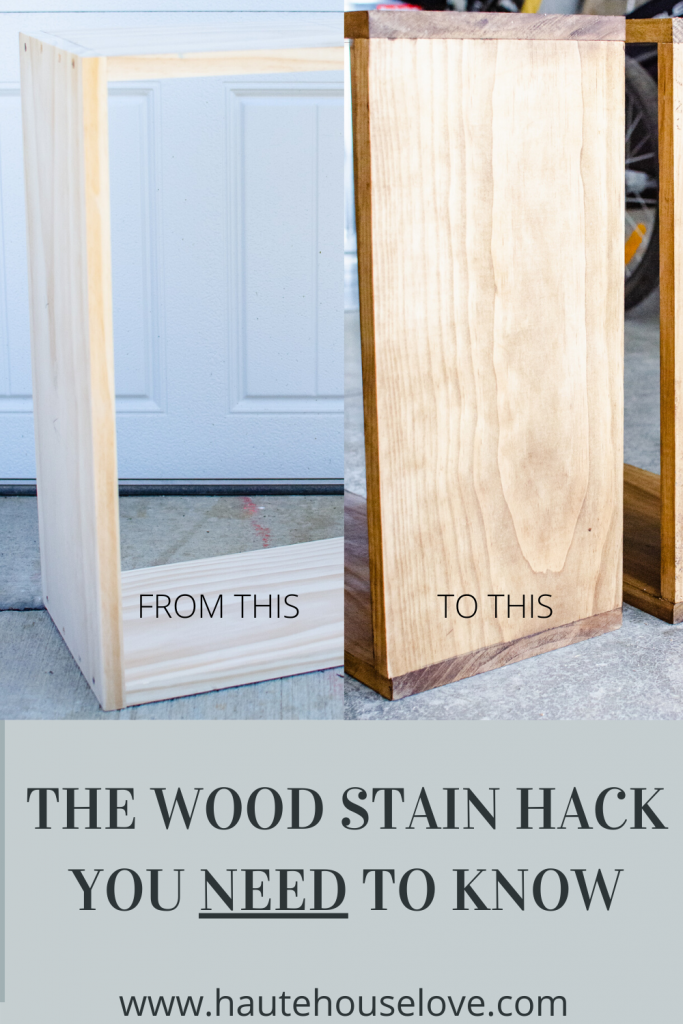
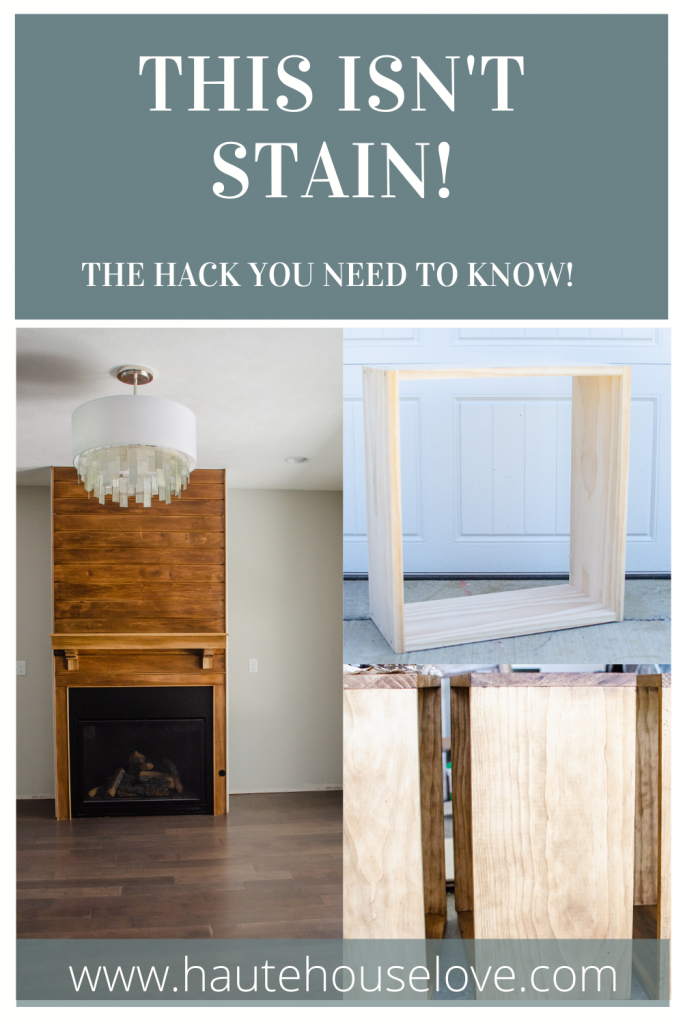
With furniture rehab I have learned many tips and tricks along the way. One of my favorites is my wood stain hack that constantly has people asking, “What stain color is that?” The first time I discovered this hack I used it on our faux shiplap fireplace in our newly built house. I didn’t want to take on the many steps (and smells) that comes with traditional staining so this was the perfect opportunity to try my newly discovered method.
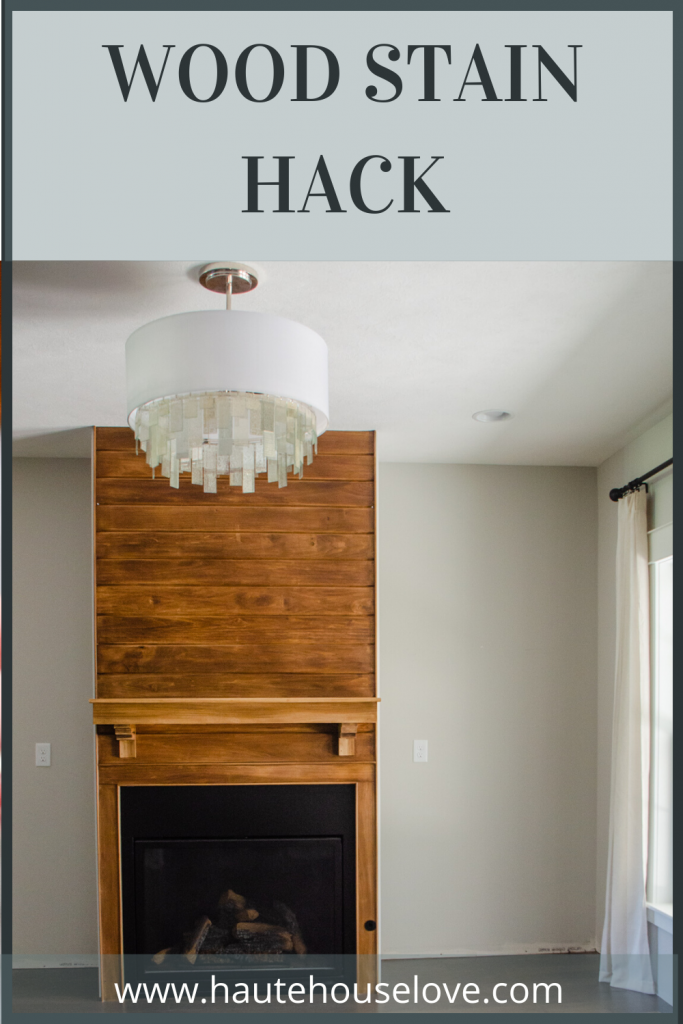
(Side note: while this product is commonly used as a process for sealing chalk painted furniture, the method I am going to show you today is best used on raw, natural wood)
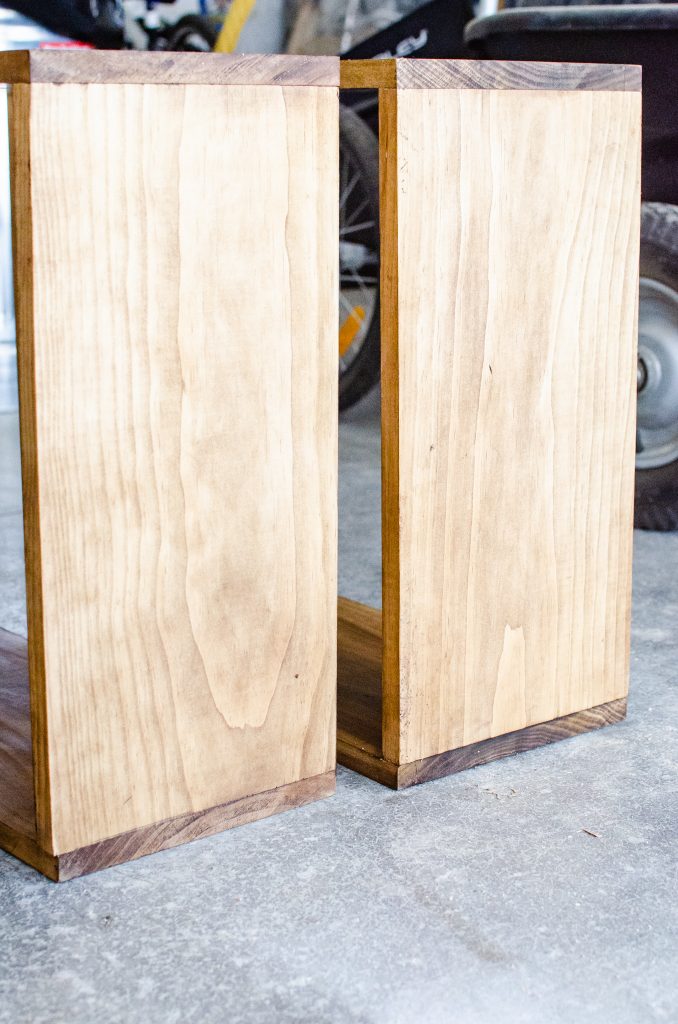
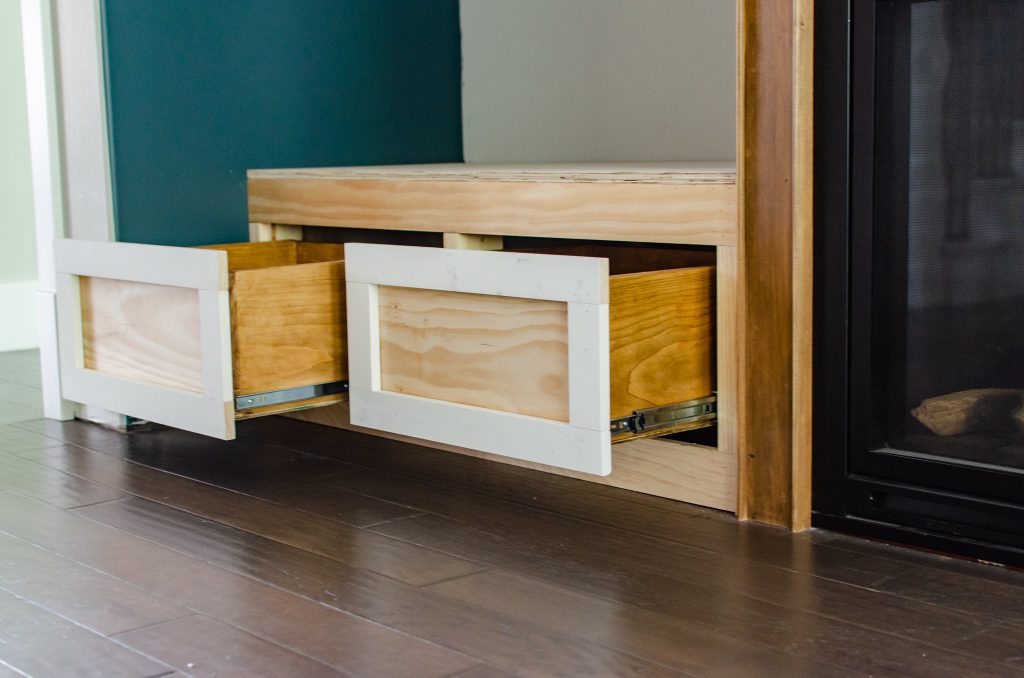
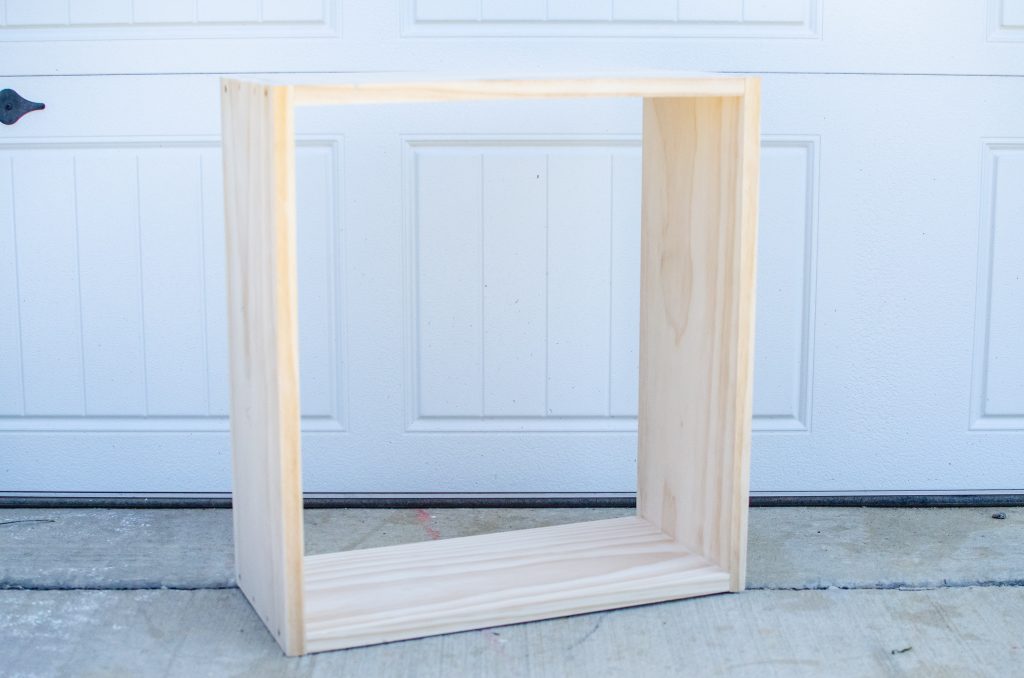
This spring I have been participating in the One Room Challenge where I am working on the living room where the same fireplace resides. Im currently building benches for either side of the fireplace and wanted to bring this same “staining” technique to an aspect of the built ins. The project that I will be “staining” in this tutorial is the drawers for these built in benches.
Project Materials:
Orbital Sander or Sanding Blocks
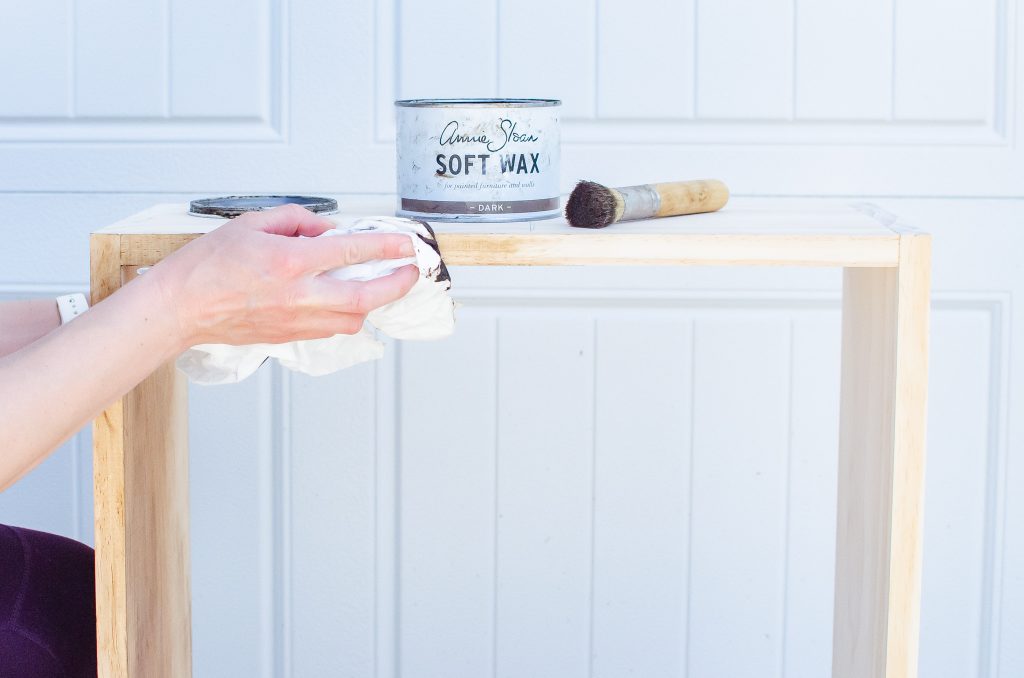
Chalk Paint Wax (Note: My preferred brand is Annie Sloan and it can only be purchased through a stockist. I get mine here.)
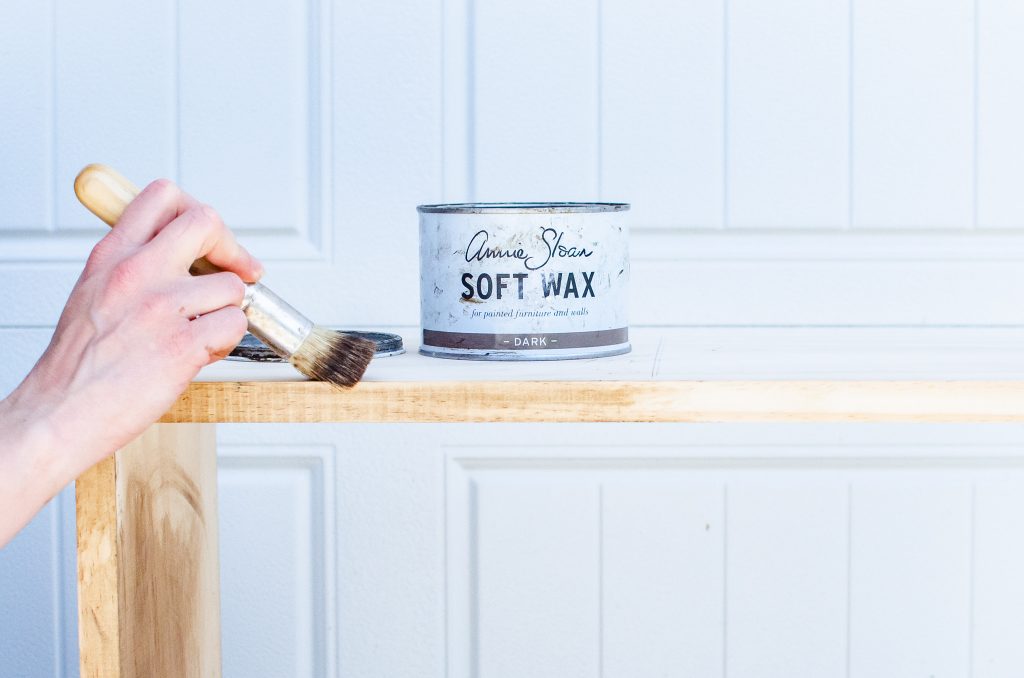
Wax Brush or Stiff Bristle Brush
Step 1: Lightly sand your raw wood with 220 grit sandpaper via an electric sander or with sanding blocks.
Step 2: Apply a small amount of wax to your lint free painters rag and apply with light pressure to your raw wood. Spread out evenly working in one square foot areas.
Step 3: Once wax is applied take your stiff bristle brush to buff and further spread out the wax. Make sure to give extra buffing attention on areas where wax may build up (like corners where wood pieces meet or in any areas where there are imperfections.) Move on to the next area.
Notes:
- While the wax will appear dry very quickly (usually in 5-10 minutes) its best to let it fully cure (24 hours is recommended) and reapply as needed.
- Annie Sloan Chalk Paint Wax comes in 4 finishes: Clear, White, Dark and Black. I mostly use clear (to sustain natural wood color) and dark (to richen the color) when I use this method.

If you enjoy my content I would love to connect with you over on Instagram where I share my day to day projects! You an also click here to subscribe to my blog.